|
Advertisement / Annons: |
Project:
|
Contents:
Related projects:
Note: |
14: Transport boxI have purchased a transport box for the camera / lens system and now I take a look what I need for the mount and battery to get it easy to transport. 
The black box behind the mount is where the camera / lens system is packed for transport. But how to get a box that hold the much heavier mount ? The weight will be about 20 kg, a box with wheel is preferred. But first, find the minimum needed size of the box. 
I lay out the devices on the floor to get some idea how to pack it most compact. 
I can place the battery on top of the mount without any more need for space. The minimum dimension configured like this will be: 610 L x 310 W x 260 H mm. 
A standard length of boxes is 600 mm, the pin on the top of the mount protrude 25 mm. If I drill a hole for it the total length goes down to 585 mm. As an alternative I can made the legs removable, but then the shims will be difficult to get in place. Now I know what to look for. The maximum space in my small car limit the length to 600 mm. 
A temporary solution. The black box is part of the Meec Tools system, maybe I can find someone that's a little bit bigger. One of them have wheels, but the handle protrude too far to fit in my car. 
This is all I need for a night out in the dark. 
The blue box replaced with this black one. Now I can couple them together and it will be easier to carry it out in the field. The weight is almost 30 kg, better if I can add some wheels to it. I have my wheel wagon, but maybe I can implement it in the construction and get it more compact and also have a lower weight. I also need some space for the pad where it's protected. Putting wheels on the box: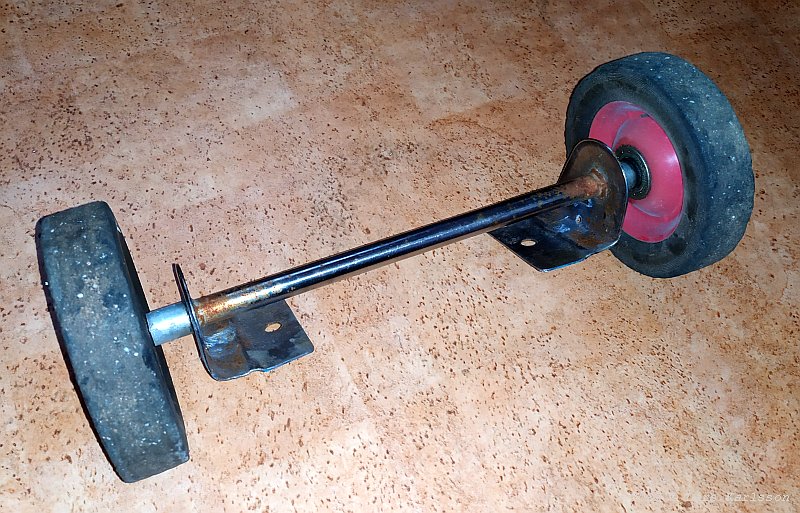
I have some wheels down in the garage, is it possible that they can fit with this box ? The distance between the wheels is 32 cm and the box is 30 cm wide, perfect. They are very sturdy and add weight to the transport box, but the load is 30 kg so it's needed. 
The mounting hole is off-center, it let me move the axel to where I it balance most comfortable. 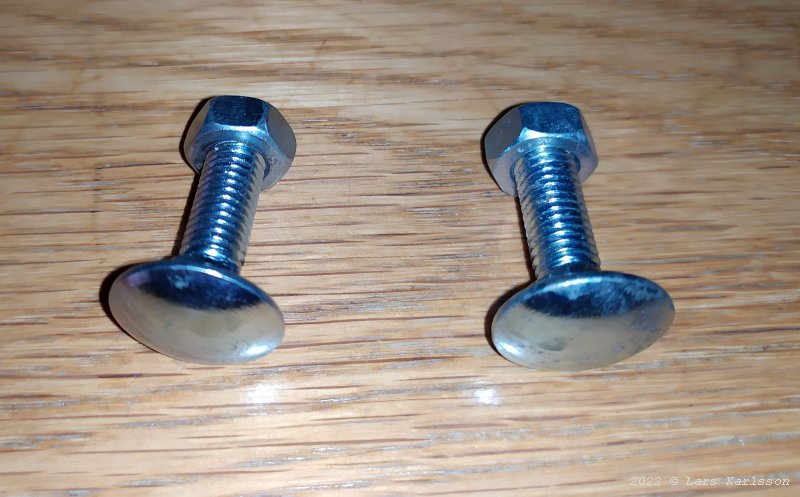
I use these kind of bolts, in Sweden we say wagon bolts. A flat head make no danger to the equipment inside the box. 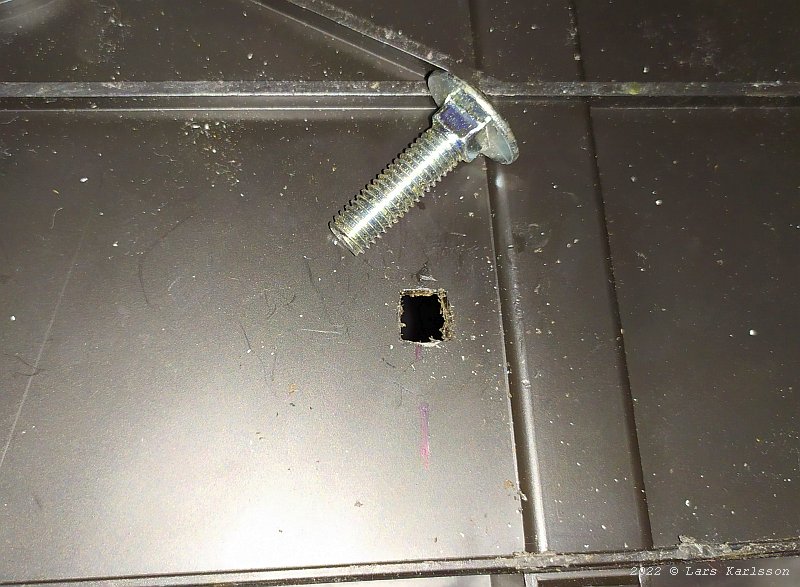
The hole in the box is square to not let the bolt rotate. 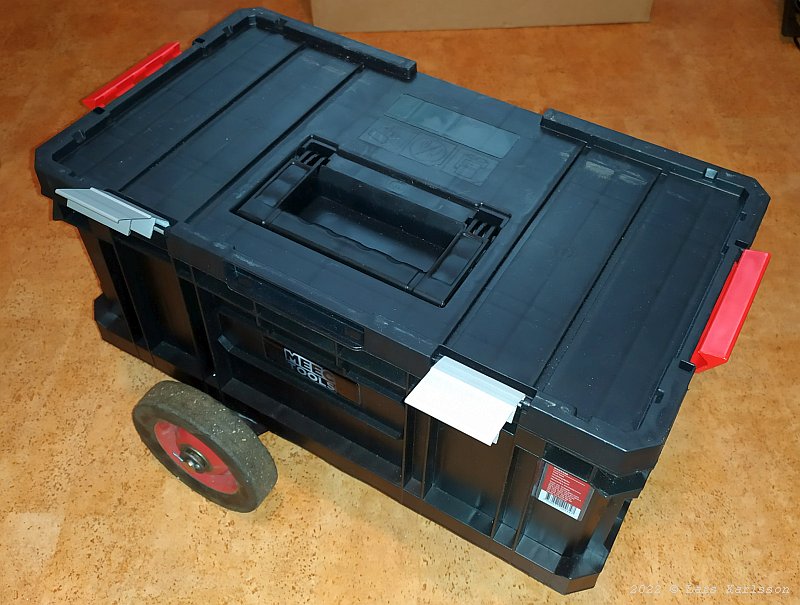
Finished, the red wheels matches the red handles on the box, it's important with the details. Later I replace the nuts that hold the wheels with star handles, it make it easy to remove the wheels when not needed. I must also construct some sort of handle, looking around now to find something that I can use.
|
|