|
Advertisement / Annons: |
Tutorial:
|
Content:
Note: |
3.1: Separation of Stars and DSOWhen working with astroimages you will find that the dynamic of them are very high. At the same time you want to have the weak nebula with high contrast and still the stars not blown out, you want to keep the colors of the stars. One way to do it is to separate the stars with a mask and another mask for the Deep Sky Objects. That is something that was difficult to do with my earlier software but easy with Photoshop or some similar software. Here I try to do it with Gimp, it take a long time for me to find correct method, but almost there. Much easier than what I explain here is to use the StarNET plugin filter, it can be used in Siril. One drawback is that the file must be reduced from Fits 32 bit floating point to TIFF 16 bit. Gimp ver 2.10 Upload the Fits file/s: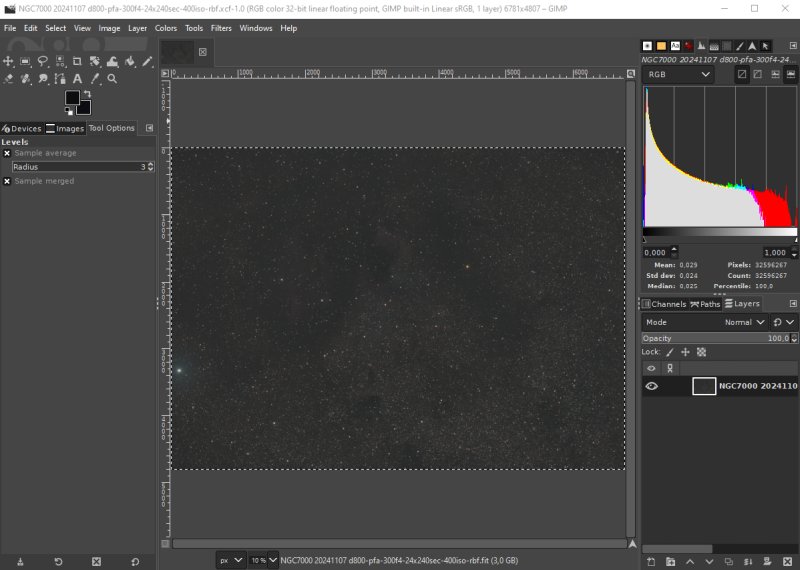
The test image I use is NGC 7000, the California Nebula. The camera is a Nikon D800 DSLR and the lens a Pentax 645 FA 300 mm f/4 ED lens. Exposure 24x240 seconds at ISO 400. This photo is taken in a Bortle Class 4 area. It's in 32 bit floating point format. Flat and photometric color calibrated. The edges has been cropped. In Gimp I have increased the saturation, crank up the gamma a bit and set its base level, that's all. Working copies: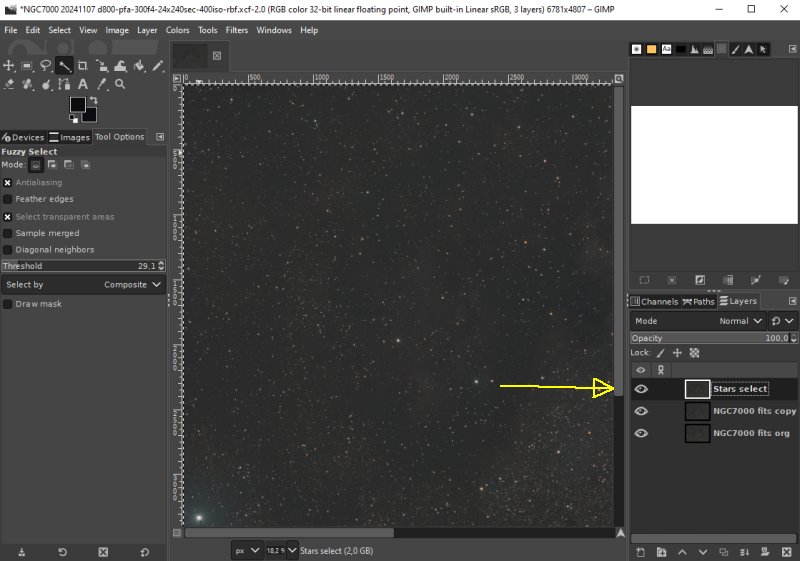
I made two extra copies of the nebula image fits file and have giving them different names for each layer.
|
|