|
Advertisement / Annons: |
Tutorial:
|
Content:
Note: |
3.2: Star selectThere are many ways to select the stars: Select by color, by threshold, by difference between two layers, Wavelet etc. Here I select by difference between two layers. Difference layers method: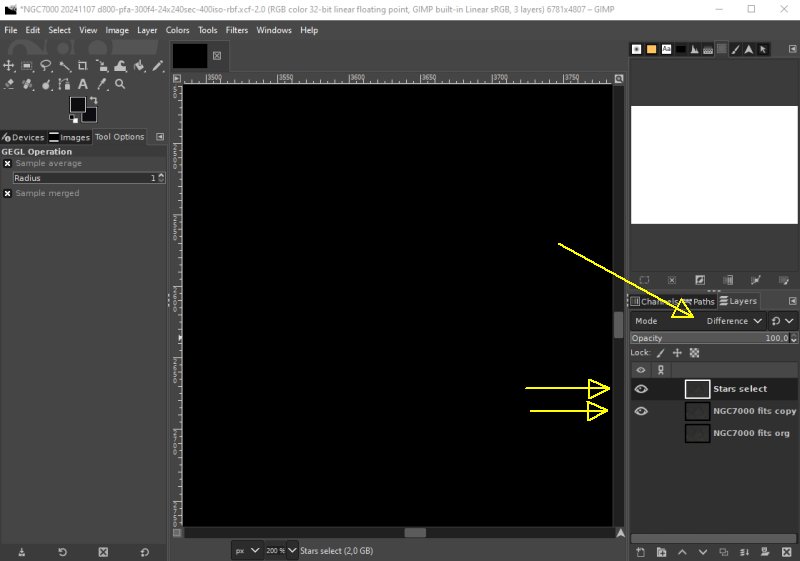
Building the Stars select layer, first I build the mask to filter out the stars. I have the Stars select layer active and visible. The NGC 7000 copy layer is also visible. Set the Stars select layer to Difference mode. The image windows is now black because both images are the same and there are no difference between them. Gaussian blur: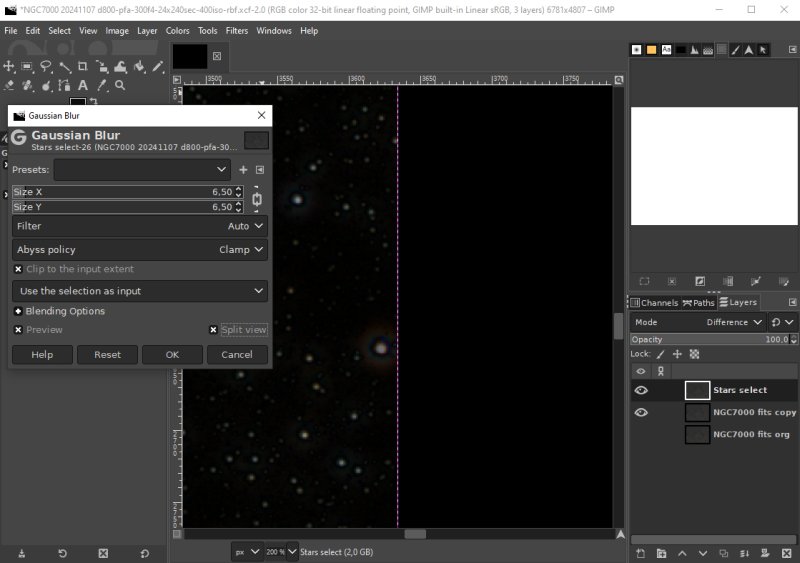
To Stars select layer I set some Gaussian blur. I have the window in split mode, then I can easy see how much I have to set the size X/Y blur filter. In my case it looks optimal with a pixel size of about 6. The stars has come out from the darkness and not much background is disturbing. Merge layers: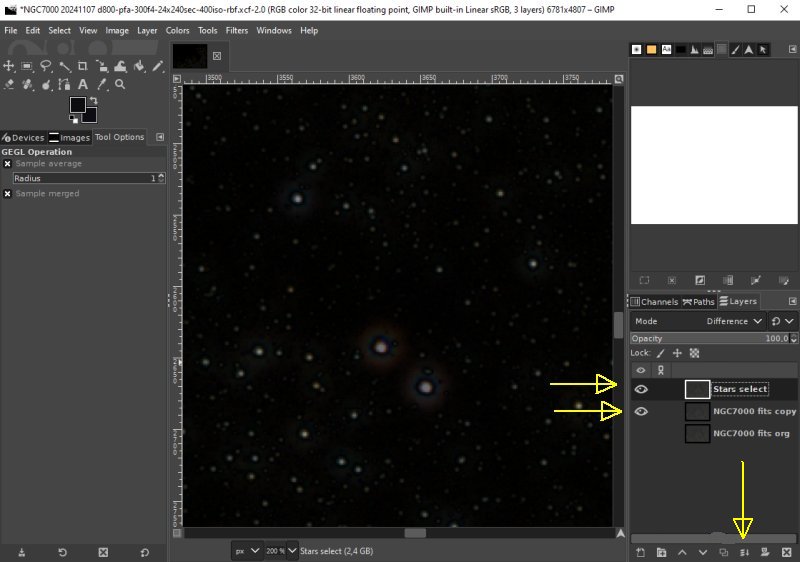
The two difference layers that are visible I merge to one layer. Click on the Merger icon at bottom to merge them. 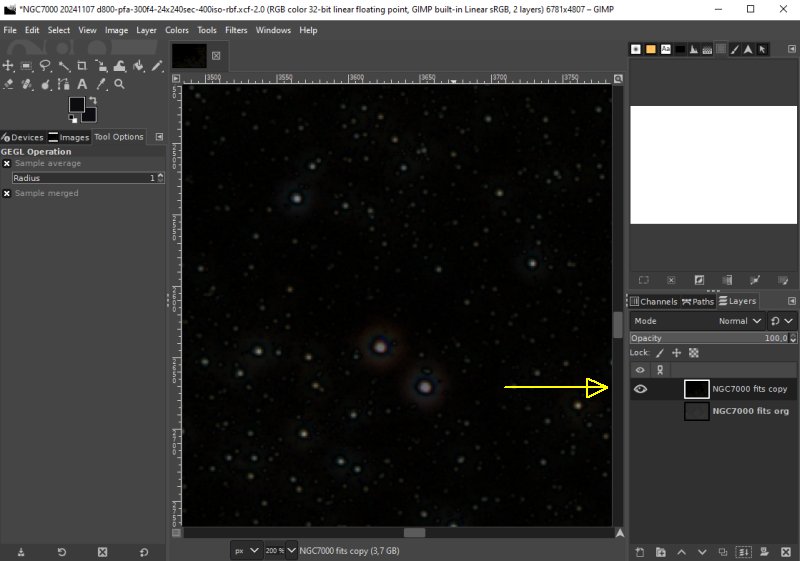
The merged layer got one of the old layers name. It's a different layer now and must be given a new name, or it will be confusing. 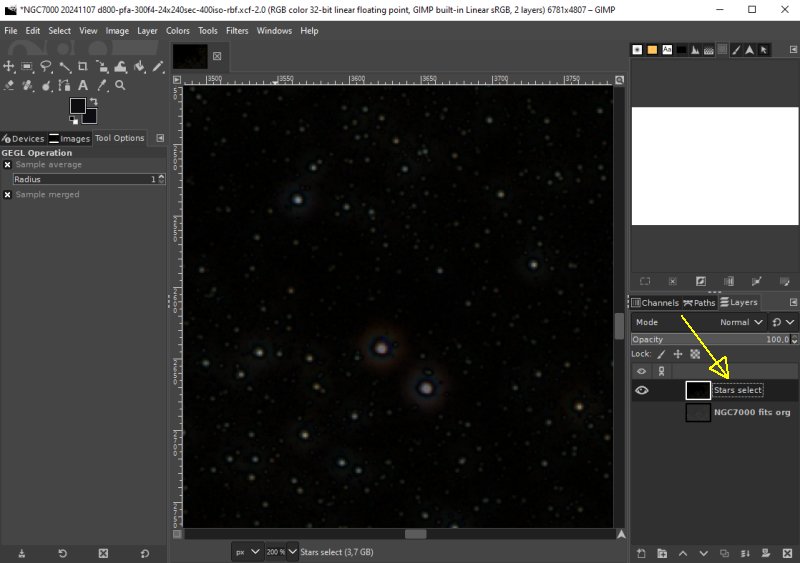
Give the name "Stars select" that one of the layers had earlier. It tell what this layer do when finished. One more working copy: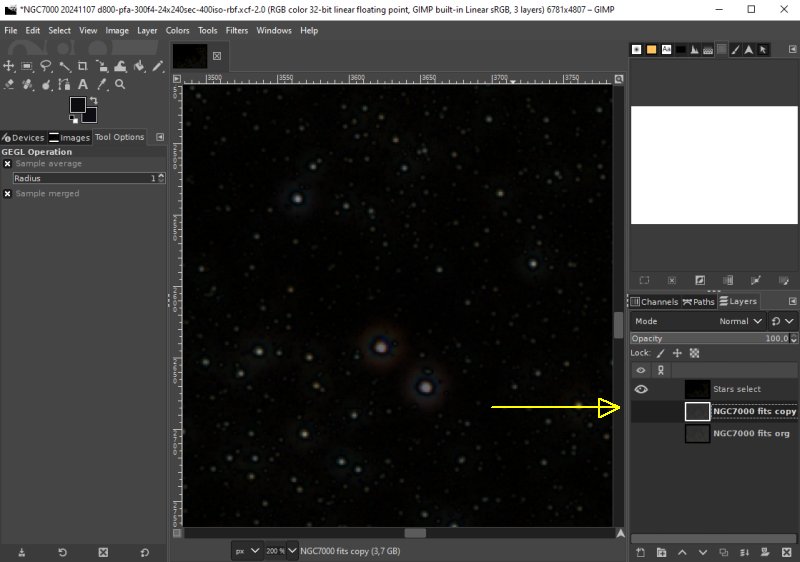
A new working copy is needed. Activate the org layer and use the icon at bottom to copy it. Adjust Color Curves: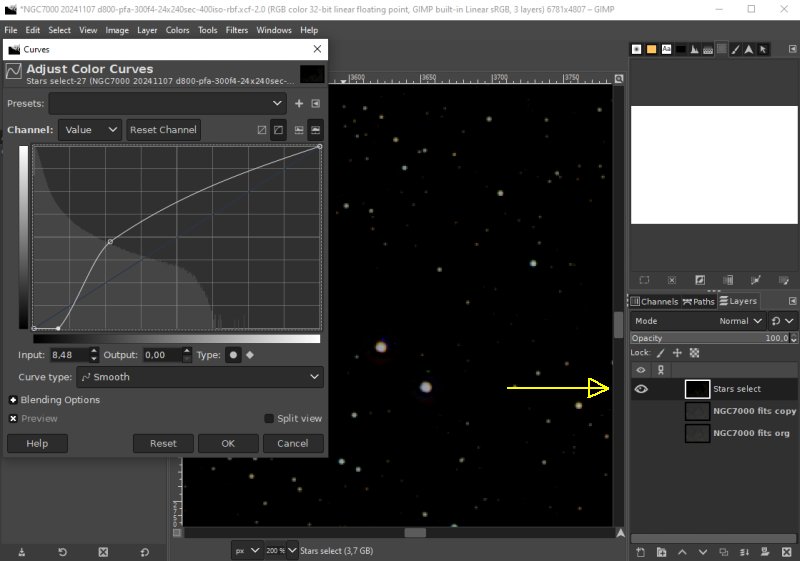
Working with the Curves to get more contrast of the stars which make it easier to get a star mask of good quality. Apply Treshold: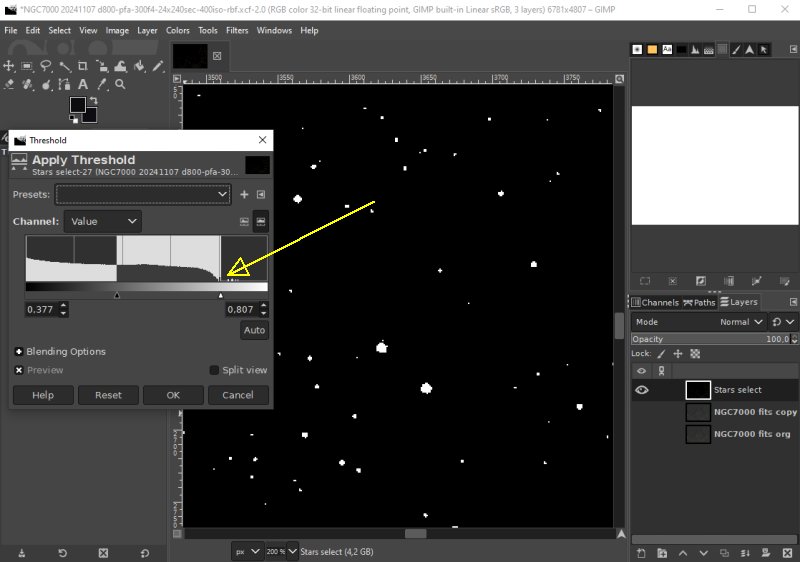
With the Threshold I divide the 'Star' image in only black and white star levels. An ON/OFF function layer, Star or no Star. Fuzzu select: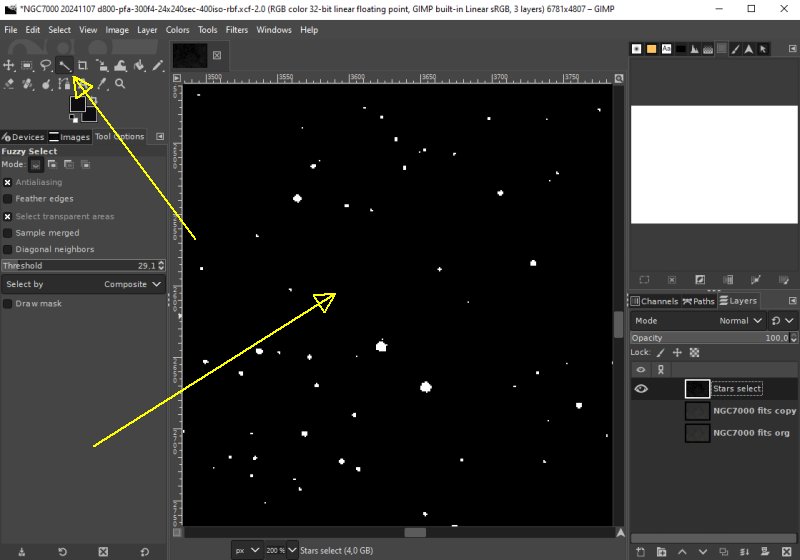
Use 'Fuzzy Select' tool, click on the background, the black area. All black area will be selected. Invert selection: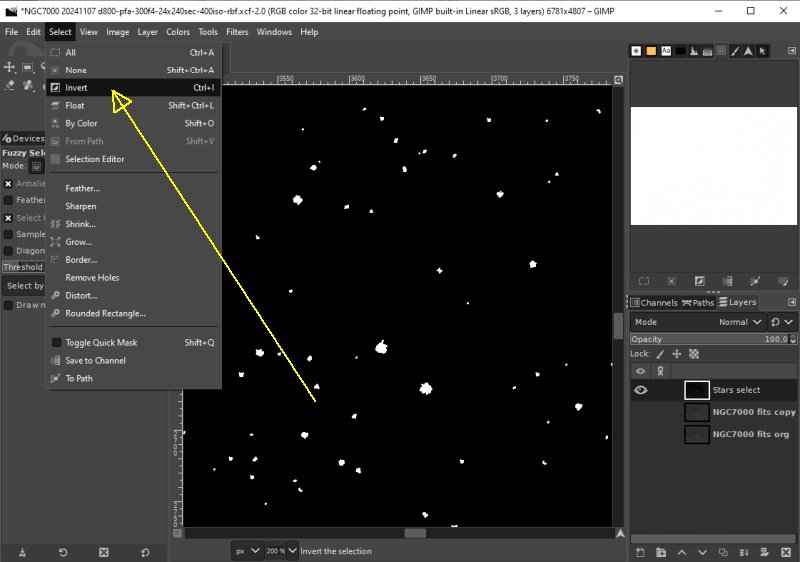
Invert the selected area. The white area which are the stars will be selected instead of the background. The white preview window will change to black. It's now the stars that are selected. Expand the selection: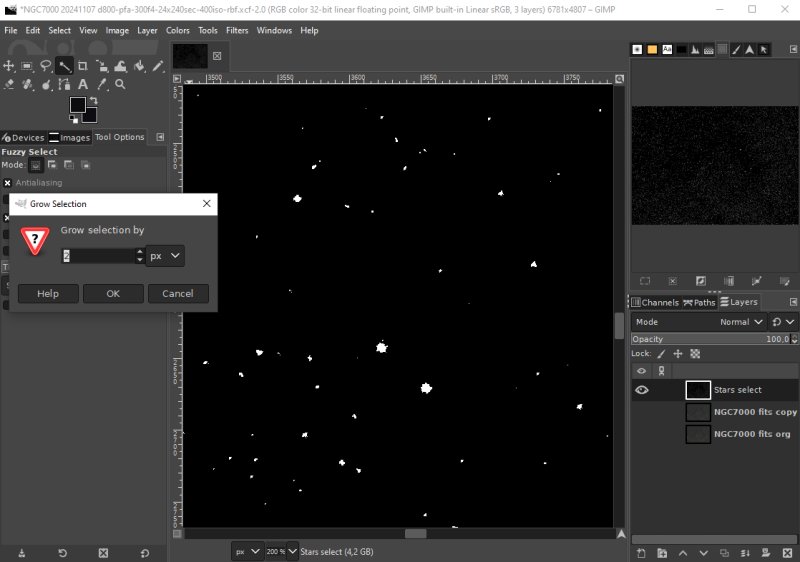
With the Tool 'Grow' we can expand the selected area, just to cover a bit outside the stars. Normally somewhere from 2 to 6 pixel is normal values. It depends on the size of the stars on the image and what equipment that was used. 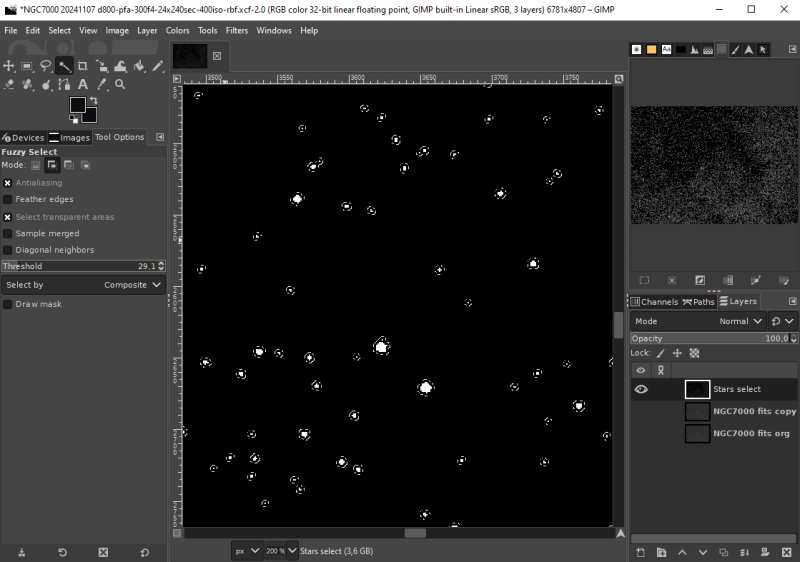
The border of the selected area is now outside the stars. Feather: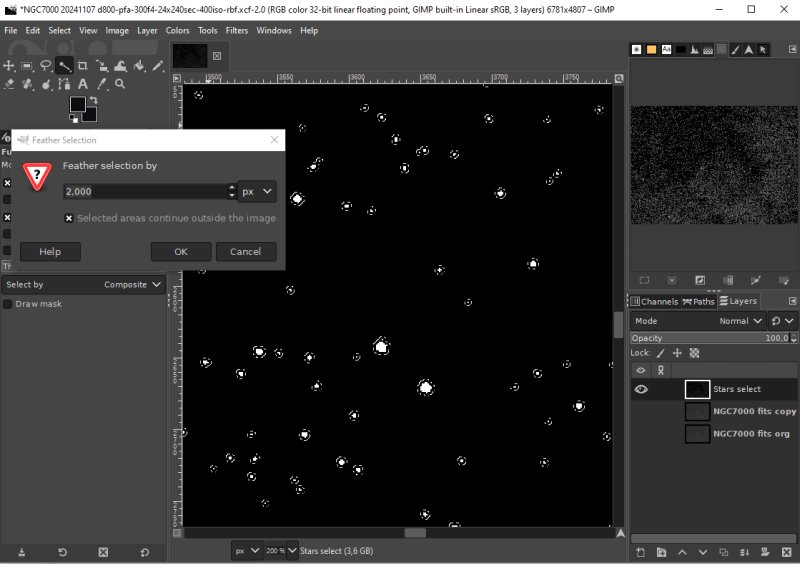
We don't want to have the mask to be just on or off, with the Feather tool we can make a soft transit. Set it something like 2 to 4 pixels, you will not see any difference in this image but later.
|
|