|
Advertisement / Annons: |
My astronomy project:
|
Contents:
Related projects:
Note: |
1, Introduction, EQ6 dismantling: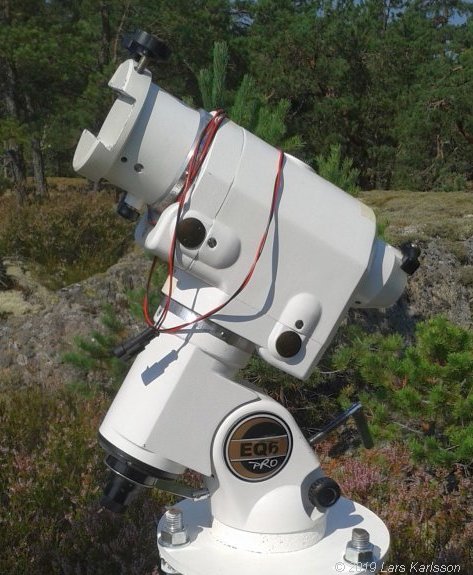
My EQ6 mount has become very heavy to rotate nowadays. It's difficult to find the balance point because it doesn't rotate by itself when it's free coupled. It's very common that the grease has been hardened by the years, maybe it's the case with my mount too. There are some other problems too, two years ago I got the auto guiding rms tot error from 0.6" to 0.9", now I have more like, from 0.8" to 1.2". Maybe that can be improved too. Now it's summer and where I live it's not possibly to have a dark sky. Perfect time to do some work on the equipment. When disassembling the EQ6 mount I follow this excellent link: You should follow it too, very well written. I only have some photos from the dismantling process when there is something special to show. Disassembling motor boxI started with disassembling the motors from its enclosure. 
Both the RA and DEC motor is mounted in this enclosure. Nothing special here, little bit dirty, after disassembled everything I can clean it from dust and old grease. Note: when loosen the electronic board, it's sensitive to electric discharges, wear an antistatic protection and store the electronic board in an antistatic bag. 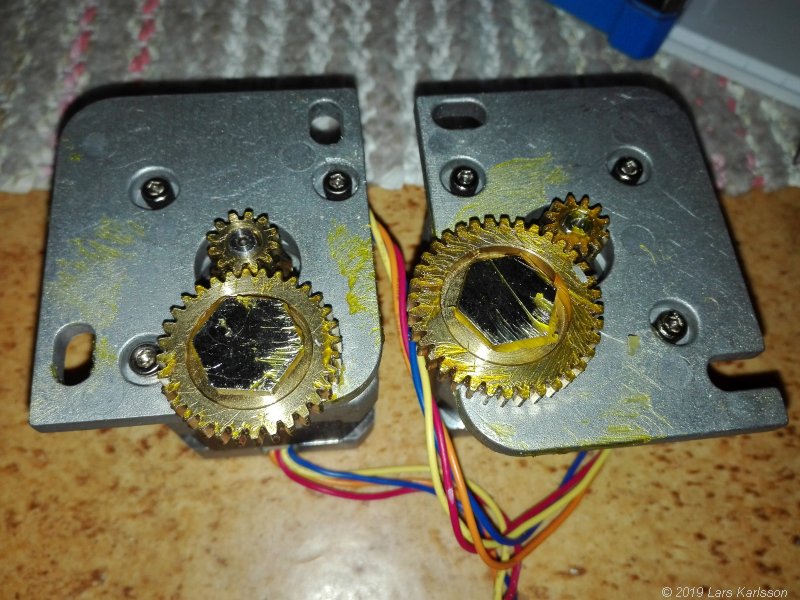
I didn't expect to see this, it looks clean with fresh grease. The photos I have seen from others are that the grease is black and hard. It looks that someone before me already had cleaned it up and put new grease on the gears. I used kerosene when cleaning it from old grease. They recommended diesel, but it was difficult to buy in these small quantities. 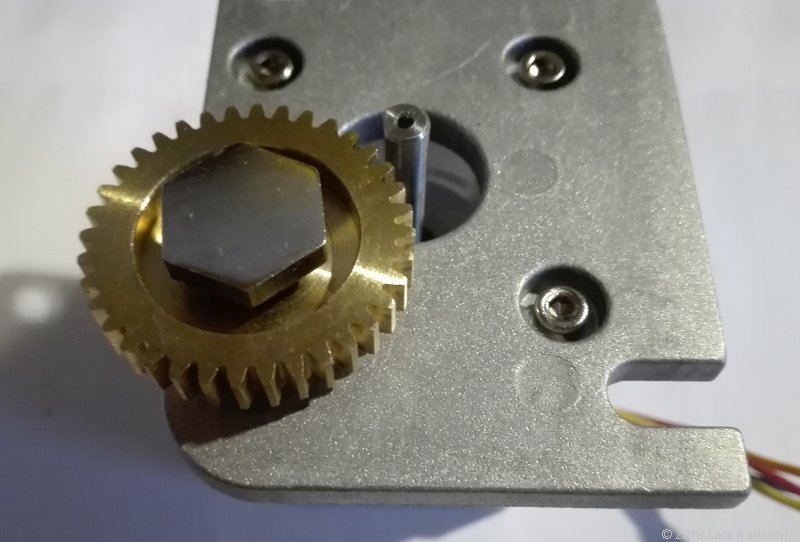
Here is one of the three gears that many people replace with a timing belt drive. With a timing belt drive you reduce the backlash. Shall I install a belt drive too? Maybe, but first I will have a look how it's constructed, maybe there is something I can rework and have it better as it is. If I choose the other way with timing belt I have seen a kit cost about 190 Euro, is this old mount worth it? I will take a look if I can built together something not that costly. 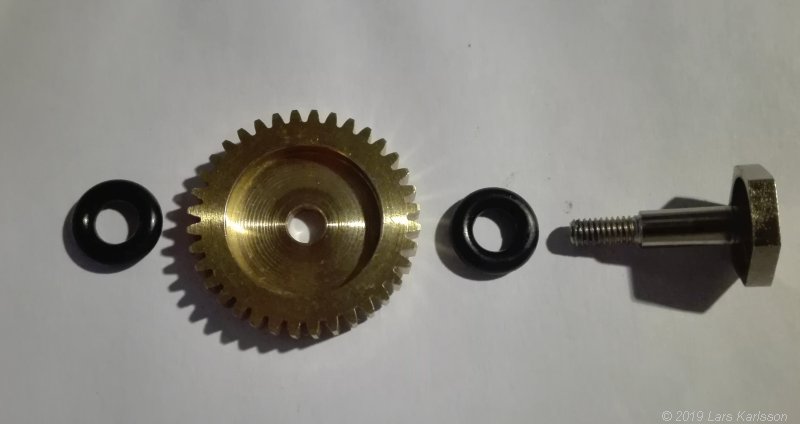
The middle gear is squeezed between two O-rings. Maybe better with two or more steel washers? 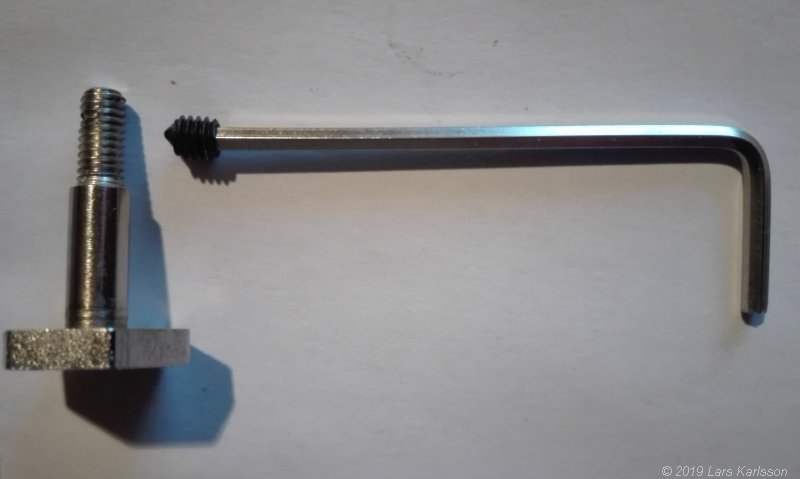
The big screw adjust the tension on the middle gear and the O-rings, when correct adjusted it's locked by a small Allen screw. This screw has a sharp tip and that destroy the threads on the big screw, not good. I replace the lock screw with one with a flat end and then put a plastic piece between to save the threads. But no need of it if I replace it with a timing belt. |
Dismantling the DEC axis:
Here I have removed the face plate to the right that hold the Vixen dovetail. I loosen the four Allen screws (5 mm) on each lid, 8 total to have the lid slip aside. You must also loose the four smaller locking Allen screws (2 mm), maybe better to take them all the way out. When the lid slips aside the worm drive disconnect from the worm gear. Maybe there are other more safer way to do this to not have any damage on the gears. 
The end of the DEC worm drive's shaft. I have seen kits that mount the stepper motor direct on this shaft, but the step resolution will be low, otherwise it must be a perfect solution. A high quality planetary 4:1 gearbox geared stepper motor maybe works. 
At the end of the DEC shaft there is a big lock nut. The dovetail saddle is already removed. Normally you don't have to take it away and I didn't it either. It can be very difficult to remove and there is a big risk that you destroy something. Here you can see how I had loosen the lever arm on the clutch, but take the brass bolt all the way out, inside there is a brass washer, don't loos it. This is the DEC shaft an I thinks it's wise to unscrew all four screws that hold the lid. Then you divide the dismantle in two parts which is more safe. Look at the Astro baby link for more details. 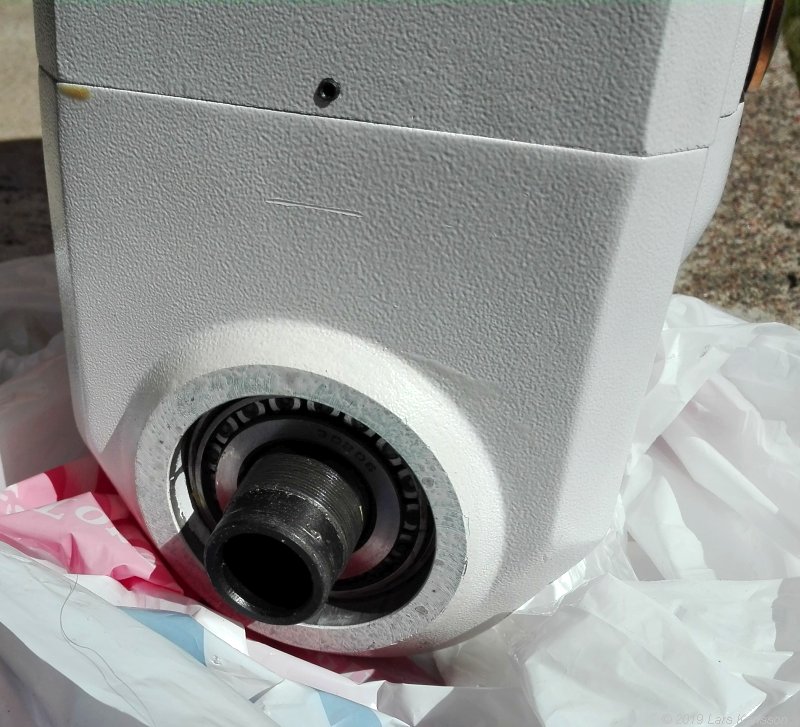
DEC shaft at balance weight end, I have too knock the axis end with a hammer and a piece of wood between. Not any hard knock, it will destroy the roller bearings. More like many small taps. The wooden block is important so you don't destroy the threads or shaft's end! Don't forget to remove the clutch arm and unscrew the clutch bolt before (on the other end of the shaft) ! 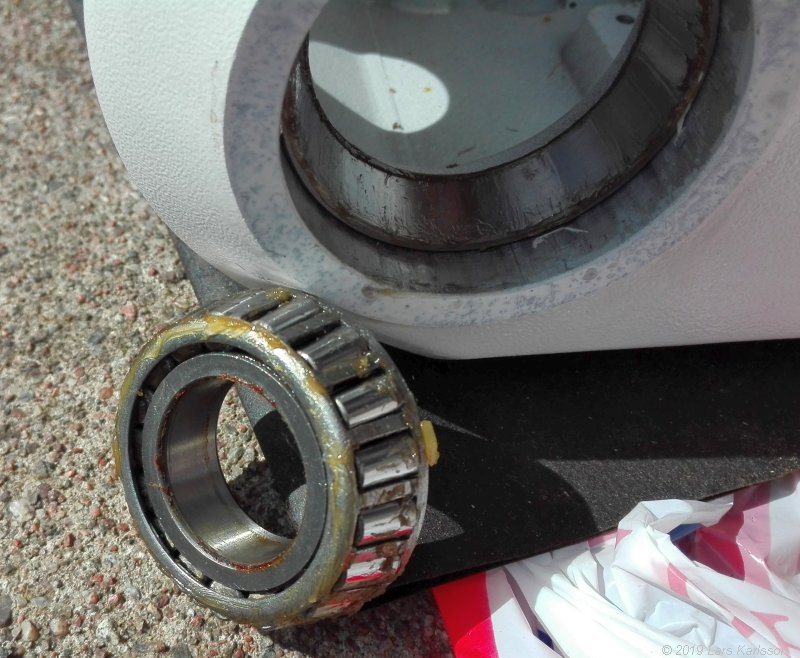
The tapered ball bearing is out, it was easy to remove. As you see the grease look fresh here too. 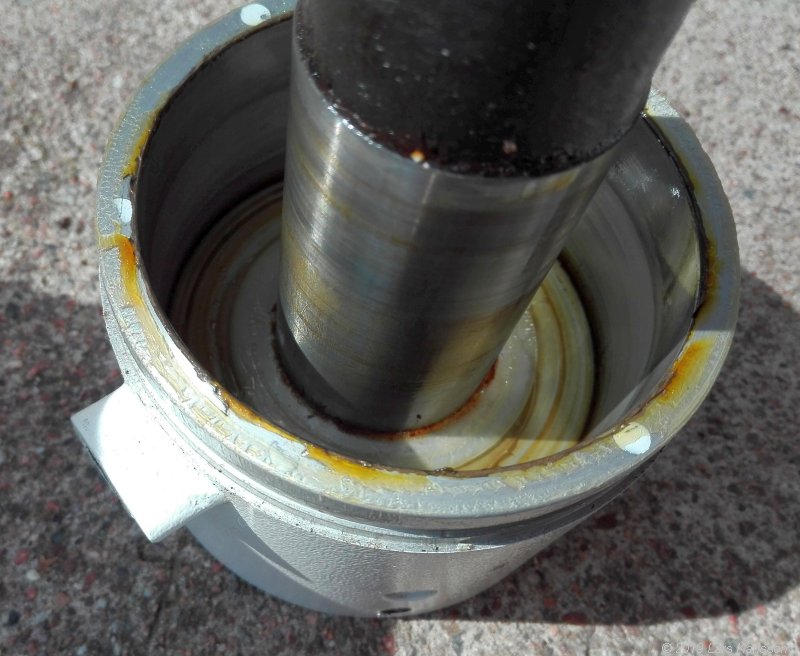
At the top of the DEC axis you see one of the shims, the grease here has hardened. 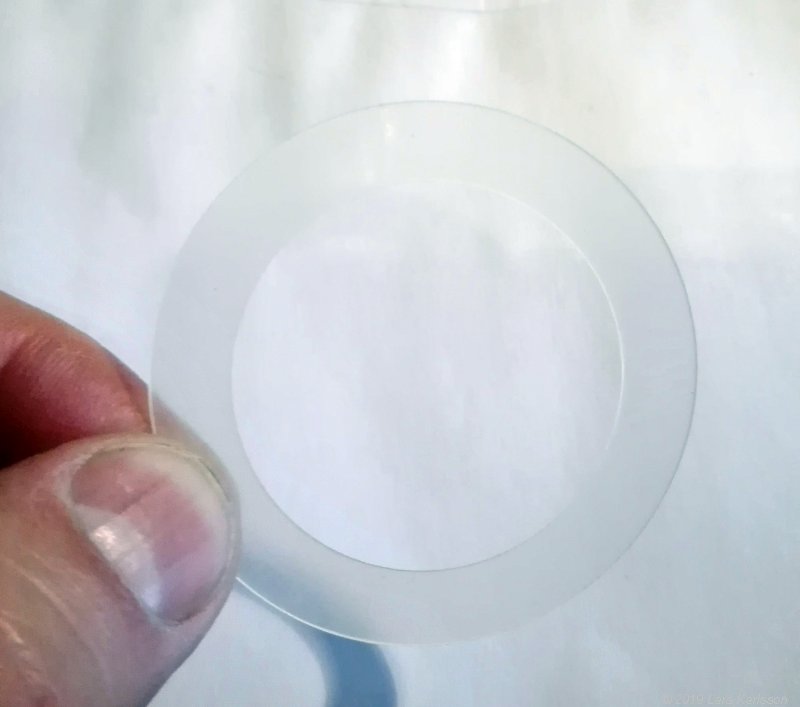
This shim has the dimension 40.5 x 56.5 mm and a thickness of 0.5 mm. The thickness can be different and there could be more then one shim. Every mount is adjusted for its own unique level where the worm gears level up. Don't mix the shims up! 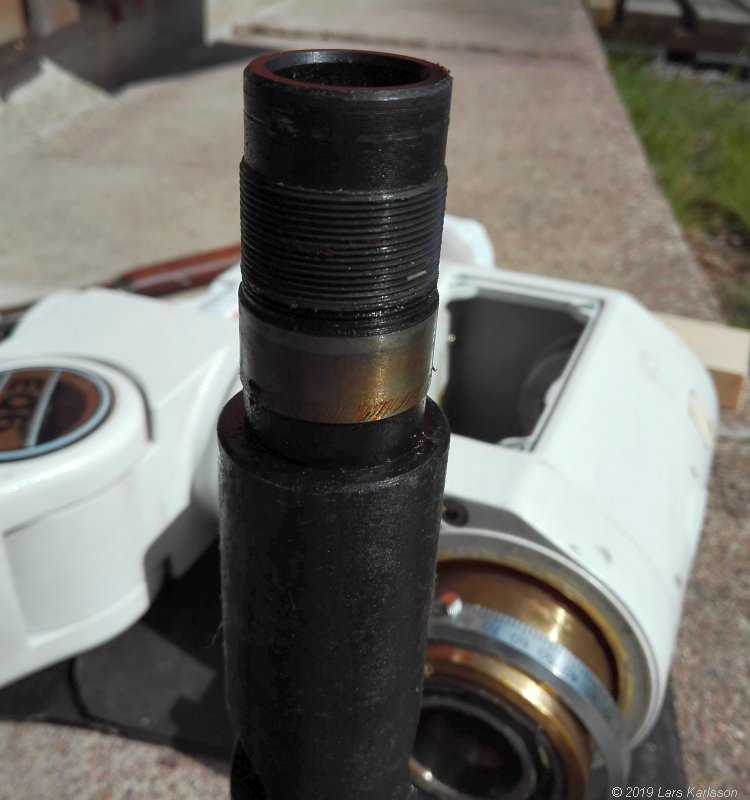
Lower end of DEC axis, the axis surface looks good, just need some cleaning. |
Dismantling the RA axis: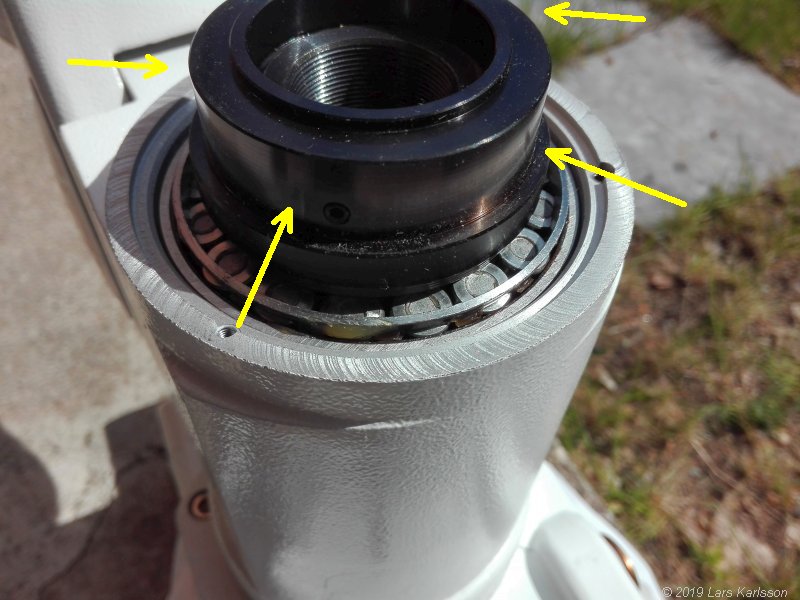
After I had unlock the four lock Allen screws (2.5 mm) I could easy unscrew the big locknut. Behind is the RA tapered ball bearing. Even this tapered ball bearing looks to have a fresh grease. 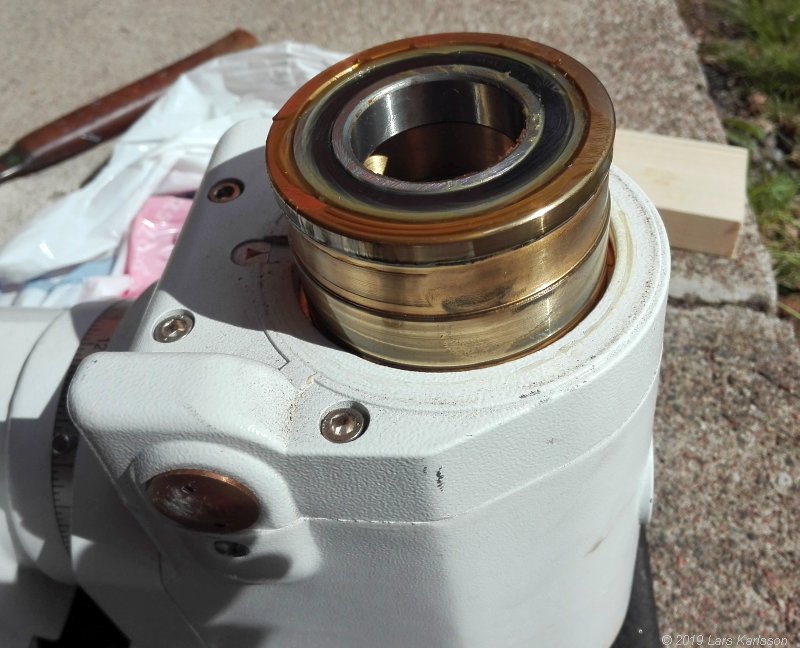
The bras roller bearing holder is also the upper part of the worm gear. But what shall I do with these roller bearings, open the sealing and clean them inside? They feel very good and smooth, the only friction I feel is from the gasket that make it dustproof. But the advice is, never open the sealing! Note that I didn't screw out the four bolts that hold the lid earlier, I think it's better to do it now when I have seen how it's constructed inside. But it's only a problem when the roller bearings are stuck on the shaft. This part of the bras worm gear, the cylinder surface is the surface where the coupling act on. Later when I had assembled everything together again I noticed some friction when the coupling was free. Check the space around here carefully ! 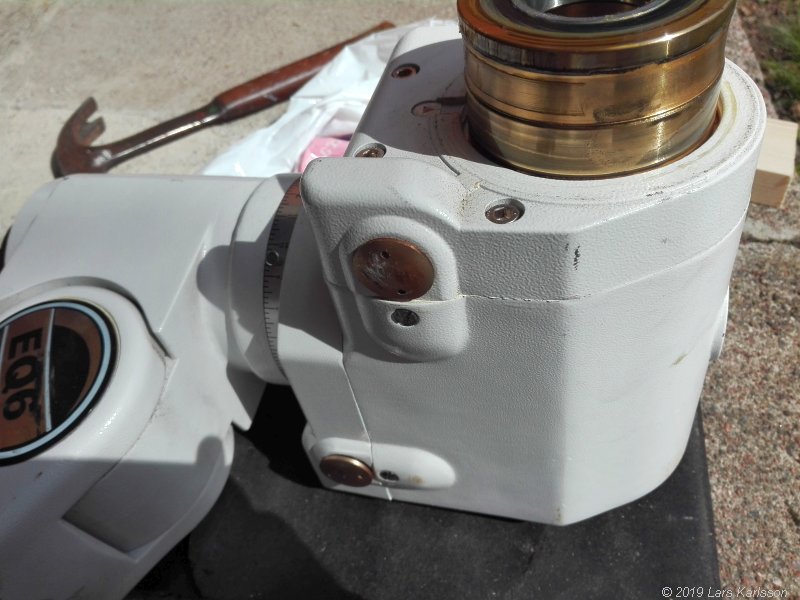
Now I unscrew the four Allen bolts (5 mm) to the lid and open the worm gear box. Follow the Astro Baby instructions from the link in the beginning how to remove the worm gear lid. 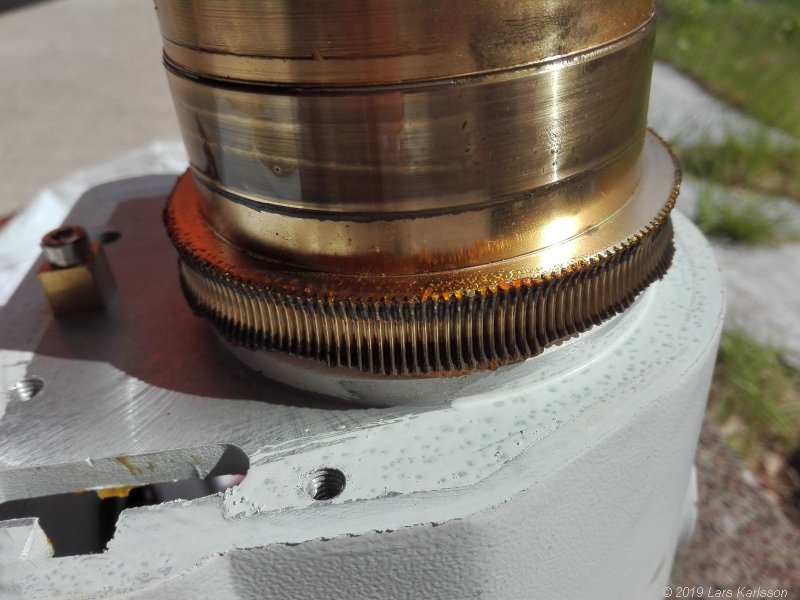
Nothing defect with the gear, happy to see that, if destroyed it's too expensive to replace I think. As you see there is some paint on the sliding surfaces, maybe it's better to remove the paint, but how without scratching the surfaces? 
The worm gear, what kind of grease has they used here? I have ordered four new roller bearings, the roller bearings that hold this shaft, two on each. I can feel that they doesn't rotate very smooth and it was recommended to replace them and they are not expensive. The gear of brass to the right is one of the gears you can replace with a timing belt drive. |
Overview of the dismantled mount: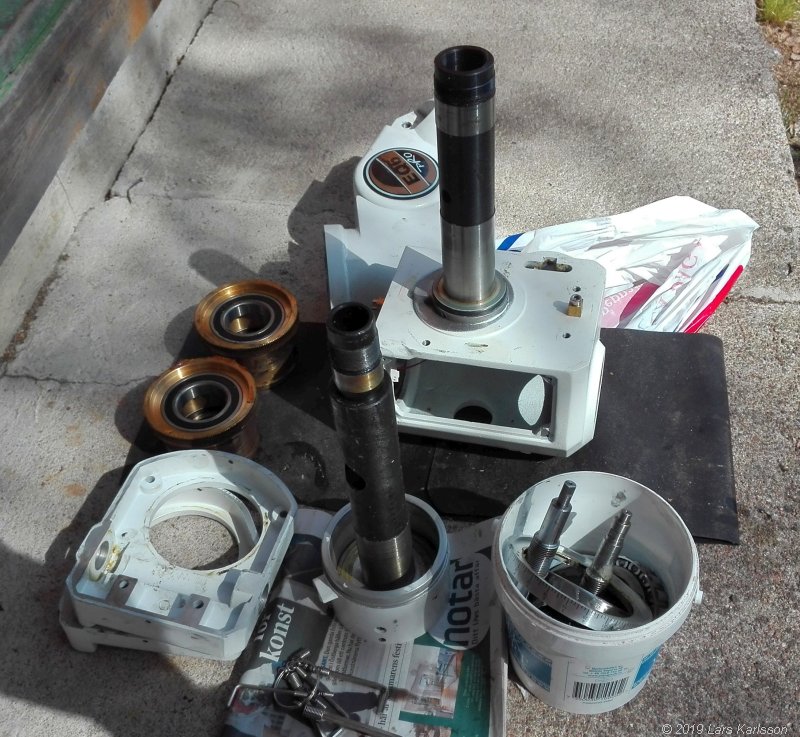
Once it was a working EQ6 mount, now just a pile of parts. It's a bit confusing, I didn't find any wrong with it. What's causing the high resistance when rotating the RA and DEC shaft ? 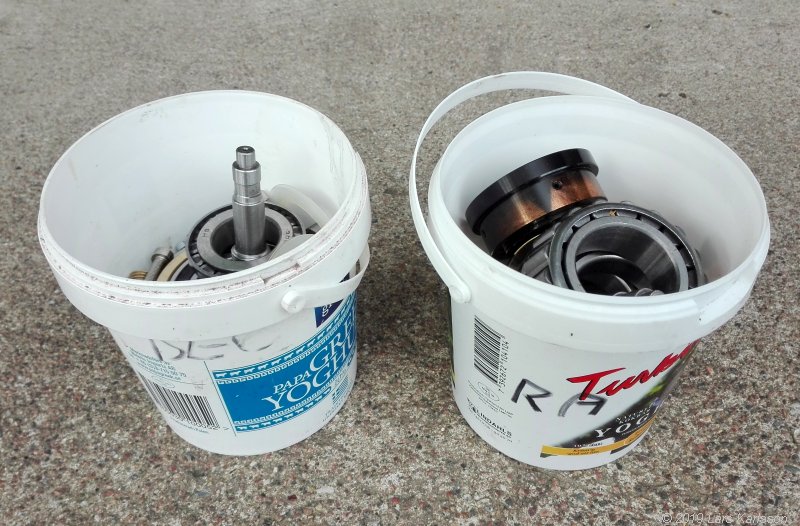
Even if some parts looks to be the same for the RA and DEC axis I think it's wise to not mix them up. Have them in separate boxes. Note: these are sensitive parts, handle with care! 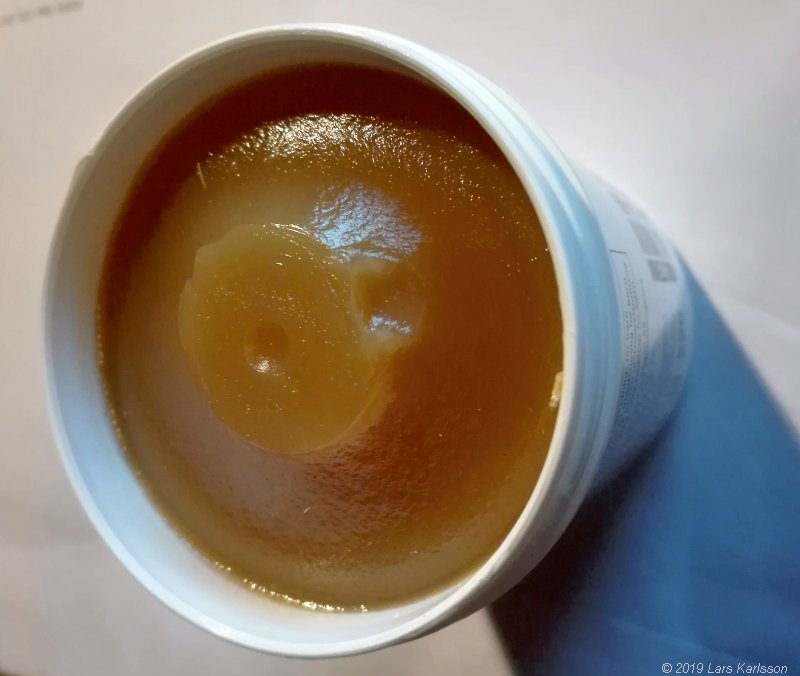
The new grease I bought, strange, I though that all Lithium greases are white, not brown. But Lithium grease is what is recommended what I have read. Ideas how to proceed:
Now a lot of research at the internet.
|
|