|
Advertisement / Annons: |
My astronomy project:
|
Contents:
Related projects:
Note: |
8, RA and DEC shaft shims:To find out what thickness of the shims I need for the RA and DEC shaft I follow this instruction to some part: You should follow it too, not only my page with ideas. RA shaft shims:The function of the shim is to align the center of the worm gear to the center of the worm drive. To find out what thickness of the shaft's shim I need I have to do some measurements. 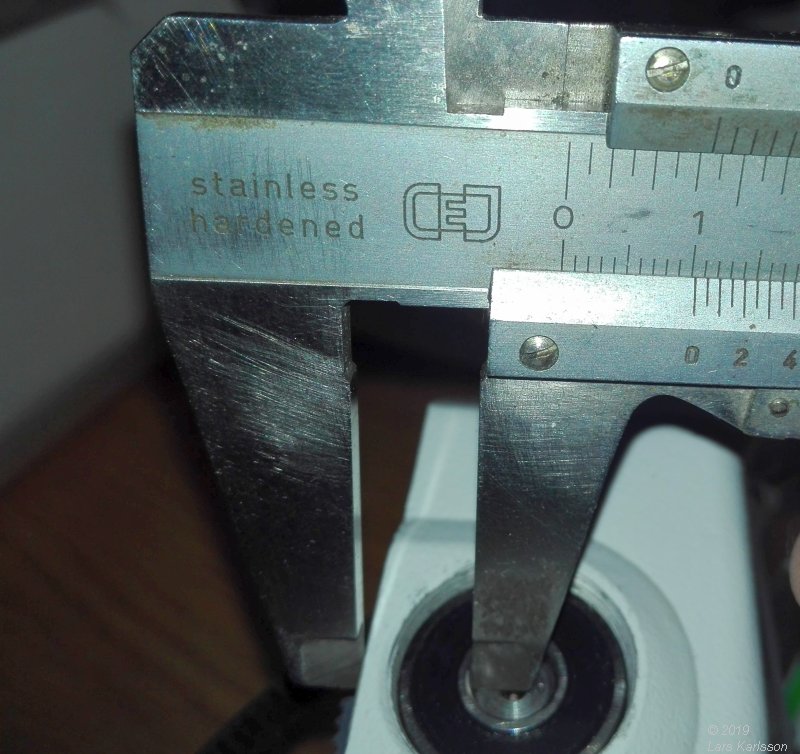
I start with the RA shaft. 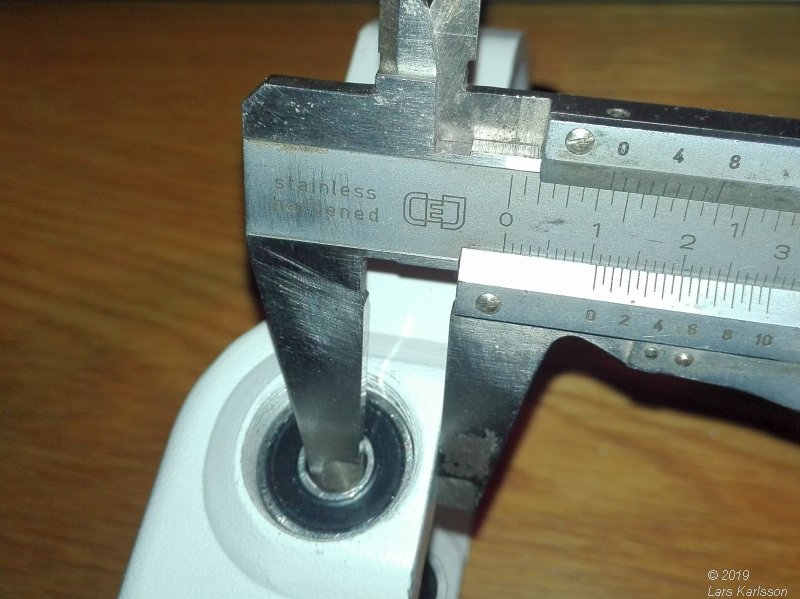
I measure in both ends of the shaft and take the average value. All these figures I get I put in in an Excel sheet, you will find it below. 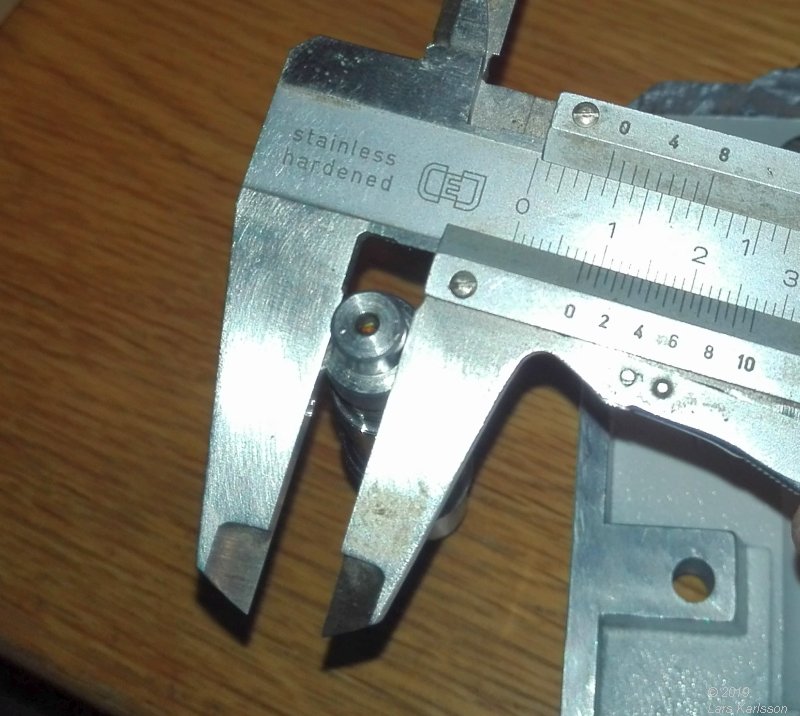
I also need the worm drive shaft's diameter, it shall be almost exact 8 mm. It's divided by two in the excel sheet. These three steps will give me the average distance from worm gear shaft's center to the chassis. 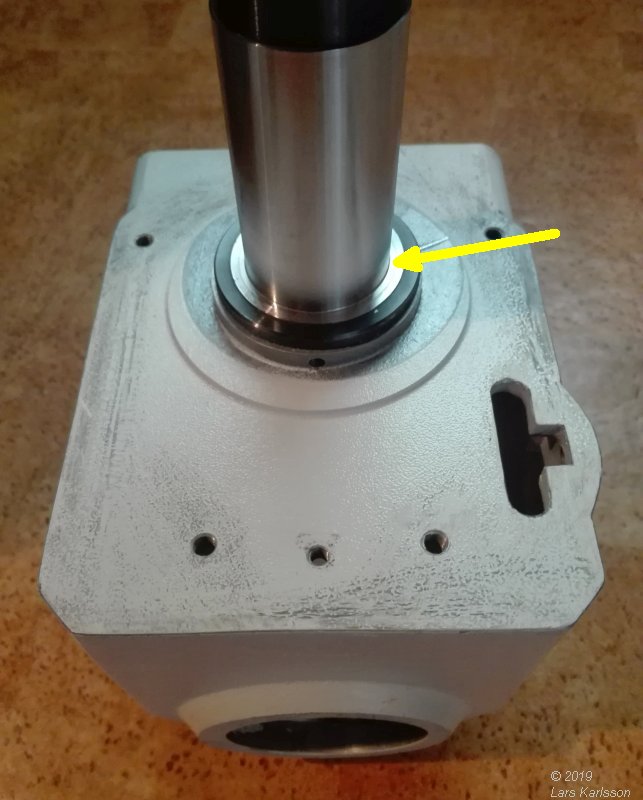
RA shaft, it's here the shim shall be installed later. The shaft's diameter is 40 mm. 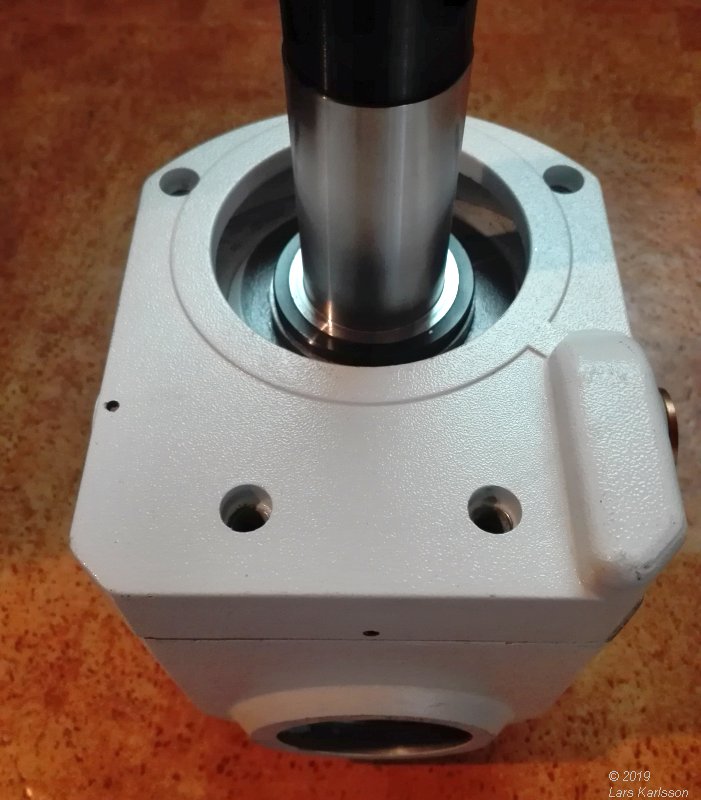
I test assembling the RA lid which holds the worm drive and cover the worm gear. 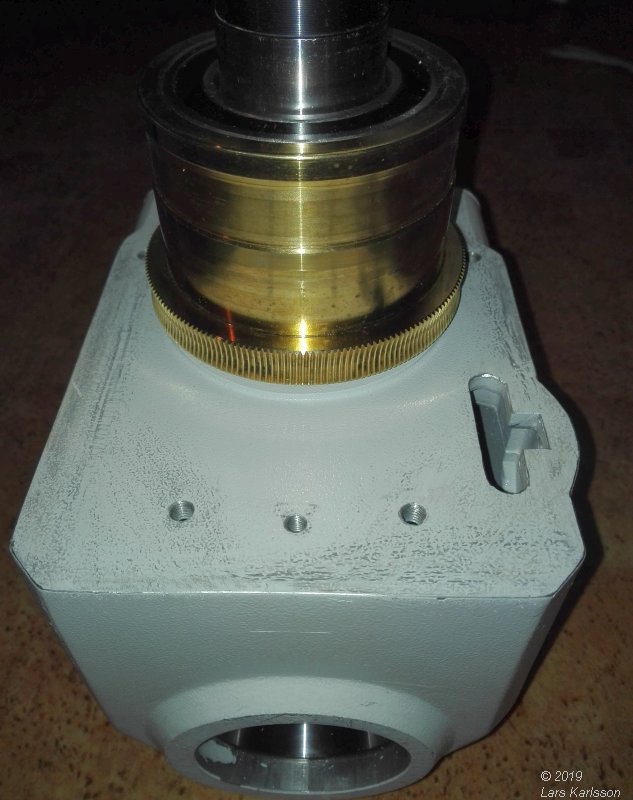
Put on the worm gear without a shim, it's not so easy to do this, the RA shaft is ground to a very high precision. Be careful to not scratch the surface on the shaft and slide the gear / roller bearing on gently. 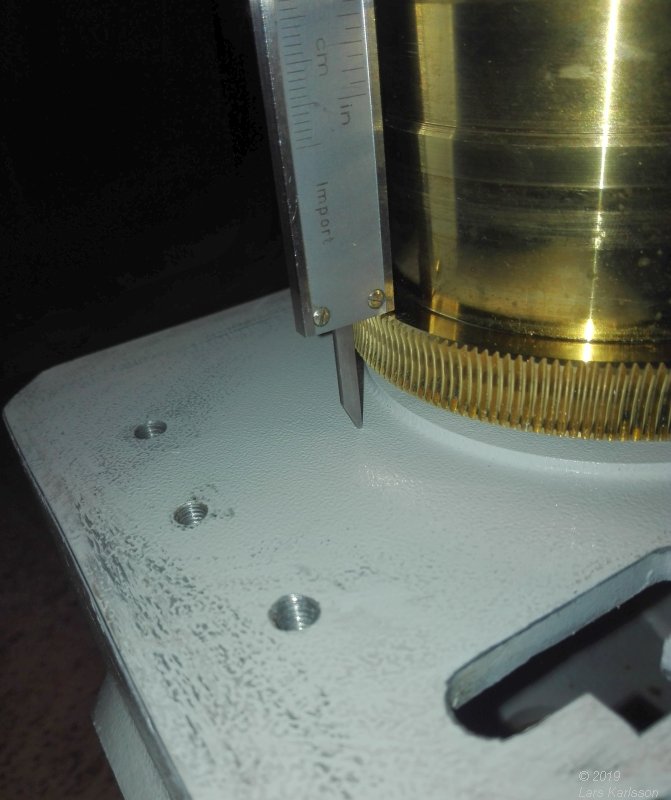
Now I measure the distance from top of the worm gear and down to the chassis. Hold the the tool straight, otherwise you introduce an error. 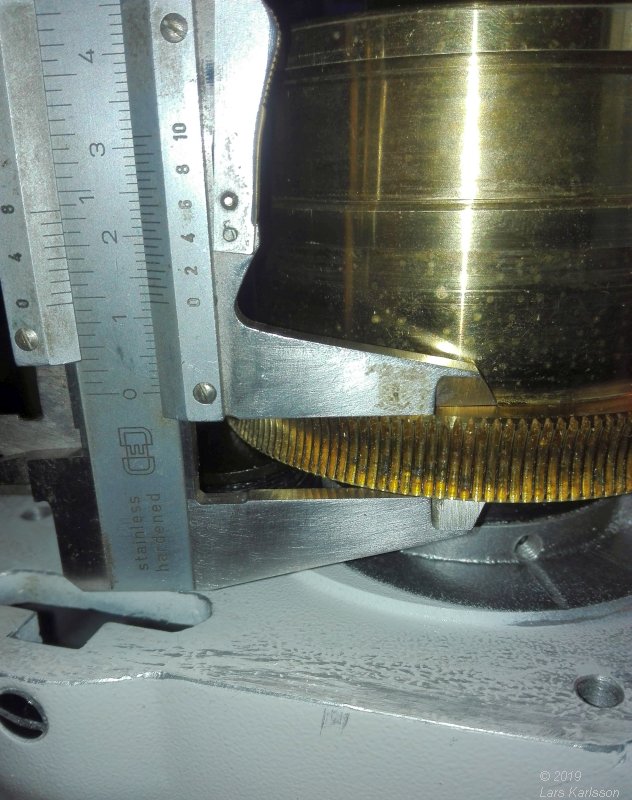
You also need the thickness of the worm gear. If possible, try to get 0.05 mm in precision, maybe better with a digital tool. |
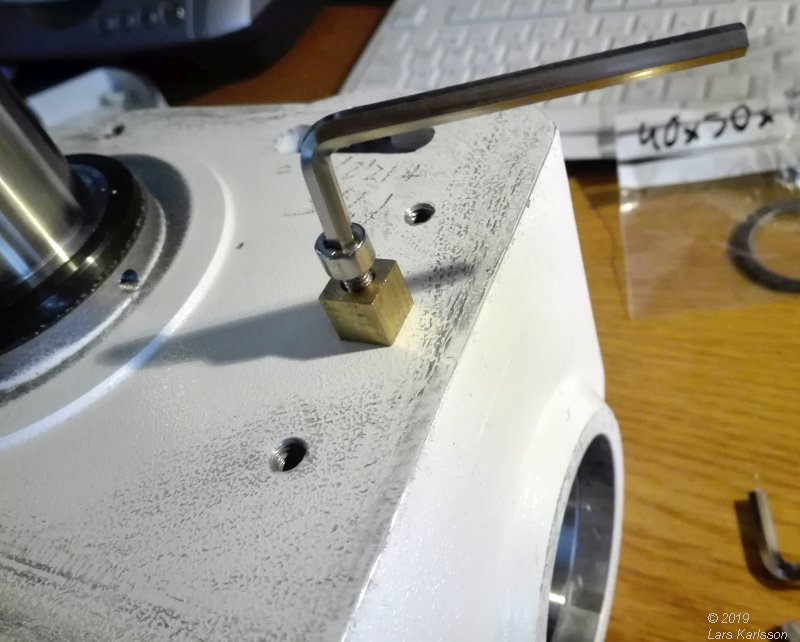
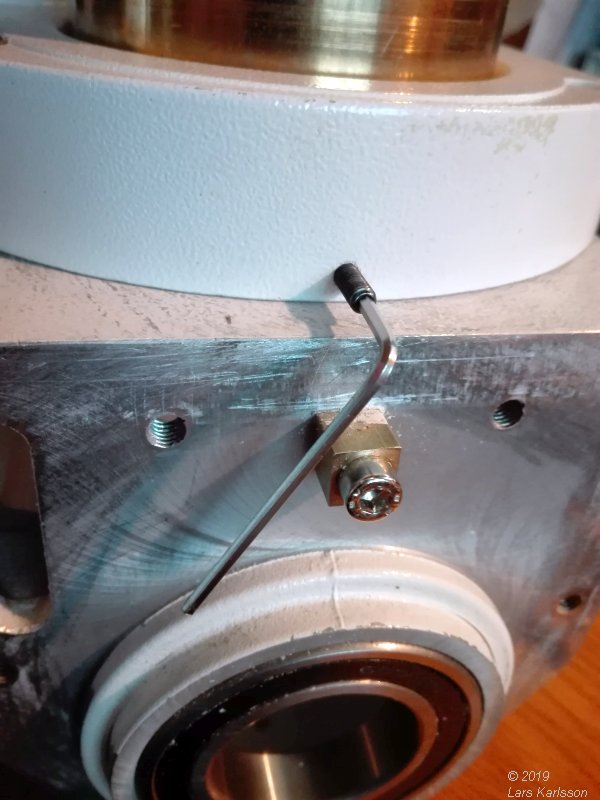
Assemble the stop for the adjusting of the worm drive's play against the worm gear. 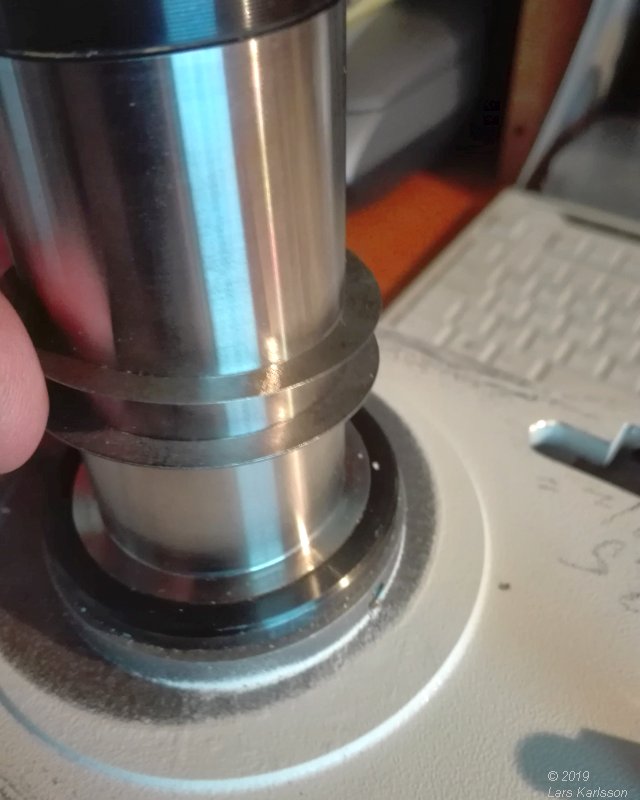
After I have done the calculation below I found that I need a 0.67 mm shim, I used one 0.5 mm and one 0.2 mm shim. Note that I use steel shims, I bought the dimension 40 x 50 mm, 0.1 mm, 0.2 mm and 0.5 mm thickness. I ordered them from England through Ebay, search for ScrewsCity (but wait until I have tested if it was a good idea to use steel shims). The original plastic shims didn't convince me, they are a bit elastic. If I need that I can put a plastic shim at the other end of the shaft where it doesn't introduce any error if it change its thickness. I don't put on any grease yet, just testing that everything fit. 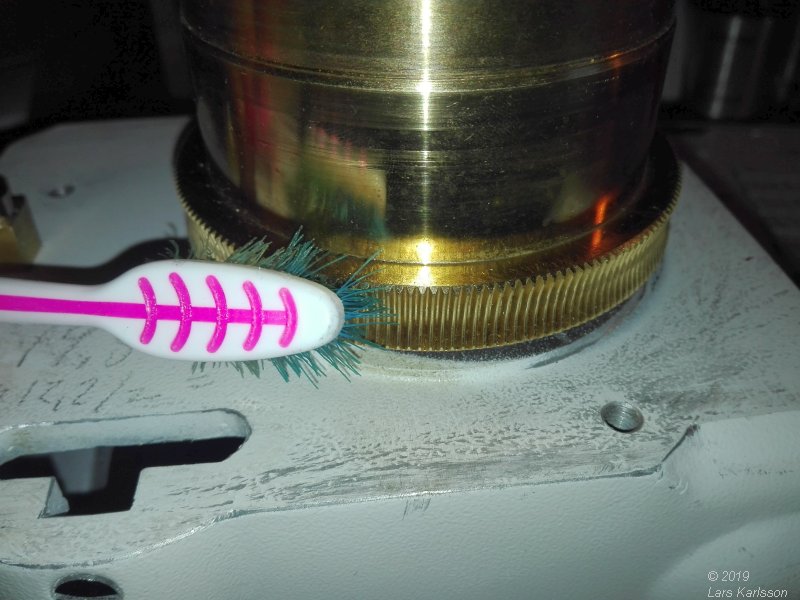
I saw I got some dirt on the worm gear teeth, clean them with tooth brush. 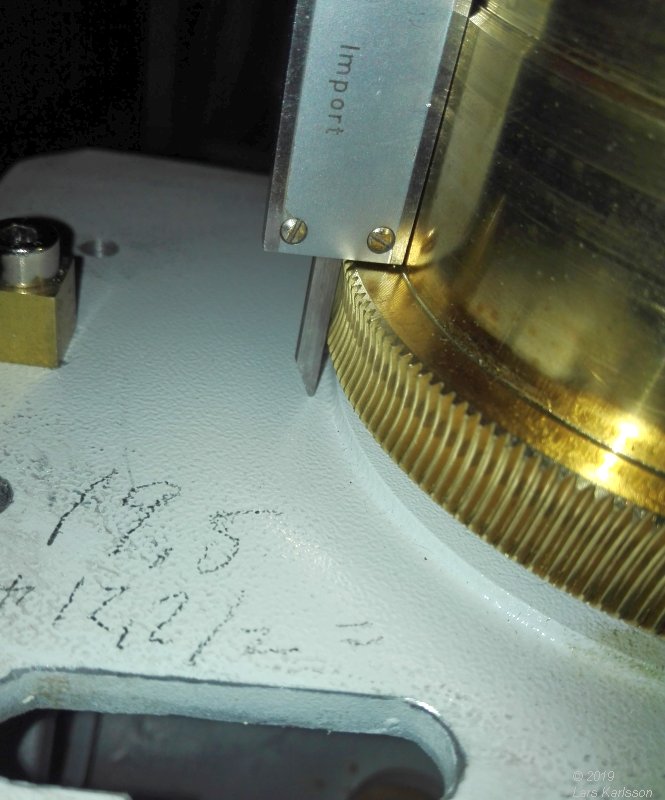
Checking that I got the correct distance after the shims was installed, perfect, the worm gear and the worm drive is on the same height. If you look at the worm gear you can see dark spots on the teeth. They are not in center because it has been installed with wrong distance, or it could be that the old plastic shims has been compressed and then got thinner. DEC shaft shims: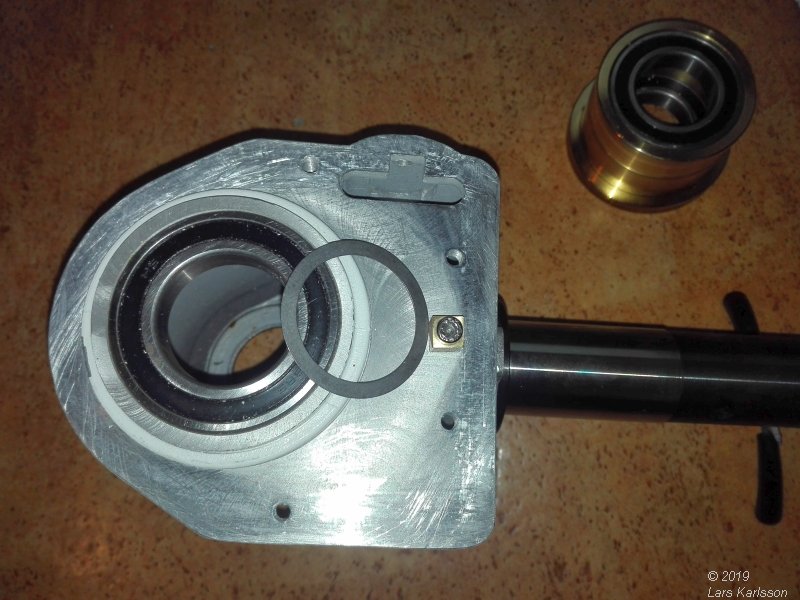
Now I redo the same procedure for the DEC shaft. I noted that I must have at least one 0.5 mm shim already from the beginning, otherwise the worm gear will not reach and touch the roller bearing inner ring's surface. I don't need to install the DEC shaft to do this measurement. 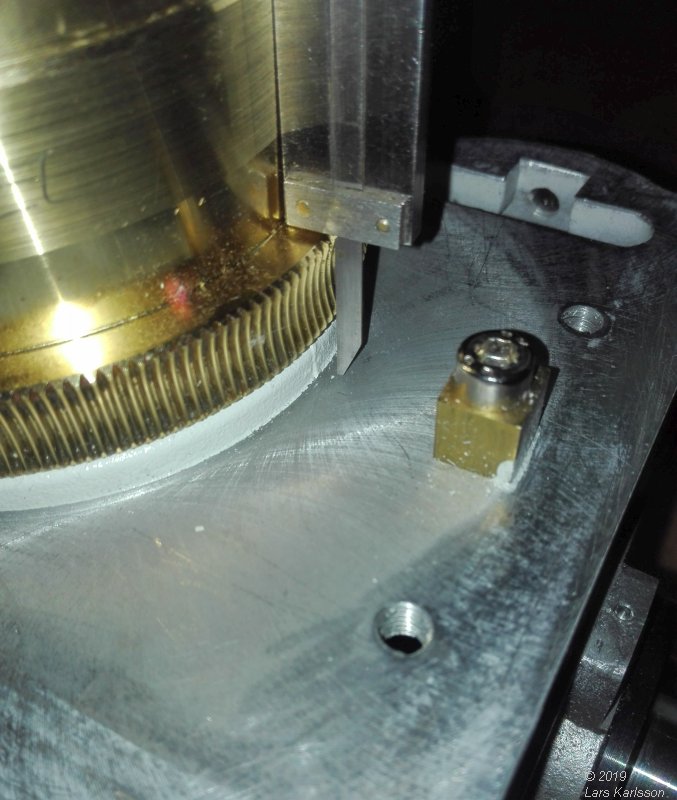
Measure the distance, don't forget to subtract the 0.5 mm shim that was added temporary above. 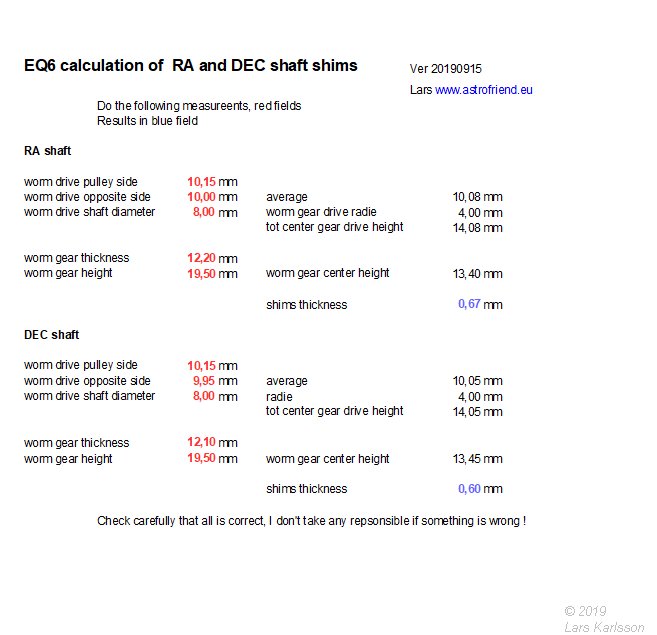
This is the excel sheet I had created as a help with the calculations. If you find it useful you can download it here:
Note, you download and use this file on your own risk, I don't take any responsible ! RA assembling and checking timing belt: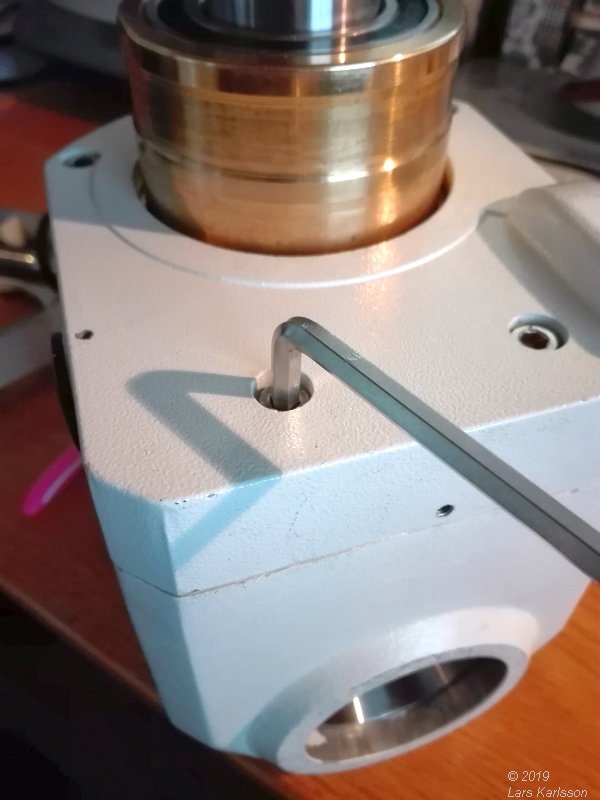
Next thing to do is to check if I have the correct length of the timing belts. I start with RA timing belt. Tight the lid with the screws but only loose. |
The Allen screws that adjust the play between the worm gear and the worm drive. 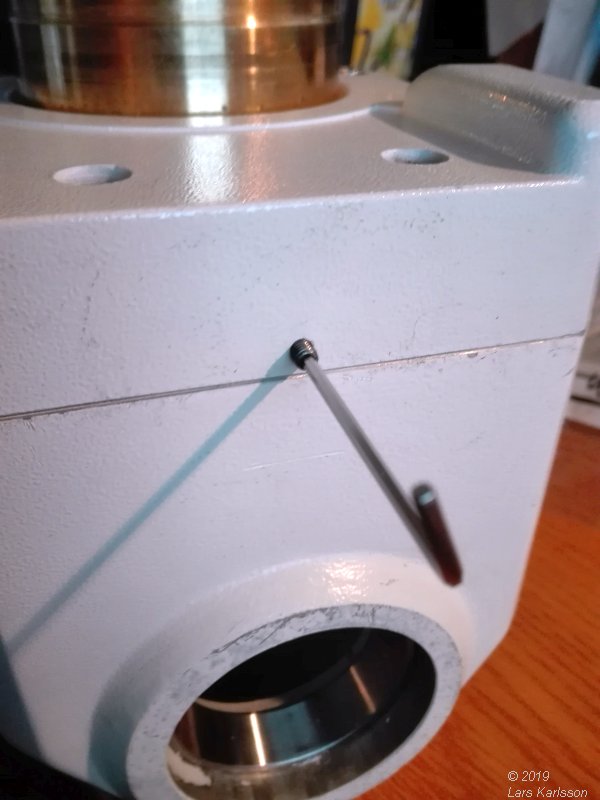
The are two of them, one on each side. They move the lid sideway which the worm drive is mounted on. I adjust them to get minimal play and then tight the lid's top screws. 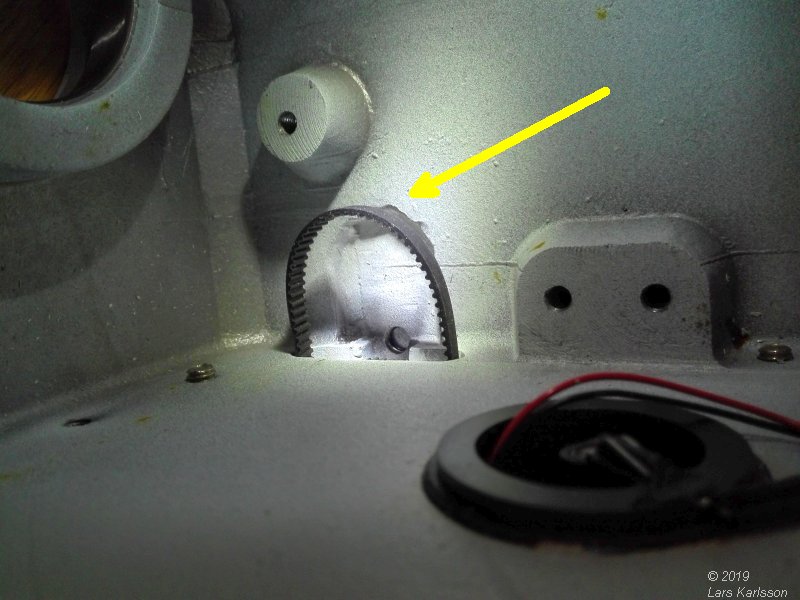
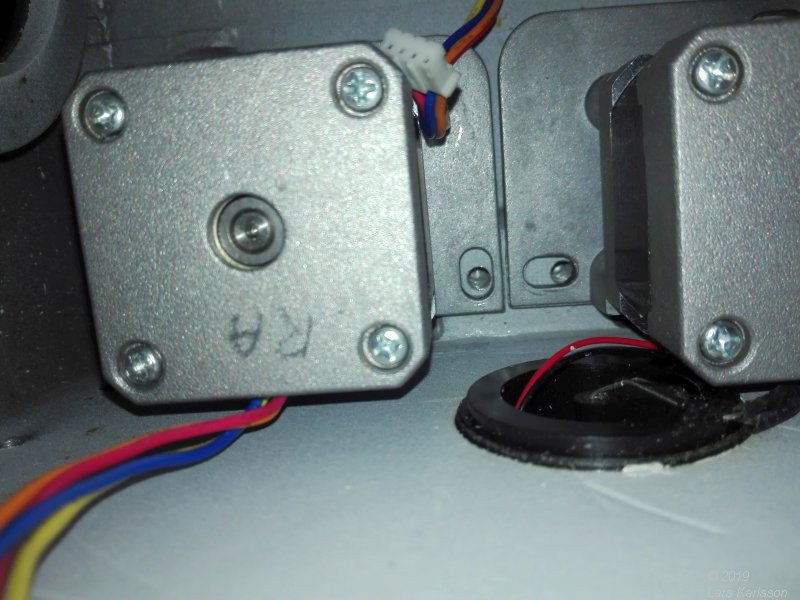
The timing belt, this is the end that shall connect to the stepper motor. This will be difficult because when the stepper motor is installed it block the view and then you don't know what you are doing. 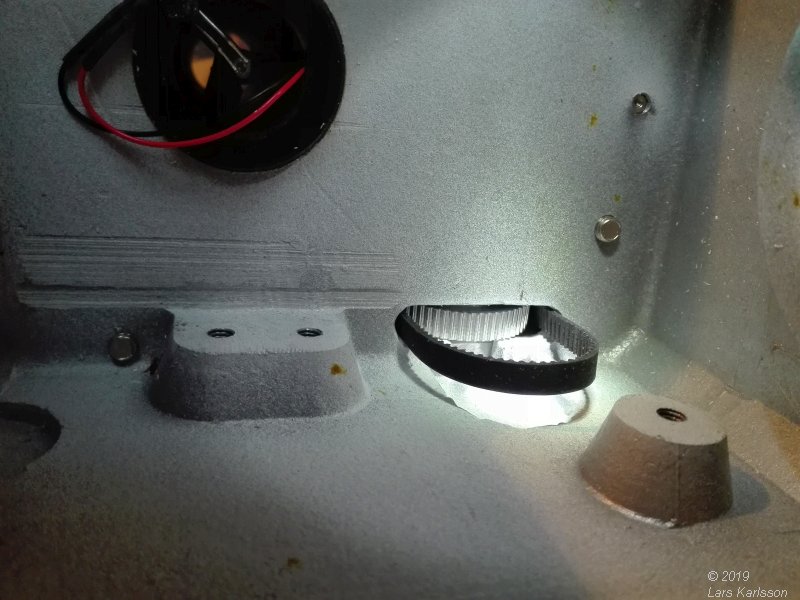
View from another angle. 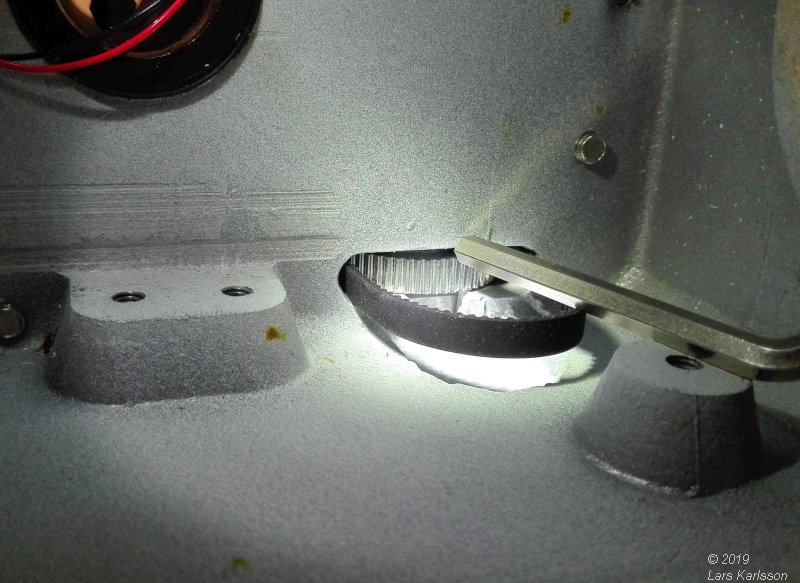
I now see that I have to move the timing pulley on the worm drive shaft. To get clear from the chassis I need to make a bigger opening. 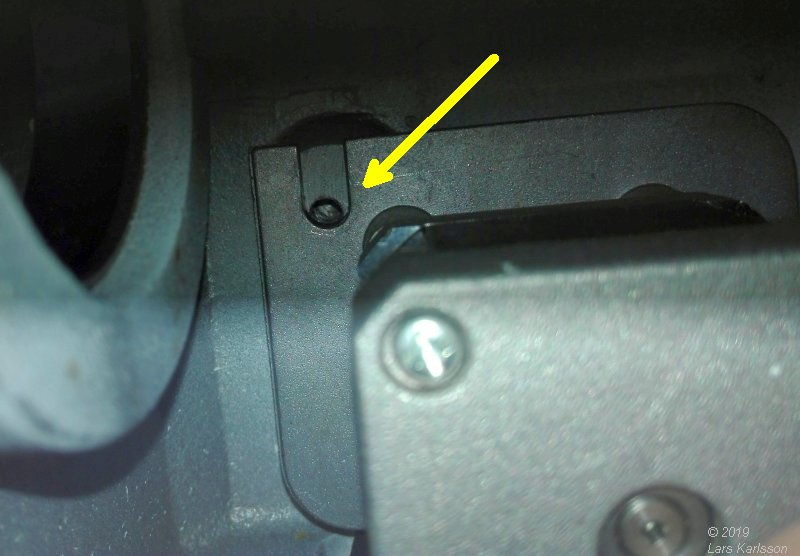
The tension of the timing belt is adjusted by moving the stepper motor with its bracket. It was very difficult to measure how long length that was needed. It should also had been 5 mm shorter compare to what I ordered, but it came in sizes with 10 mm steps. As seen from the photo above I need to increase the length of the hole about 5 mm. DEC assembling and timing belt check: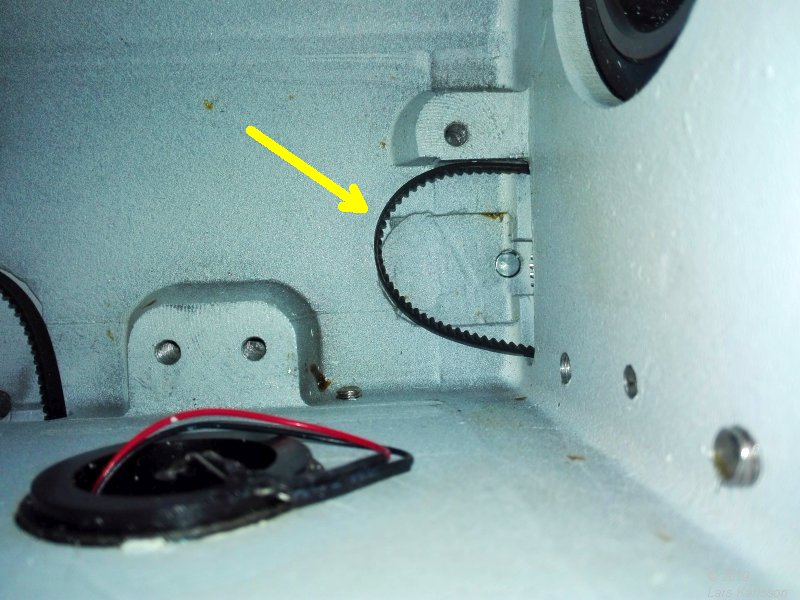
I now check if I have a similar problem with the DEC timing belt. 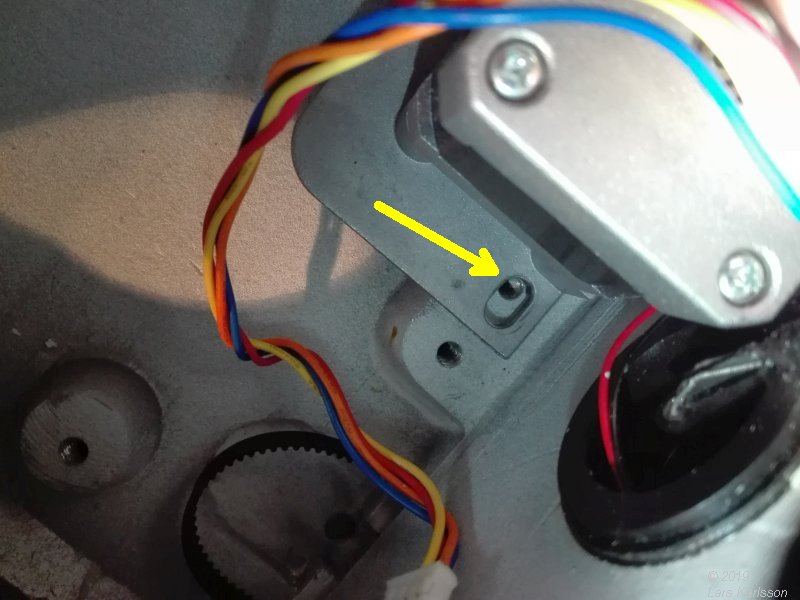
Not that big problem but still have to grind up the hole, about 3 mm. |
Checking with both motors in place if it's space enough around them. Maybe I have to cut one or two mm on the bracket that holds the DEC motor. Machining work to do: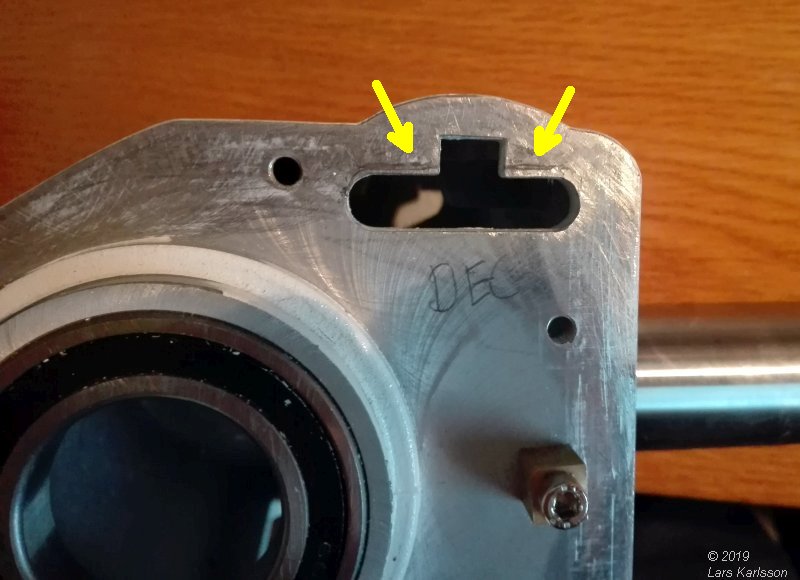
The DEC timing belt opening that has to be widen to get more space for the timing belt. Note how I have polished the surface from paint and big scratches. It didn't look very nice from the beginning. 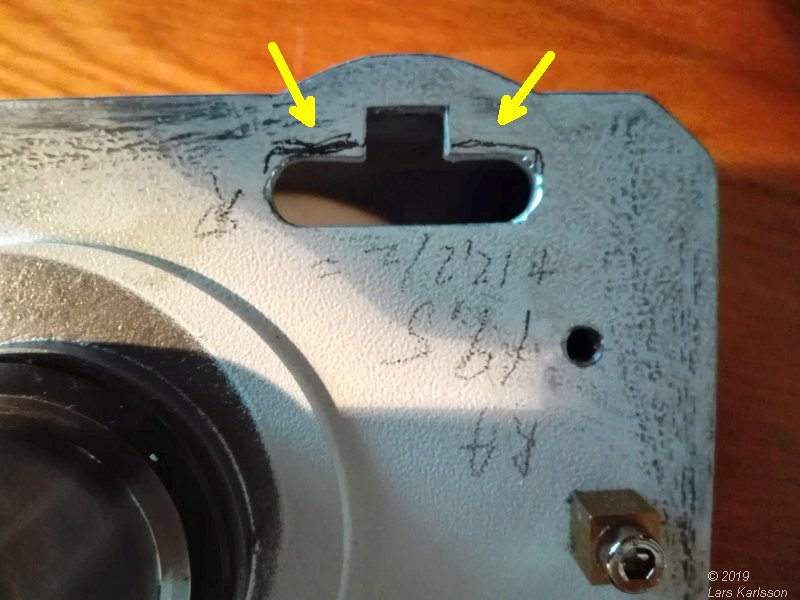
The RA timing belt opening. This surface is very rough, I didn't have a lathe big enough to do machining on the surface. 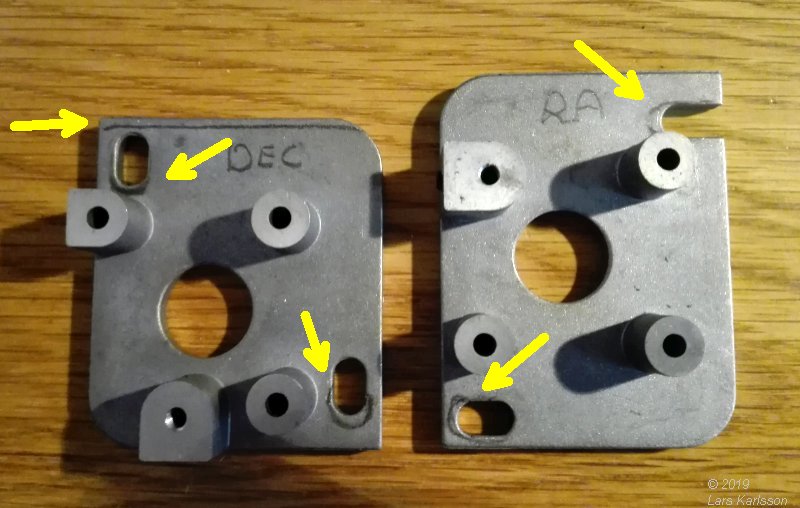
The brackets for the motors that I also need to machining the holes and the edge, just a few mm. Note: I don't destroy anything, it can still be rebuilt with the original spur gears.
|
|