|
Advertisement / Annons: |
My astronomy project:
|
Contents:
Related projects:
Note: |
11, Installing DEC timing belt and RA shaft into chassi:Installing DEC timing belts: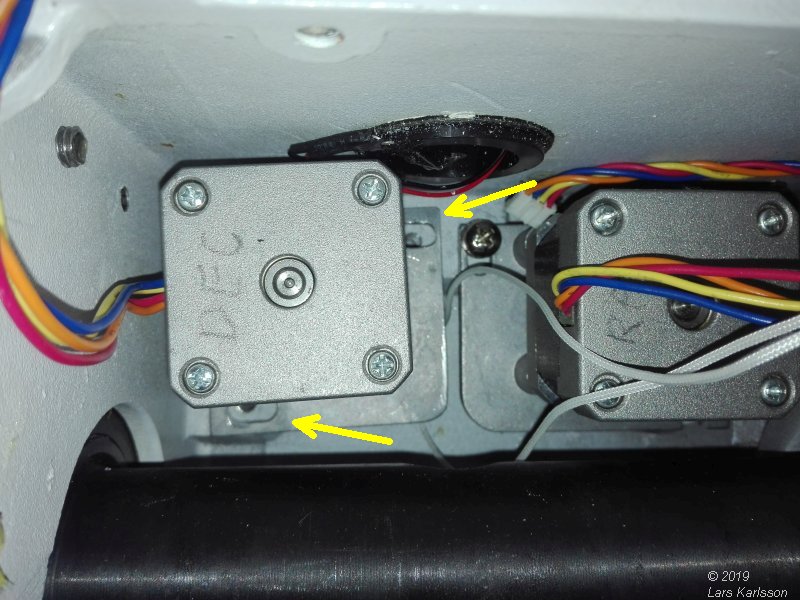
It's difficult to get the timing belt over the pulley, I use the small rope trick again. The mounting holes has enough marginal to set the belt under tension. 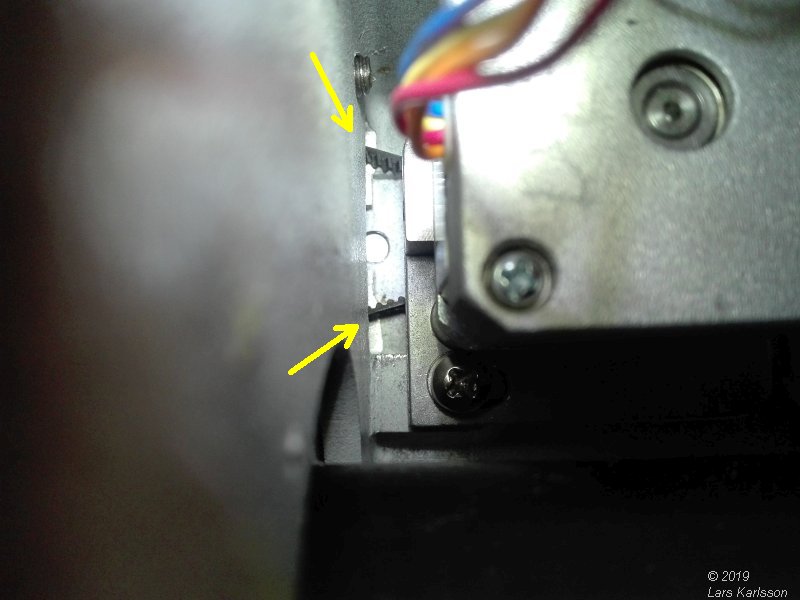
I have to rotate the big pulley at least on half revolution to be sure all teeth has griped in. It's difficult to do now, have to wait until I have the stepper motor running. Installing RA shaft:
I found it easiest to install the DEC shaft when the chassis sit on the tripod. 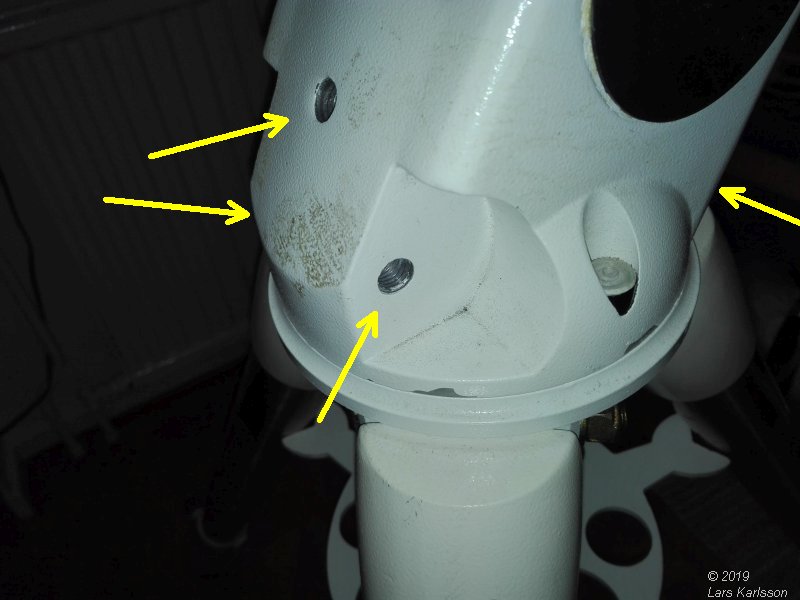
I have all four locking screws taken out, my idea was to rebuild this non working latitude adjusting for us living at Northern, +60 degree. But no time left for this, take a new grip on it next year. 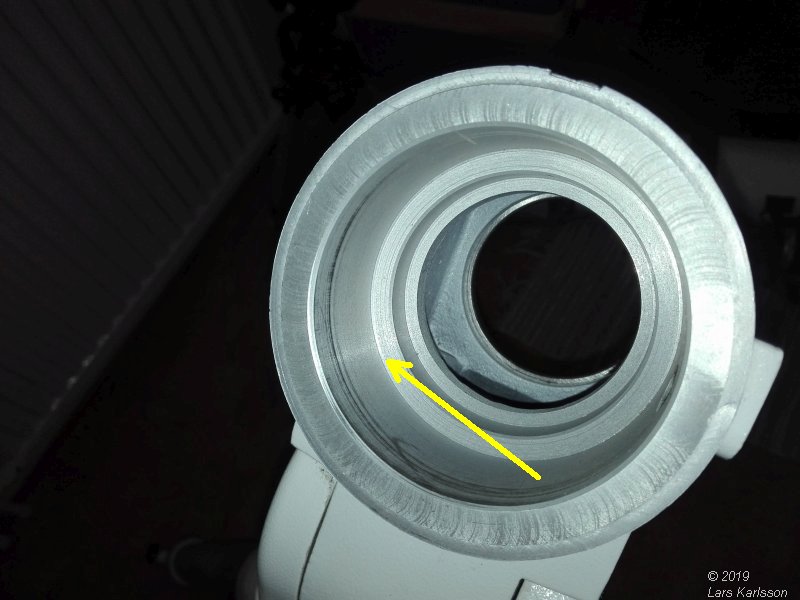
The upper RA roller bearing sit with its top in level with this edge. All the surfaces where the roller bearing rest on must be clean from dirt, otherwise it will not set down properly which cause an angle. 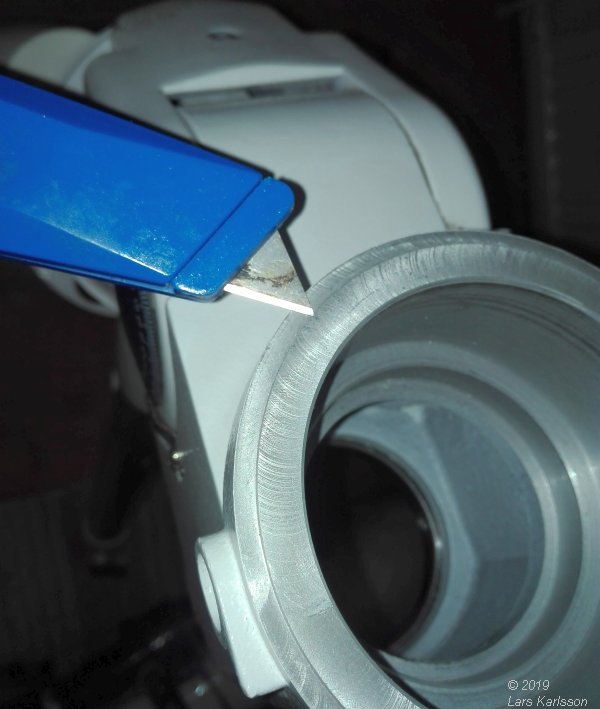
Now I will not do the same mistake as I did with the DEC scale, get this edge free from dirt and paint. 
Hole for the RA coupling and its locking screw. Don't forget to mount the little "washer" that the screw act on, before installing the RA shaft ! Later when everything was assembled I noticed I still have a high friction when the clutch is open. I think it has something to do with this, maybe the brass worm gear is to close to the walls here. 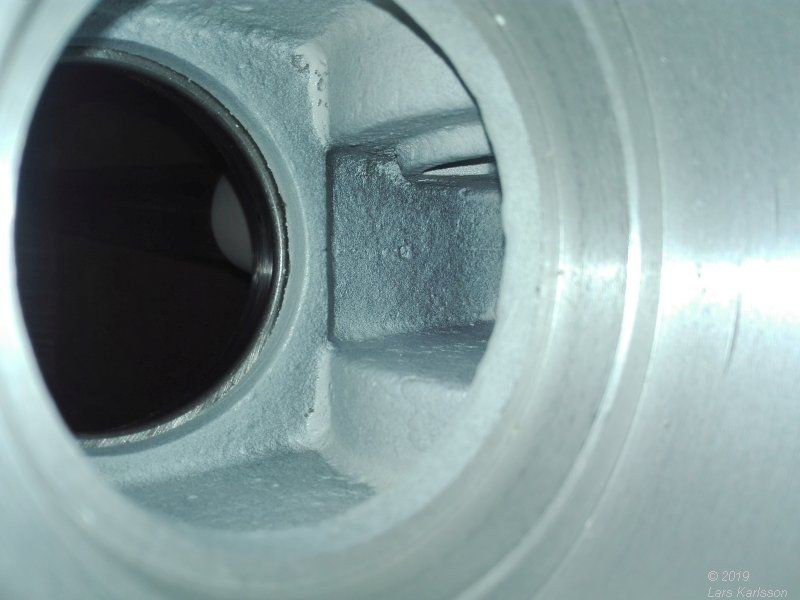
A look inside the chassis. |
But how shall I start, where shall I install the upper roller bearing, on the shaft or on the chassis ? 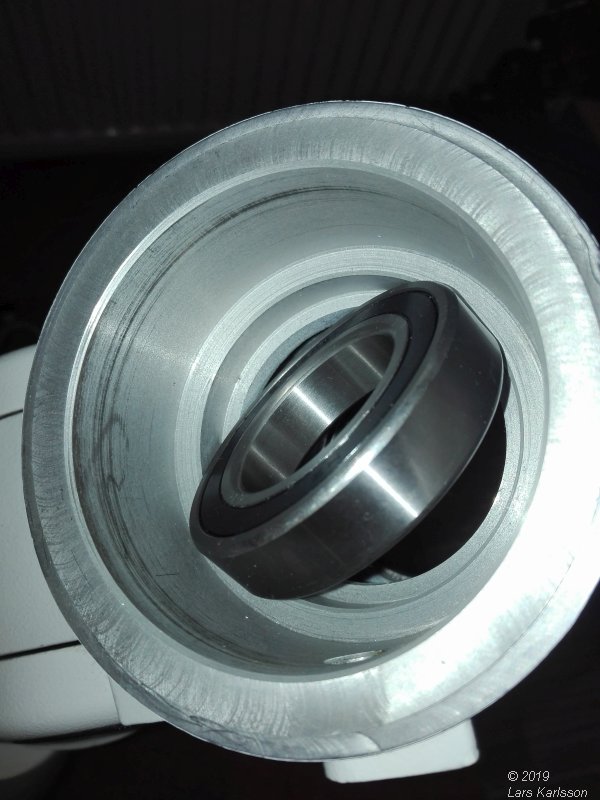
I think it's better to install it in the chassis first because it's made of soft metal, aluminum. 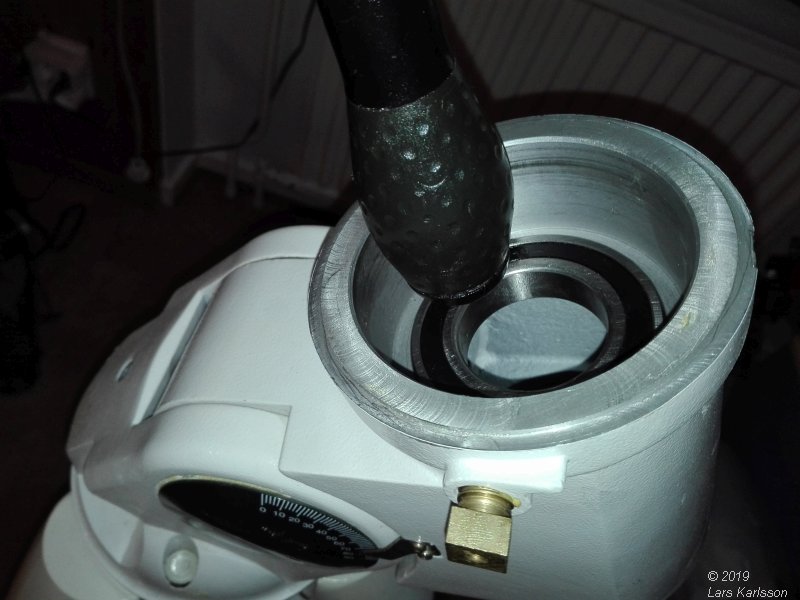
Mounting the roller bearing, if fit in correct angle it's almost fall in place. I couldn't make it that easy, but with a plastic or wooden hammer and with very very light taps and rotating around the roller bearing I got it in place. Tap on the outer ring. If it resist to go in, stop and take it out. Check that there is no damage on the surfaces. Start again, I say it again, it must come in at exact correct angle. 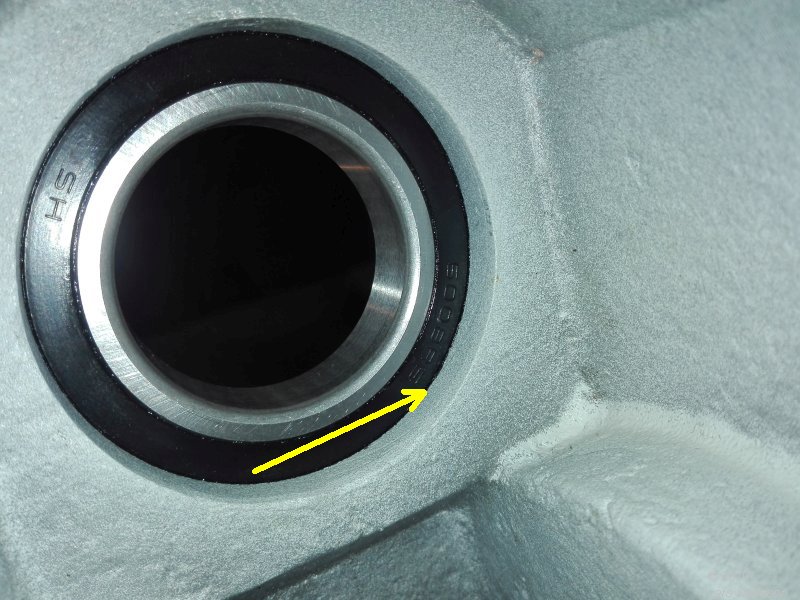
Check carefully from the backside that the roller bearing is all the way in. Don't be surprised if it fall out by itself. 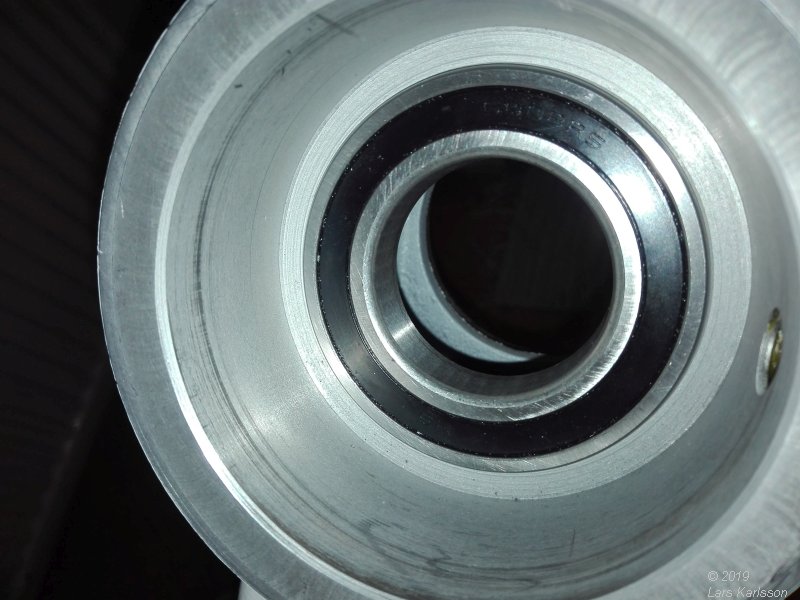
Top view when the roller bearing is in correct place. Install the lower DEC shim: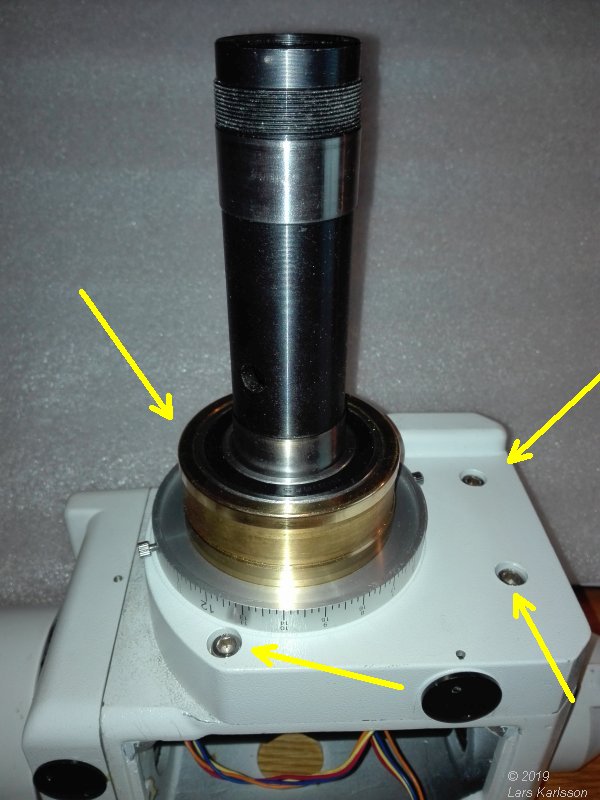
Now I shall install the lower shim, that shim controls the gap between the RA hour scale and the chassis. When I did it for the DEC scale I needed to take it apart three times. I shall now try to do a measure to find what thickness I need on the shim. First I tight the four screws that hold the DEC lid to the chassi. Check carefully that you have the RA hour scale in correct orientation. It will be a lot of extra job if you get it wrong and have to correct it later. 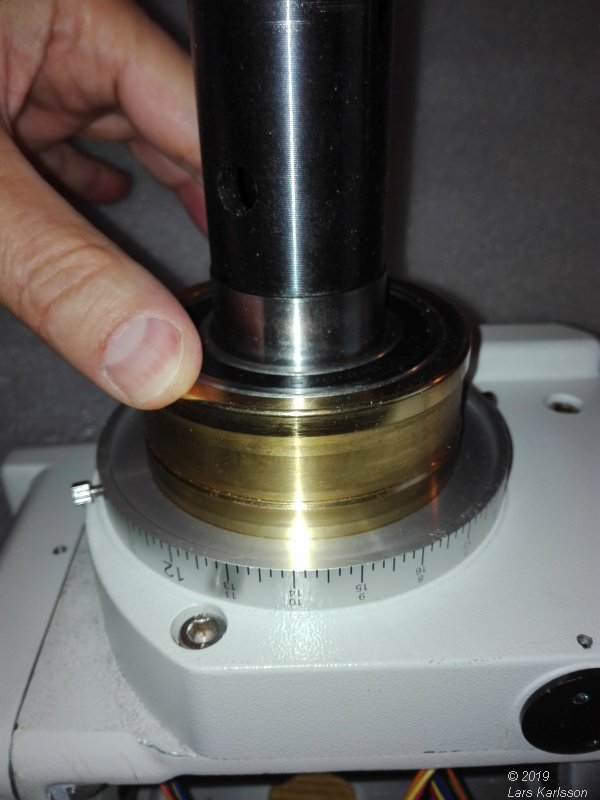
Then I push down the worm gear. 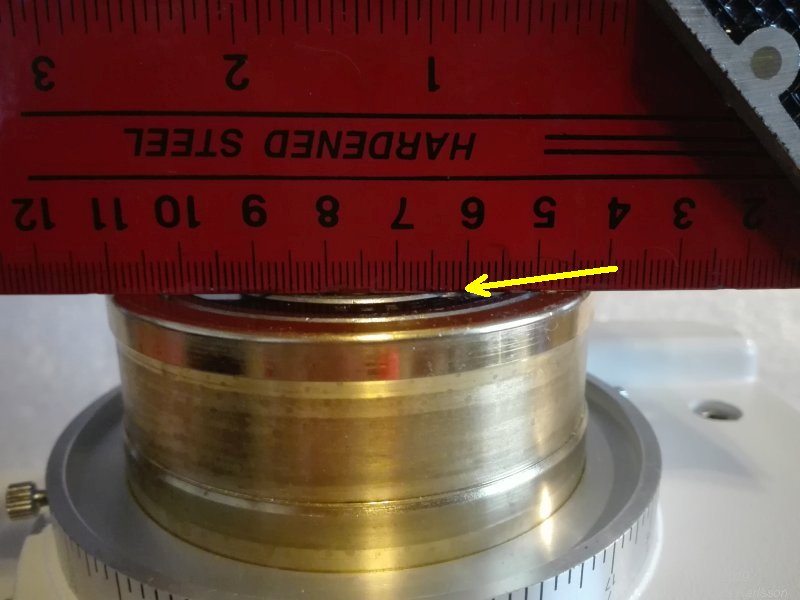
With a steel ruler I check that the inner ring of the roller bearing reach all the way up. If not I can place a shim here already now, and subtract the thickness later. 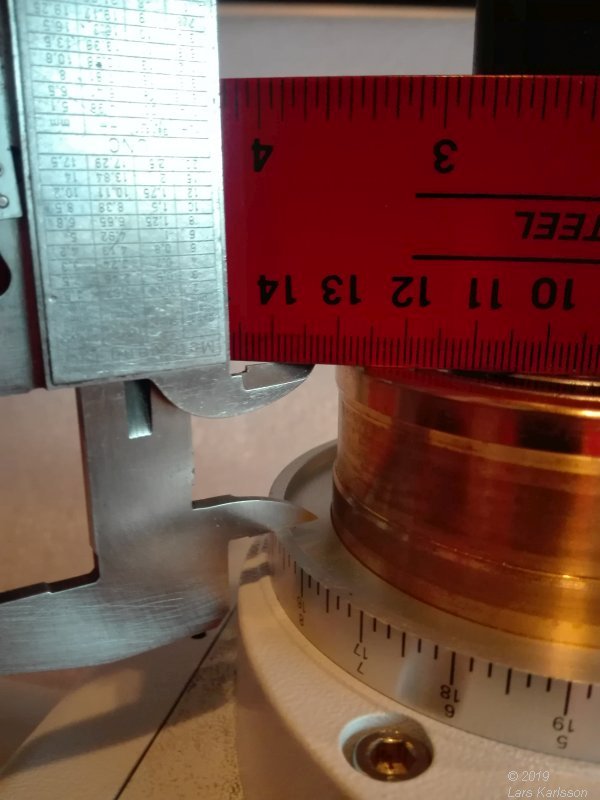
I got the distance to 28.95 mm. |
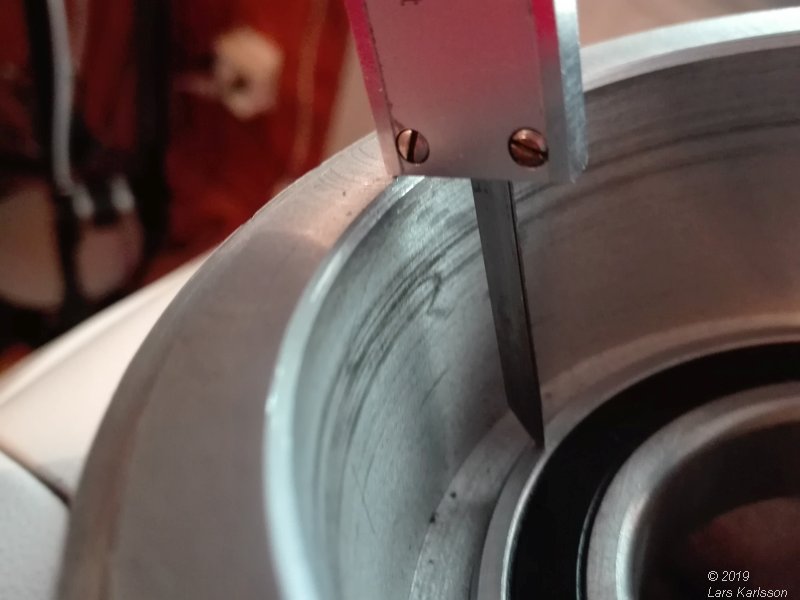
When I measure the depth where the roller bearing sit I got it to 30.85 mm. With a more proper tool you can measure to the roller bearings inner ring and get it more correct. 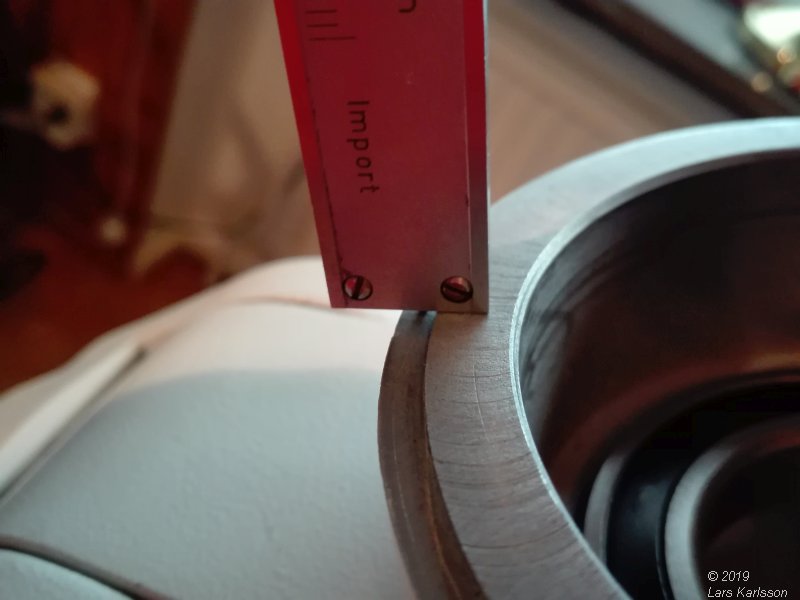
And last I measure the depth of the edge, I got it to 1.65 mm. 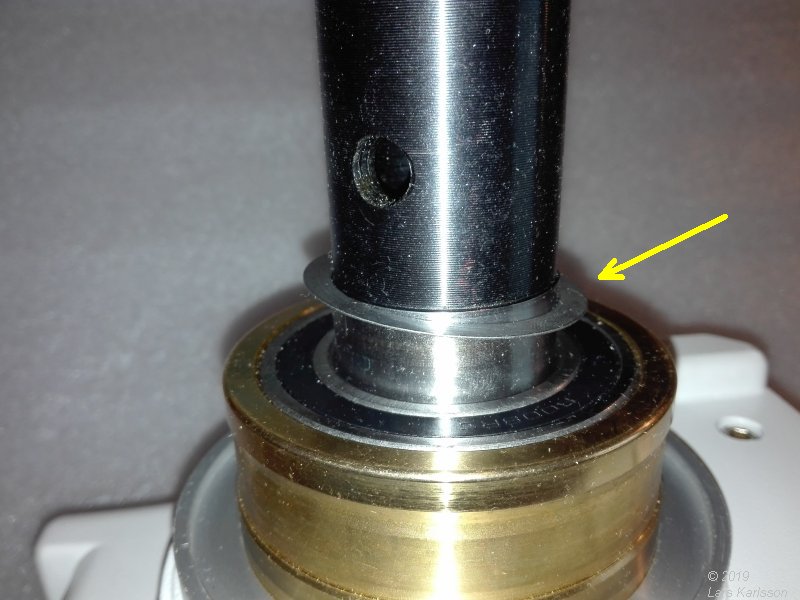
With these distances I measured I can calculated the needed thickness of the shim. 30.85 - 1.65 - 28.95 = 0.25 mm I add 0.25 mm to have some more play. Here I install a 0.5 mm shim. 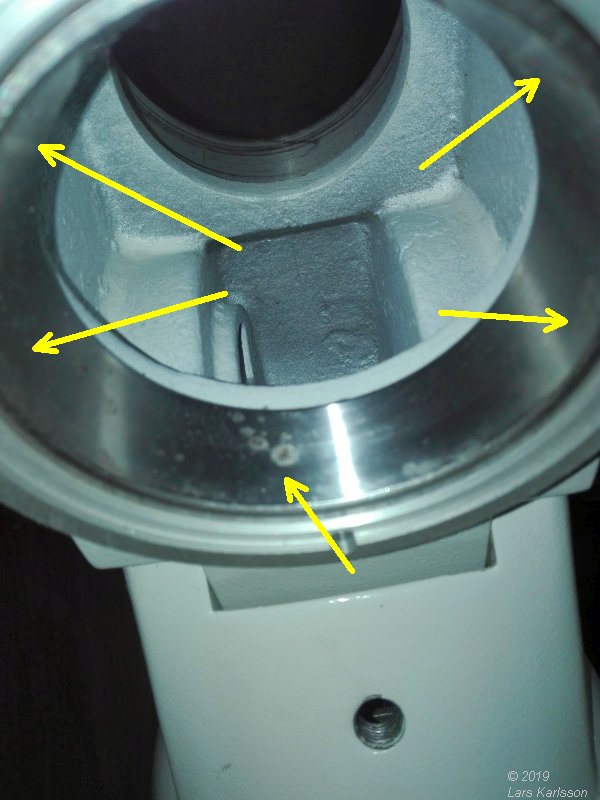
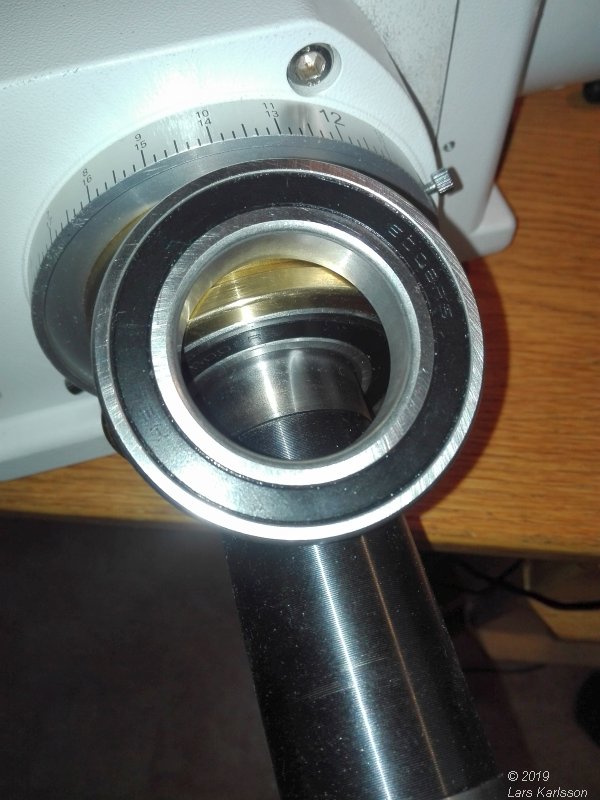
Before I put in the RA shaft in the chassis I must prepare the lower RA tapered ball bearing. As usual clean the surfaces and looking for any damage. If okay which it was in my case I put in the RA shaft, it can be tricky to have it through the upper roller bearing, in my case I just needed to push it in. 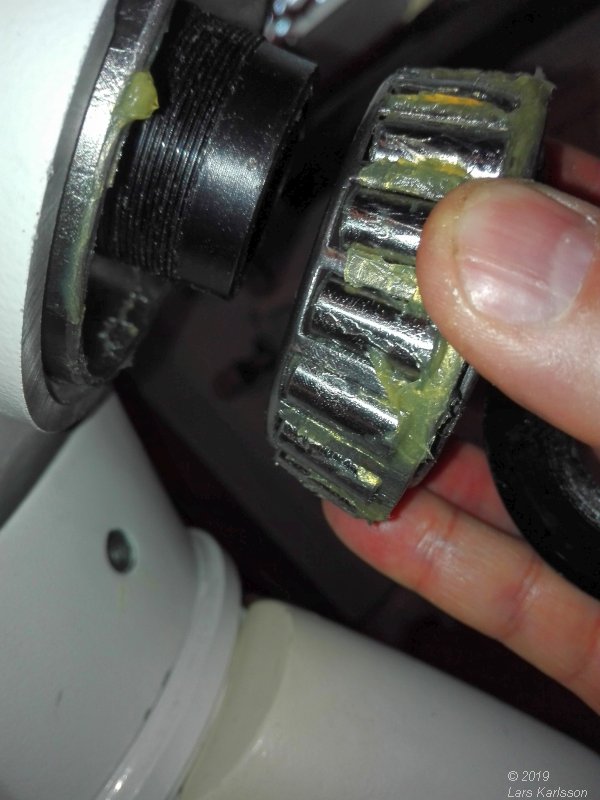
After cleaning the tapered ball bearing and put on new fresh grease I mounted it together, don't forget to have some grease on the shaft too. Even this can be challenging, you must have it exactly straight on to get it in place. Use protection gloves ! 
When you have pushed in the tapered ball bearing and have about 10 mm free thread you can screw on the big locking nut. Now when testing if the shim has correct thickness, just turn it by hand until it takes stop. Can you still rotate the timing scale when unlocked ? If not you have to add a thicker shim. I had to take it apart once, I added 0.2 mm, in total I now have 0.7 mm shims, the other upper shim is till 0.7 mm, both on RA shaft. 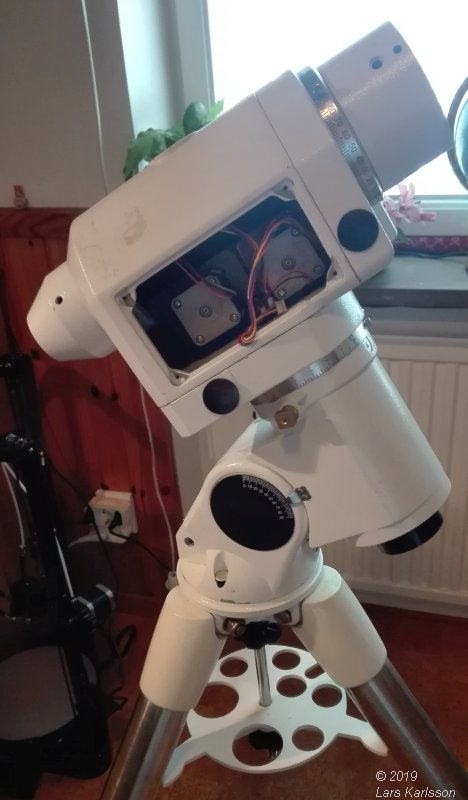
What a nice look, it was long time ago since I saw my mount like this. But there is still a lot of work left. I must start up the stepper motors and adjust the tension of the timing belts. I must also do a new setup of EQMOD because I have now changed the gear ratio. The hand terminal is not possible to use anymore, it don't accept different gear ratios, never used it anyway.
|
|