|
Advertisement / Annons: |
My astronomy project:
|
Contents:
Related projects:
Note: |
7, Installing 60 teeth pulleys:Now the fun starts, installing the new items and assembling the mount. 60 teeth pulley: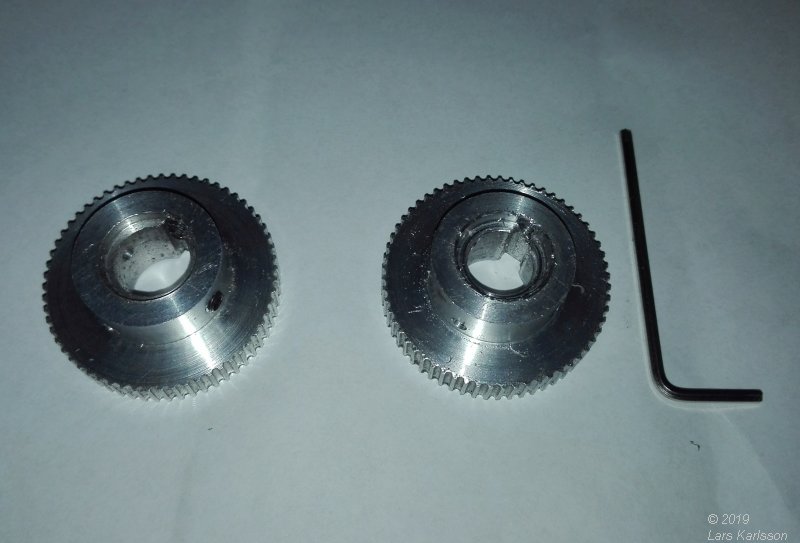
I needed to do some fine adjustment of the pulleys to get them to fit. 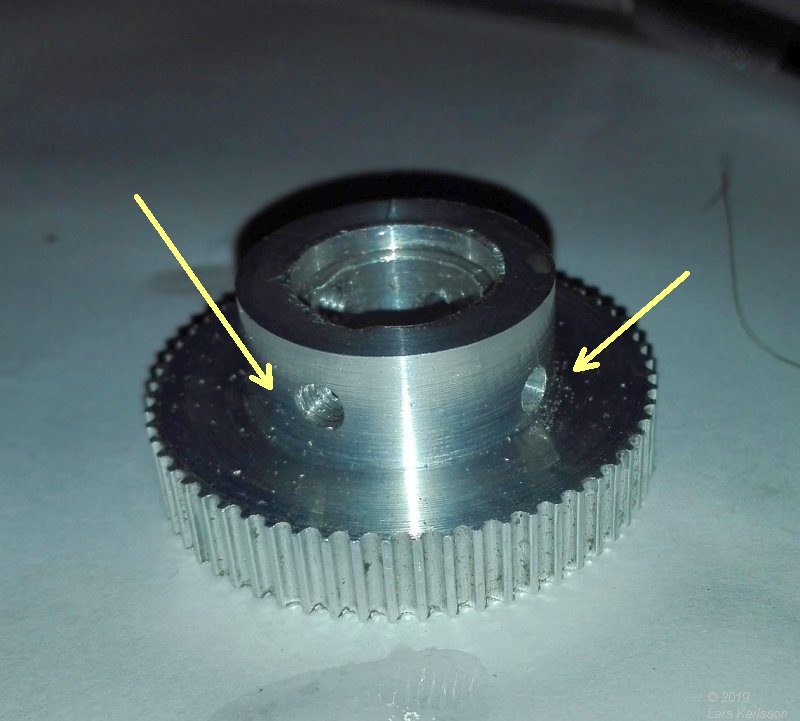
First I have to move the holes to the lock screws. The old to the left and the new hole to the right, drilled a 3.2 mm hole as close as I can get to the teeth, 2.2 mm. 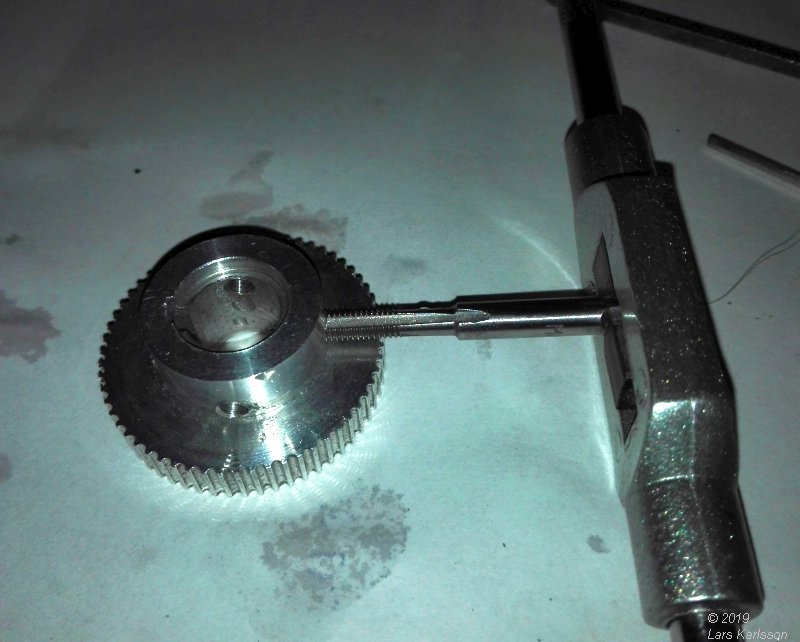
Threaded the holes to M4. It's very easy to break off the threaded pin when working in aluminum, take it slowly and use some liquid to cool and grease. One quarter turn in and then half turn out and so on. 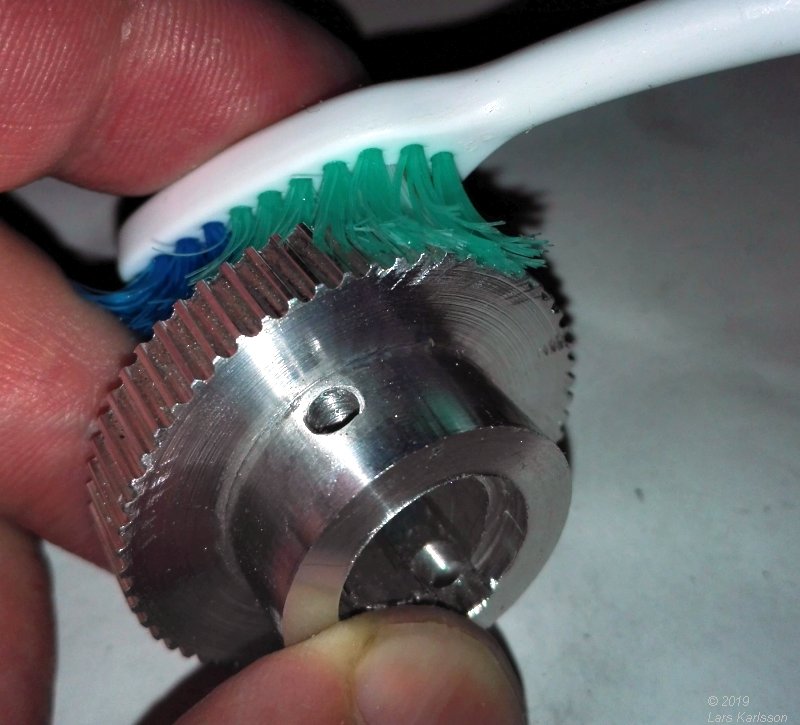
It's important to clean the pulleys after the machining, an old toothbrush and a knife. 
I also had open the 12 mm hole to 14.3 mm on the inlet side, 2 mm deep, the shaft from worm gear drive will sunk in here. With a lot of help from my friend we got it to correct dimension in the milling machine. 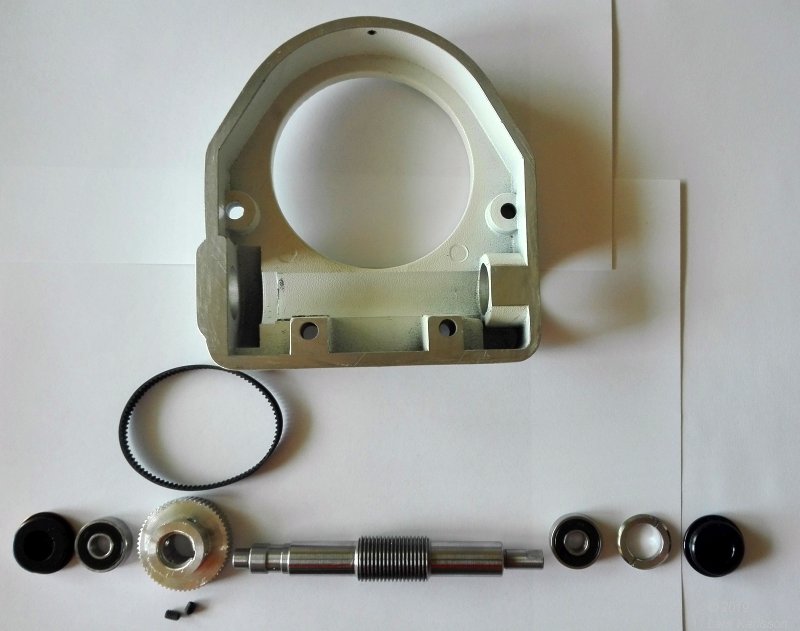
DEC lid that hold the worm drive. All items that's needed. New roller bearings from Swedish SKF (Svenska Kullager Fabriken). 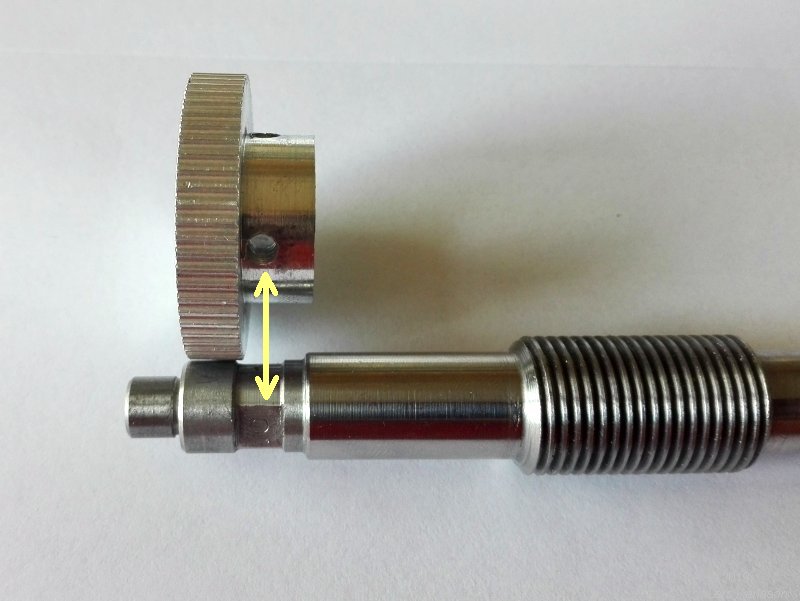
The new drilled hole for the stop screw is now aligned with the groove of the shaft. Mounting the worm gear drive in the lid:
The new timing pulleys takes more space then the old spur gears. I have to grind away some material here after the casting to have the timing pulley to rotate freely. |
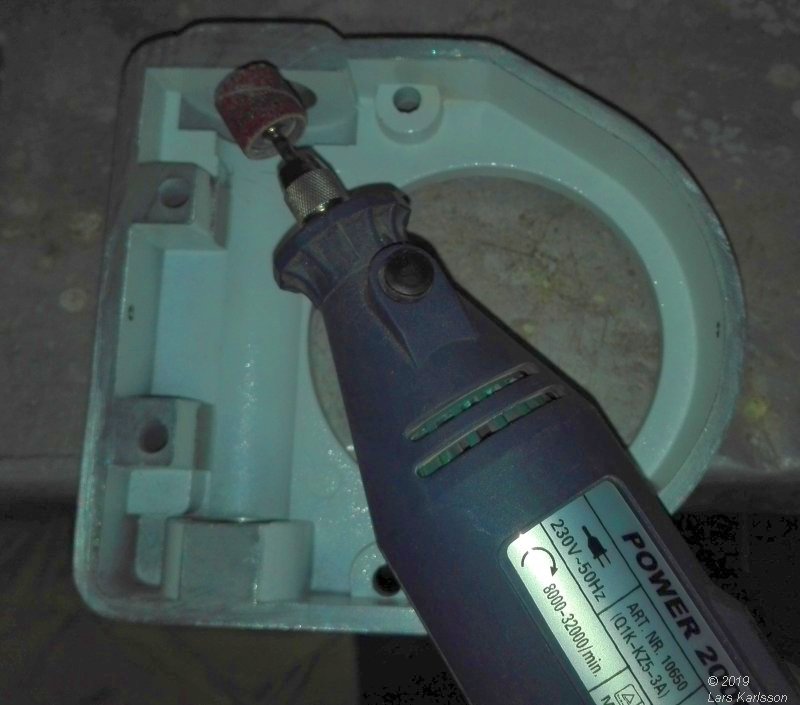
I used the Dremel machine to do this, didn't take many minutes. 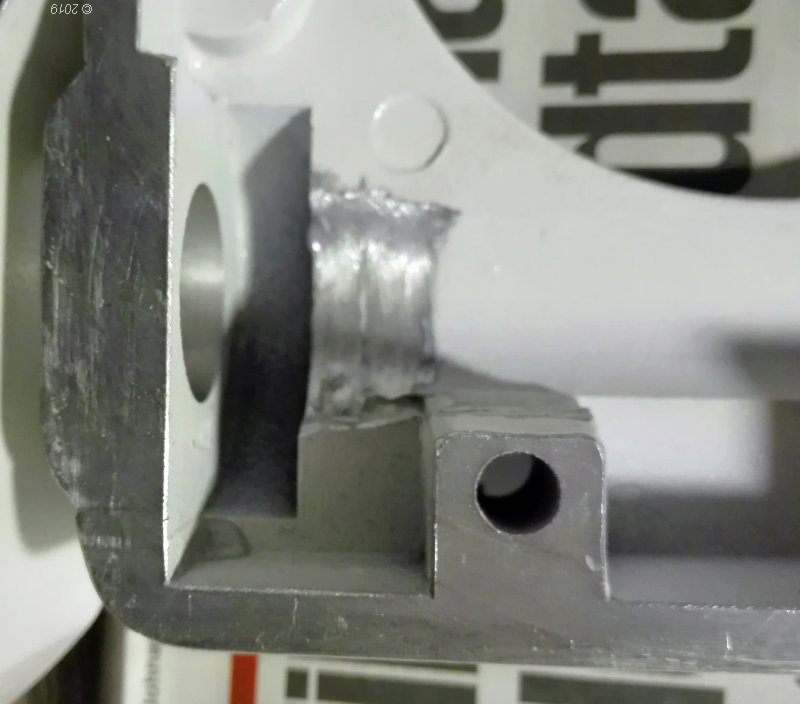
This is how it looks after I grinded the DEC lid. 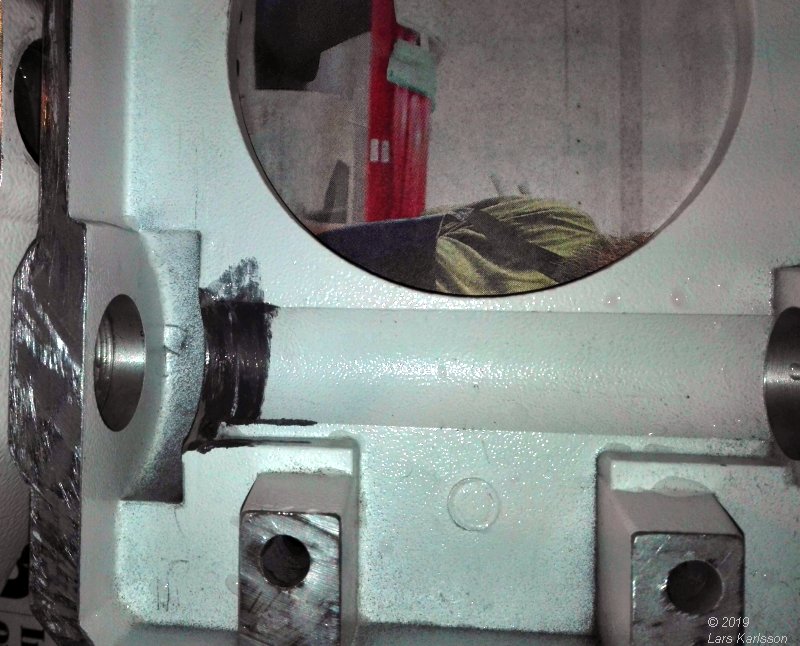
I had to do the same on the RA lid, but it wasn't enough, I have to redo this and grind away more material later. 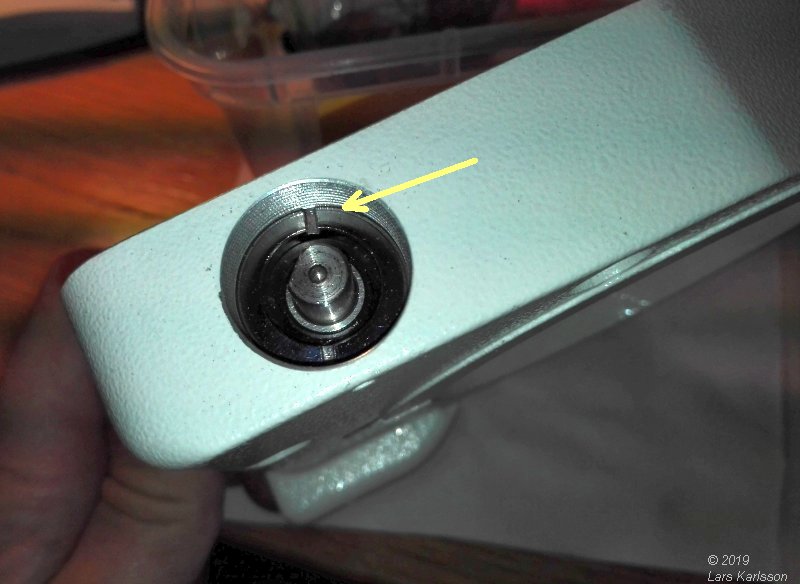
This is the locking ring which set axial play on the shaft and roller bearings. I set some extra force on it when I adjust the position of the timing pulley. Will loosen it later, but there is a problem here. When I adjust it indoors and later take it outdoors in the cold it can block the shaft from moving. Maybe I can modify it with some spring, can be as easy as an O-ring of rubber. This is something I can do later, easy accessible. 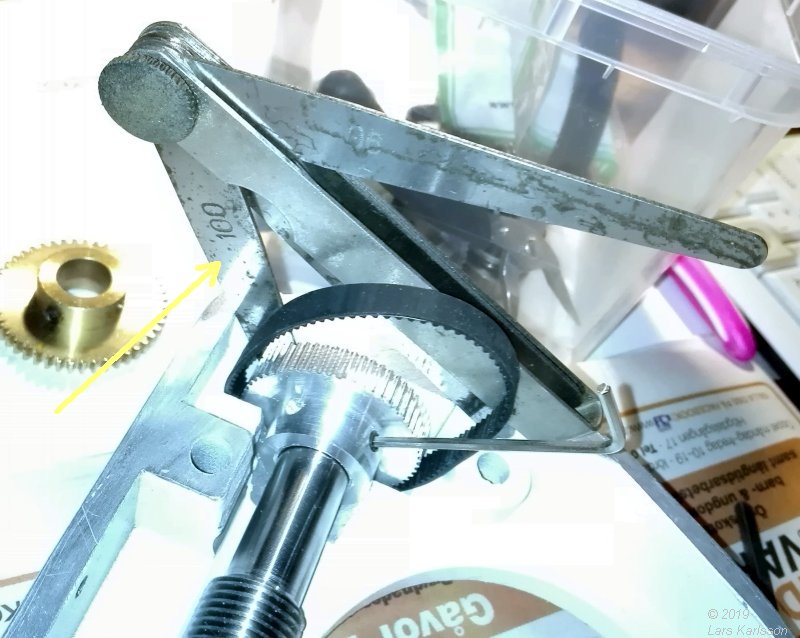
It's very hard to judge what distance I need between the timing pulley and the roller bearing, I start with 1 mm. I can adjust the distance from 0 to1.5 mm. 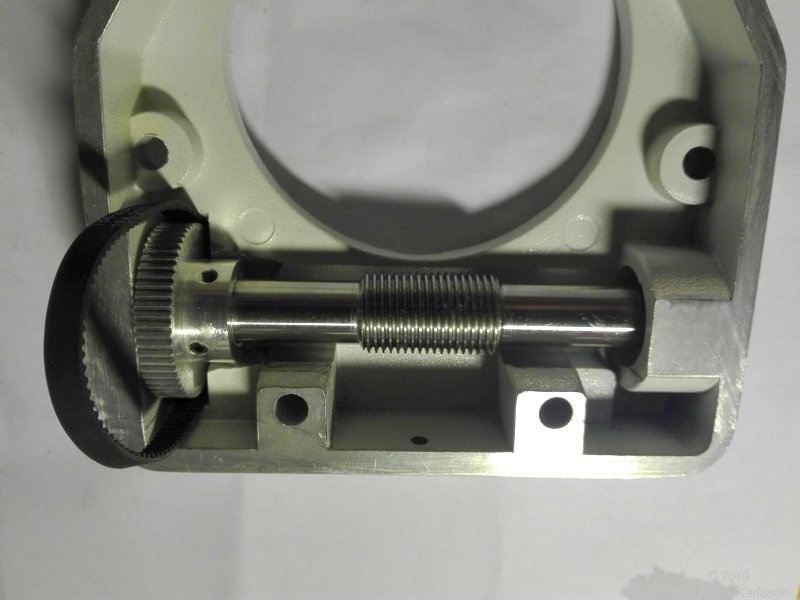
This feels very good, what a difference compare to the older spur gears. But a lot of work left to do. 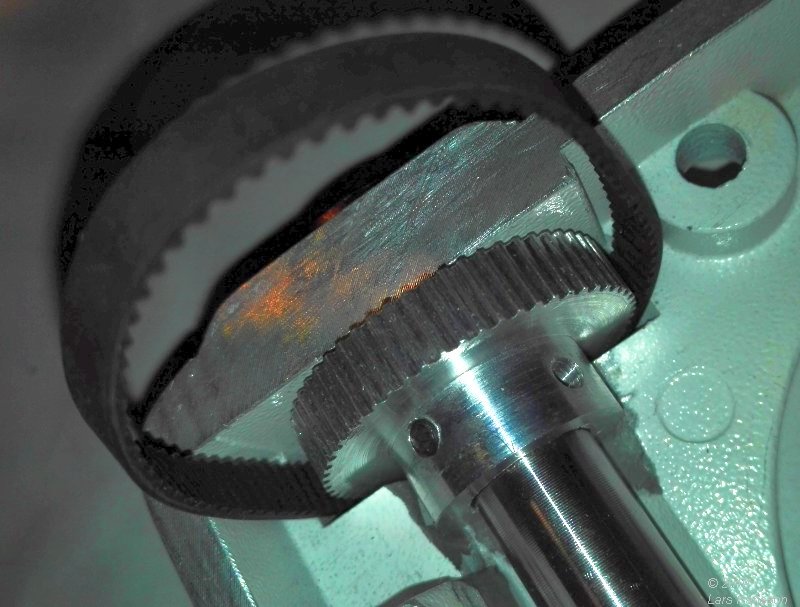
Close up of the timing pulley and the timing belt. Now I just wonder, if I had 3D printed the timing pulleys which is much easier (I think), will it had worked as good as this solution?
|
|