|
Advertisement / Annons: |
My astronomy project:
|
Contents:
Related projects:
Note: |
12, Testing and adjusting:Testing the friction:One of the reason to do this disassembling of the mount was that I had very high friction in both axis, I couldn't barely balance the telescope. 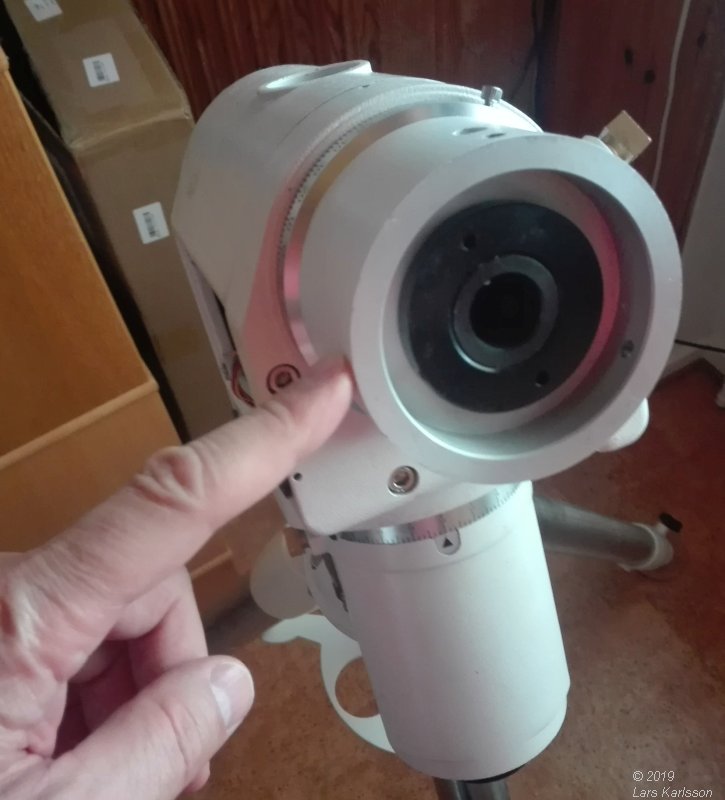
Even now after I had checked all roller bearings, cleaned it and put on new grease I can feel more friction than I expected. And the friction is not even the revolution around. How can it behave like that? 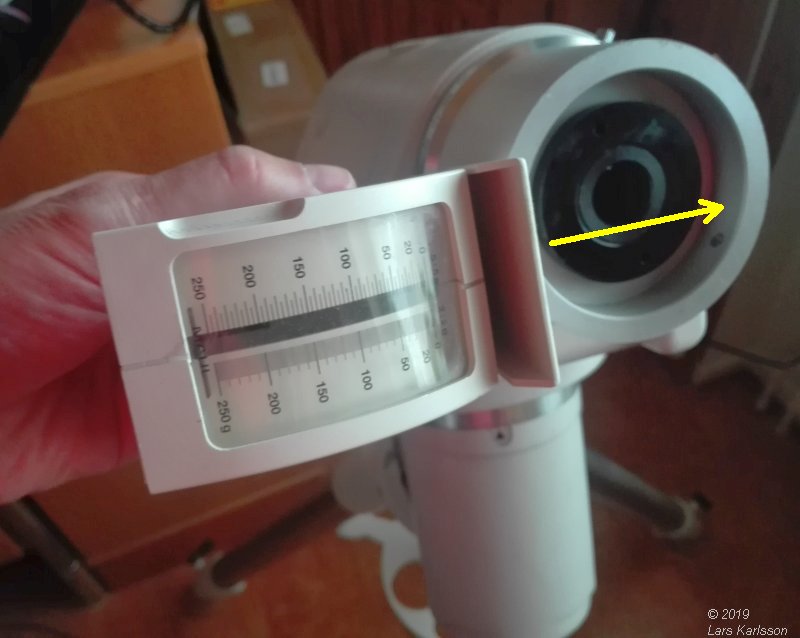
With a letter balance I can get some rough estimate of the friction, almost twice the scale of 250 gram. That's about 5 Newton. 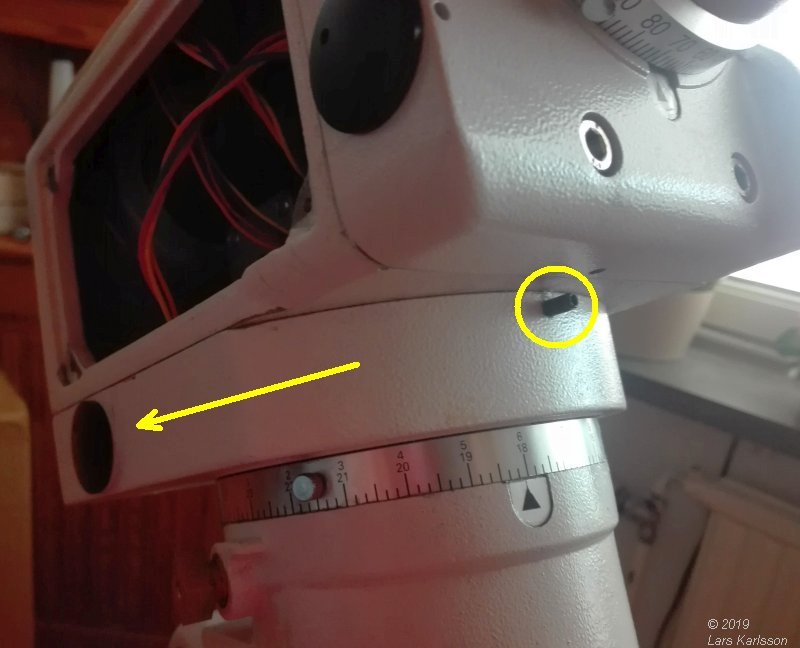
I did a test where I free connect the worm drive from the worm gear. I do it by move the slider out from the worm gear. Now the two upper roller bearings are locked and only the lower roller bearing and the tapered ball bearing acts, the friction get down to almost zero. Good because when tracking the clutch is always locked. It must be the two upper roller bearing that cause this friction when the clutch is free. Maybe the space where the worm gear's clutch sit is too narrow and the walls cause friction. I will not take it apart once more if not any other problem arise. Now I know this friction doesn't appear when tracking and then it's okay for me. Adjusting RA axis:General, if you haven't clean the screws and nuts earlier, do it now and put on some grease. 
I start with tightening the RA nut to the tapered ball bearing. Tighten and then back off a bit. If the friction goes up when you turn the RA shaft you should back off. I only use the force I get by hand power to tight the locking nut. 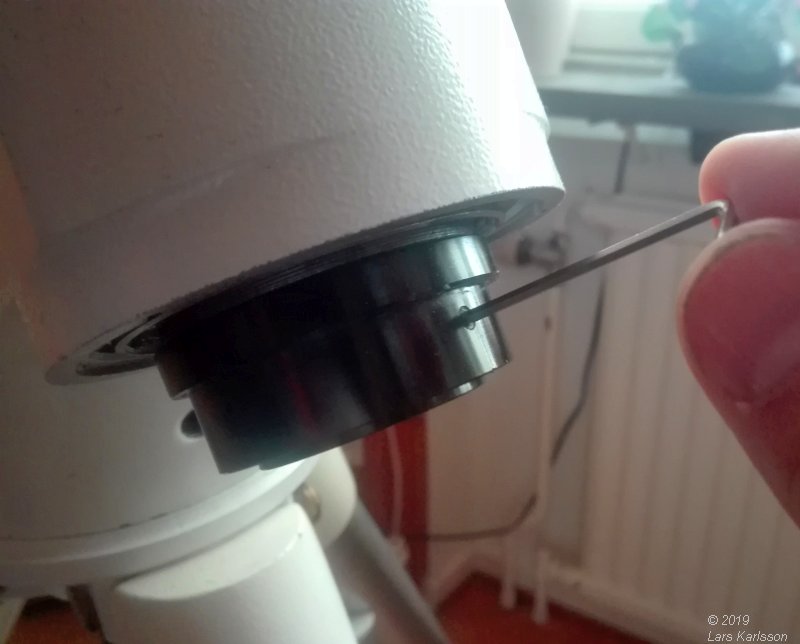
When got it correct, tighten the four lock screws, Allen key 2 mm. 
Back off the RA worm drive lock screw. 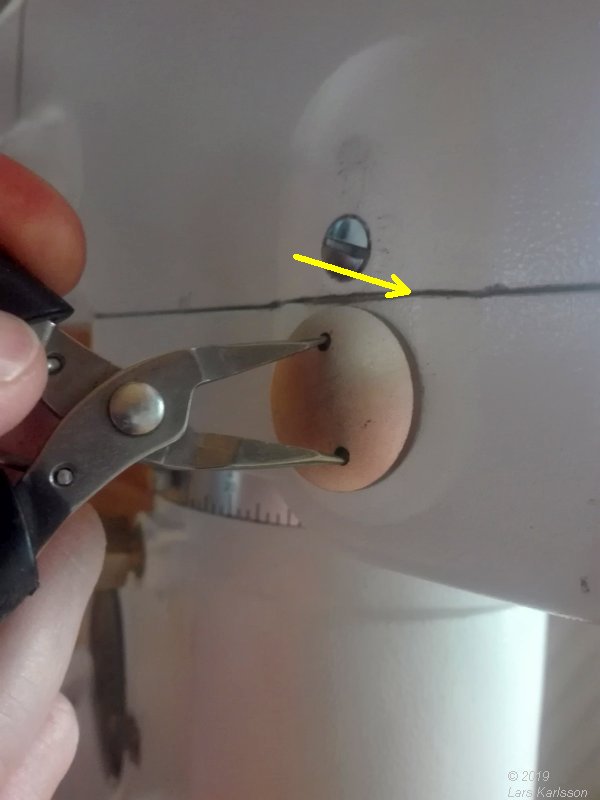
Tight the end cap on the other side (it act as a stop for the roller bearing), I don't tight them as much as it was before. 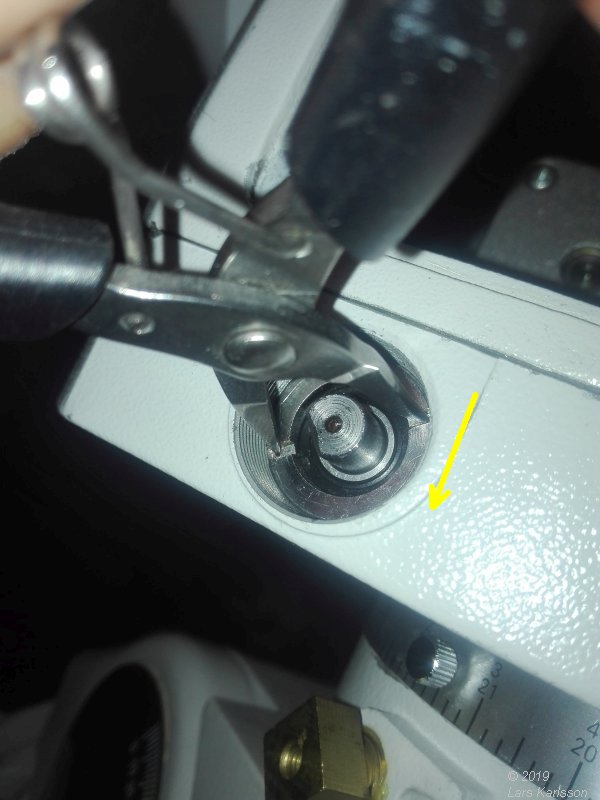
Tight the lock screw, later I will back it off a bit. |
Loosen the four screw that holds the RA lid, Allen key 5 mm. No more tight than the lid can slide when adjusting worm gear play. 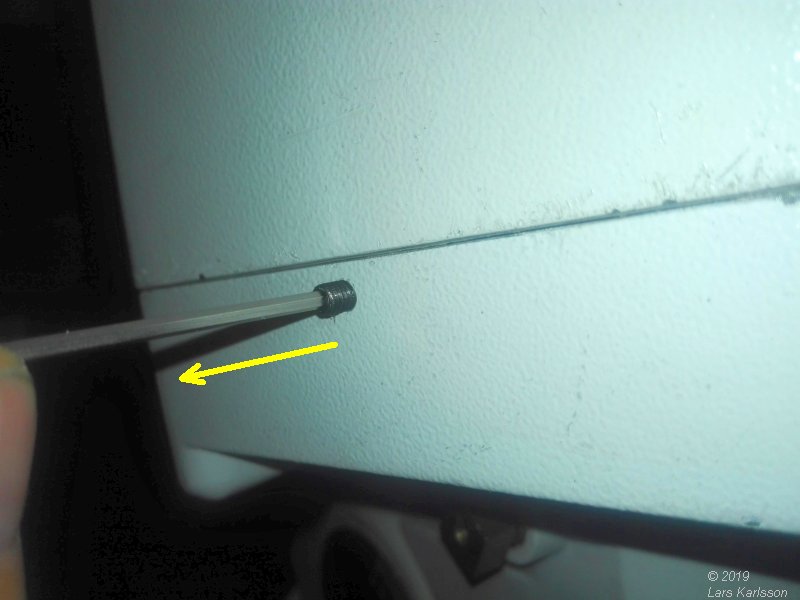
Back off the worm gear adjuster on backside, Allen key 2 mm. 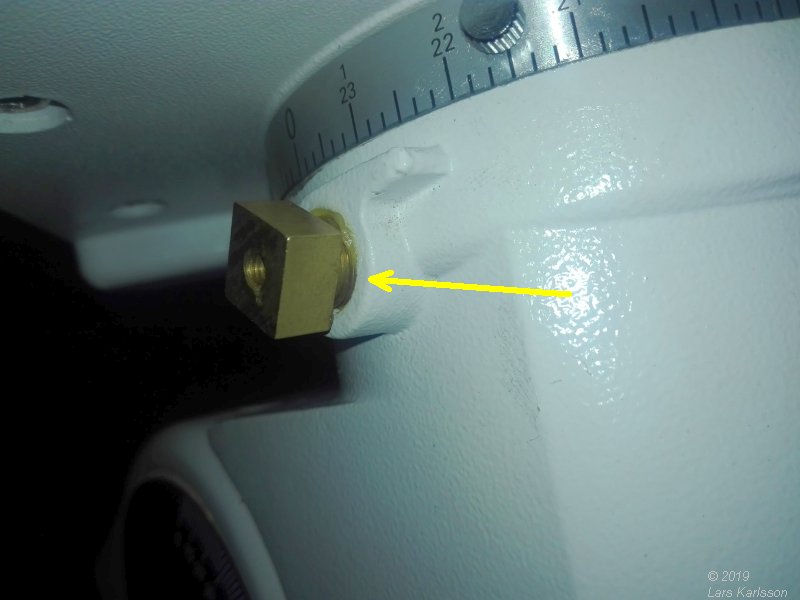
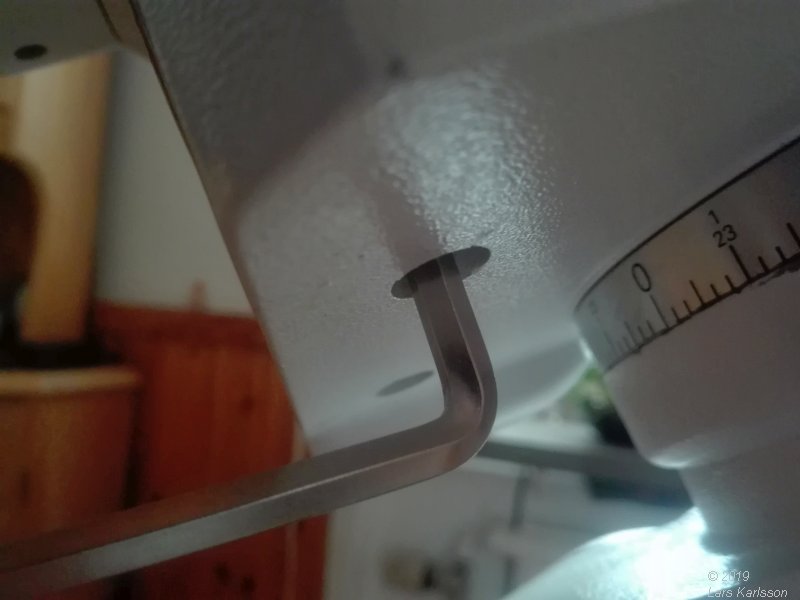
After oriented the RA axis in a comfortable direction. Lock the RA coupling, if needed mount the black arm on top of it (see page 13). 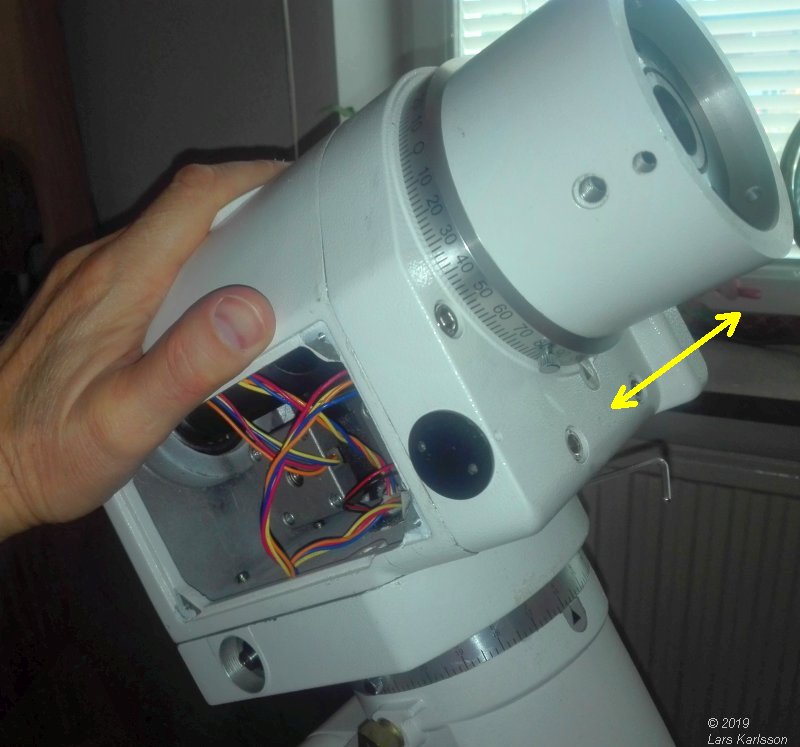
Hold the hand on top of the mount and wiggle it back and forth gently and if you can feel any backlash. 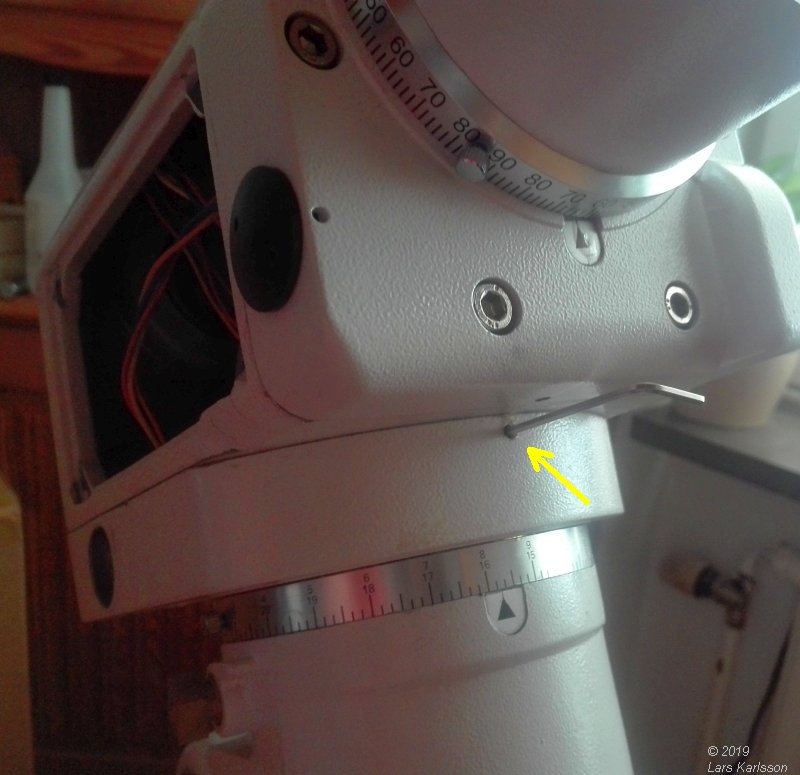
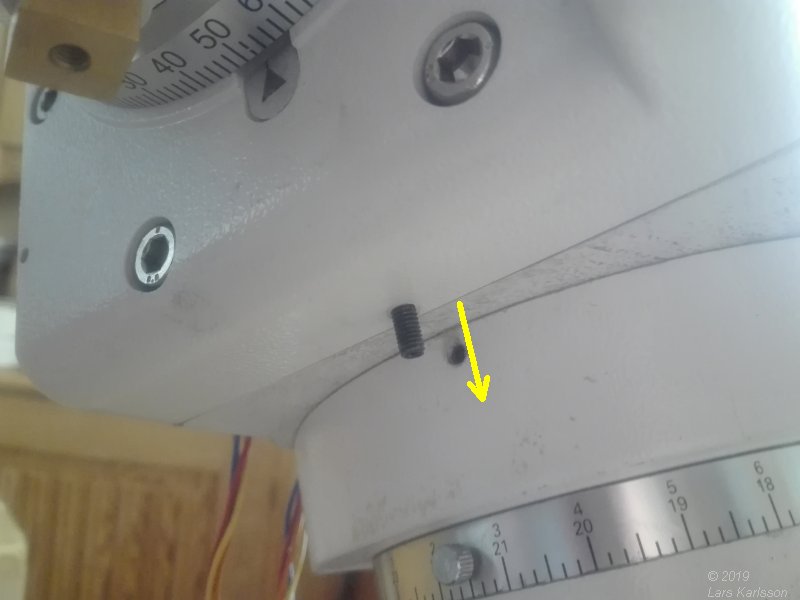
Turn this screw inwards until the backlash disappear, not more. If there is no backlash from the beginning, turn this screw out first. 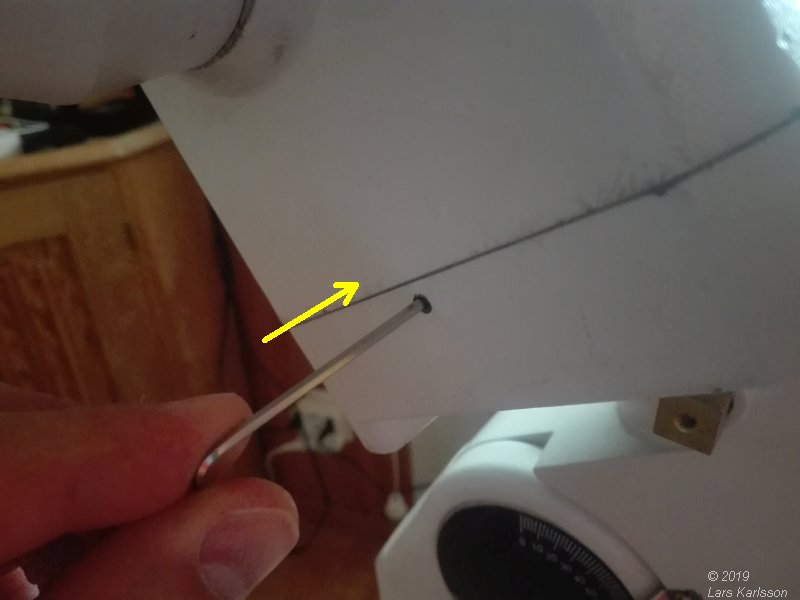
On the other side, turn this screw inwards until it stop, no big force. Maybe you feel the backlash increase. Go back to the first side and turn that screw inwards, just a little bit until the backlash disappear again. It's best to check this backlash all around, say 90 degrees apart. You for sure have to do it once more later, in the cold maybe the worm gear get stuck, then increase the backlash a bit. With a bit I mean around 1/10 of a revolution of the screw. 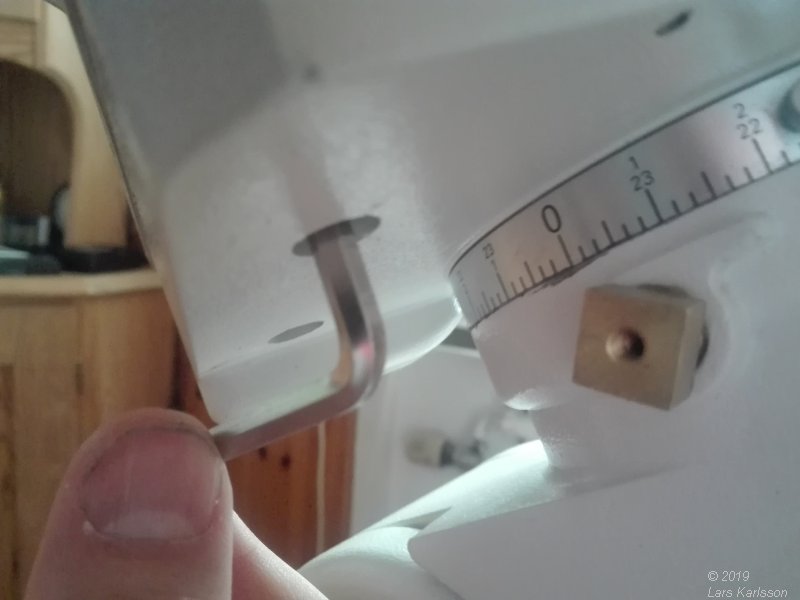
When you are satisfied with the backlash you tighten the four screw that hold the RA lid. Adjusting the RA timing belt tension: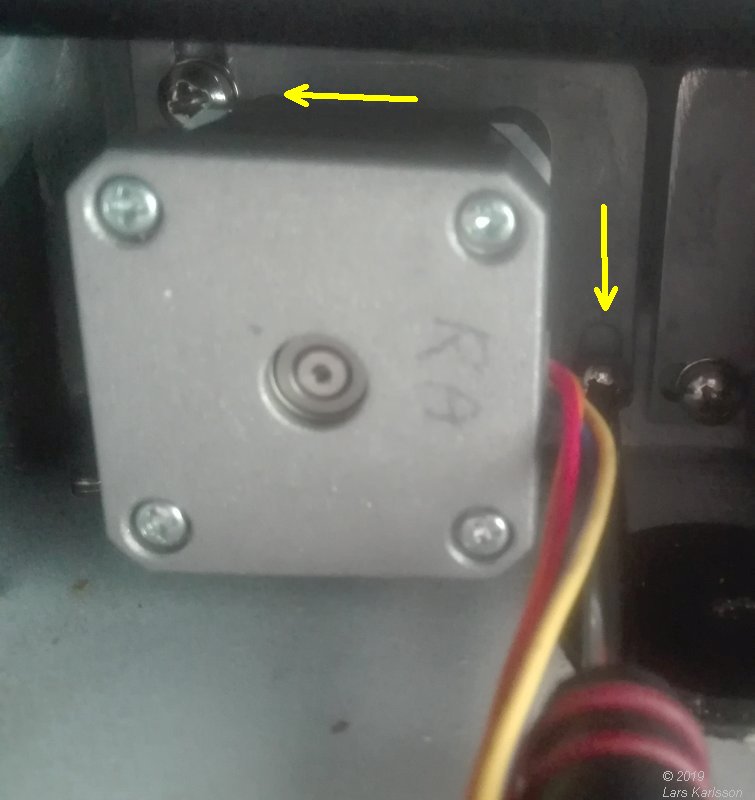
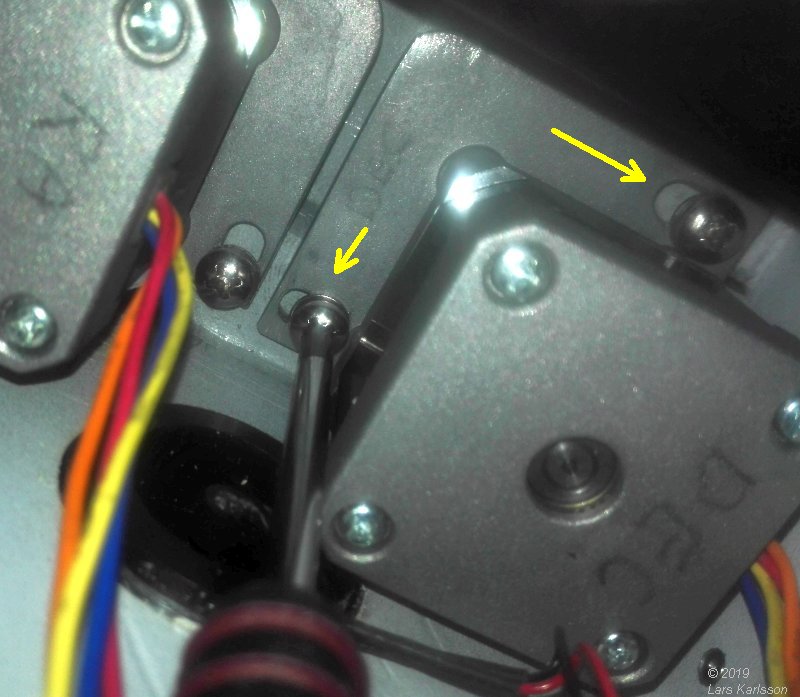
Loosen the two screw just enough to adjust the position of the RA stepper motor bracket. |
Get some feeling of the belt tension, not too hard in the beginning. You must be sure the stepper motor can handle the force, too high tension and the friction get too high. 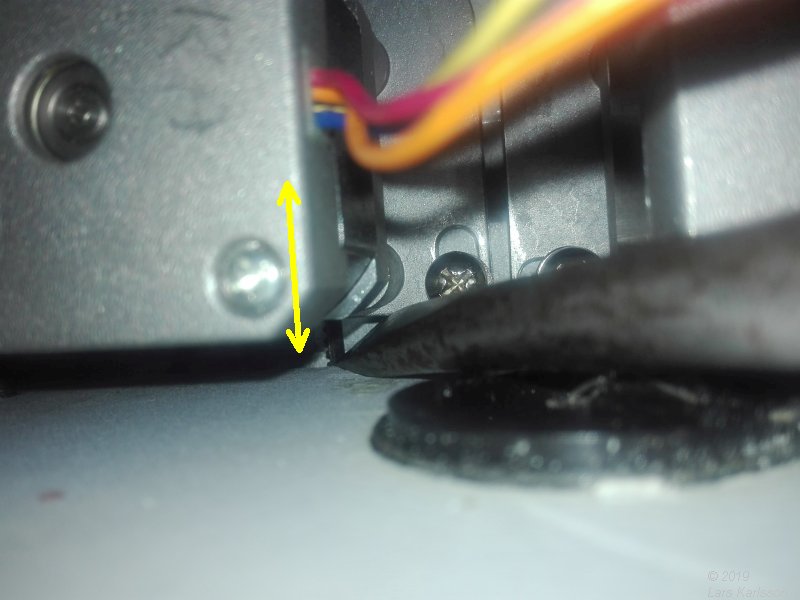
With a flat screw driver I push back and forth the bracket until I get correct tension, try and error. 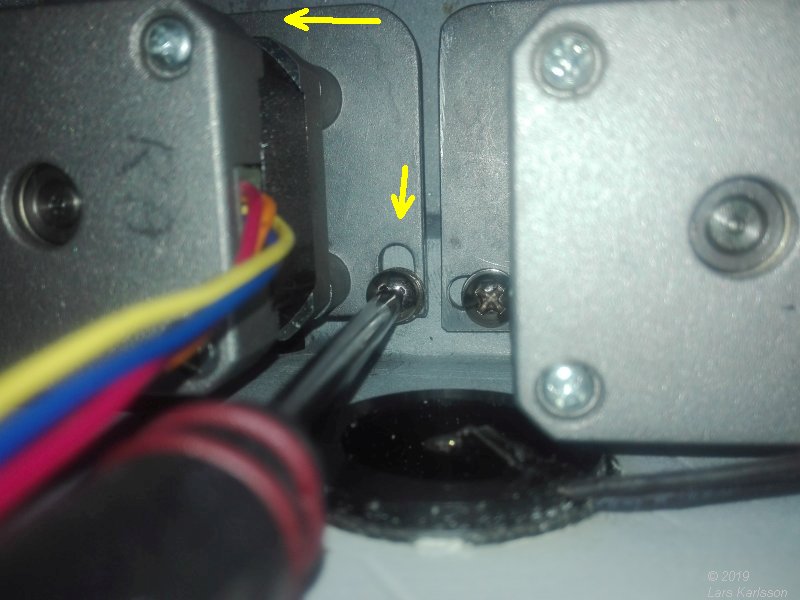
Lock the two screws when correct tension. Adjusting DEC axis: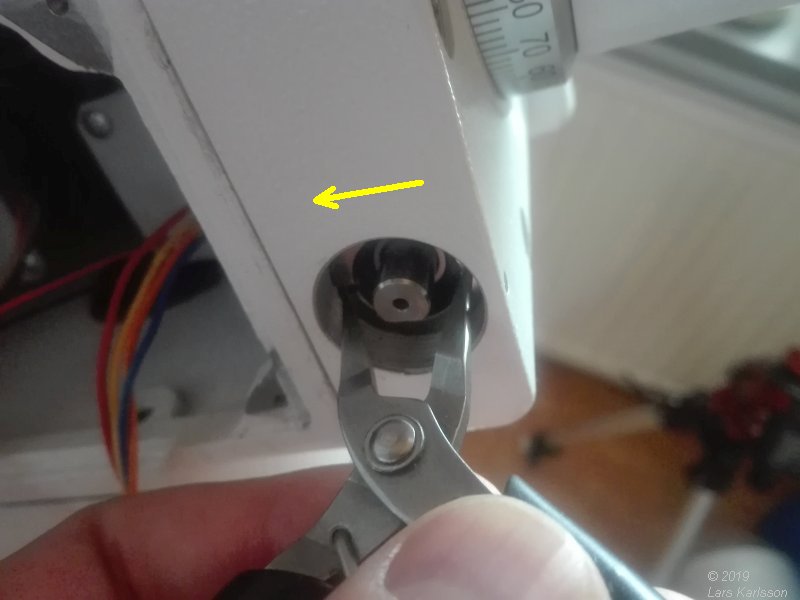
Now I do the same on the DEC axis. First loosen the worm drive's shaft lock. 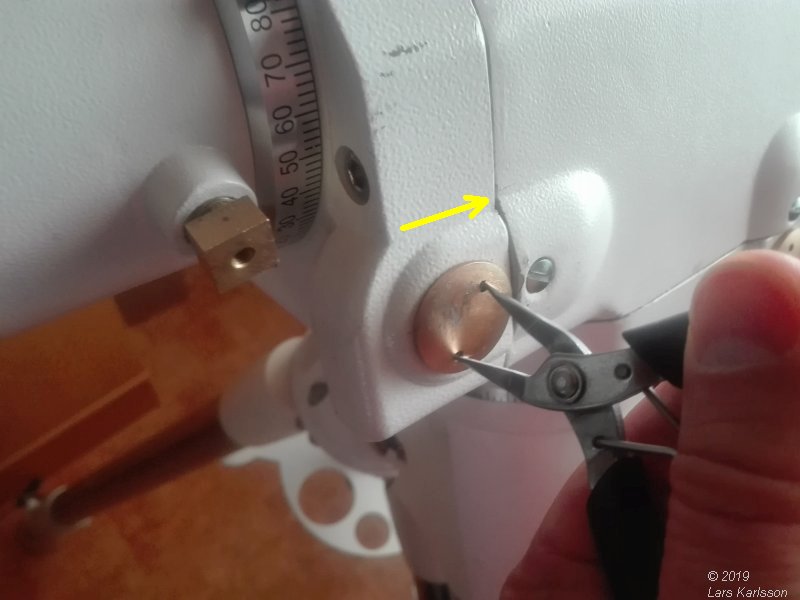
Tighten the DEC end cup lock. 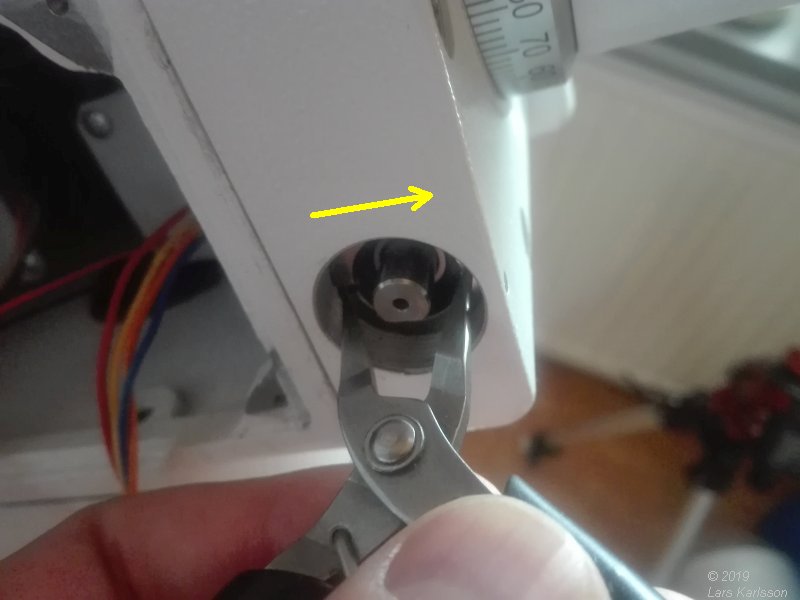
Back to the other side and tighten the DEC worm drive lock, no big force! 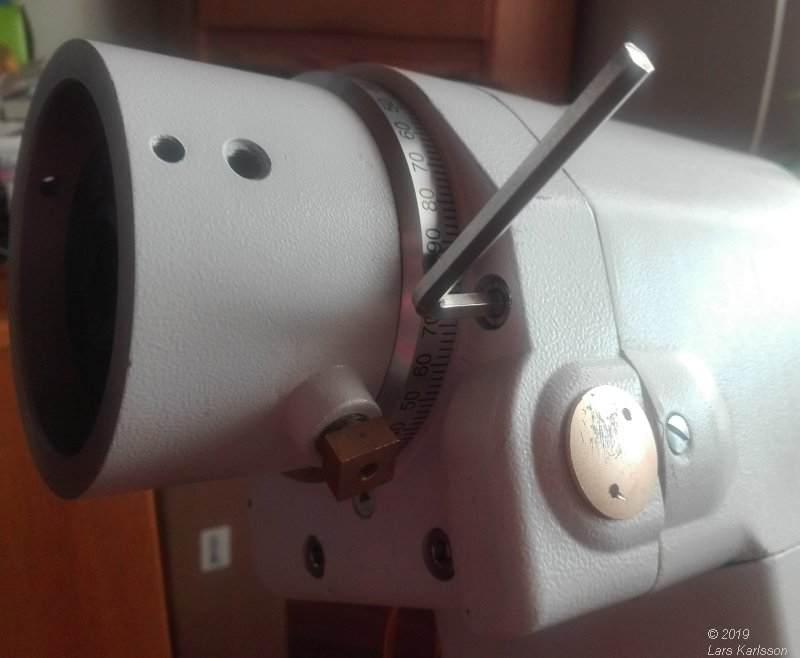
Loosen the four screws that hold the DEC lid, just only enough to let the lid slide when adjusting the DEC worm gear play. 
Lock the DEC coupling, if necessary, mount the black arm on top of it (see page 13). |
Loosen the screw that adjust the DEC worm gear. 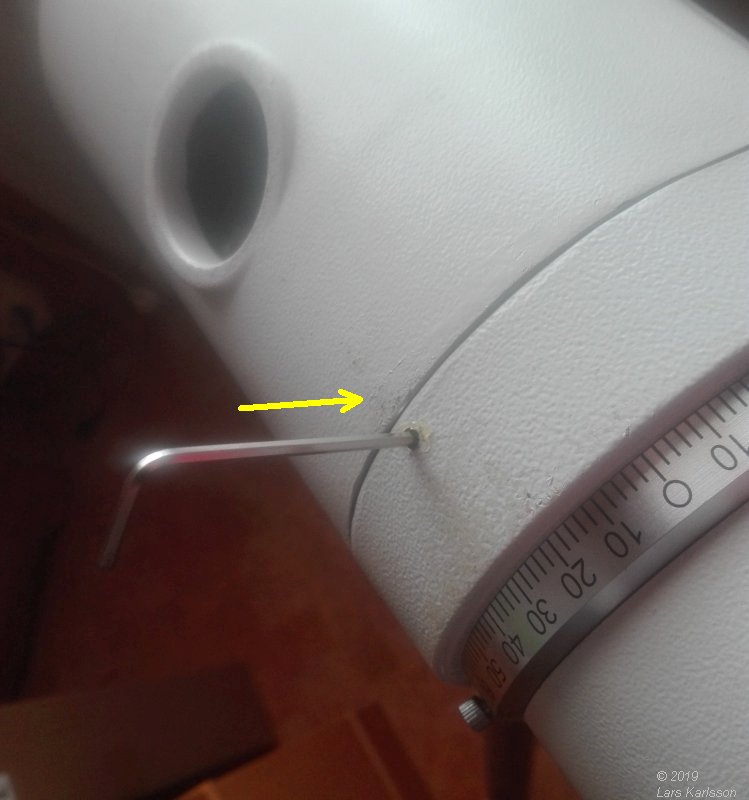
Put your hand on the DEC axis and rotate it back and forth gently, you can feel the backlash, turn in this screw until the backlash disappear. If there is no backlash from the beginning, turn this screw out first. 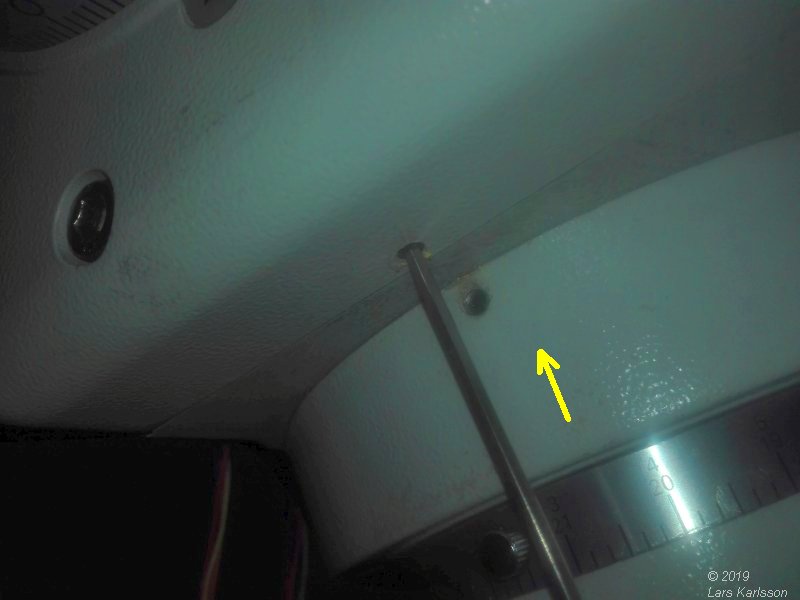
Tighten this screw on the other side until it stop, no big force! If the backlash increase a bit, go to the other side again and fine adjust the backlash, no big forces! 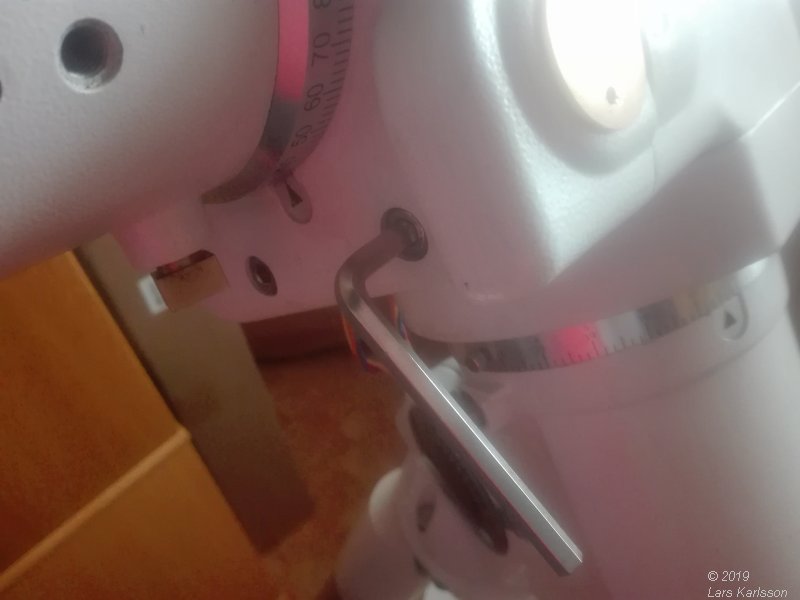
When satisfied with the backlash, tighten these four Allen bolts that hold the DEC lid. Check the backlash at least at four positions, 90 degrees apart. 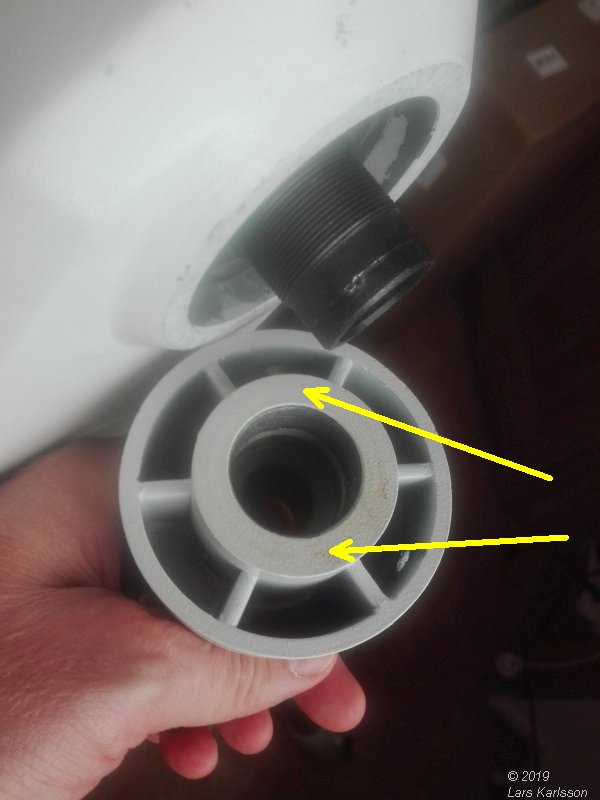
Loosen the nut that holds the DEC tapering ball bearing, check the surface that it is clean, put on some grease. Also check the three lock screws that they are clean and put on some grease. 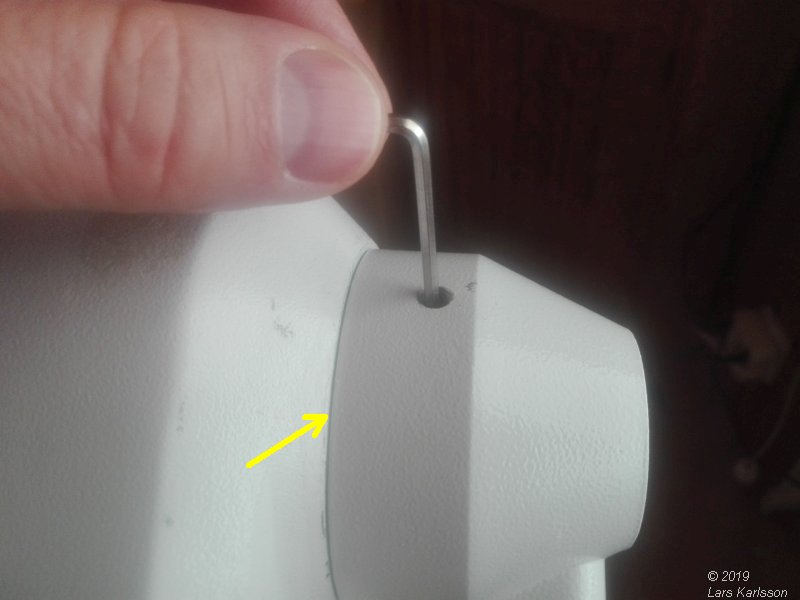
Tighten the nut until it goes in bottom, set some slight force on it and then back it off. Check that the DEC shaft rotate free. It shall be some distance between, see the arrow. 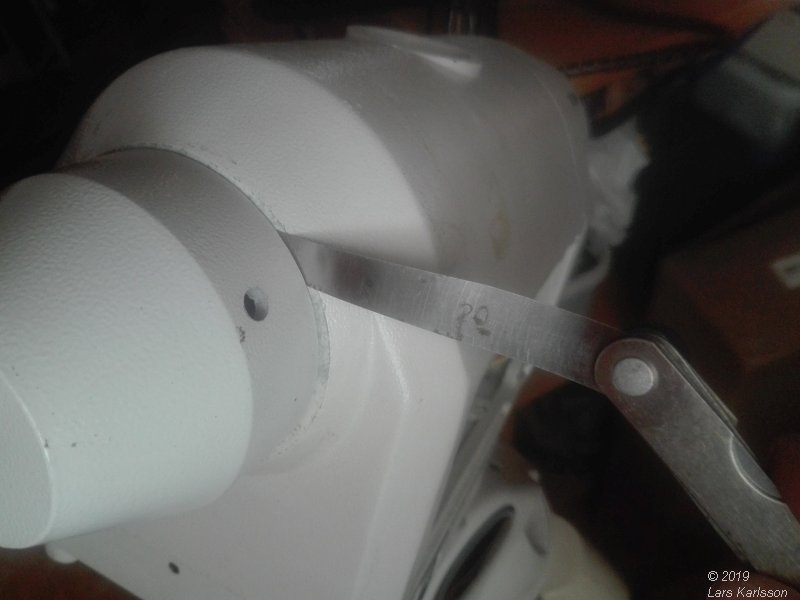
In my case I had a distance of 0.2 mm, it's ok. If too narrow, add some shims and redo. If okay, tighten the three lock Allen screws (2.5 mm). 
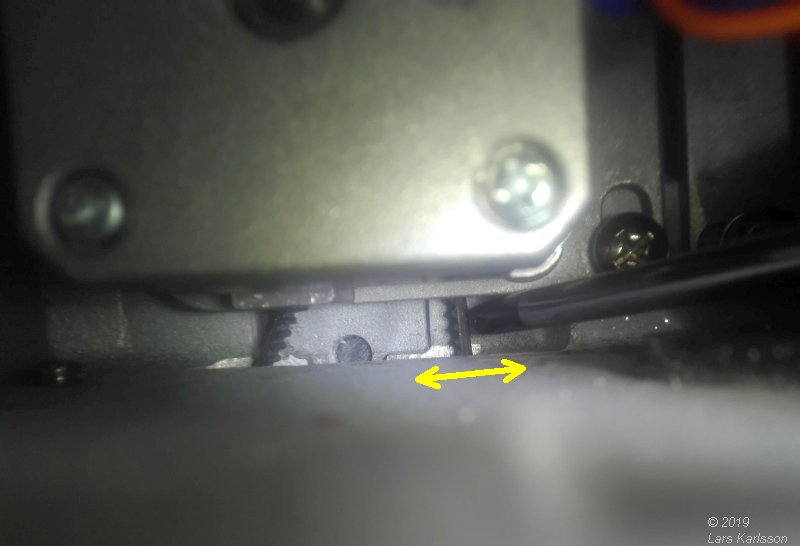
Get some feeling of the tension of the DEC timing belt. I use a screw driver here and push sideways on the timing belt. |
When you got correct timing belt tension, lock the two screws. Adjusting play on RA worm drive: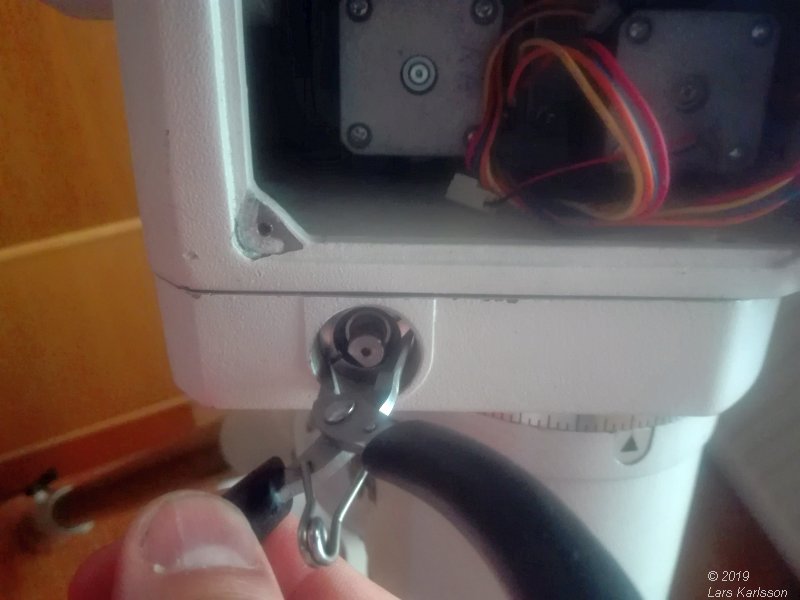
Back off the RA lock nut by which the axial play on the RA drive is adjusted, tighten again and back off a little, 1/10 off a turn. If it's too tight it could block the RA rotation in the cold. Maybe I will try to have a spring loaded force here later on. Adjusting play on DEC worm drive: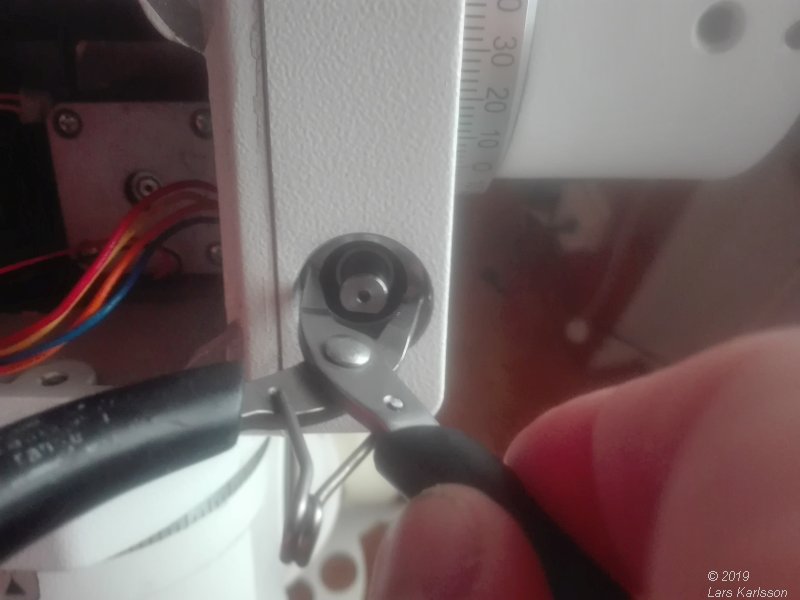
Back off the DEC lock nut by which the axial play on the DEC drive is adjusted, tighten again and back off a little, 1/10 of a turn. If it's too tight it can block the DEC rotation when it's cold. Maybe I will try to have a spring loaded force here later on.
|
|