|
Advertisement / Annons: |
My astronomy project:
|
Contents:
Related projects:
Note: |
14, Hang up the telescope and calibrating parking point:I did some investigation to find where the noise came from in the RA axis. I found it only came when running in high speed, speed 4. It's some kind of oscillation. The timing belt are not too tense. And it only occur at the hour angle from 7 to 11 when looking in polar star direction. Checking polar scope LED light: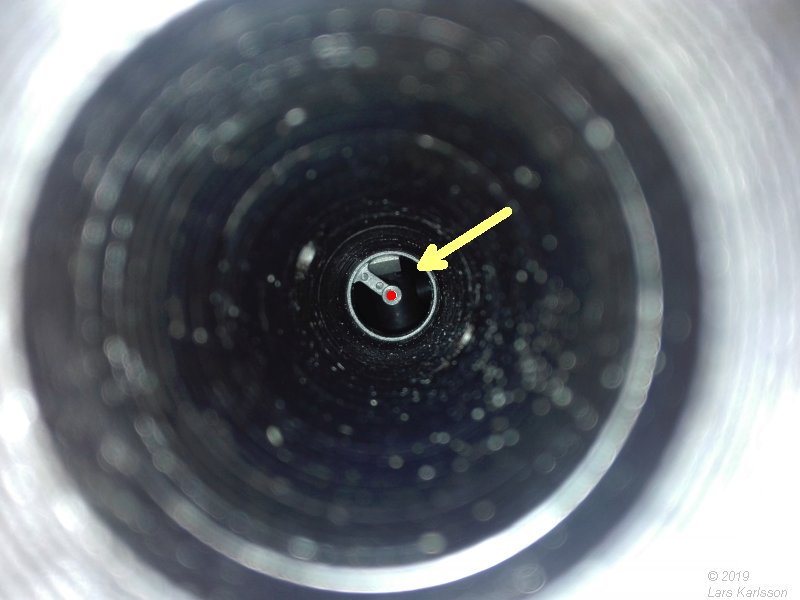
Take a look through the RA shaft if the LED to polar scope working, okay. Installing balance shaft: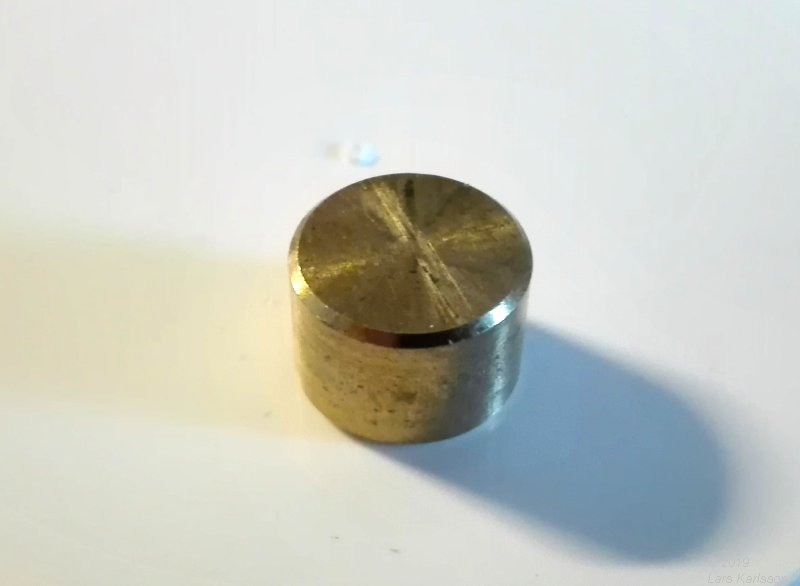
Don't forget this little distance that is mounted in the balance shaft lock. 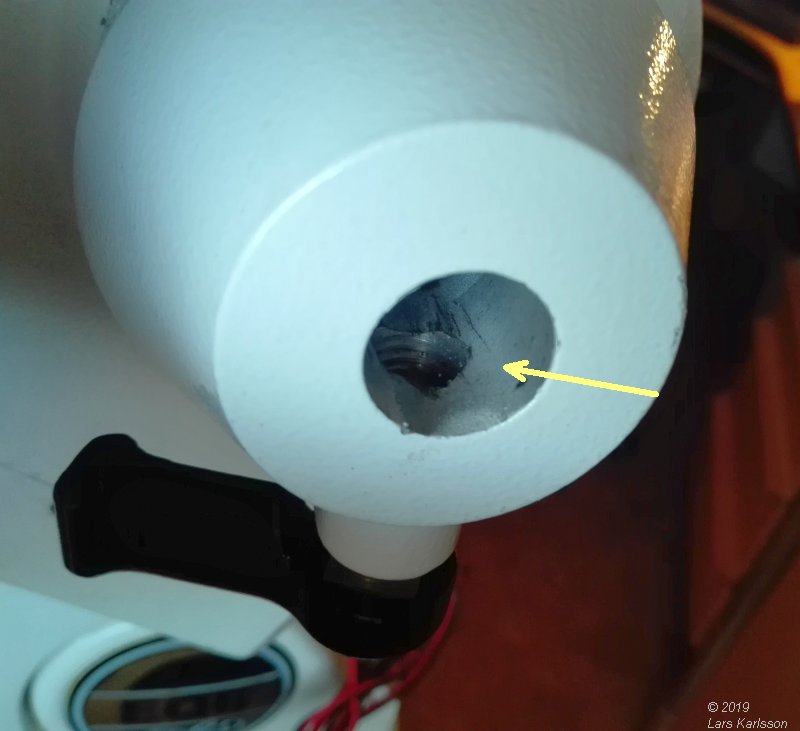
It shall be mounted in this hole. It's easiest to install if the DEC axis is horizontal. 
Clean it and put on some grease. Place the distance in the opening and push it into the hole. 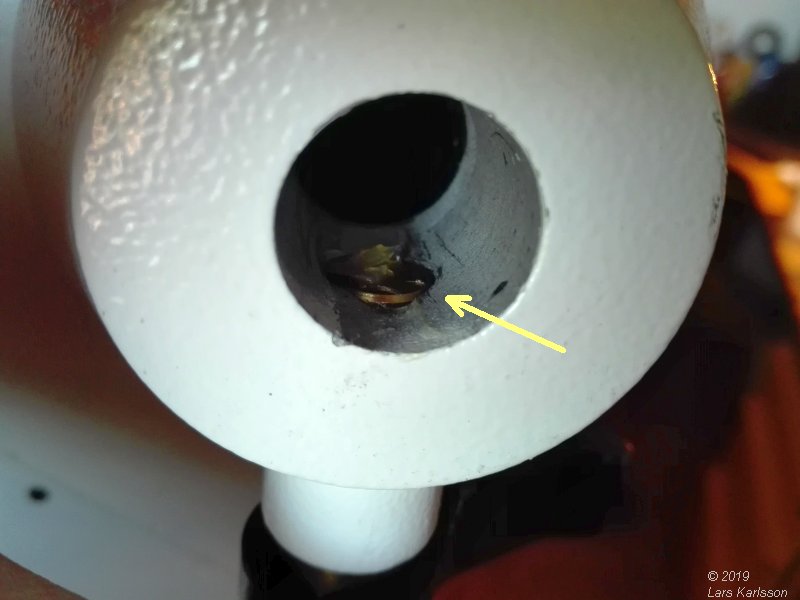
Unlock the balance shaft lock screw to let the distance sunk down. 
Push in the balance shaft into the RA shaft opening at top side. Installing Azimuth and Latitude lock bolts: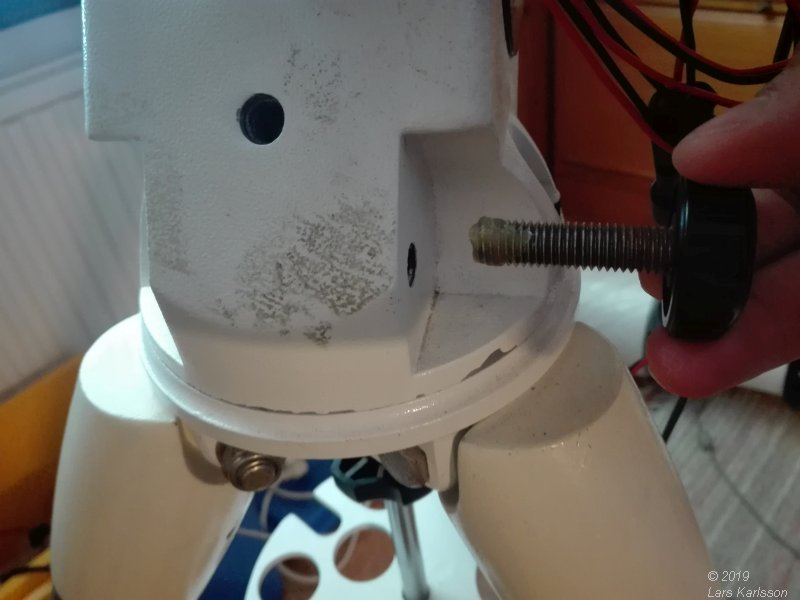
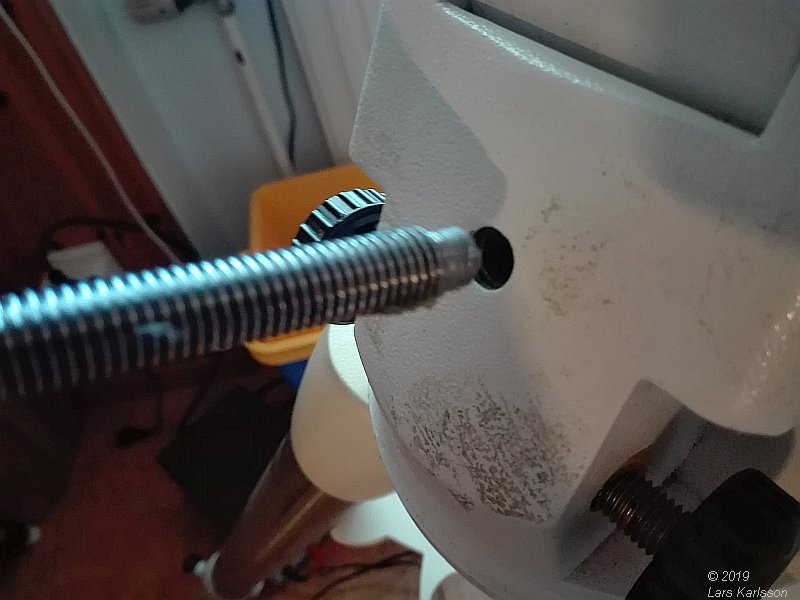
Azimuthal bolts, clean the threads and put on some grease. Screw in both of them to equal distance. 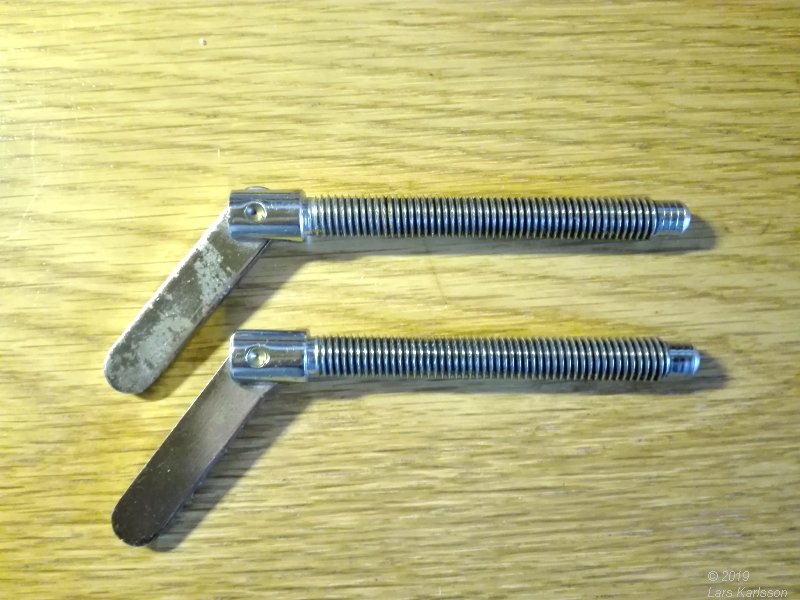
Latitude bolts, check that they are not bent, very common if you live North because of the abnormal angle. Replace it if needed, there are bolts of better quality to purchase, made of hardened steel. Clean the threads and put on some grease. |
Check the threads inside the mount's chassis. 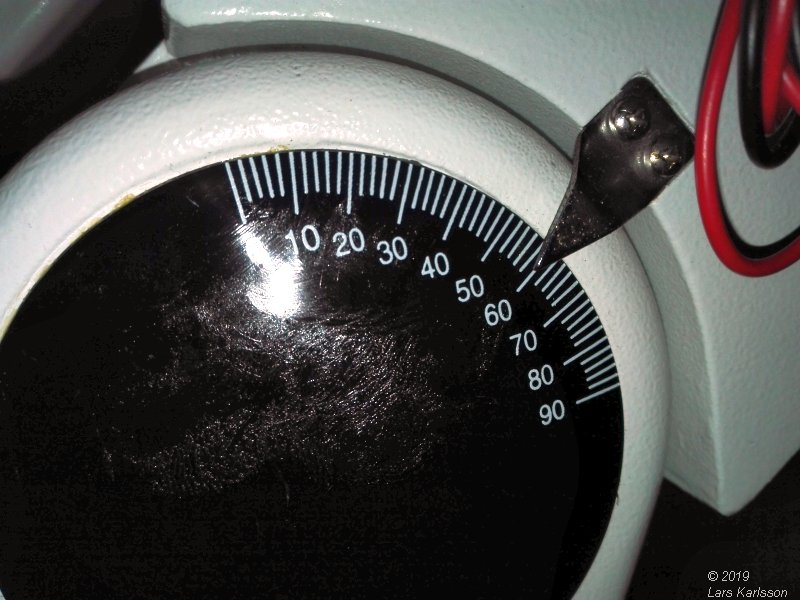
I adjust it roughly to 59 degrees Latitude where I live. 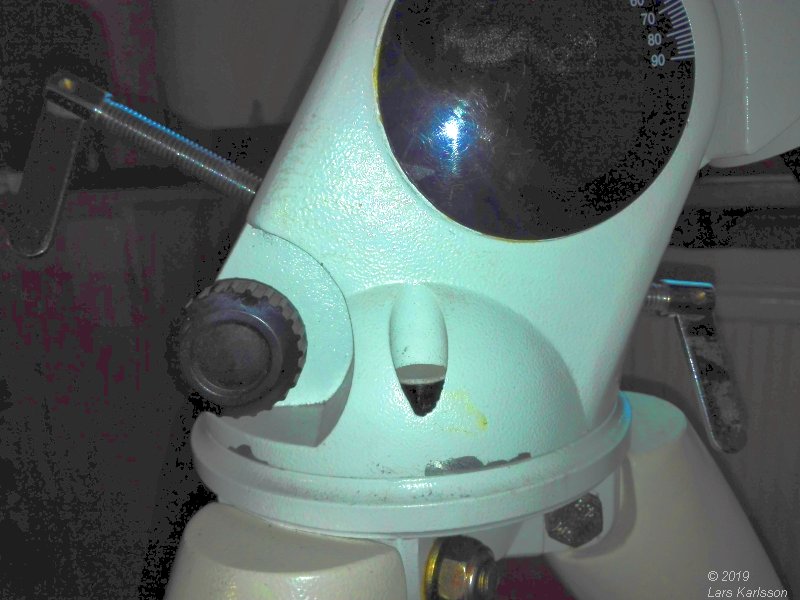
As you see, the lover right Latitude bolt is almost all the way in and come in at a strange angle, not good. I must do something about this later. Mount the balance weights and DEC dovetail saddle: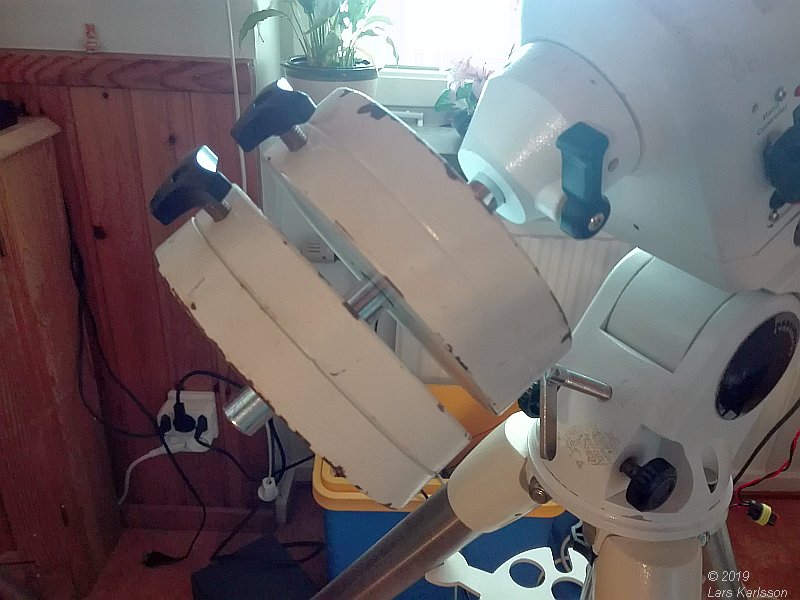
Hanging up the balance weights, I prefer to have it compact with a short balance shaft and heavy weights. 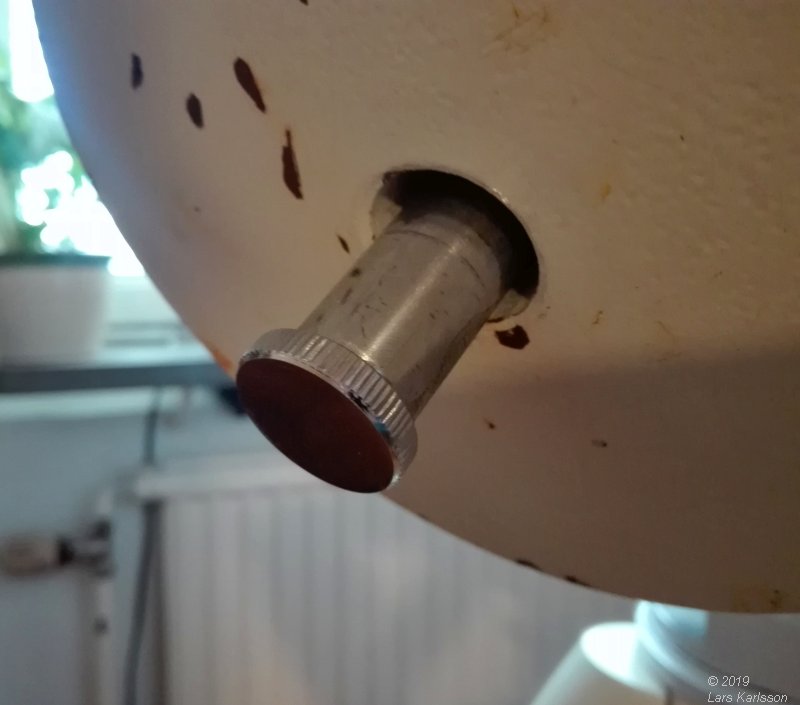
Don't forget the important safety screw. You don't want the balance weights fall down on your toes ! 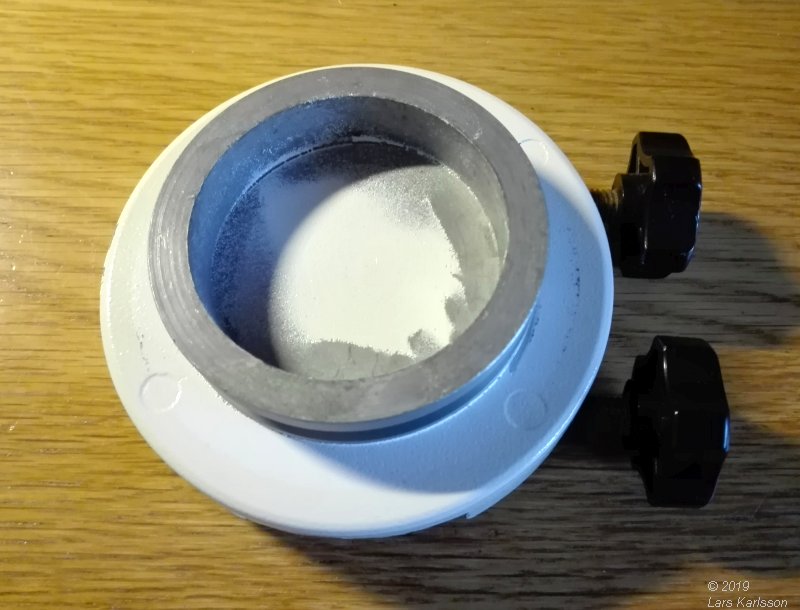
The dovetail top saddle. There are other wider and more stable you can replace this one width. 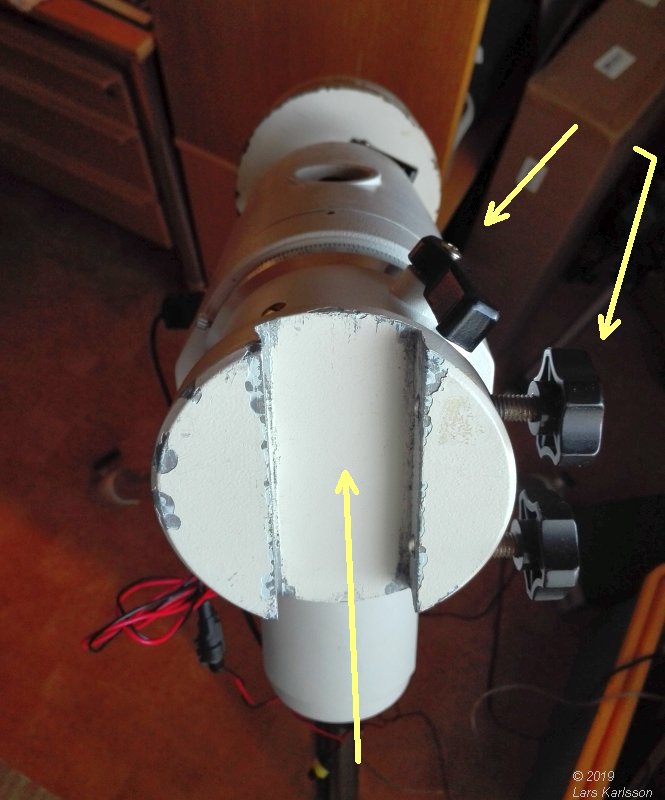
Set the orientation of the dovetail saddle. I have the dovetail saddle lock screws to the right and the DEC lock at an angle. It depends very much on the telescope at what angle to install it. 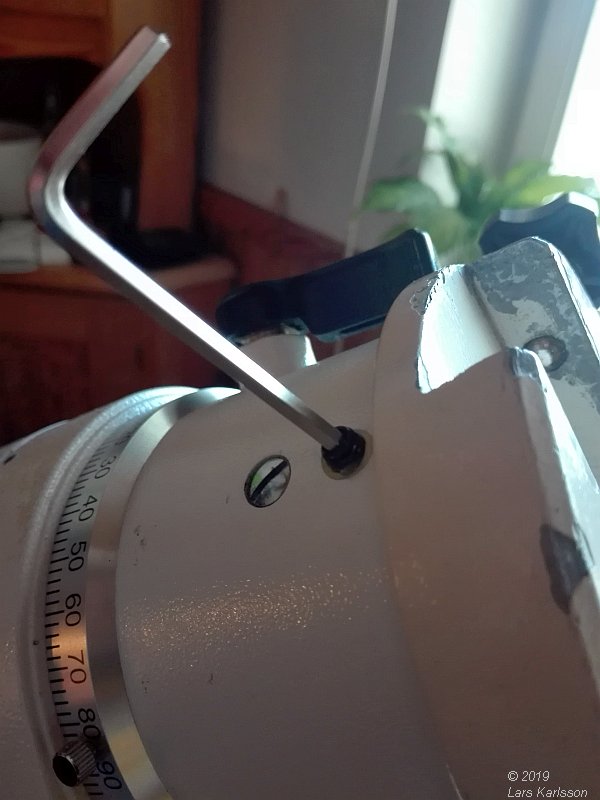
Install the three locking screws that hold the dovetail saddle plate, 3 mm Allen key. As usual, clean the threads and put on some grease. When tighten, do it in small steps and shift to the second and third screw. Redo this until it sit tight, it can be heavy load on these three small screws. I don't know what the purpose of the screw to the left is for, maybe good if you want to install some extra equipment. |
Mount the telescope on the mount: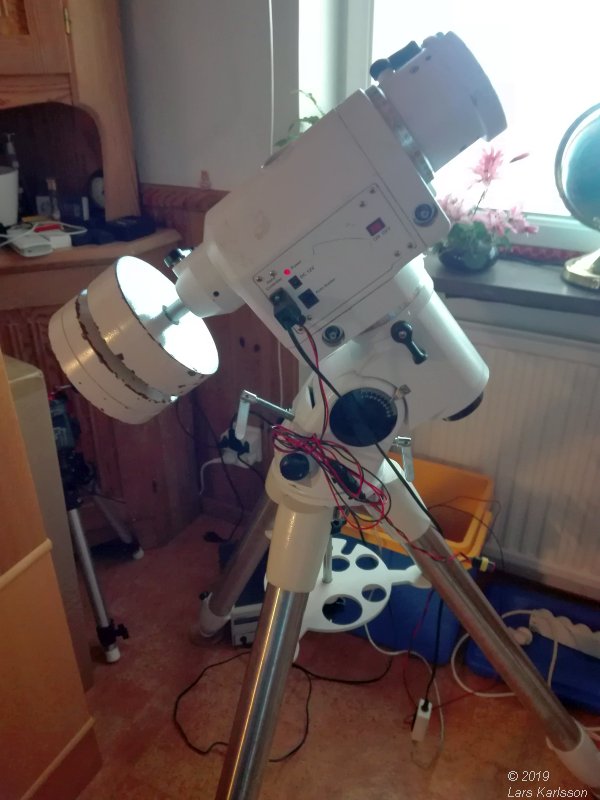
What a great look, now I can hang up the telescope on the mount and balance it. 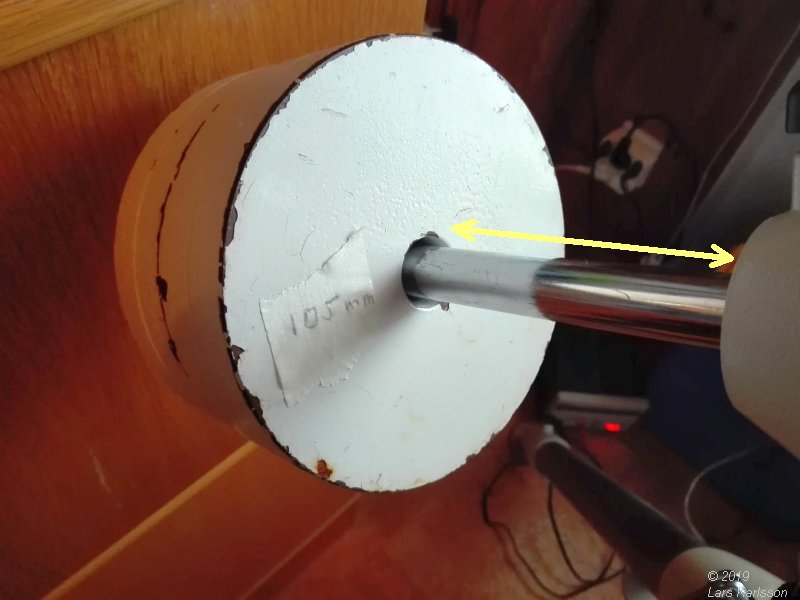
Hang on the telescope and rotate the RA axis until DEC axis is vertical and adjust the balance. I push the two balance weights all the way to the stop and adjust the balance by moving the balance shaft in and out. After balanced I rotate the RA shaft to have the balance weights pointing downwards as in the photo. After that I measure the free shaft length and make a note of it. This is done with all equipment I use installed on the telescope. 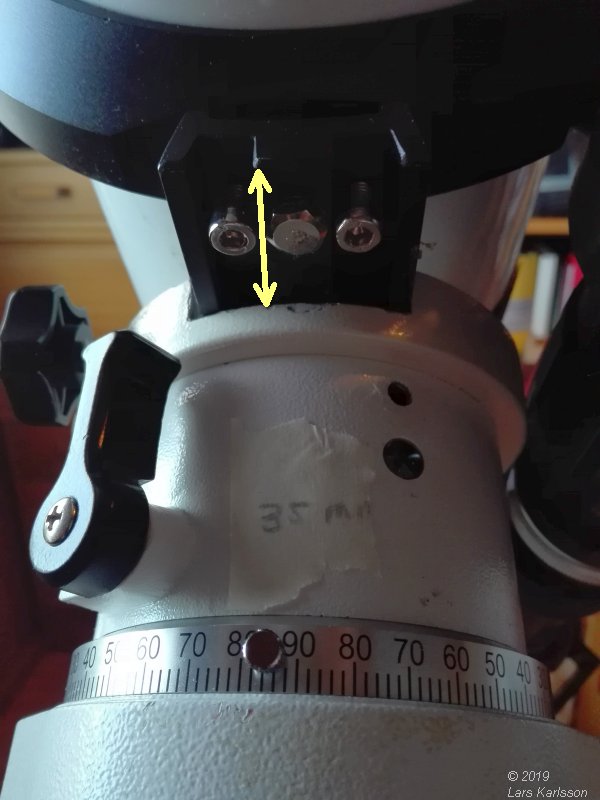
Rotate the DEC axis until the telescope is vertical and adjust the balance by moving the telescope back and forth in the Vixen dove tail. Note the dew cap must be in outward position, the focus drawer at focus position. I make a note where the balance point is with some reference point. I use the distance that the dovetail rail protrude next time I install the telescope on the mount. When I do this balancing I note that the friction is much lower now and it's much easier to find the balance points. Earlier when I tested without load it felt as if the friction in DEC axis was nearly as high as before. It helped to clean and put on new grease ! Calibrate the parking point, RA axis:I do this parking calibration for testing purpose only, must redo it when mount is outdoors again. Every time I move the mount I must redo it. 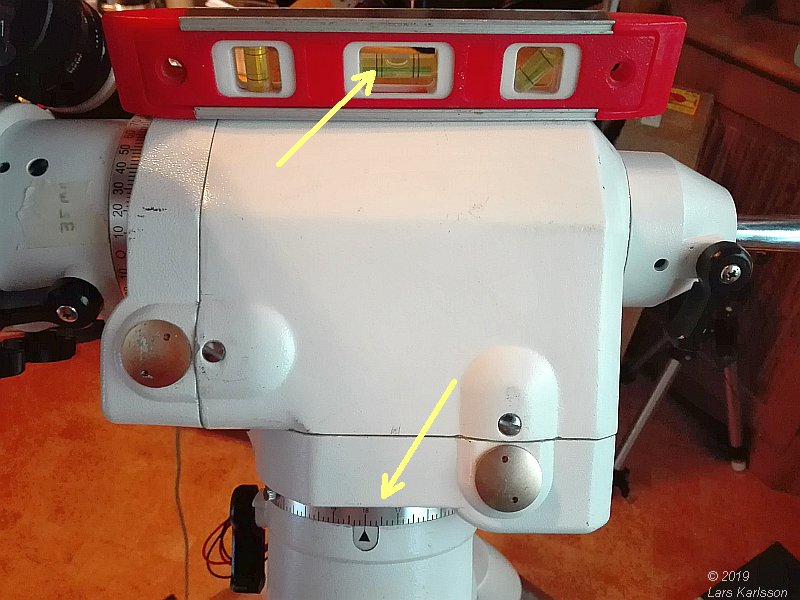
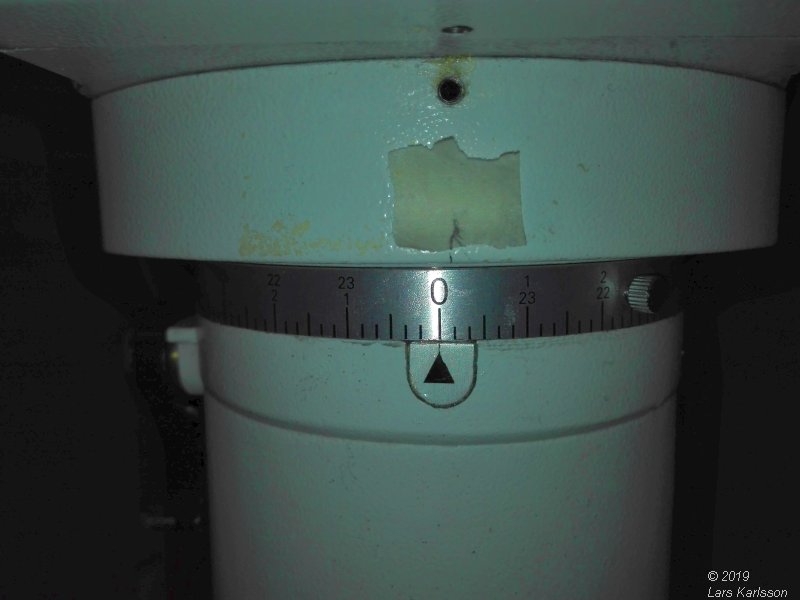
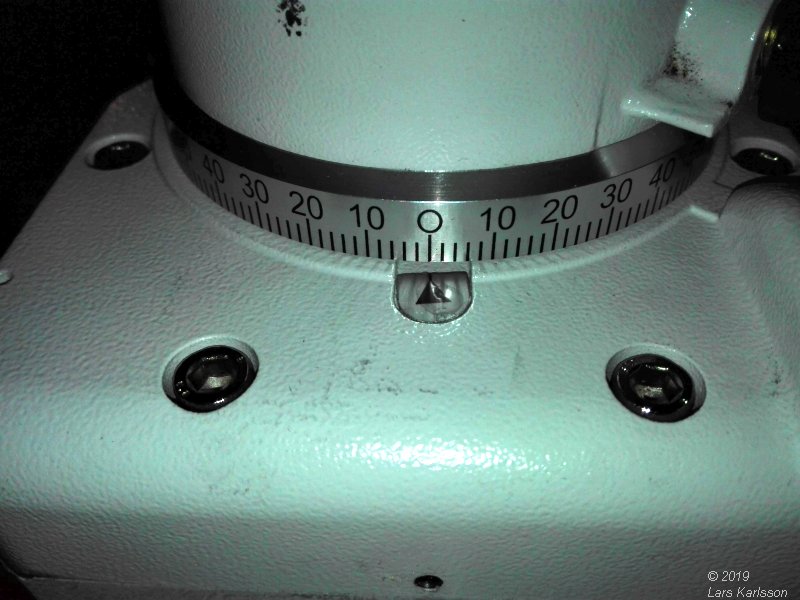
Normally the parking position is when the balance weights point downwards and telescope pointing towards North pole (or South pole). The telescope must be in balance first ! Starting with the RA axis:
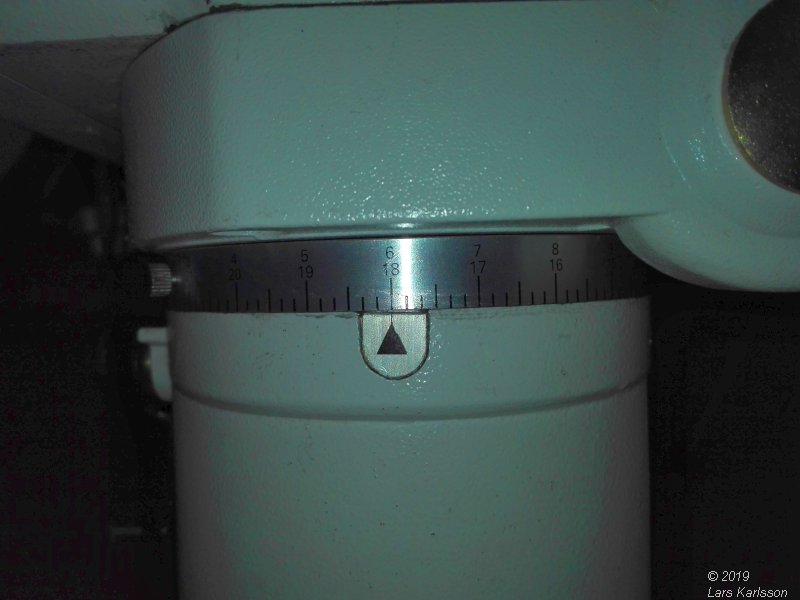
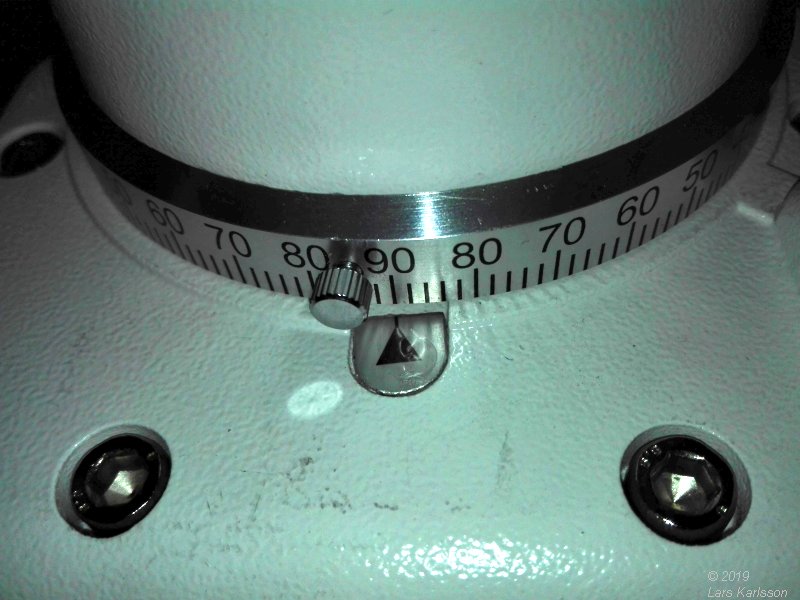
Calibrate the parking point, DEC axis: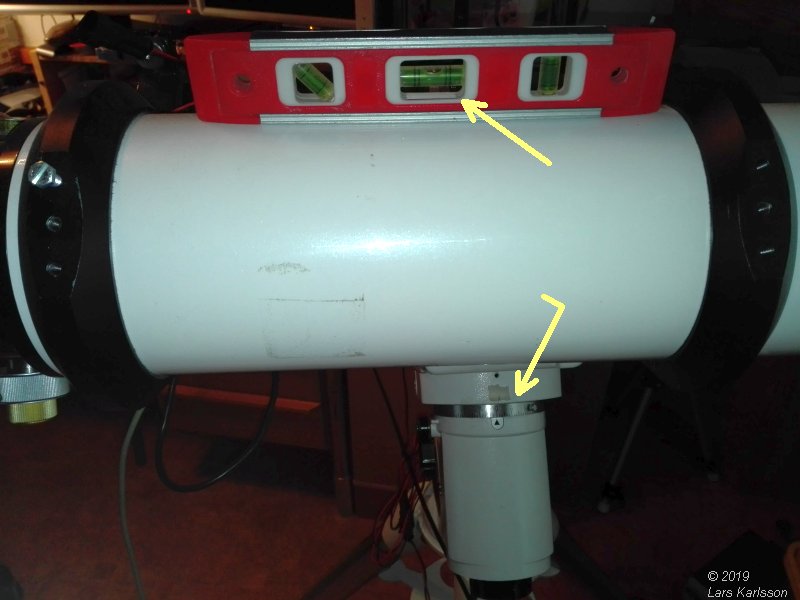
With the balance weights pointing downwards as earlier after calibration. Calibrate the DEC axis:
|
Testing RA axis and DEC axis backlash: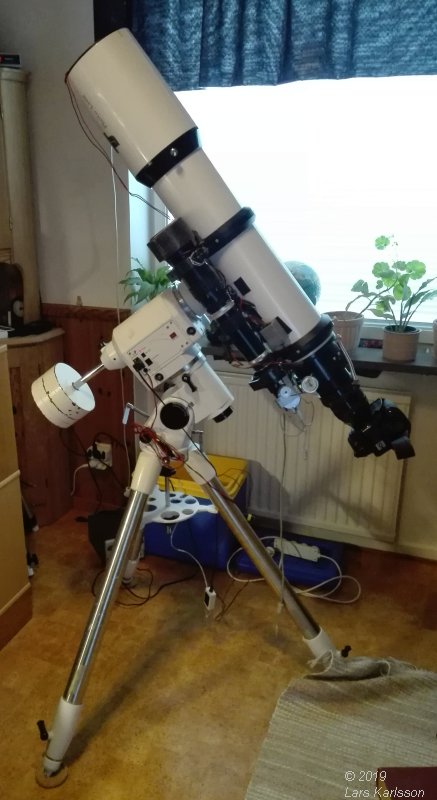
Mount and telescope ready for astrophotographing. But is there any test I can do to get some information about the backlash in RA axis and DEC axis ? 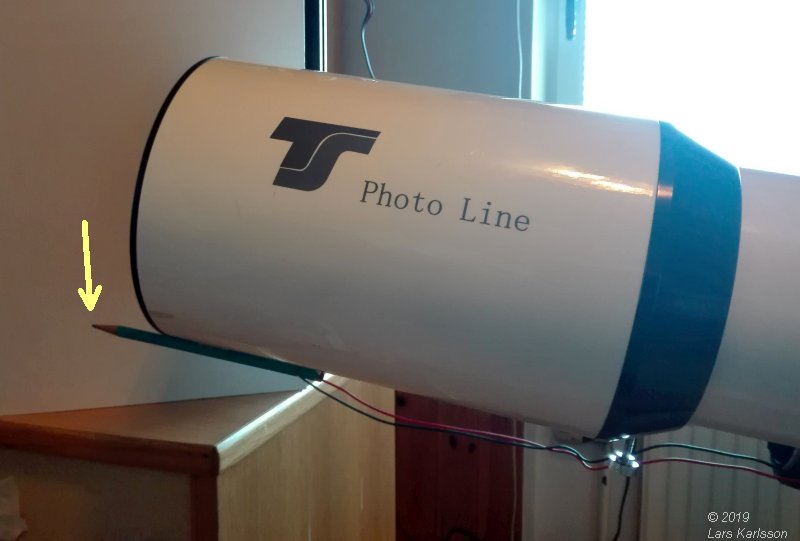
I did it simple, I just attached a pencil to act as an arrow on front of telescope. 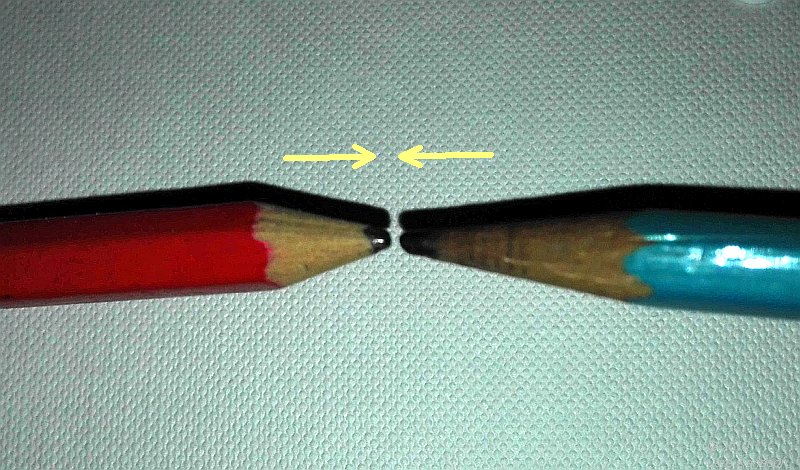
Set another pencil pointed to the first pencil. Now I run the RA and DEC motors in low speed, speed 2. When I change direction of motor I notice if there is any delay in movement of the telescope. What I got was less then 1 second delay, pretty good I think. Leftover parts: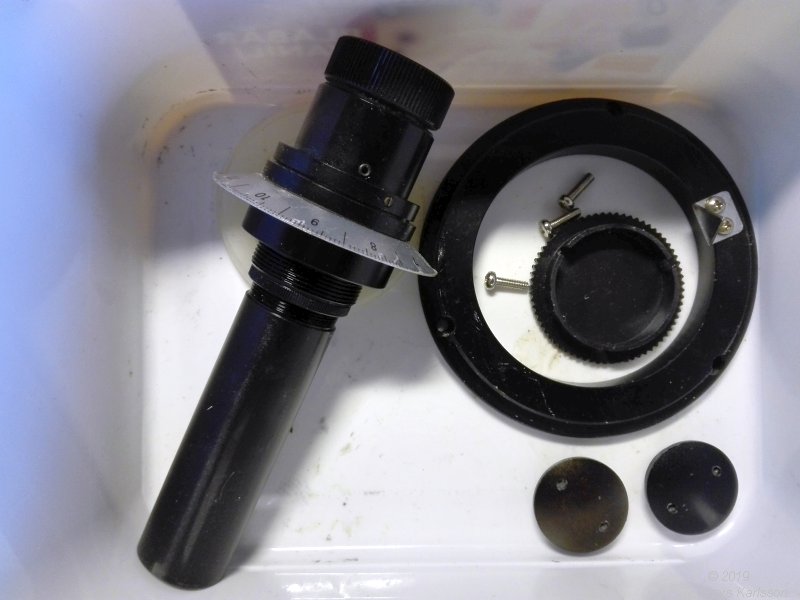
Are there anything in the boxes that I forgot to install ? I normally do not use the polar scope so I wait to install it. The caps (the black lower right) is for protection against dirt to come inside the worm drive. I will install them later. 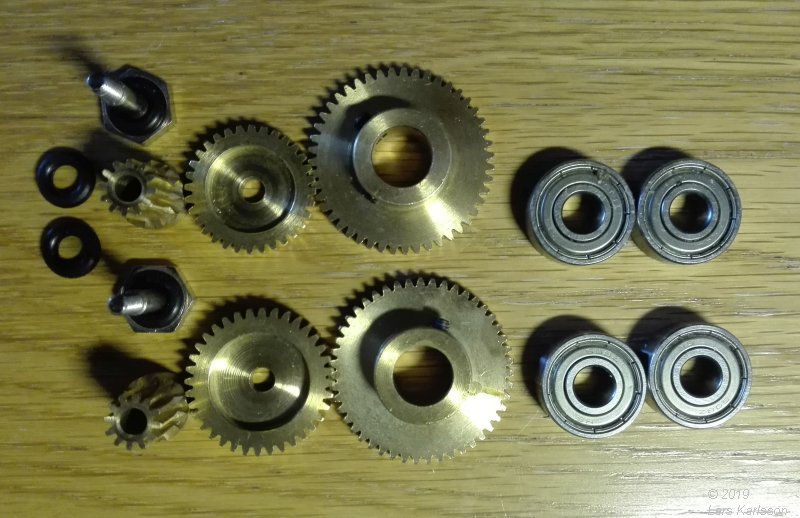
The old spur gears that I replaced with timing belts. I save them if I want to install them again, maybe the timing belt drive failure. 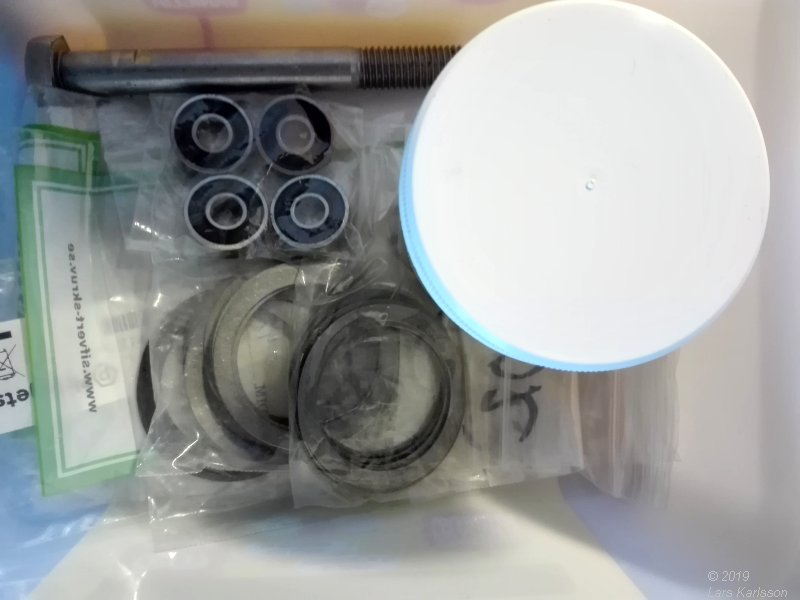
Spare parts if I want to rebuilt another EQ6 mount in the future. And maybe I do but then I do it in a more advanced way with the experience I got now.
|
|