|
Advertisement / Annons: |
Tutorial:
|
Content:
Note: |
4.3: Selecting stars by differenceThis is the method to prefer if there is bright objects in the image or strong light pollution. This is the one I used in the tutorial 3.2 and in combination with threshold. Preparing the NGC 7000 image for star separation: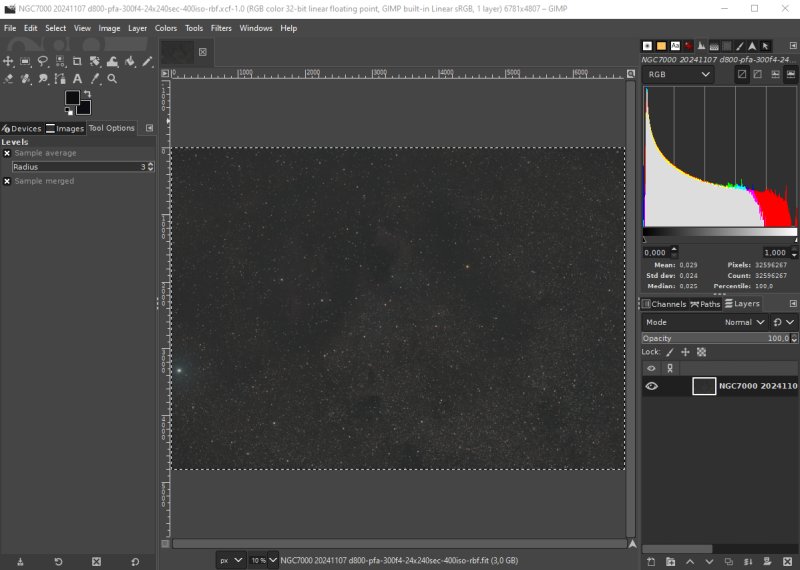
The test image I use is NGC 7000, the California Nebula. The camera is a Nikon D800 DSLR and the lens a Pentax 645 FA 300 mm f/4 ED lens. Exposure 24x240 seconds at ISO 400. This photo is taken in a Bortle Class 4 area. It's in 32 bit floating point format. Flat and photometric color calibrated. The edges has been cropped. In Gimp I have increased the saturation, crank up the gamma a bit and set its base level, that's all. Gaussian blur: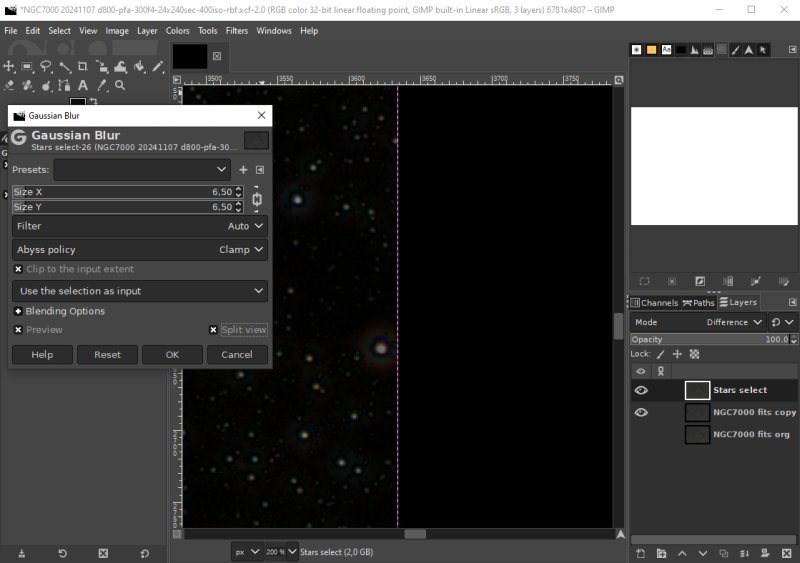
Here I have made two copies of the org file and giving them different names. The top layer, Stars select is set to the mode Difference. To Stars select layer I set some Gaussian blur. I have the window in split mode, then I can easy see how much I have to set the size X/Y blur filter. In my case it looks optimal with a pixel size of about 6. The stars has come out from the darkness and not much background is disturbing. Merge layers: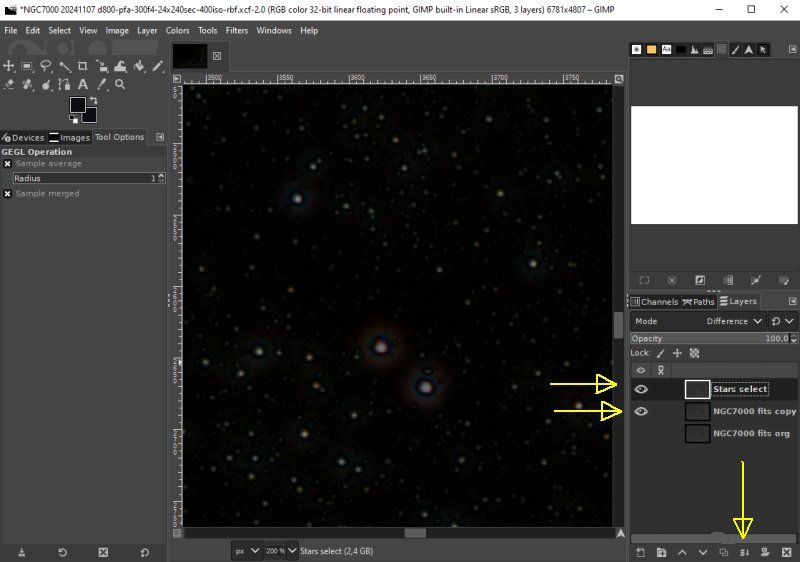
The two difference layers that are visible I merge to one layer when I have finished the Gaussian blur. Click on the Merger icon at bottom to merge them. 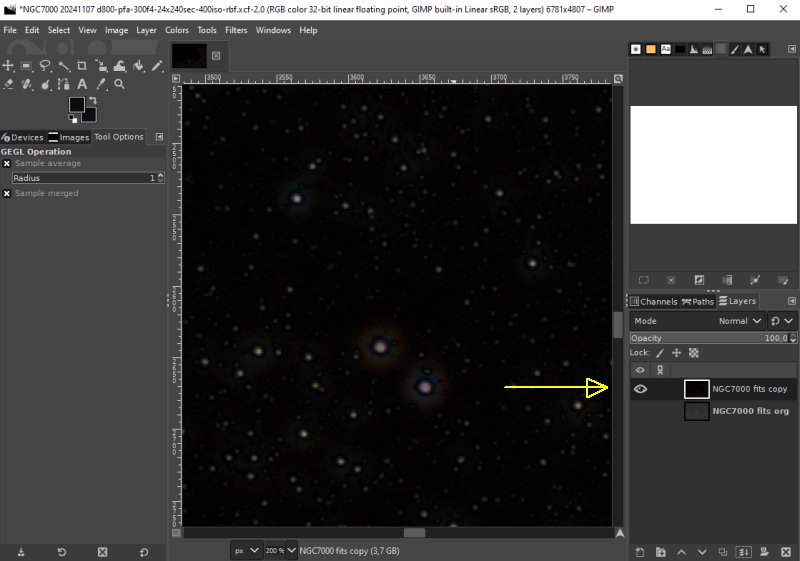
The merged layer got one of the old layers name. It's a different layer now and must be given a new name, or it will be confusing. 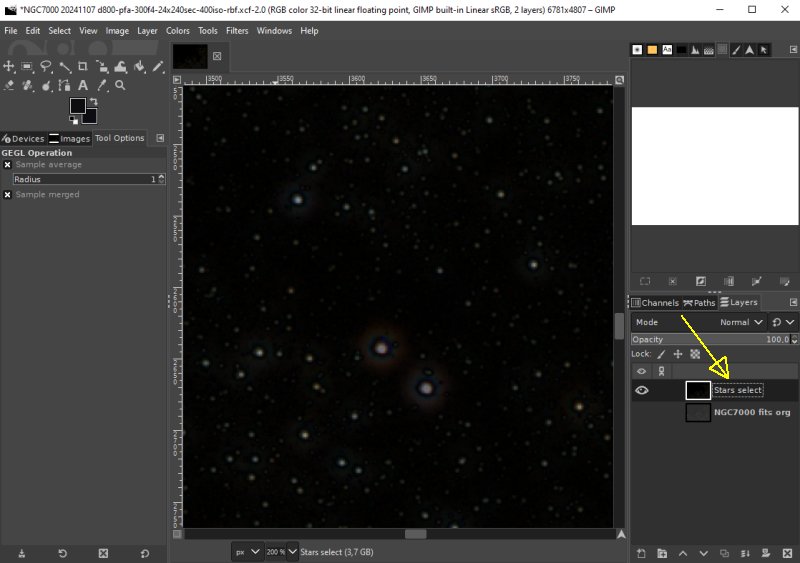
Give the name "Stars select" that one of the layers had earlier. It tell what this layer do when finished. One more working copy: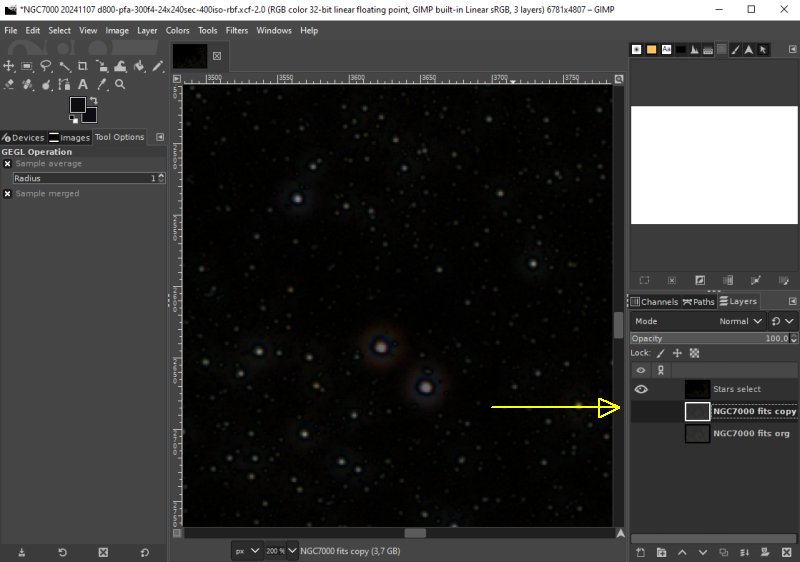
A new working copy is needed, I must limit the number of layers because the files are big, 350MB each. Activate the org layer and use the icon at bottom or the Edit menu to copy it. Adjust Color Curves: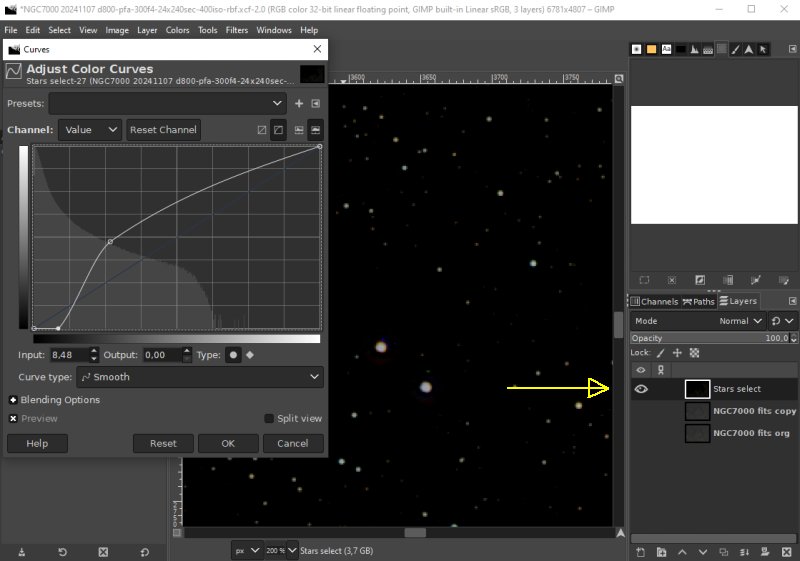
Working with the Curves to get more contrast of the stars which make it easier to get a star mask of good quality. Apply Treshold: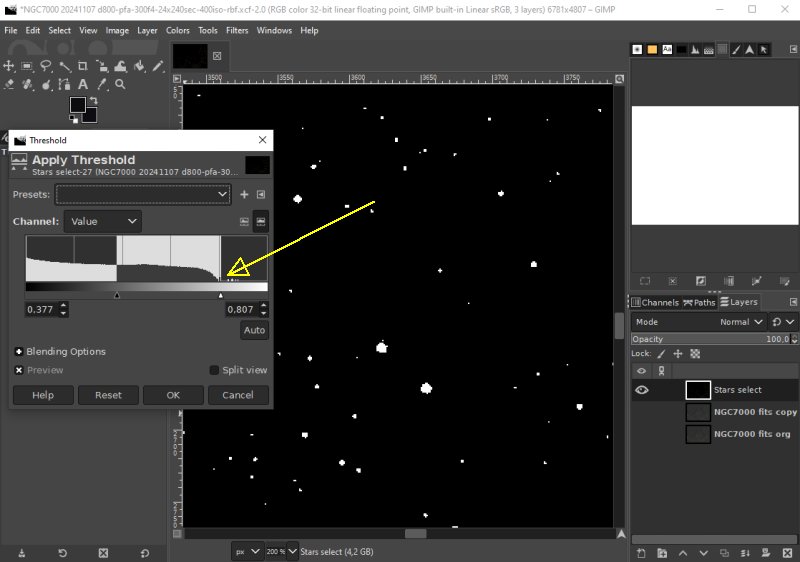
With the Threshold I divide the 'Star' image in only black and white star levels. An ON/OFF function layer, Star or no Star. As you see this selection is a combination of two different selections methods. Fuzzu select: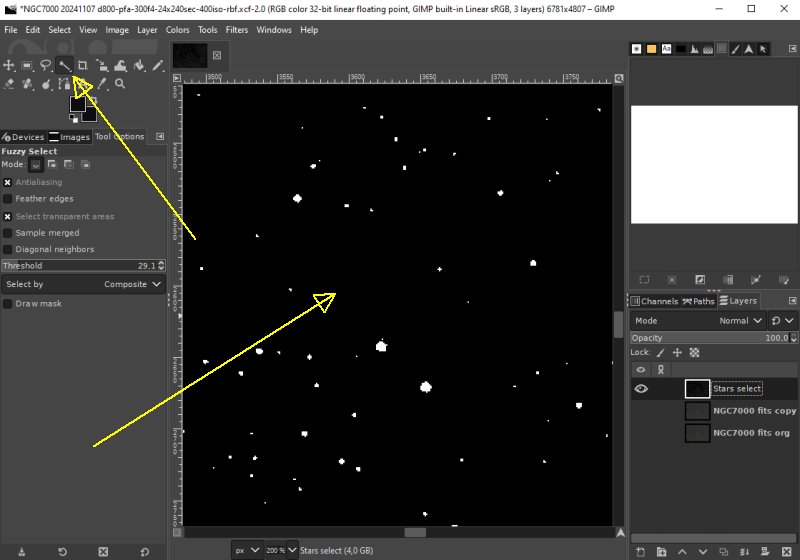
Use 'Fuzzy Select' tool, click on the background, the black area. All black area will be selected. Invert selection: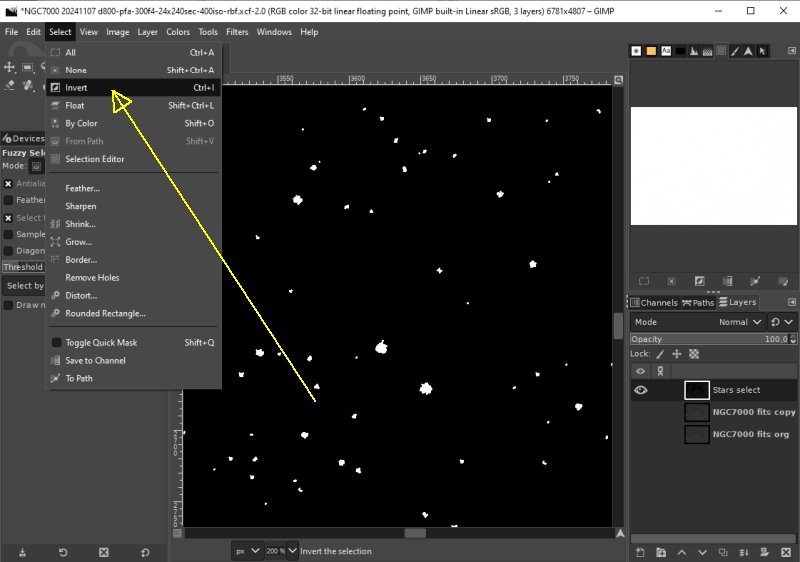
We want the stars to be selected, not the background. Invert the selected area from the Selection menu. The white area which are the stars will be selected instead of the background. The white preview window will change to black. It's now the stars that are selected. After this the usual: Grow, Feather, Star Mask and DSO mask. It's from this tutorial: 3.2: Separation of stars and DSO.
|
|