|
Advertisement / Annons: |
Tutorial:
|
Content:
Note: |
4: Selecting starsTo select the stars or recognize them can be done with a lot of different methods. Some of the methods to select out the stars are:
These methods are about the same except the wavelet which is a little bit special. Which of them to use depends a lot of the image quality, star sharpness, saturation, DSO etc. For extra ordinary stars there is maybe a need of a complement with a manually method, the Lasso. Gimp ver 2.10 4.1: Selecting stars by colorPreparing the NGC 7000 image for star separation: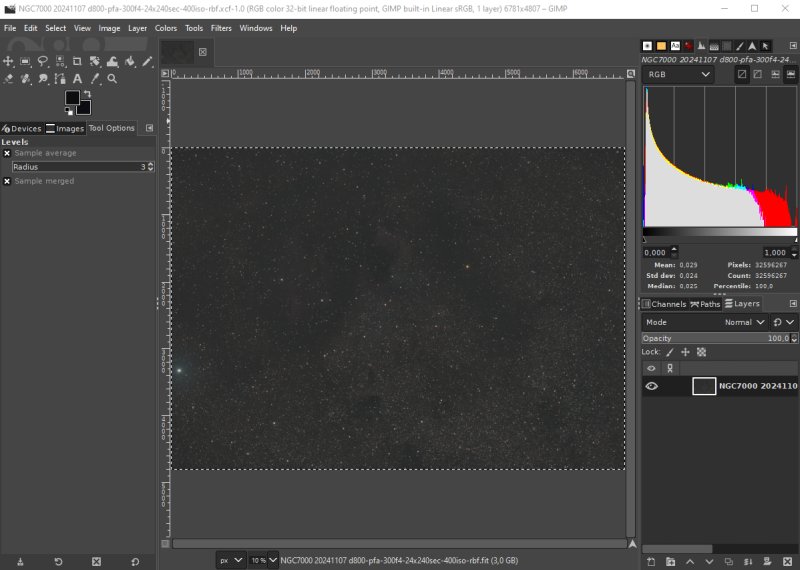
The test image I use is NGC 7000, the California Nebula. The camera is a Nikon D800 DSLR and the lens a Pentax 645 FA 300 mm f/4 ED lens. Exposure 24x240 seconds at ISO 400. This photo is taken in a Bortle Class 4 area. It's in 32 bit floating point format. Flat and photometric color calibrated. The edges has been cropped. In Gimp I have increased the saturation, crank up the gamma a bit and set its base level, that's all. Make a working copy: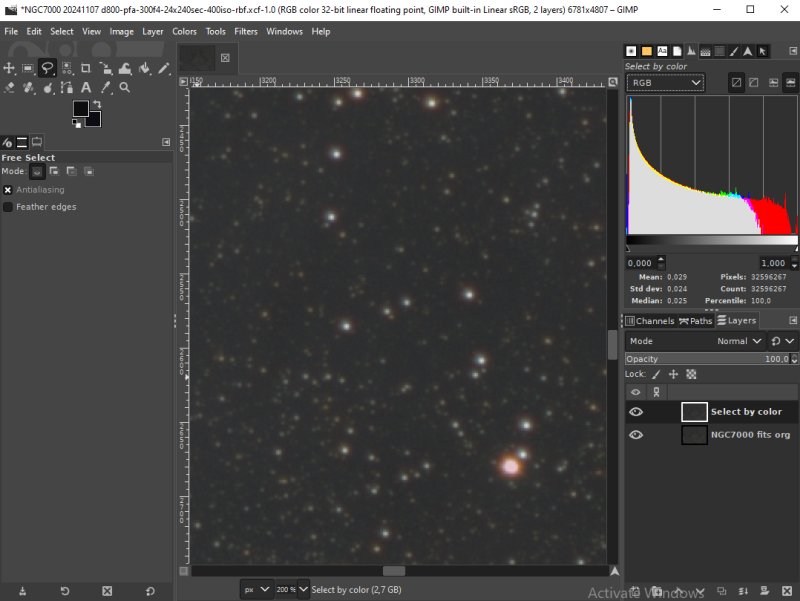
Copy the org image file to get a new one in a layer, give it some name, "Select by color" here. Selecting stars by color: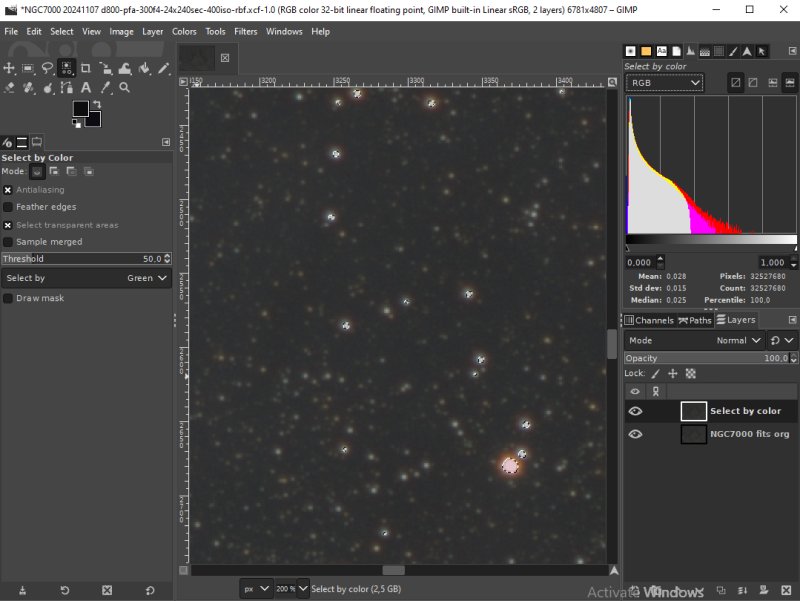
From Select menu, choose Select by color. Set threshold somewhere from 30 to 60. Start with the higher values to not choose every little dot in the image. It will let the computer go down. If there are objects selected that shouldn't be there. Draw a ring around it with the Lasso tool while holding the Ctrl button down. Then Enter and the local selection disappear. General information about Gimp Select by color: Expand the selected area: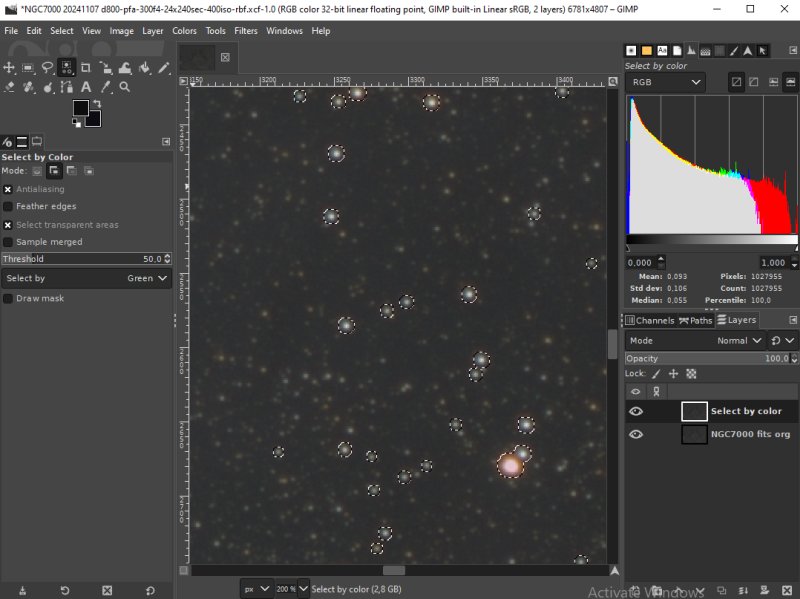
You want the selected area go a bit outside the stars. Use the grow function from the Select menu. Set the parameter to 3 to 6 pixels, it should look something like this. After that add Feather to soft the edges. You find it at the Selection menu, 3 to 6 pixels are normal values. Ad a mask to the layer: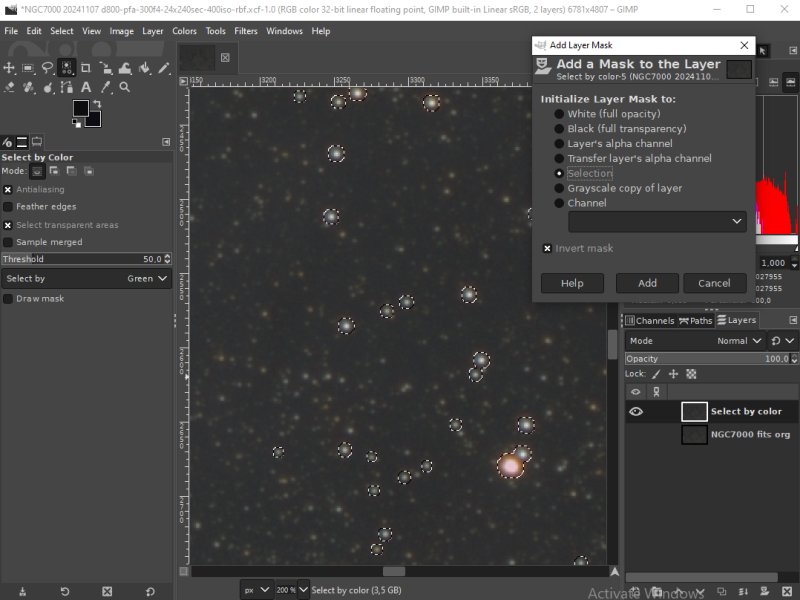
We now make a mask from the selected area. Right click on the selection layer, choose "Add a Mask to the Layer". Set selection and Invert mask, then click Add button. DSO mask: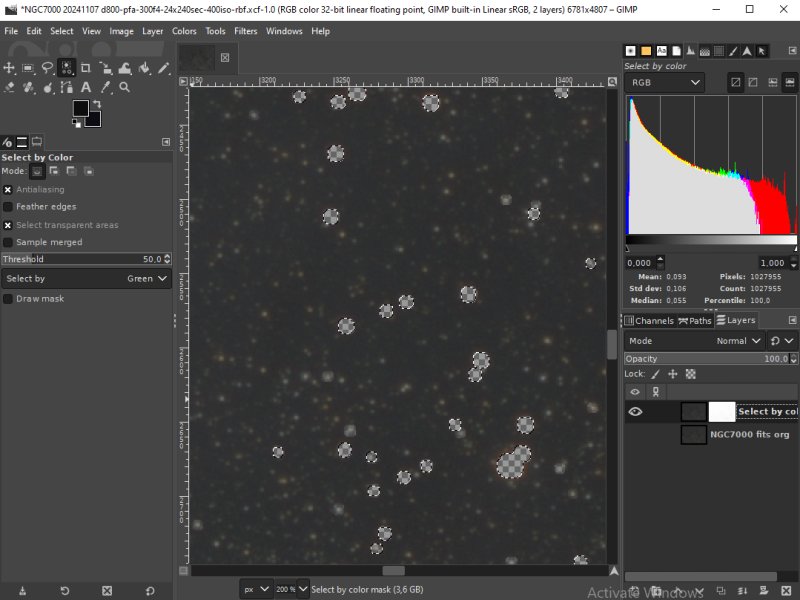
Only have the Select layer visible and the holes after the stars that has been masked out will be visible. Only DSO and the weak stars left. Star mask: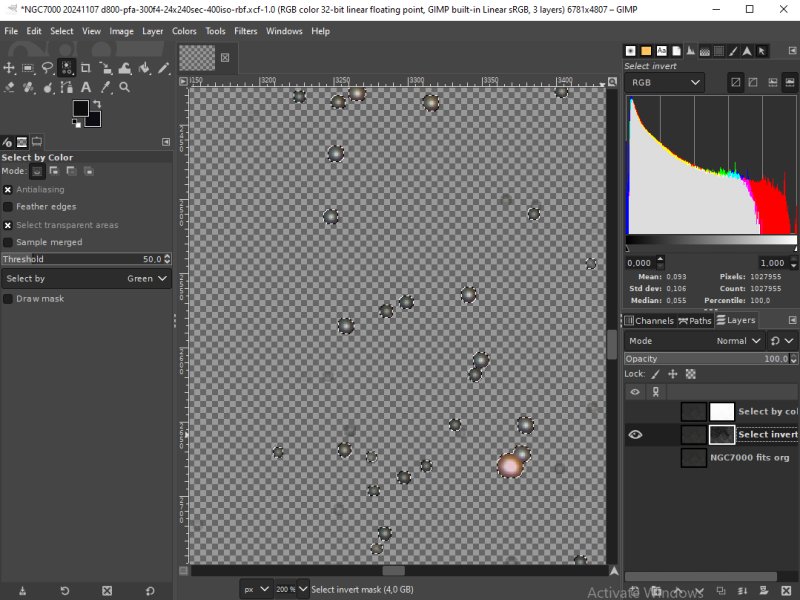
Make a new copy of the org file, give it a new name, in this case "Invert". Ad a Mask to the layer as before, but this time don't set Invert mask. Now only the stars are visible. With this a Star mask and a DSO mask can be made. See tutorial 3.3 and 3.4. As you will see there is not much difference between the different methods. Which is best depend on the image and what you want to do.
|
|