|
Advertisement / Annons: |
Tutorial:
|
Content:
Note: |
Processing a nebula with masksNow I'm practising to process a nebula with the mask method. I use the color selecting tool which looks easiest to get good results with when selecting stars. Gimp ver 2.10 5.1: Setup masksTest image NGC 7000 nebula: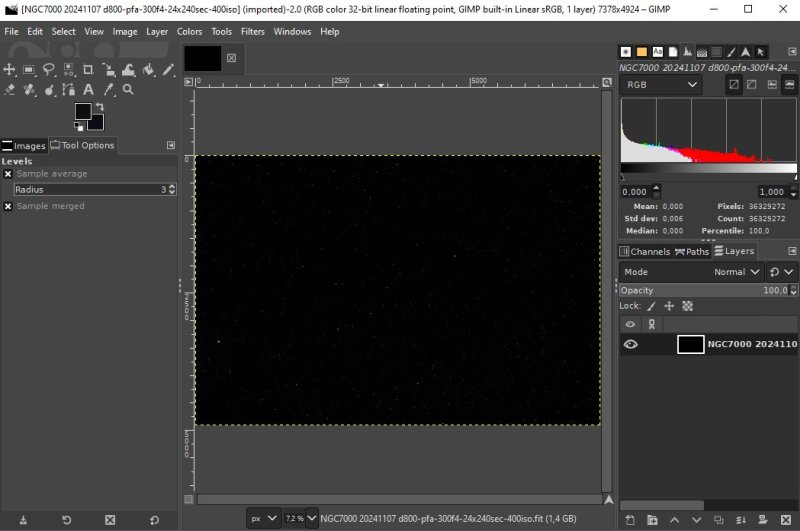
The test image I use is NGC 7000, the California Nebula. The camera is a Nikon D800 DSLR and the lens a Pentax 645 FA 300 mm f/4 ED lens. Exposure 24x240 seconds at ISO 400 in dithering mode. This photo is taken in a Bortle Class 4 area. It's in 32 bit floating point format. Flat and photometric color calibrated. Still linear and because of that very black. Setup gamma and bias: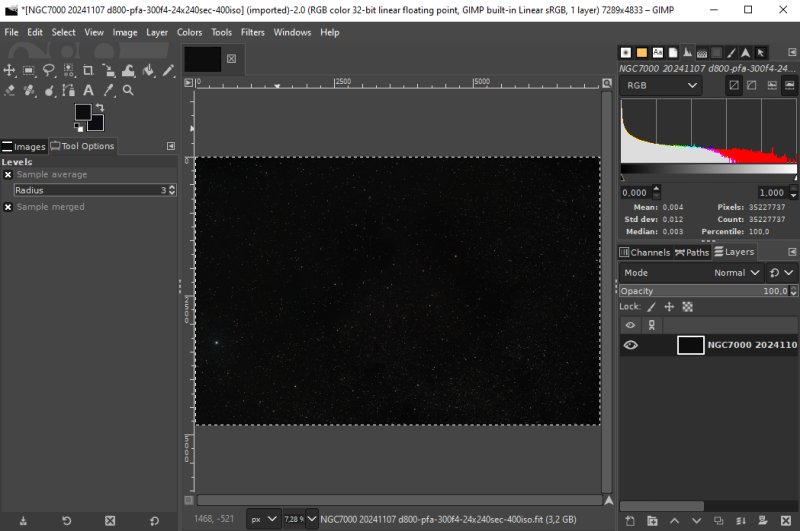
First I crop the image to get rid of the artifacts around the edges after the dithering process when I took the images. Then I use the Levels tool at color menu. The middle arrow I drag to 2.2, I'm not sure if that is the same as gamma 2.2, but it looks like that. Gimp call it Clamp Input. Adjust the bias level. This is how I want the stars to look like because I use this image for the Star mask. Setup Star mask: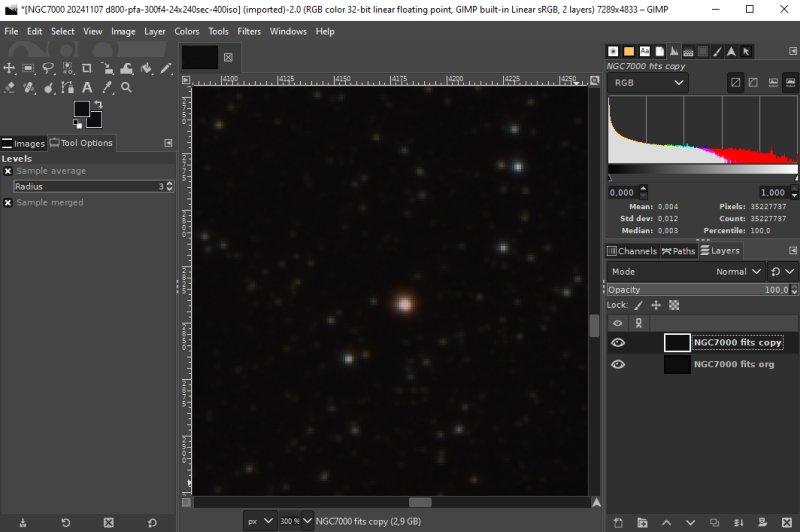
Copy the original file to a working copy, rename it to Star layer. Making Star mask: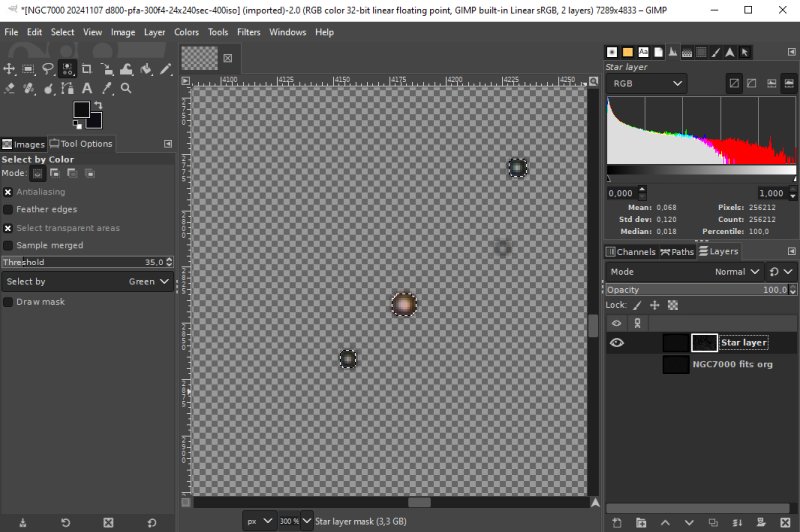
Use Select by color, threshold around 45. Grow by 3 pixels and Feather by 3 pixels. Add a layer mask to Star layer. All the same as I did in the previous tutorial 3.2. Making Nebula mask: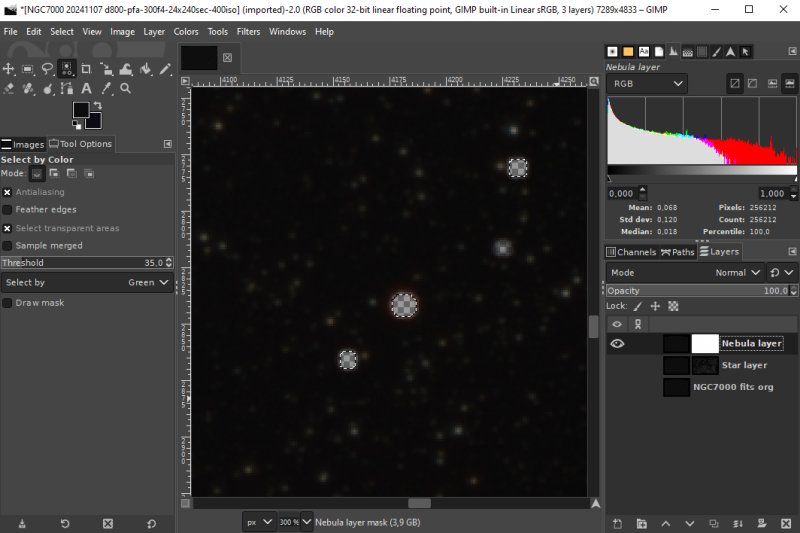
Same procedure as with the Star mask, but when adding the layer, invert it. See tutorial 3.3 for more details. Check: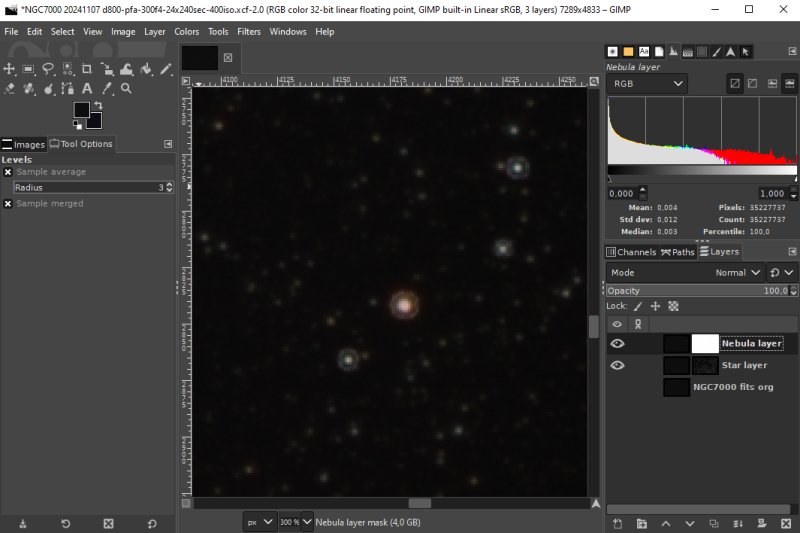
Set both to visible to check that they line up with each other. Not perfect, something with the Grow and Feathering that has to be trimmed, do it later. Now it's prepared to editing the nebula without affecting the stars.
|
|