|
Advertisement / Annons: |
Tutorial:
|
Content:
Note: |
0.4, Align red, green, blue layers:Now when I got to learn some basic how to use Gimp for astroimages I get more critical. I can see that DSS doesn't align the sub images in the stack correct. I have to adjust red and blue relative the green layer with a couples of pixel. There are specialized plugin for this to download, but in this tutorial I use what's built in Gimp. This align is a one point align. Only shift up/downwards or left/right. Correct a color shift: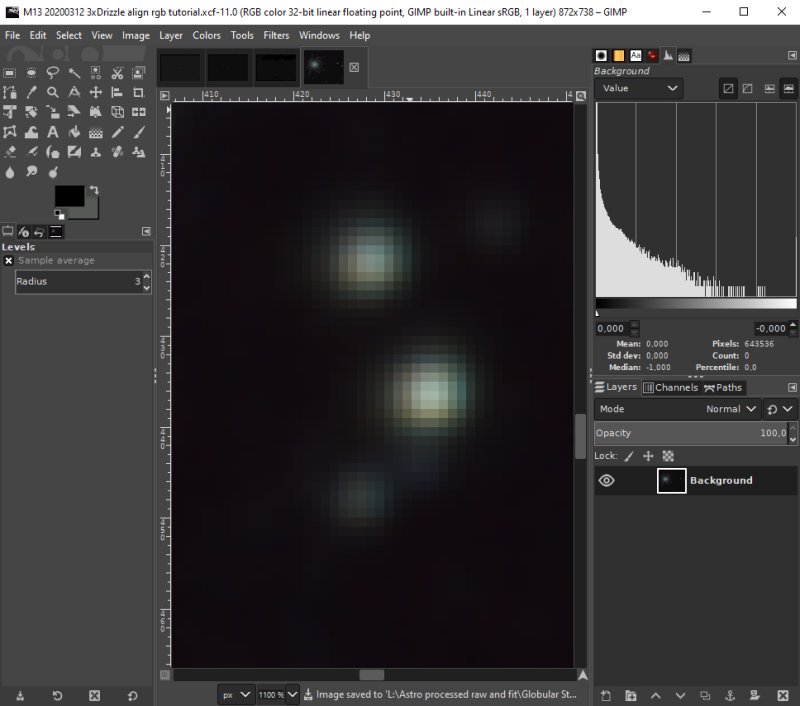
It can be seen a slight shift in position of the red / green color channels. Can it be corrected or is it to small ? Decompose: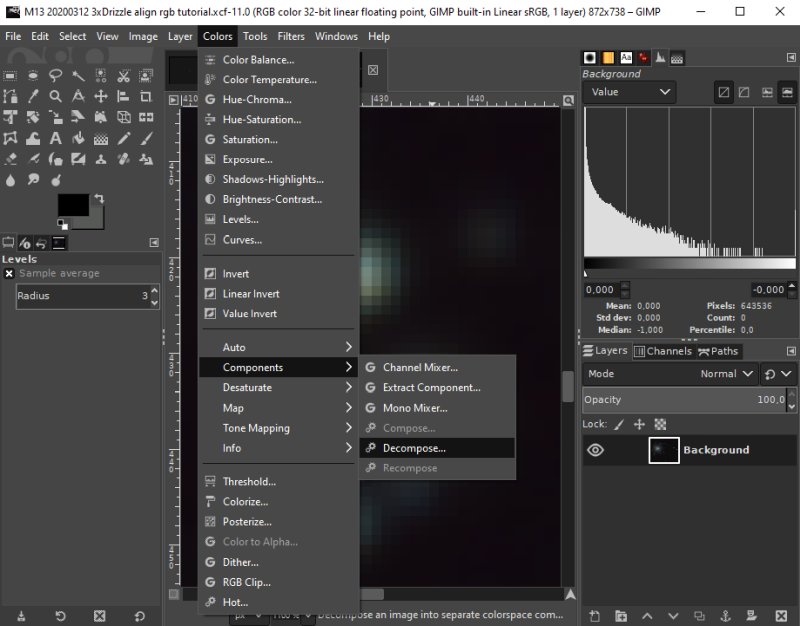
To shift color channel the image must be separated into its individual layers. Extract channels: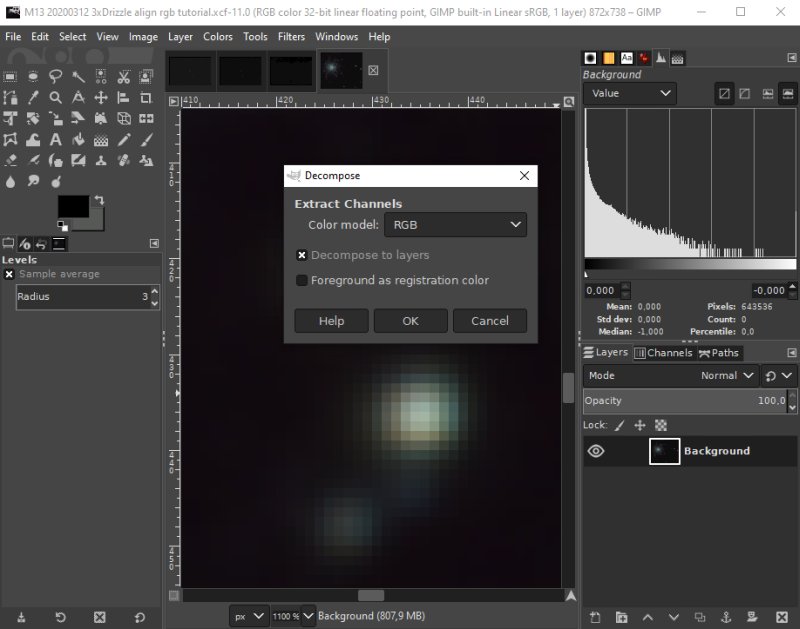
Use the color model RGB. Setup the red layer to correct: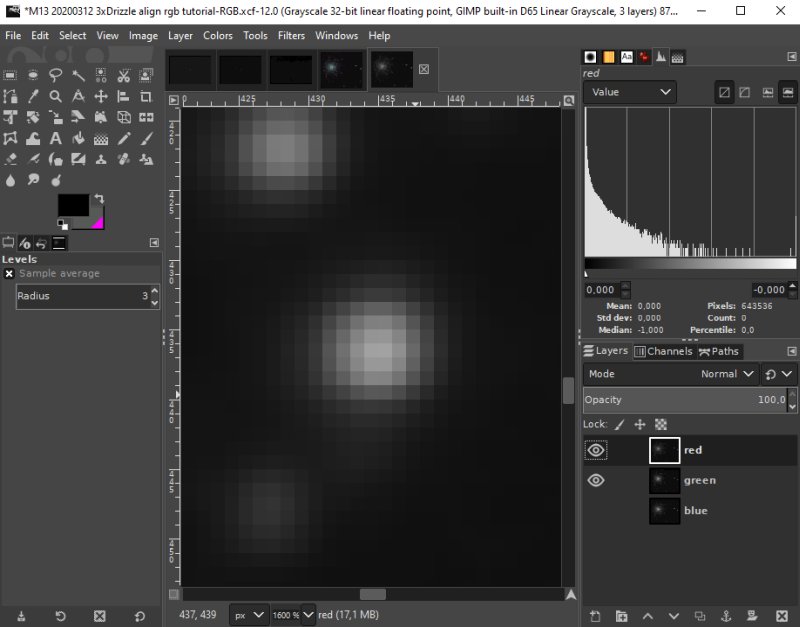
Now the image is separated it its individual layers. Turn on the red and green layer with the 'eye' and activate the red layer that we want to shift in x and y axis. Open the Offset tool: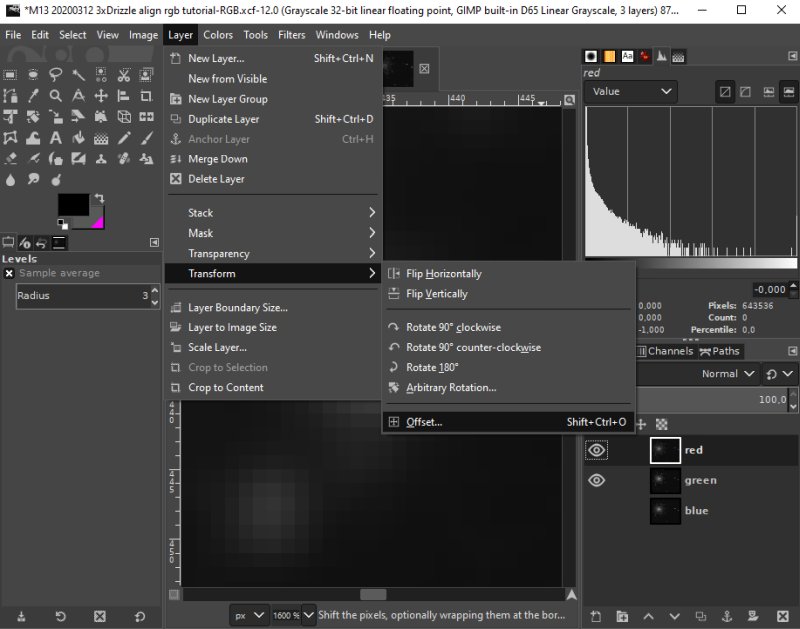
Open the offset tool from Layer>Transform>Offset. Offset: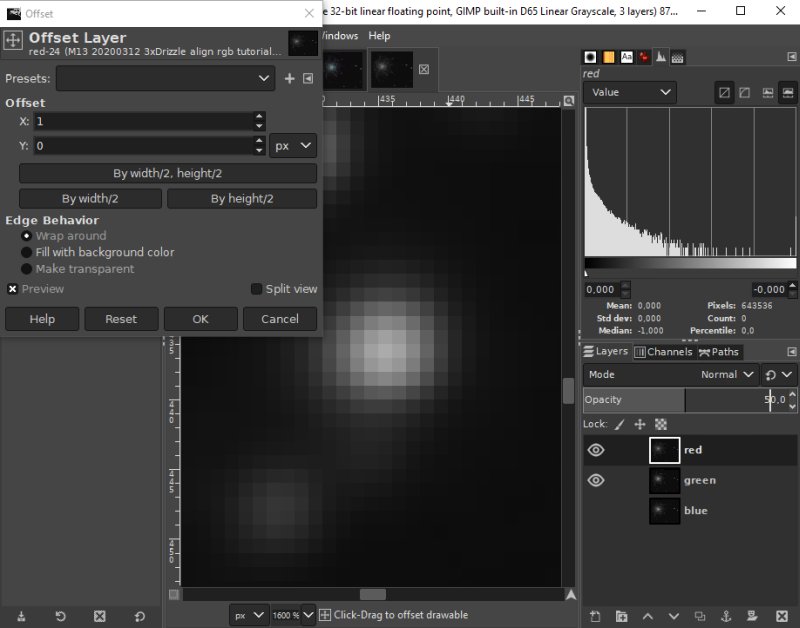
Adjust X and Y offset until they match each other in position. You can either turn on/off the red 'eye' or set the red layer to 50% opacity. Maybe the split view can help in some cases. When correct, click 'OK'. Setup the blue layer to correct: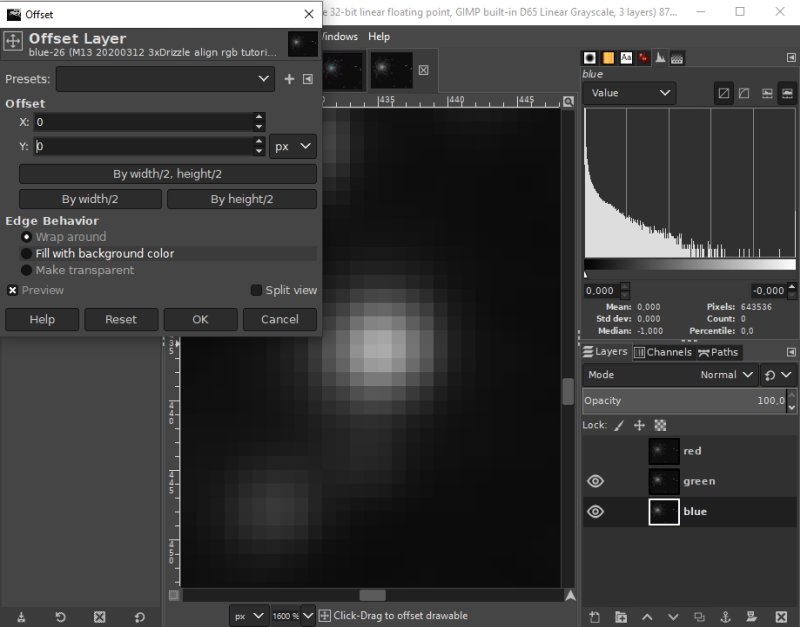
Next to adjust the blue layer. Turn of the red and turn on the green with the 'eye' buttons. Activate the green layer and set the opacity to 50%. Activate the blue layer and adjust, when ok click 'OK' button. In this case either the red or the blue layer was possible to adjust, needed smaller steps than discrete pixels. Compose: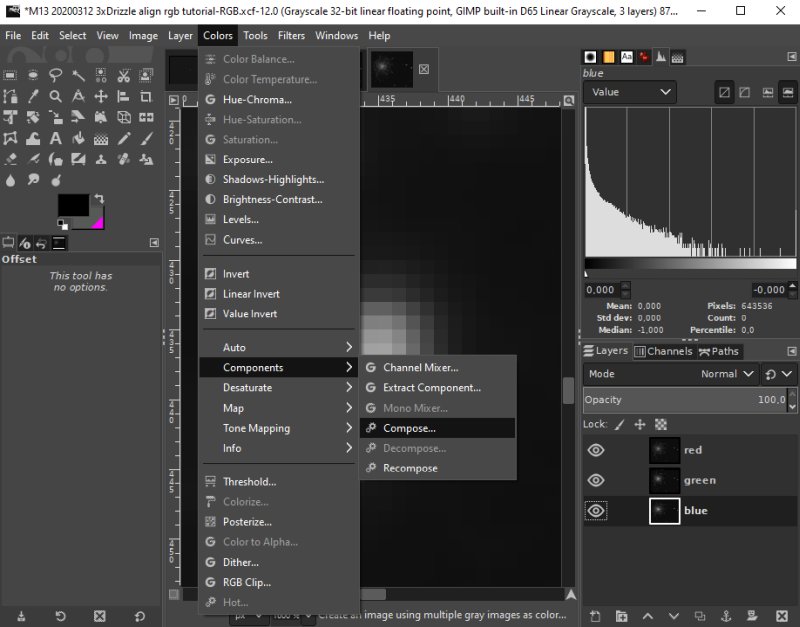
Compose back the layer to a RGB image. Set layers color: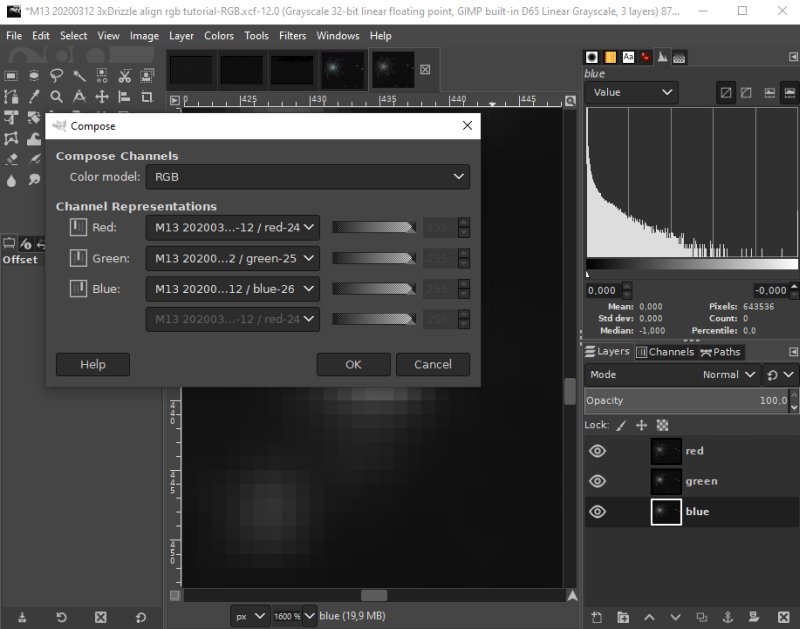
Set correct file to correct layer. Click 'OK'. Back to rgb mode: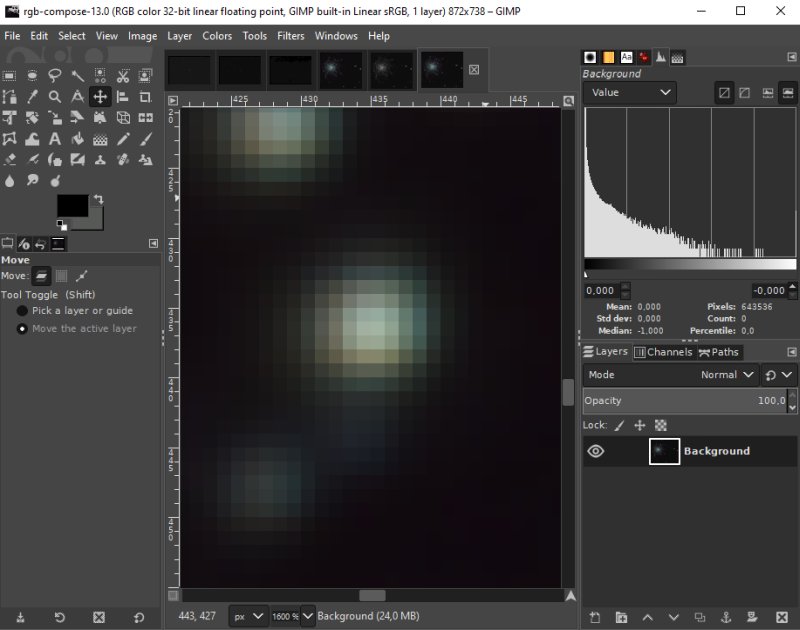
Back to were we started, no difference this time, but next time the adjustment maybe is worse and can be corrected. I need a shift tool that can correct on sub pixel level. I have not find it in Gimp yet.
|
| Go Back |