|
Advertisement / Annons: |
Project:
|
Contents:
Related projects:
Note: |
13: Brackets: temperature sensor, spirit level and stepper motorWhen I'm out in the dark cold nigh it's important to have the equipment operated as easy as possible. When setup and polar align the parking position must be correct, aligned. This is adjusted with help of spirit levels, one for RA-axis and another for the DEC-axis. Here I install brackets for these and other things. Temperature sensor bracket:
With my USB-Focus motor was included a temperature sensor. It was used to temperature compensate the focus. For that to work it was needed a table of temperature and focus position. Now with my new setup I do auto focus once an hour instead and it works much better and no need of this data table. Still I want this temperature sensor, it could be used for temperature logging etc. I reuse the old temperature sensor bracket. 
I placed it at the front, a M3 screw hold it in place. The bracket was designed for M6 screw, but with a washer it fits. Spirit Level bracket, DEC-axis:
Couldn't find the two spirit levels I bought for this purpose. Instead I took my camera's spirit level. It's mounted in the flash holder. This is my design to hold it and it's adjustable. 
It was a bit tight and had to nail the openings wider to have to fit. 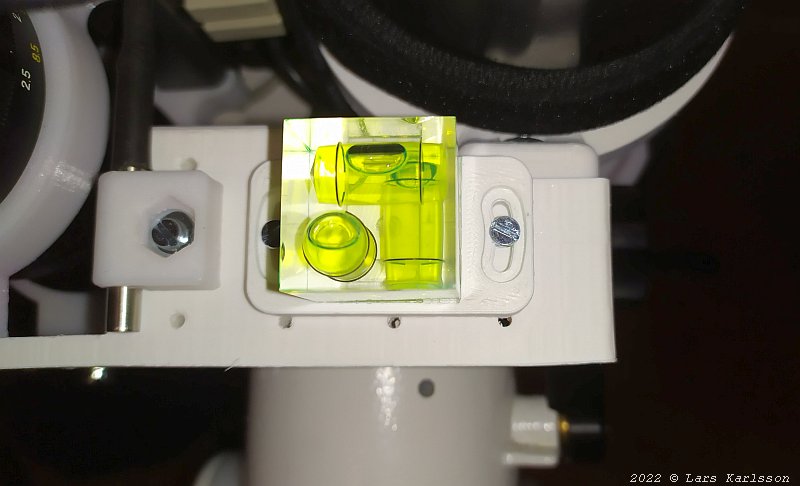
With this I can align the DEC-axis, either when it's parked at Polaris position or when pointing East or West. Later I have to built another bracket for the RA-axis. Stepper Motor distance bracket: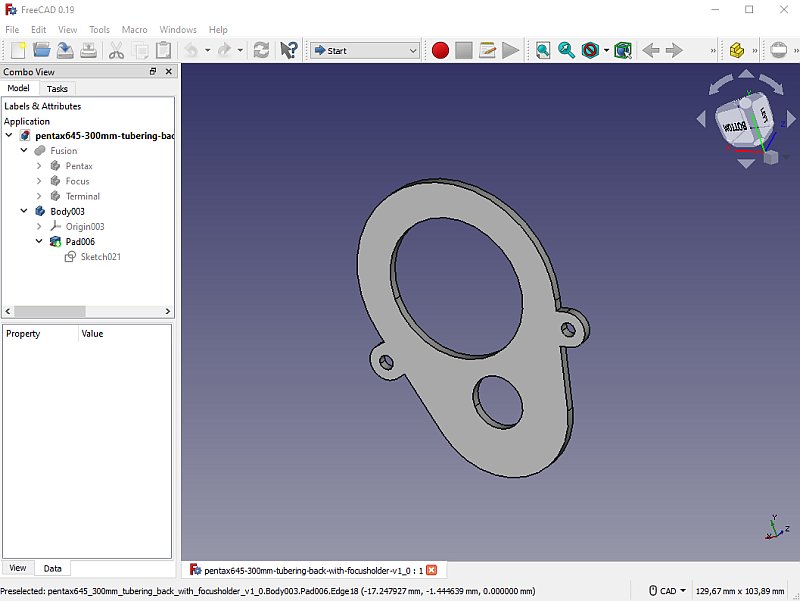
To have the focus stepper motor come in line with the timing belt I have to put a distance between the motor and the bracket. The gear was at its end stop so couldn't adjusted more with it. 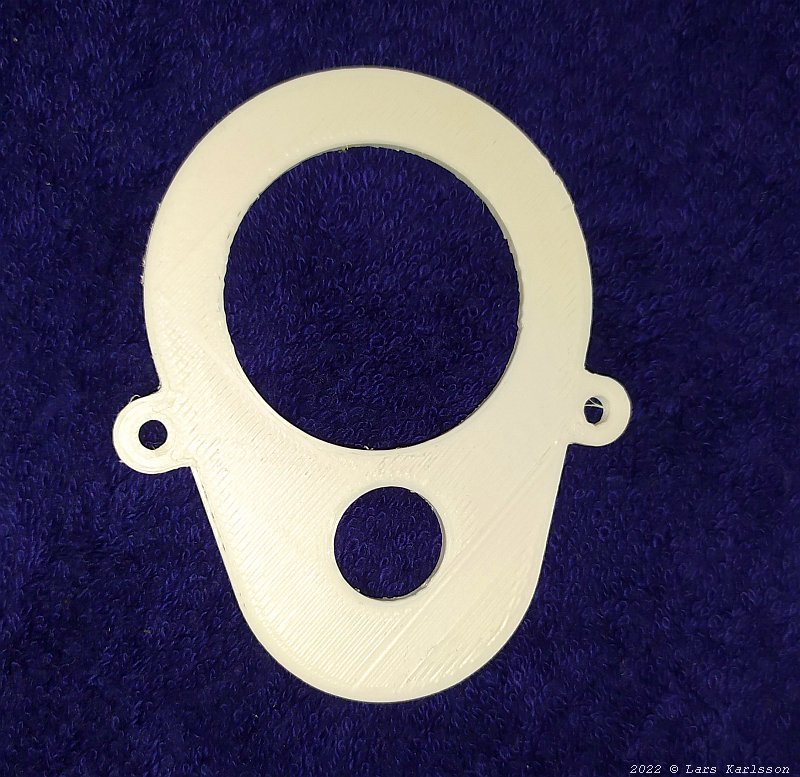
It's 3 mm thick, if I had used washers only it had not been very stable. 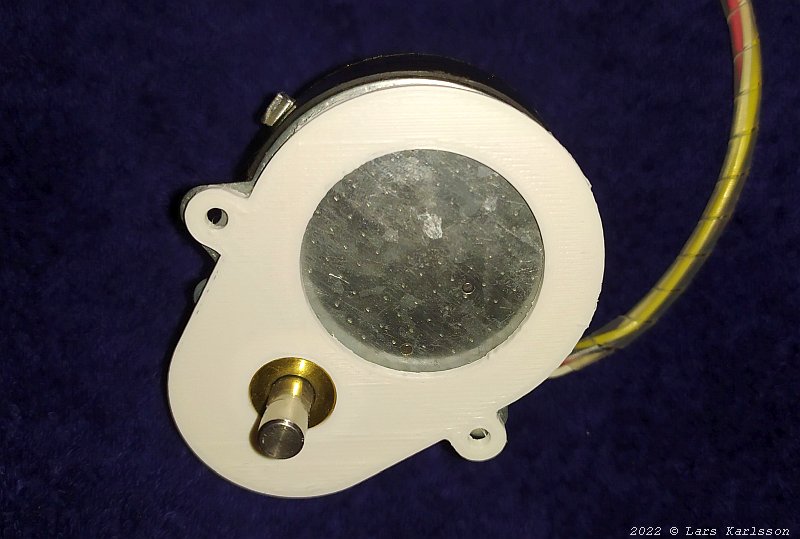
The distance fits perfect on the stepper motor. 
With this distance the two gears and timing belt line up perfect. Distance for tube ring / beam: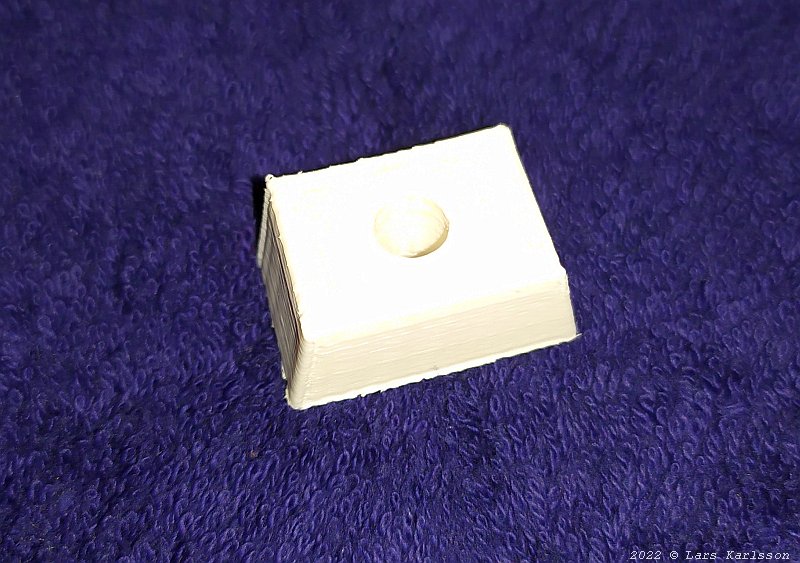
One more distance 3D-Printed. This one will be placed between the tube ring and the cross beam. 
Mounted in its place. Need to be careful because the screw can hit the lens and destroy it, washers are placed in between to not let the screw protrude to far in.
|
|