|
Advertisement / Annons: |
Project:
|
Contents:
Related projects:
Note: |
3: Installing the 300 mm lens on HEQ5Now I'm rebuilding the 300 mm Pentax setup to fit the HEQ5 mount. There are only a few cables that I have to change. HEQ5: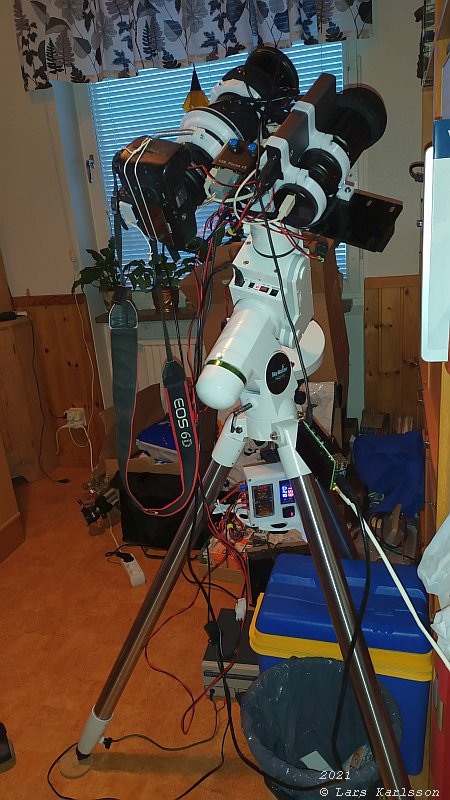
Just put it together to check the used HEQ5 mount I bought work properly. I have also setup a Raspberry Pi4 with KStars and Ekos to control the mount. I got the Raspberry to work almost direct, much better compare to earlier when I had so lot of problem. Thanks all people at INDI / Kstar forum ! Cables: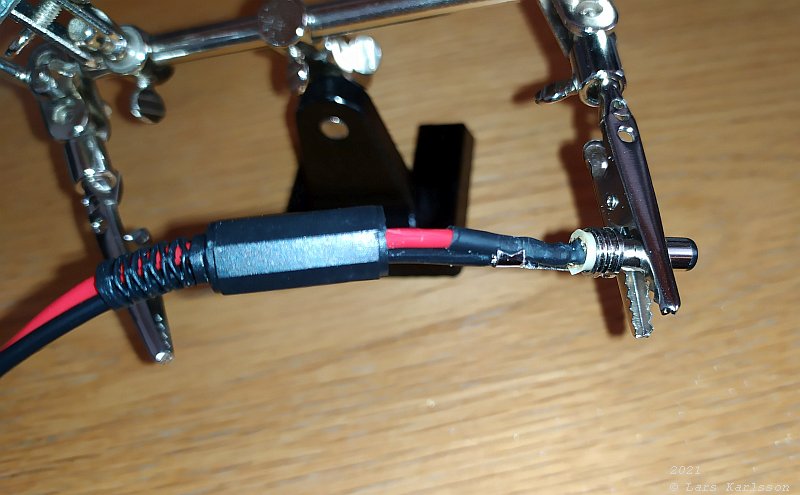
Solder a new cable with a connector to the powered hub. 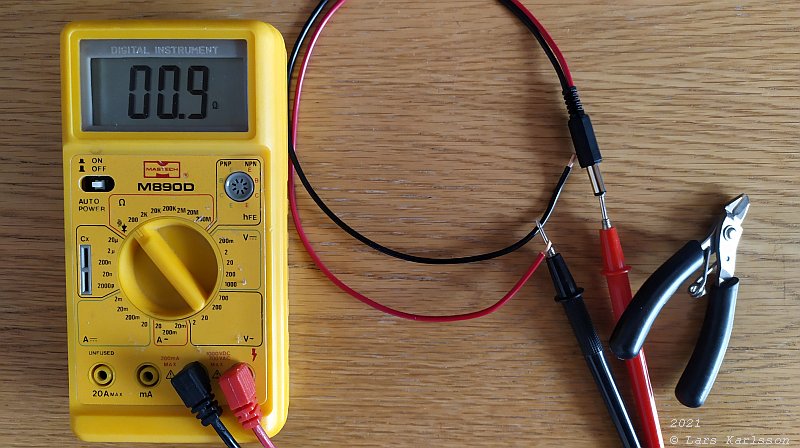
The plus on the tip, check carefully, also check that there are no shortcuts. 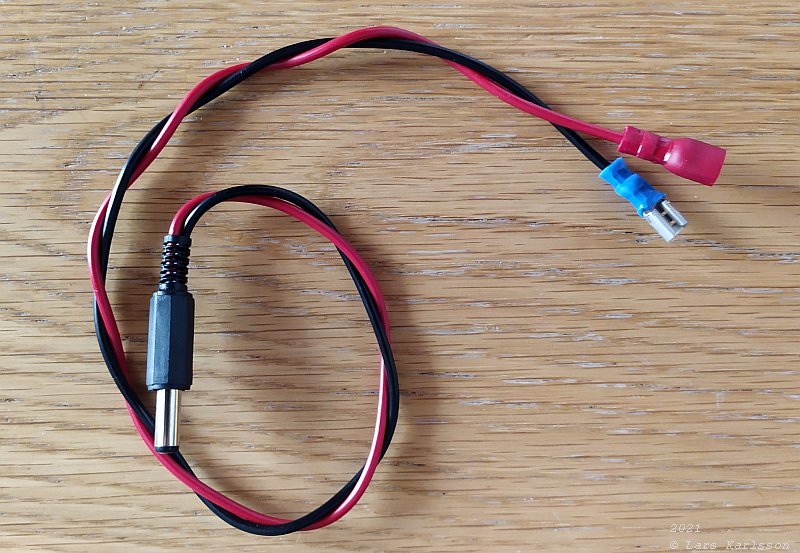
On the other end of the cable, just ordinary flat connectors. I have it like this because I change my setups often. Cables everywhere. 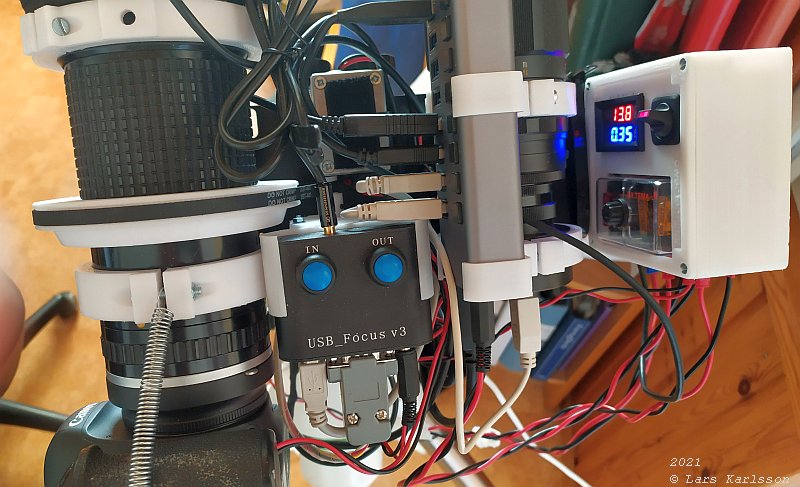
Up and running, note the Ampere reading, only 0.35 Amp and still the computer is running. The heating bands are shut down. When I load it fully it takes about 1.4 Ampere at 13.7 Volts, compare that with 2.2 Ampere or even earlier when it took 3 Ampere. I save a lot of power and can now have a much smaller battery. From a 23 kg 45 Amph car battery to a 20 Amph battery, if Lithium the weight will be much lower. I can control KStar from a Android pad which also is take very little power compare to a Laptop. 
Where do all cables go ? On the right, the black box is the Raspberry Pi4 sitting beneath the dovetail. The big cable in center is the USB 3 cable which can be much shorter. The grey cable is the LAN cable, only used at home. Out on the field the Raspberry act as a server through a WIFI hot spot. The black cable in the mount at bottom is the EQMOD Direct cable I have just made. All red/black twisted cables are power cables. One main power with 2.5 mm2 as 12 Volt input. 1.5 mm2 to the mount, another 1.5 mm2 cable to the USB Hub which is powered. And one 0.75 mm2 to the 12 to 8 Volt converter for the Canon camera. 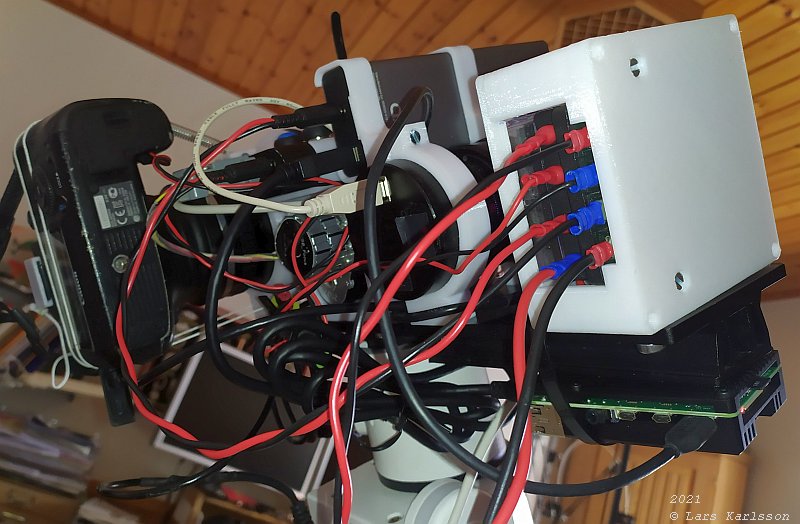
The white box is the power fuse box with its power in / outlets. Beneath it is the Raspberry Pi4. 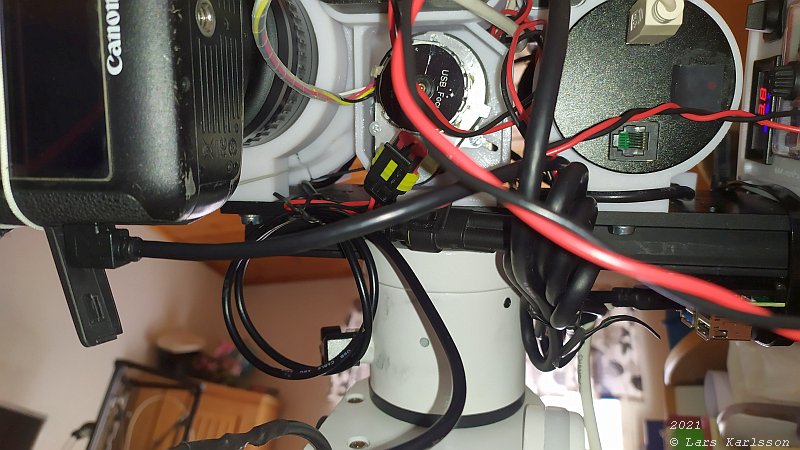
Main camera to the left and guider camera to the right. Between the focuser motor (USB-Focus). 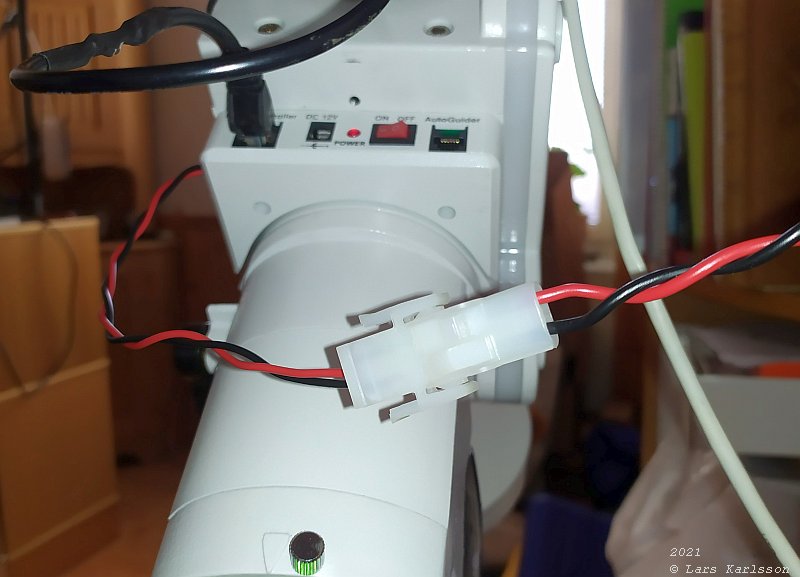
Power connector for the mount. Later I maybe place the power fuse box somewhere here. 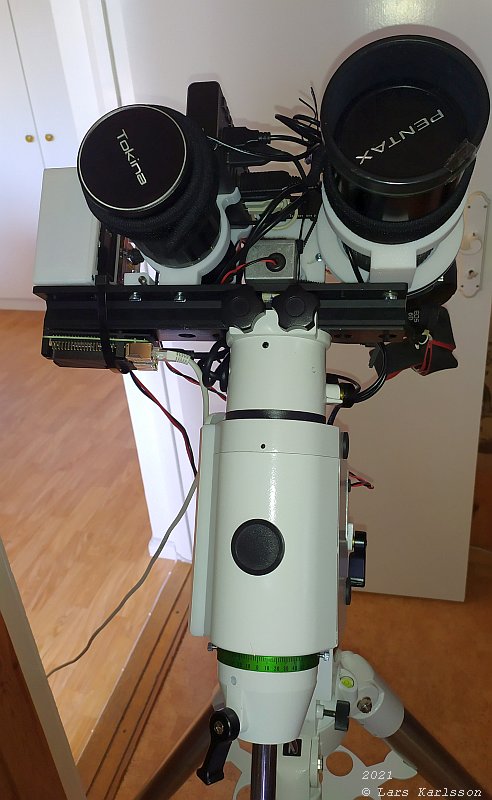
From the lens side the view is much better, no cables there. What's left now is to setup the Raspberry, I have got: Canon camera, QHY5 guide camera, HEQ5 mount and the focus motor to respond. Lot of parameters to tweak. It was really easy, just download the Astroberry latest image file, version 2.0.3. Format a SD card and put the image file on it. Start it up, connect the Raspberry to your local network or through its hot spot. When connected on internet, update the software by the command in the command window (on Raspberry):
Astroberry, information & download:
INDI / KStar forum and info
Because I didn't get it to work earlier I don't have any experience or know how to operate KStar, I have to learn that now. You can read about my earlier attempts to use a Raspberry to control the equipment:
Last time I was out on the balcony I got following to work: Mount control, Canon camera control, Auto guiding, Auto focus. For some unknown reason I didn't get the polar align to work. GPS time and position data are still missing. Very practical to have a GPS because the Raspberry doesn't have a battery backup clock. Latitude adjustment: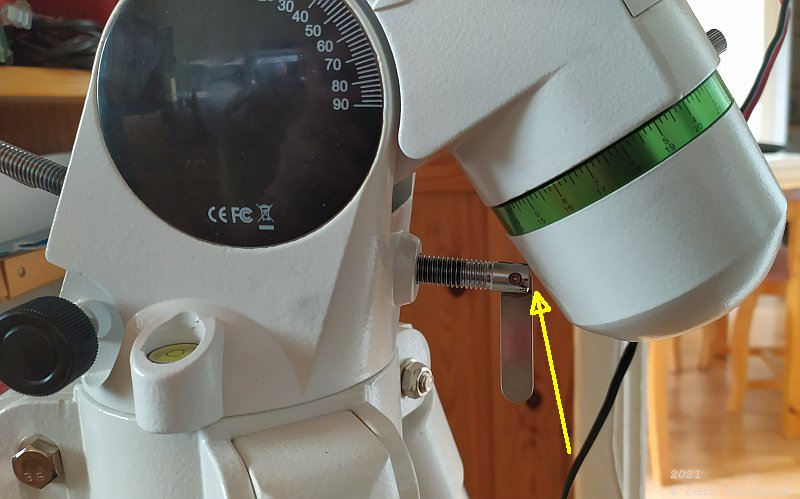
I noticed some strange thing, I who live at 60 degree latitude must tilt up the latitude adjustment a lot. When I did that the protection cover of the polar scope hit one of the adjustment screws. 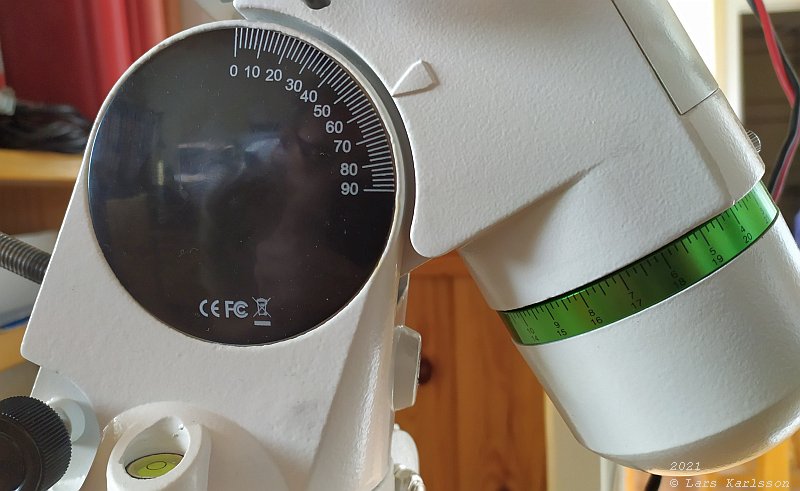
I removed that screw, the lower screw doesn't fill much function at these latitudes. I have similar problem on my EQ6 pro mount, but not that much.
|
|