|
Advertisement / Annons: |
Project:
|
Contents:
Related projects:
Note: |
4: Rewiring the electric cablesNow when I have use my new setup for a while I can see clearer how wiring the cables to be more practical. I want it to be easy to change between the Raspberry Linux system and the PC Windows system. Minimal cables between the mount and the camera. Power cables and fuse terminal: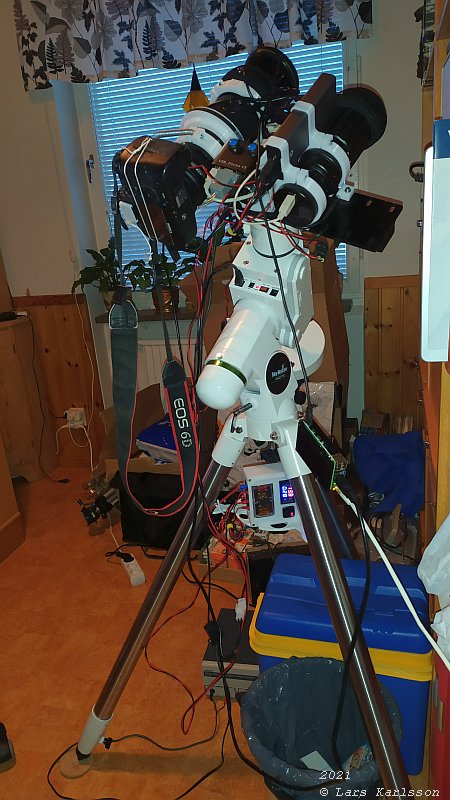
When I did the first test I move the fuse terminal up to the dove tail as a temporary solution. Now I move it out once again. More practical to have it closer to the power source. 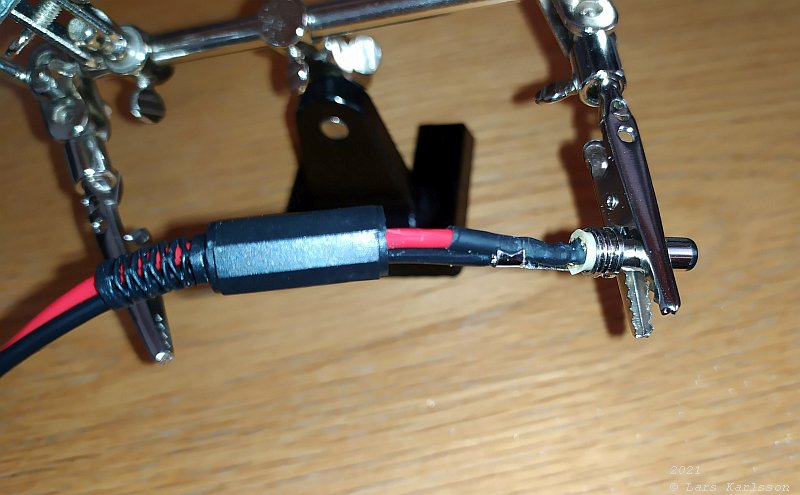
Bottom:
Middle:
Top: When changing between PC / Linux computer I only have to change the USB cable that go between the computer and the Hub. When changing between the HEQ5 /EQ6 I have to change the EQDirect cable. 
The power to Raspberry doesn't need 12 Volt, it need 5 Volt and at maximum 3 Ampere. I have that on the powered USB Hub. It can deliver max 2 Ampere on one port, if more is needed it should be possible to connect it in parallel to two ports. But where shall I place the Raspberry ? In this case it's better to have the computer mounted on the dove tail which gives shorter cables. Here I have placed it standing upright but it collide with the guest camera mount. 
If I lay it down it clear the mount, but the cables protrude to the right outside the dove tail, not good. 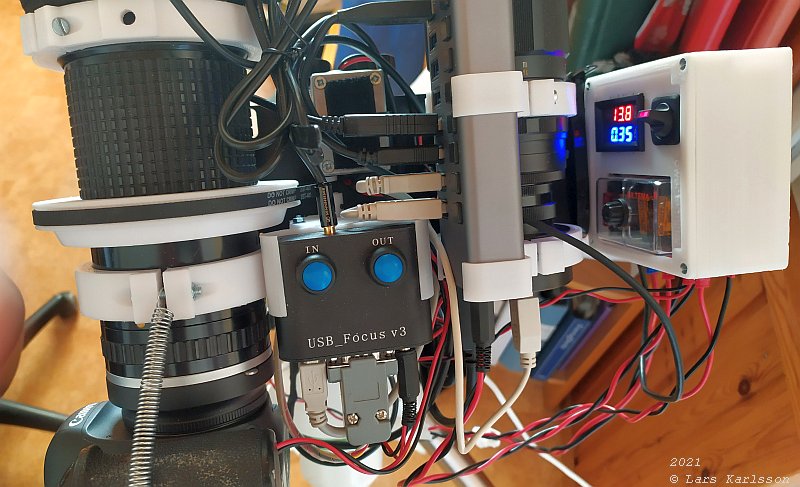
Rotate it 90 degree. This looks much better, easy to reach the USB memory (the red device) where I place all the astrophotos on. Also easy to connect the LAN cable when I use that, normally the Raspberry setup a WIFI hotspot to connect to. 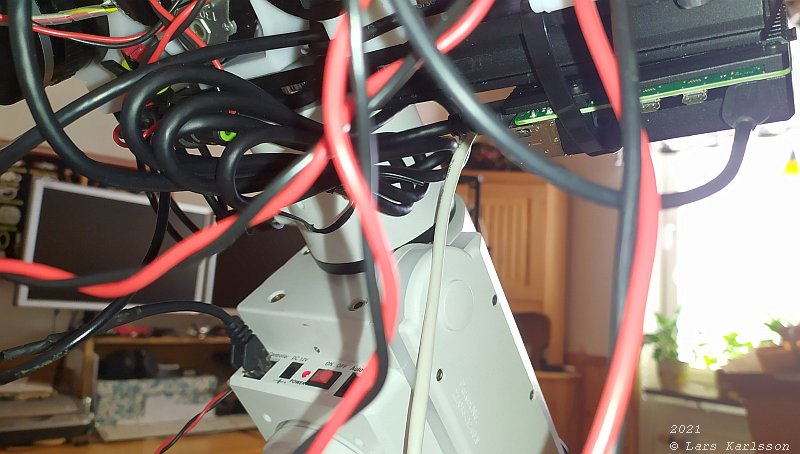
The mess with all cables is almost gone now. 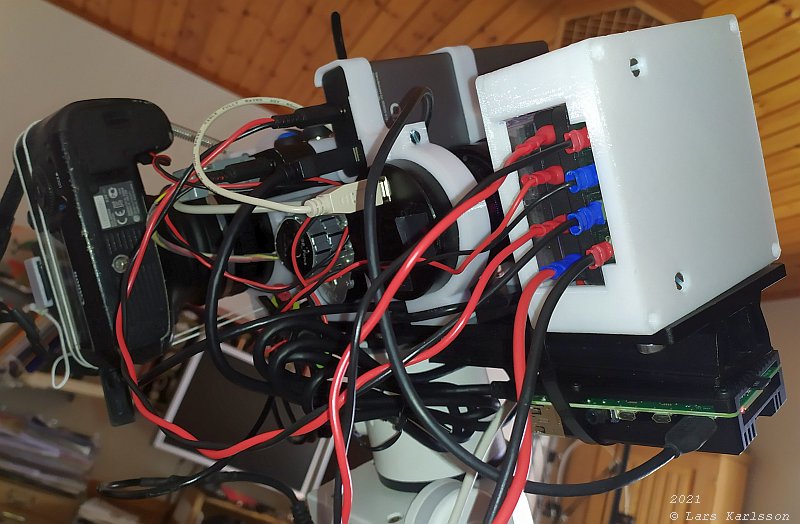
Moved back the guest camera mount to get the dove tail in better balance. 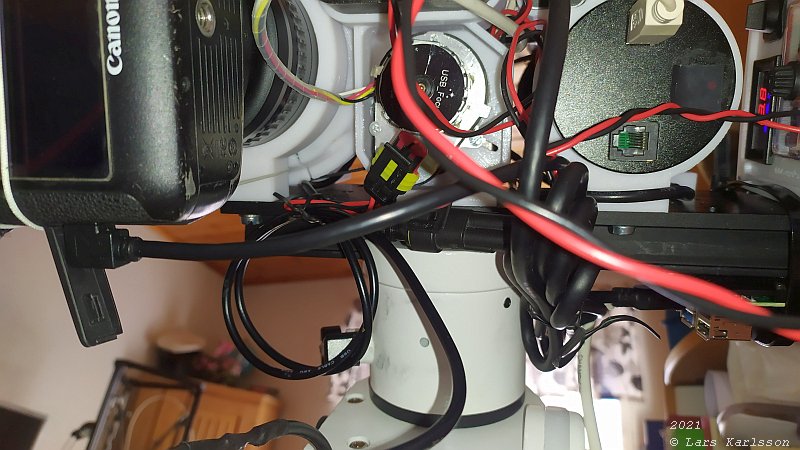
The Raspberry has a couples of LEDs that is very annoying, at the night they are very bright and blend. The arrow point to the LAN port, only light up when connected, I placed a black tape over it. 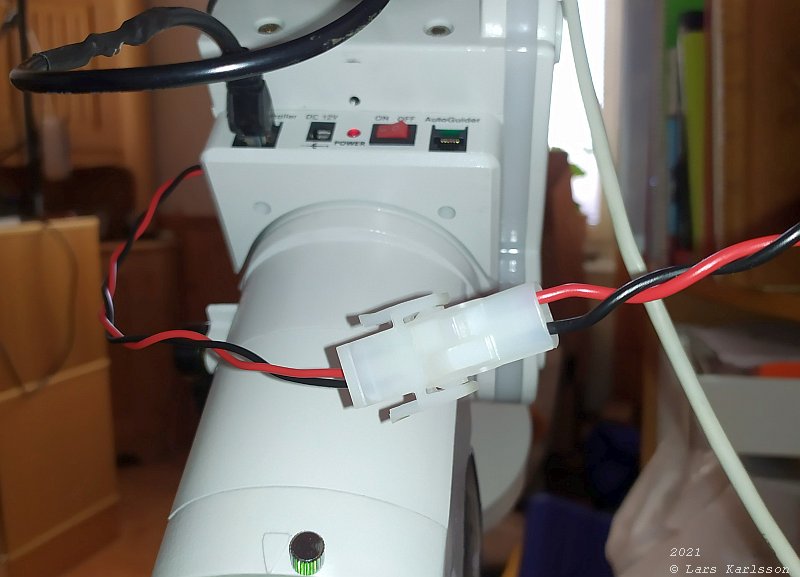
Two other LEDs indicate the status of the computer, another black tape over them. Good, now I can concentrate me on the software problems, and there are plenty of them as usual.
|
|