|
Advertisement / Annons: |
3D Printing:
|
Contents:
Note: |
16, Calibrate horizontal expansion:When the 3D-printer prints it doesn't get the exact dimensions, it expands a little bit in the horizontal plan. The holes get smaller and the outside walls gets bigger than they should be. In the slicer program it's possible to set a compensation for this. But you must know how much it expands to know how much to compensate. To get an idea about this I have made a model that I can 3D-print and doing measurements on. Earlier I have done this compensation direct in the CAD drawing which is to make things more complicated than it should be. 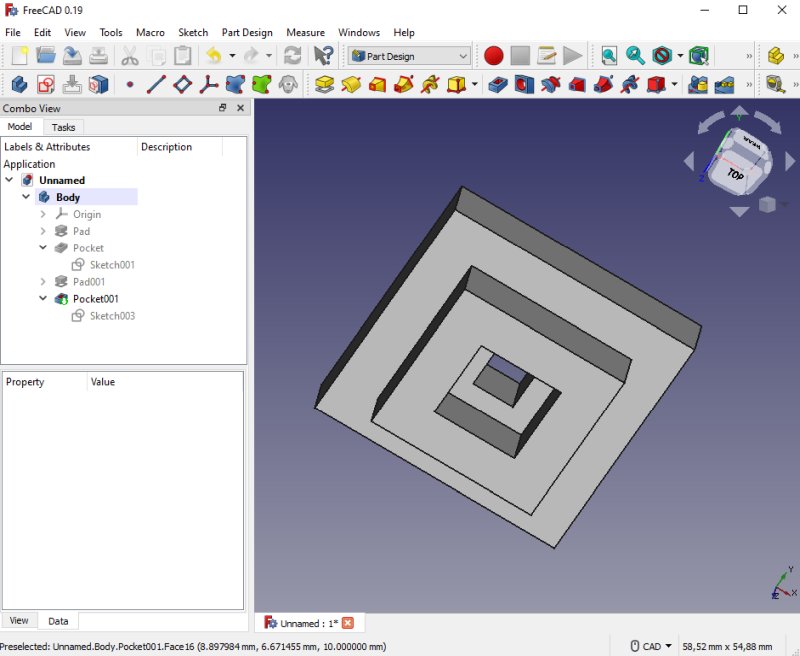
This is my 3D-model, four squares with different dimensions. 5, 10, 20, 30 mm. 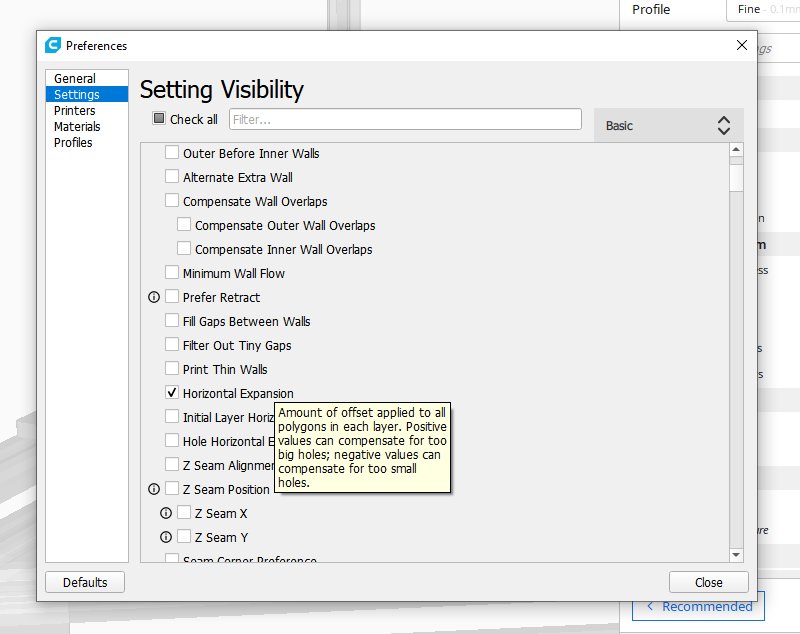
I use Cura as a slicer program, in the setup there is a 'Horizontal Expansion' that can be activated. 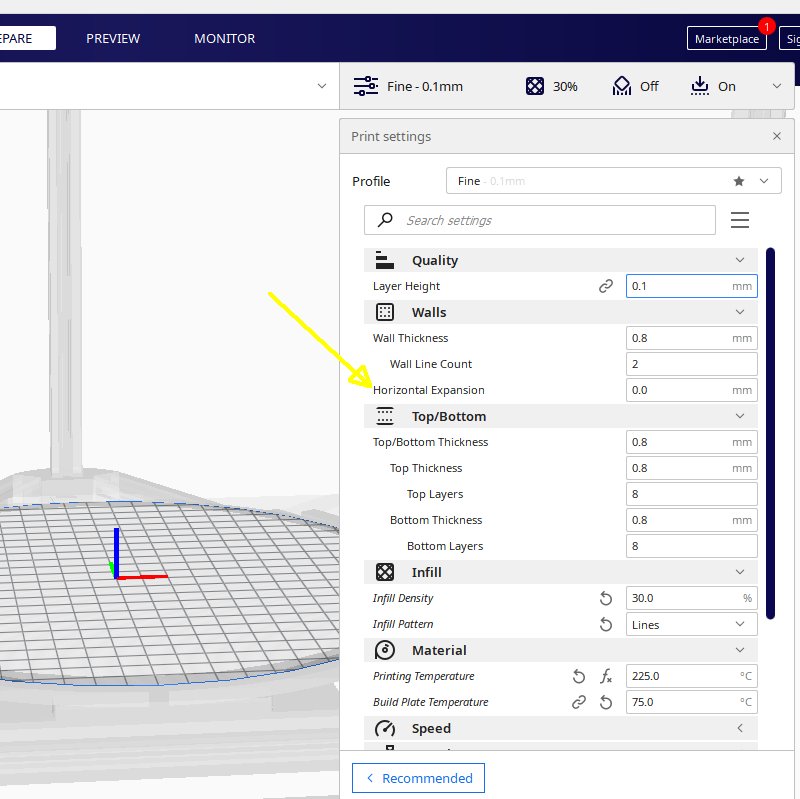
When this is activated I can setup how much I have to compensate the horizontal sizes. 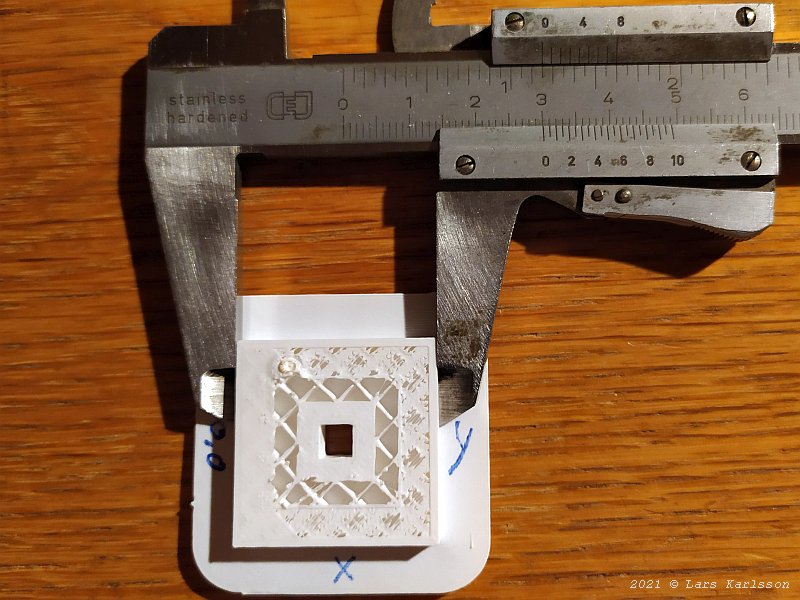
The outer square I got the X-axis to 30.0 mm and the Y-axis to 30.1 mm. There are no setting to give the two axis different compensations. I have got some error, the 3D-printer stop to print after about 30 minutes, but I can still do these measurements. 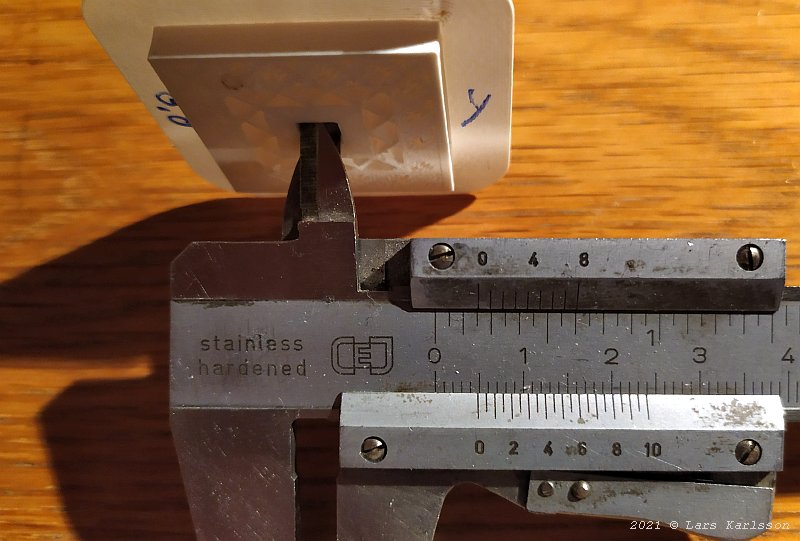
The inner hole I got to 4.8 mm in both directions, it should have been 5.0 mm. 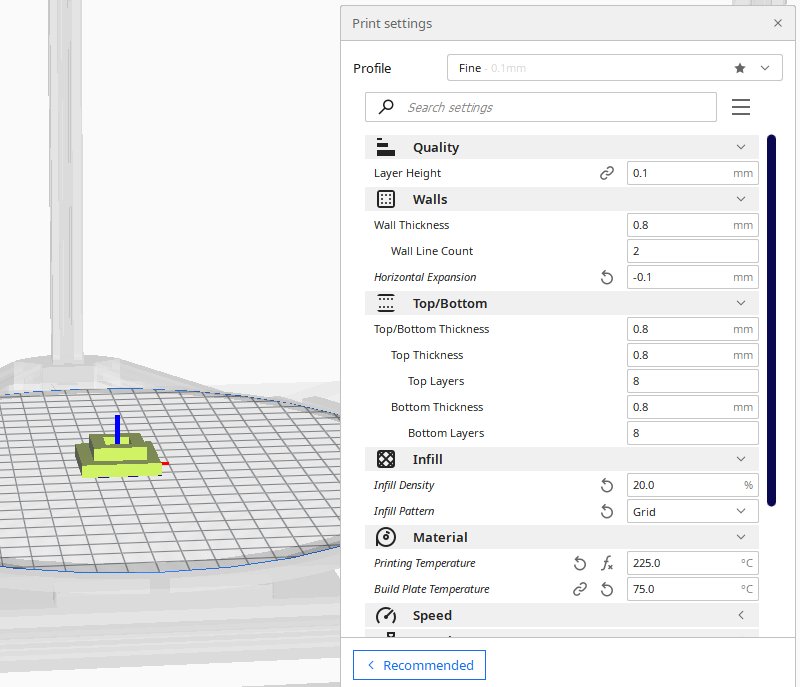
To decrease the hole I set the Horizontal Expansion to -0.1 mm. 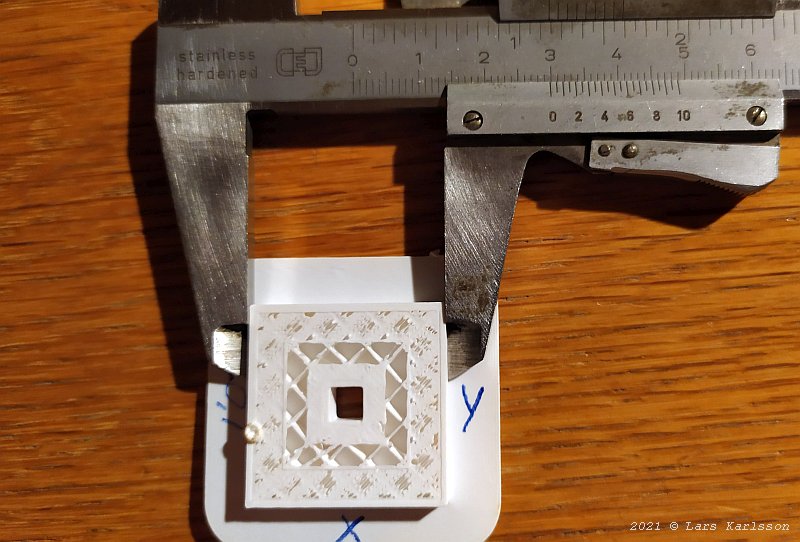
After the 'Horizontal Expansion' was set to -0.1 mm I got the X-axis to 29.9 mm and the Y-axis to 30.0 mm. 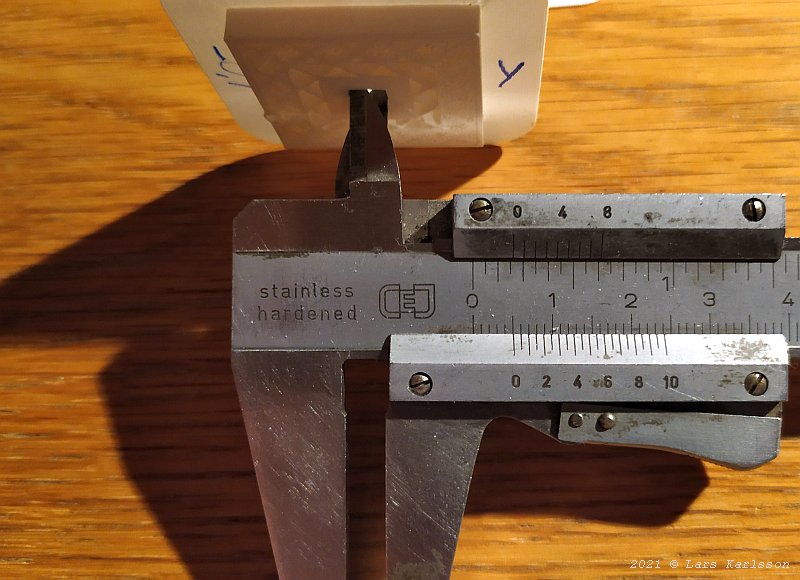
The inner hole is now 5.0 mm in both directions. Much better now. I'm not sure, but I think I must recalibrate if I change to another type of filament.
|
|