Astrofriend's homepage

www.astrofriend.eu
Share: Twitter Reddit Facebook Gmail Gmail Email
Search Astrofriend's homepage:

Valid CSS!

All pages shall now have been validated

Info Cookies (Kakor) / GDPR

Navigation

Advertisement /
Annons:

Twitter @AstrofriendLars

Follow Astrofriend

Tutorial News

Advertisement /
Annons:

Advertisement / Annons:

3D Printing:
My first 3D printer, assembling and setup


Contents:

  1. Introduction, unpacking and assembling sliders
  2. Installing the pillars on the bottom frame
  3. Installing the top limit switches and the top frame
  4. Installing the timing belts
  5. Installing the display and the filament feeder motor
  6. Installing electric devices and cables
  7. Adjusting the print bed
  8. Test print and test of Z-axis offset
  9. Installing CP2102 drivers and Cura
  10. Upload new 3D printer software - Marlin
  11. Mechanical calibration
  12. Setup Marlin 1.1.19
  13. Setup/Calibrate Marlin 2.0.0
  14. Tweaks
  15. Temperature P.I.D. optimizing
  16. Calibrate horizontal expansion
  17. Wind shield
  18. Replacing the nozzle heater
  19. To be continued

Note:
I take no responsibility or liability for what are written here, you use the information at your own risk!


2, Installing the pillars on the bottom frame:

Mounting the pillars on the bottom frame:

3D printer, assembling and setup

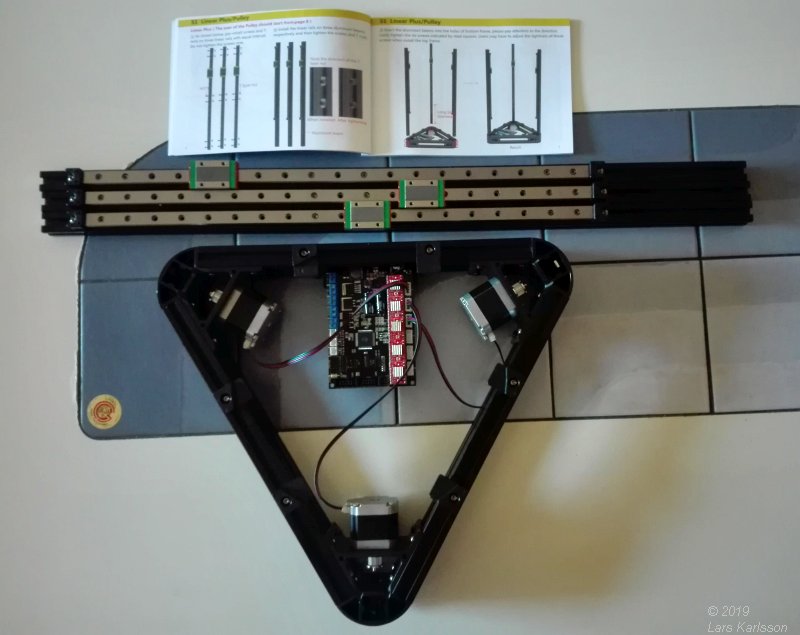
Next step is to mount the pillars with its slider on the bottom frame. The stepper motors and electronics are already pre installed in the bottom frame.


3D printer, assembling and setup

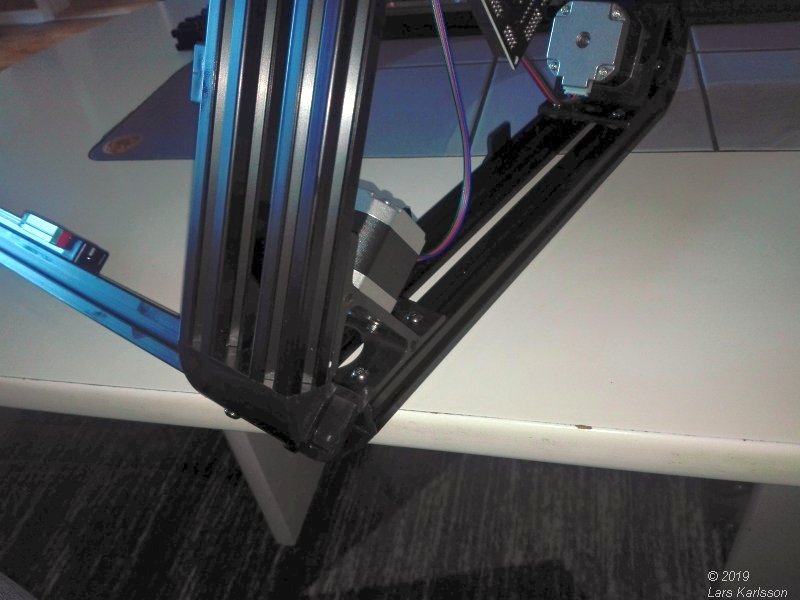
The easiest way I found to do this was to lay down the chassis on the table.


3D printer, assembling and setup

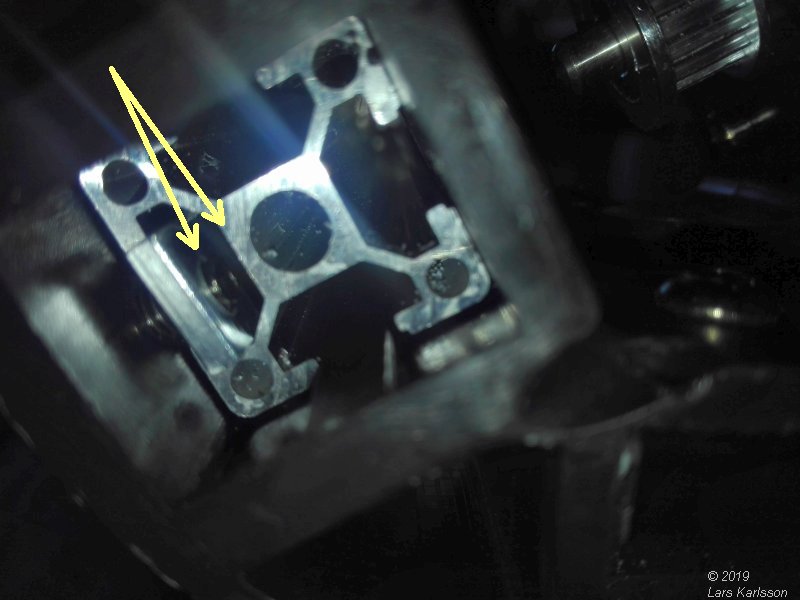
Slide in the pillar carefully in the frame. There are two nuts that must fit into place. The nuts are not square, they are rectangular and must be placed in correct direction, see the left arrow.


3D printer, assembling and setup

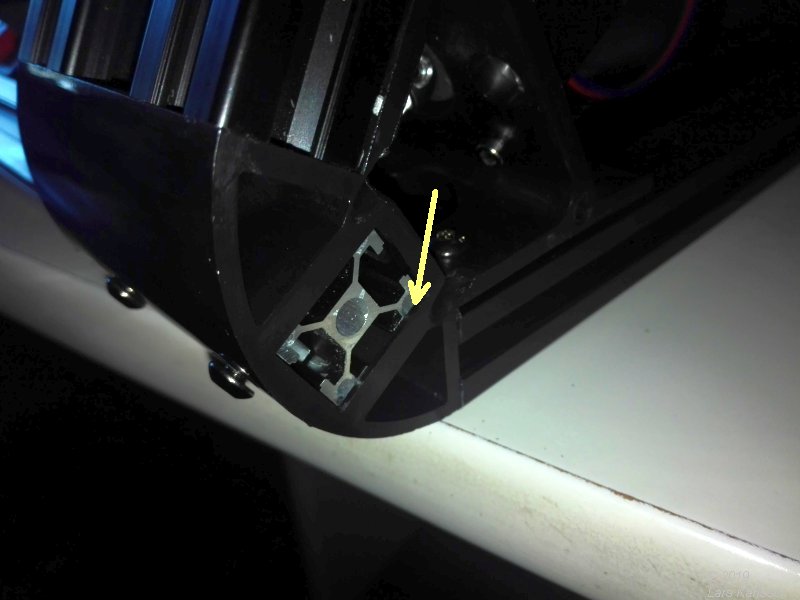
Push the beam all the way to the stop at bottom, it's plastic, do not use too much force.


3D printer, assembling and setup

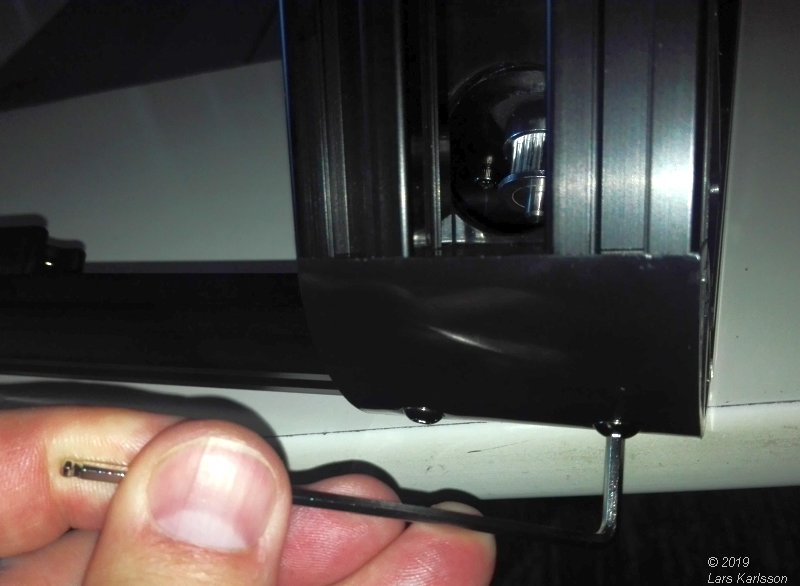
Tighten the screws, now I got a problem. It was not possible to tight it hard enough. The screws was too long and hit the beam inside.


3D printer, assembling and setup

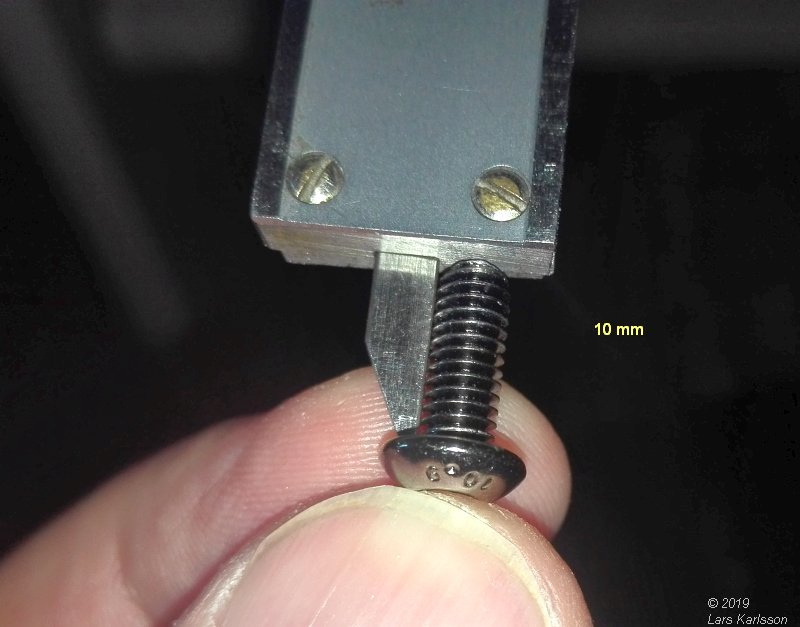
Check the screws, 10 mm long, they should have been about 2 mm shorter.


3D printer, assembling and setup

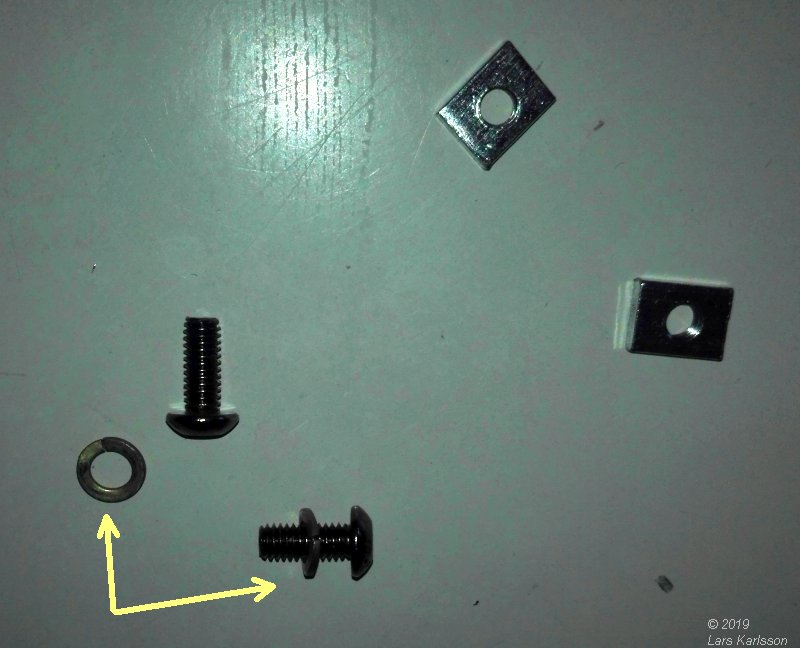
I didn't have any shorter screws at home but I had washers. Did a check and they was enough thick to fit. I placed the washers outside the frame against the screws' hat.


3D printer, assembling and setup

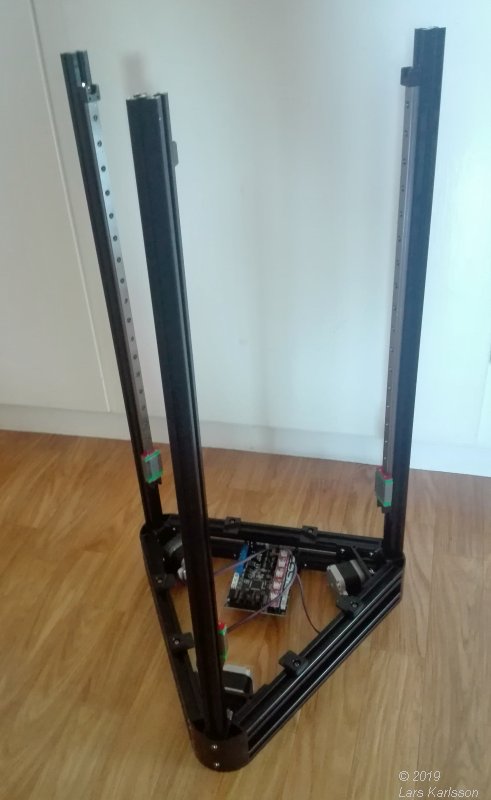
All three pillars are now mounted to the bottom frame, not any big problem.

Go Back to content

Go Back
To page III, Installing the top limit switches and the top frame

Advertisement / Annons: