|
Advertisement / Annons: |
3D Printing:
|
Contents:
Note: |
8, Test print and test of Z-axis offset:Installing the SD card: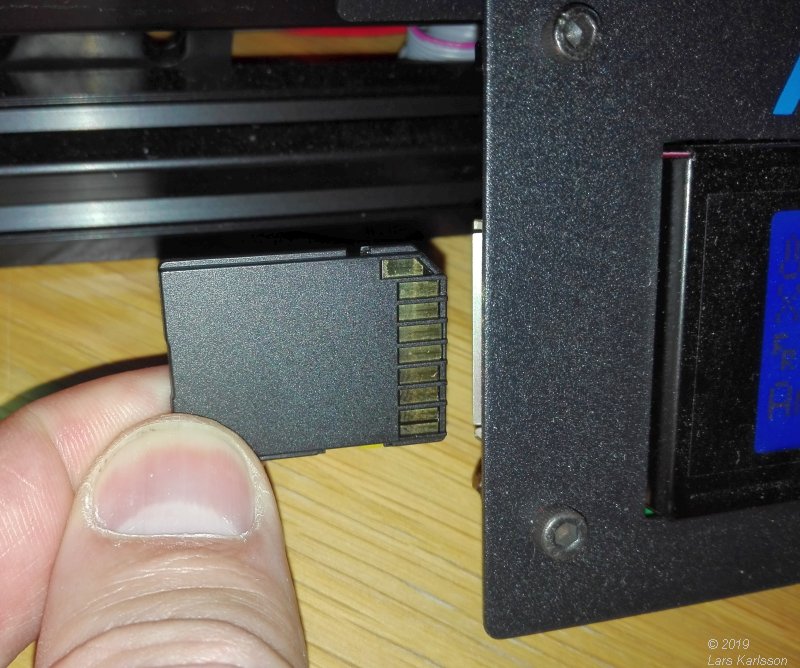
Included the the 3D printer there is a SD card. This card has test files and drivers pre installed. 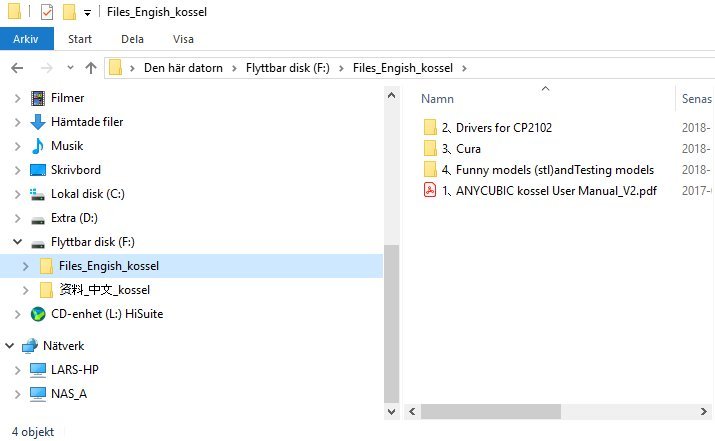
First I take a backup of the files. 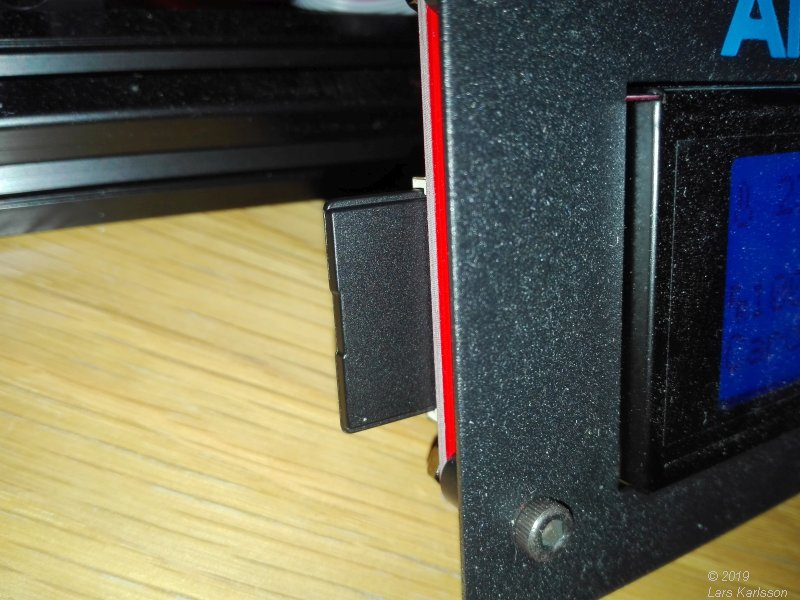
Then I insert the memory card in the slot, you find the slot on the left side of the display on the backside. 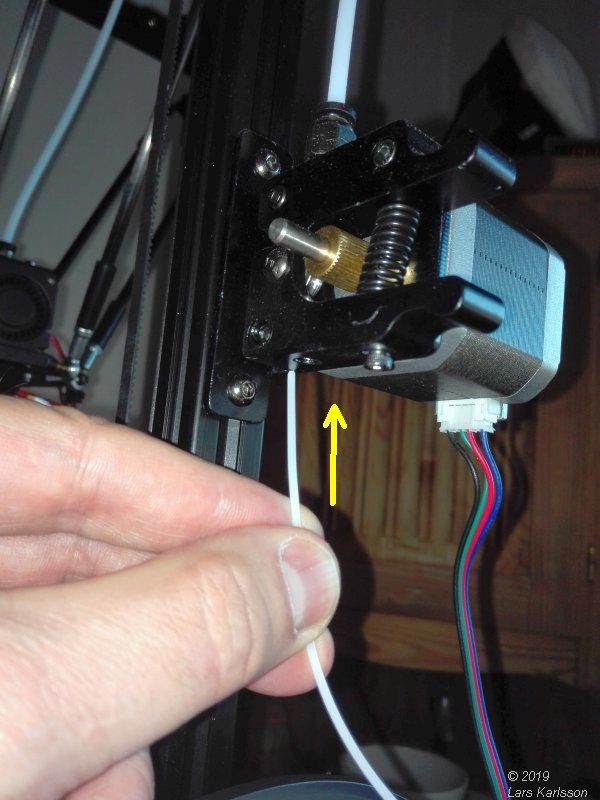
Insert the filament, if there is any sharp bent of the filament, cut of that part first. 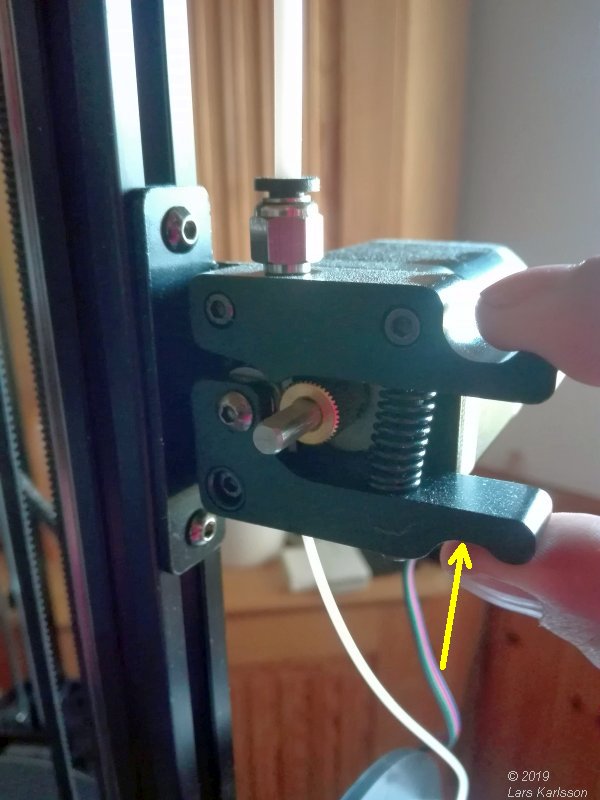
Open the transport mechanism and push in the filament all the way to the printer head. Heating up the nozzle: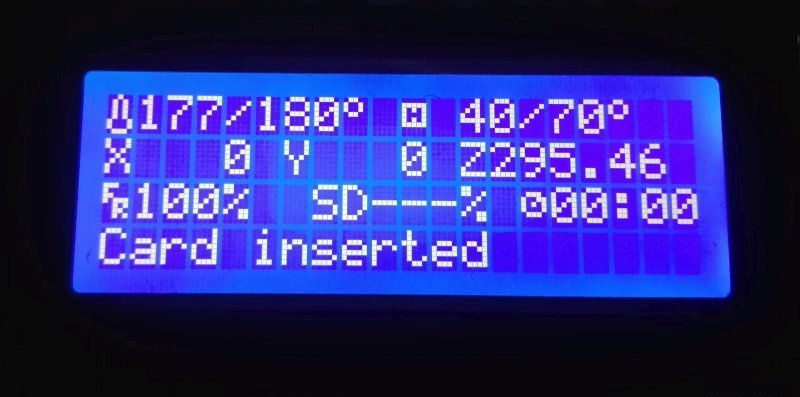
Follow the instructions and heat up the nozzle. When the nozzle has reach the temperature I push in the filament to the nozzle until it comes out a melted string from it. Test print to fine adjust the calibration of the offset: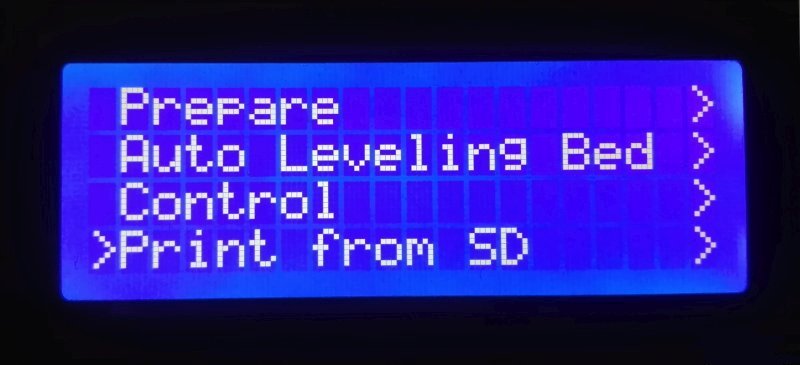
Go to the menu for printing from the SD memory card. 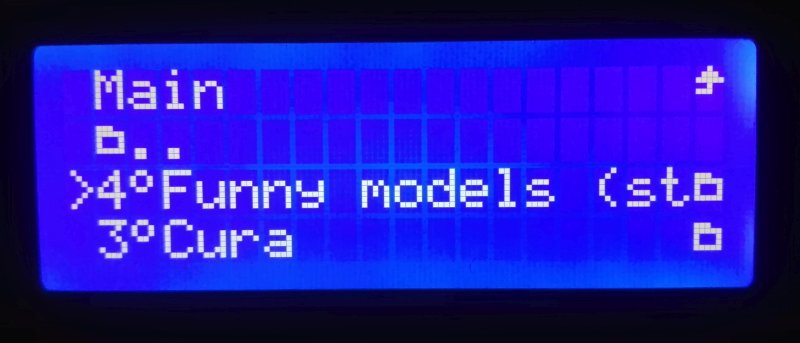
The test files shall be under the menu Funny models. |
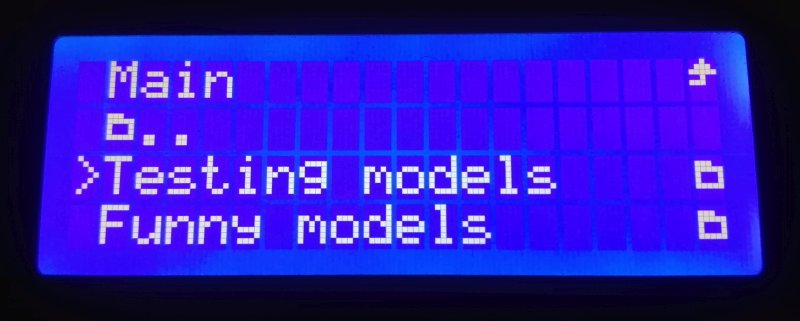
Open the test menu. 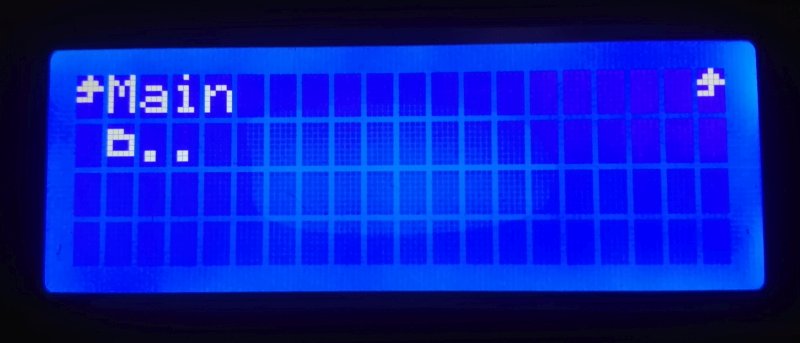
Nothing there ! To fine adjust Z-axis offset, obsolete follow no 13 Setup / Calibrate Marlin 2.0.0 !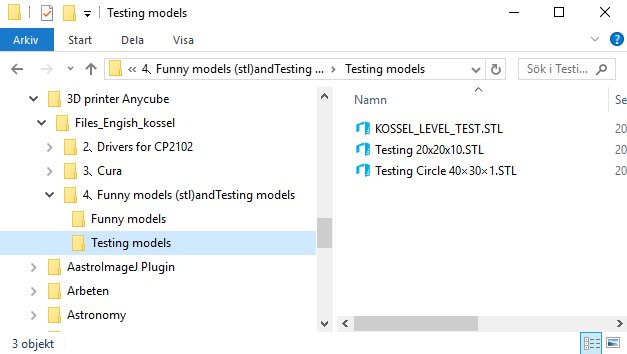
Test files on the SD card seen from the PC. Strange, when I'm looking from the PC direct in the test file map I found the files, but the printer doesn't see them, what's wrong ? Reading in the manual, the files of *.STL extension can not be read by the 3D printer, must be in *.Gcode format. But why are they not installed in the test file map ? Obvious there is some mistake here. But anyway I must be able to make these Gcode format files by myself. The STL format is something the CAD software export and deliver, it describe a surface model of the 3D drawing. The printer must have it sliced up to understand how to print it. On the SD card there is the software Cura installed that can do this transformation.
|
|