|
Advertisement / Annons: |
3D Printing:
|
Contents:
Note: |
13, Setup Marlin 2.0.0:After I had moved over to the Marlin 2.0.0 version I got a lot of new problems, not so much the 3D-printer itself but the software Arduino I use to compile the Marlin code and upload it to the 3D-printer. I'm not used with Arduino but lucky me to have my friend Lars who is an expert on this software. It looks that the problem arise because it's a new Marlin version. A lot of skilled people working on this and it will soon be solved. If you can't wait I will try to explain how I got it to work. Link to Arduino site:
But first I do some mechanical check and adjustment of the printer frame. Checking the printer frame: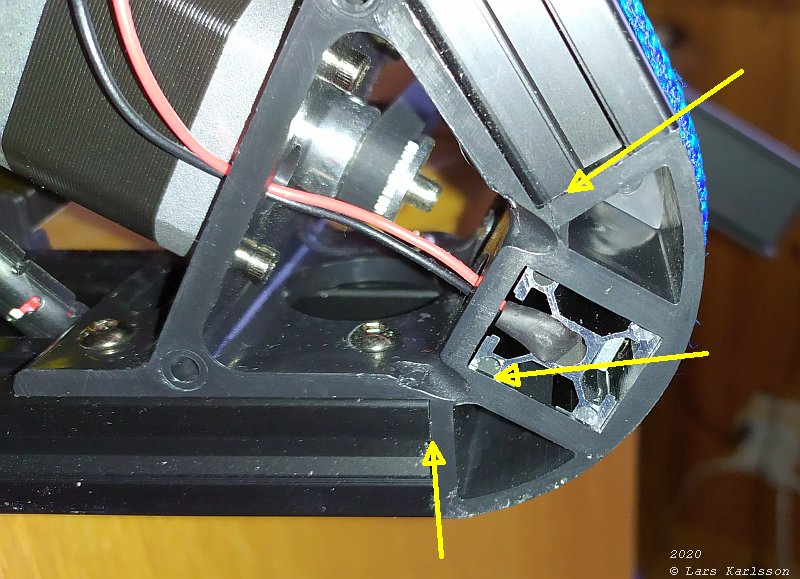
I have read and also understand that it's very critical that the printer frame is assembled correctly. Check that the pillar is all the way to the bottom in its mechanical holder, the middle arrow. And at the two outer arrows that there are no gaps. You can see that I have a small gap at the upper arrow, about a half mm. 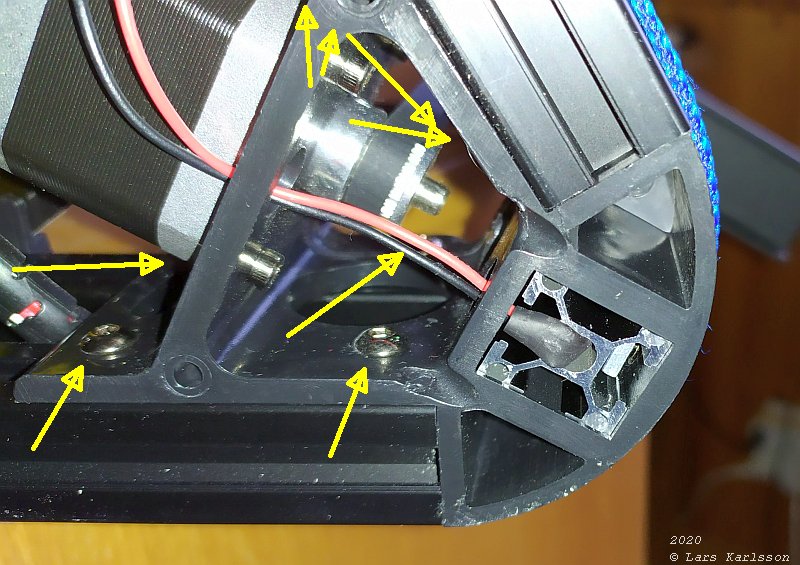
The pillar was okay, but I will try to adjust the frame to get away of the gap. Eight screws hold it together at each corner. 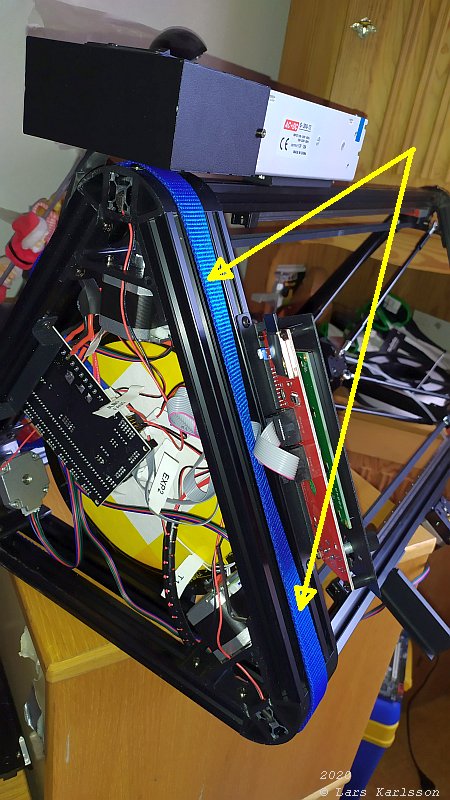
I do as I do when repairing my car, do it simple with limited tools available. I put a strap around the bottom frame. 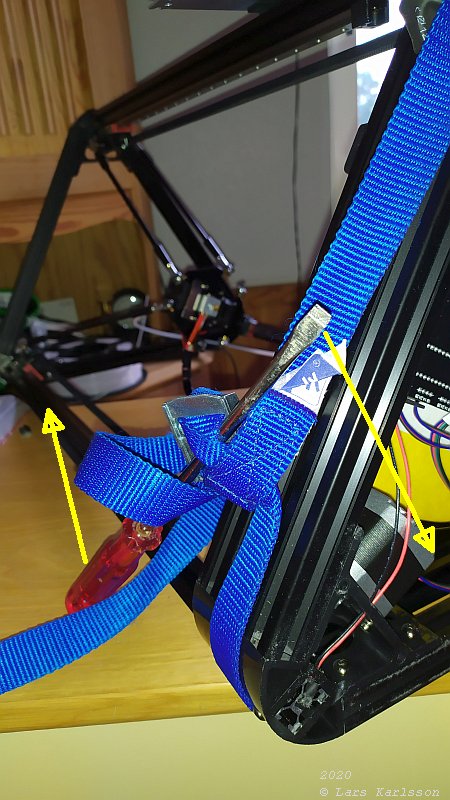
Put a big screwdriver inside the strap and twist it around hard until the gaps disappears. But first I have loosen the screws a bit, 4 at each time, don't unscrew them just loosen, if too much the nut inside the frame can get loose, than the hole frame must be taken apart. I got the gap to be a little bit smaller but not eliminated. Of course it had been much wiser to do this more carefully already from the beginning. Setup the Marlin configuration file for version 2.0.0:When I did this the latest Marlin version 2.0.7.2. When opened in Arduino it was not possible to compile it. I go back to version 2.0.0 after some struggle I got it to compile, read: Lars got it to work. GitHub and Arduino are something that I'm not understand fully yet. Useful links:
From Marlin you download the Marlin code and example files. I my case I found my configuration files in the Delta library. Just copy the two files and overwrite the two original in the Marlin library. 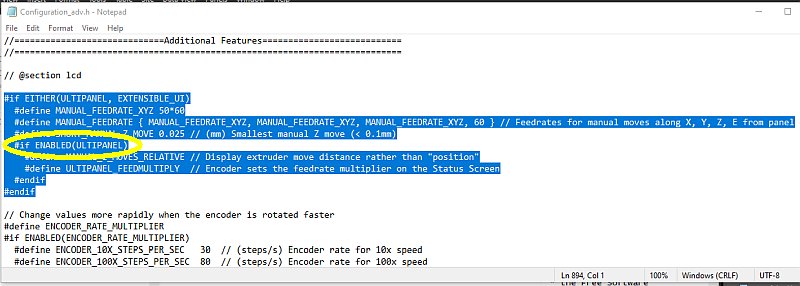
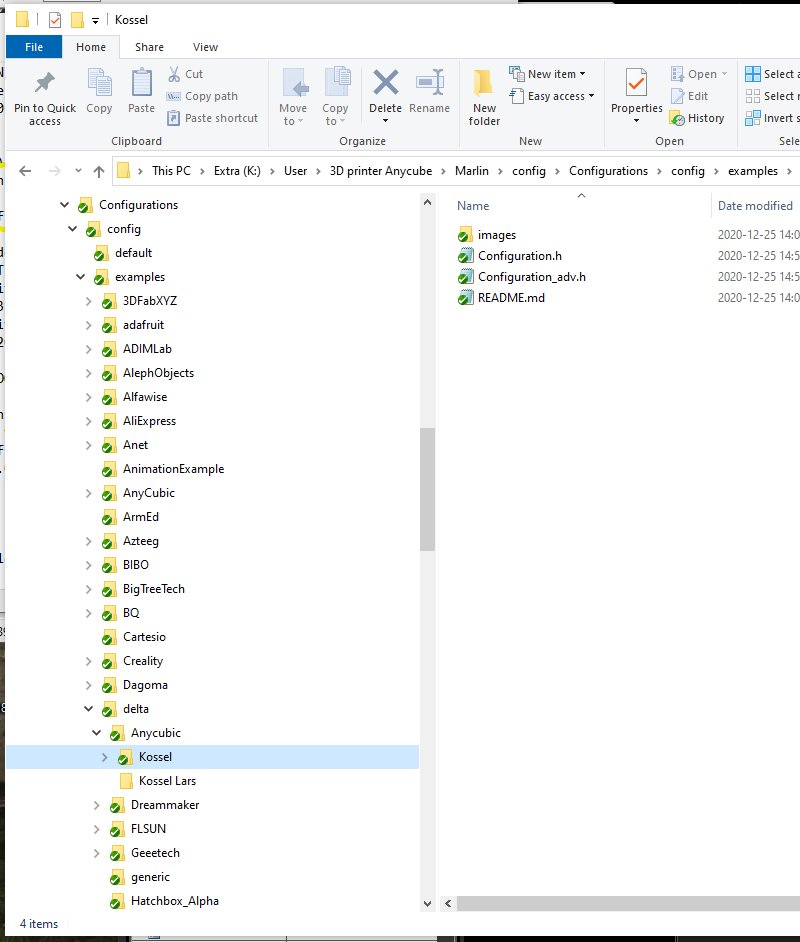
This is the reason that it is not possible to compile, there is a misspelling in the configration_adv.h file. Correct the line according above screen dump. Look at bugfix 2.0.x also:
For my Kossel delta Linear Plus I have to change the setting in the configuration.h file. 
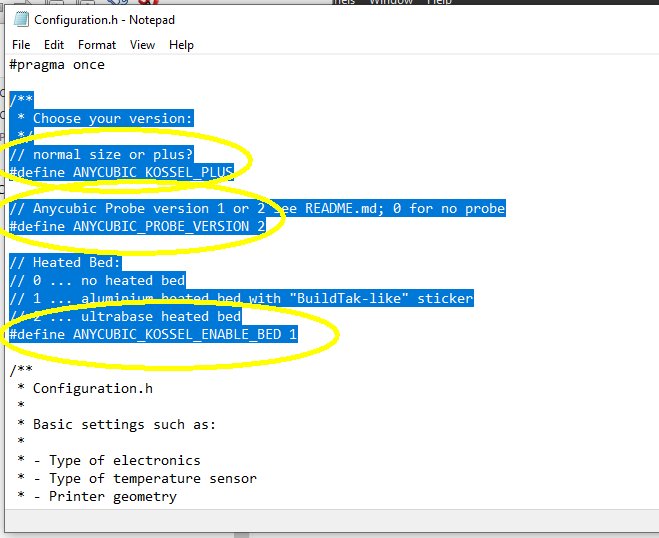
In the same file I also changed the maximum of print radius to 114 mm. Save a copy of both files in your own library as a backup. Auto calibration and probe offset:Follow these instructions carefully:
In short what I do when auto level calibrate:
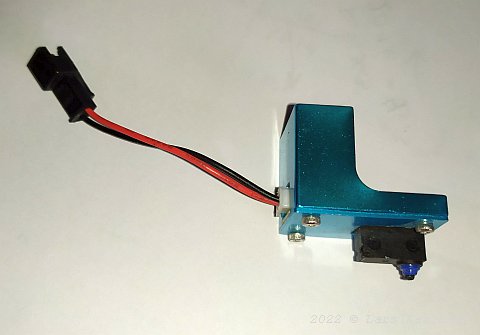
The probe is magnetic connected to the nozzle head. It adds something about 16 mm to the height which much be subtracted in the calibration. In short what I do when set the probe offset: First of all, clean the nozzle tip from old plastic !
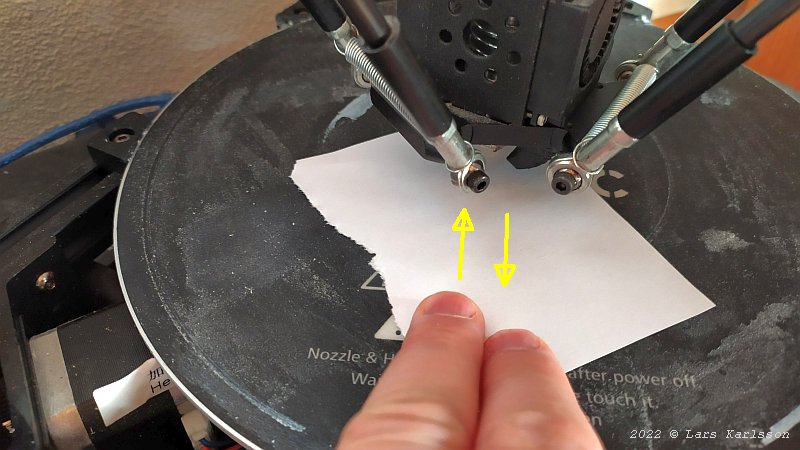
Paper test, move the nozzle slower closer to the bed, move the paper back and forth to feel just when the nozzle hit the bed. 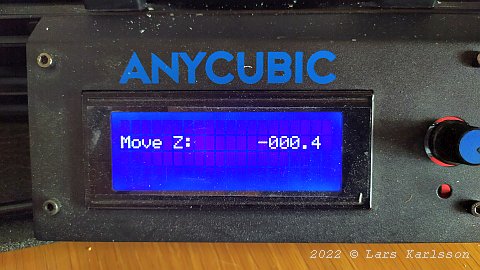
Read the Z position when the nozzle just hit the bed according to the paper test. Correct earlier Z offset value. Example if it was -15.99: -15.99 + (-0.4) = -16.39. Correct Z offset and store new value. Extruder calibration:I have read that the extruder must feed the filament in very accurate steps, a calibration could be good. I used the following links to find the calibration value for steps per mm. Changed it in the calibration.h file. Extruder calibration links:
I send the command from Cura slicer software that I use. To do that use must have a connection through the UBS port to the 3D printer. If you get problem there is a driver and instruction here: Useful links:
My first test print: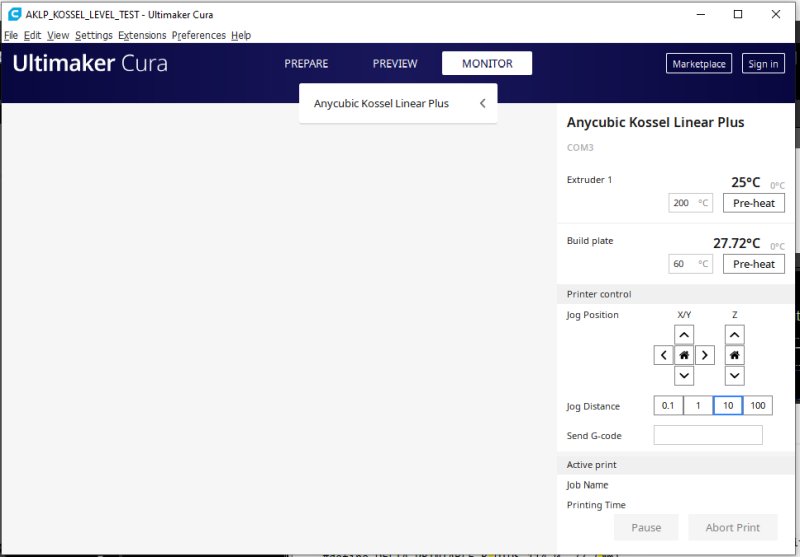
I use PLA filament of size 1.75 mm. I set the nozzle temperature to 200 Celsius degrees and the print bed to 60 Celsius degrees. In this case it's a very small 3D device I want to print and let the Cura send the commands direct to the printer. With a bigger 3D print object I think it's better to save the printer file to a SD card and insert it into the printer direct. Then you have no need of having the PC running many hours during the printing. 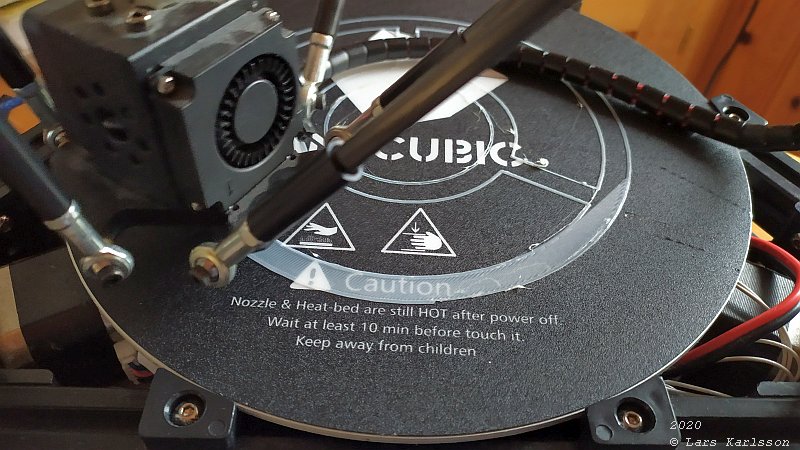
So exiting to see something come out from the 3D printer. 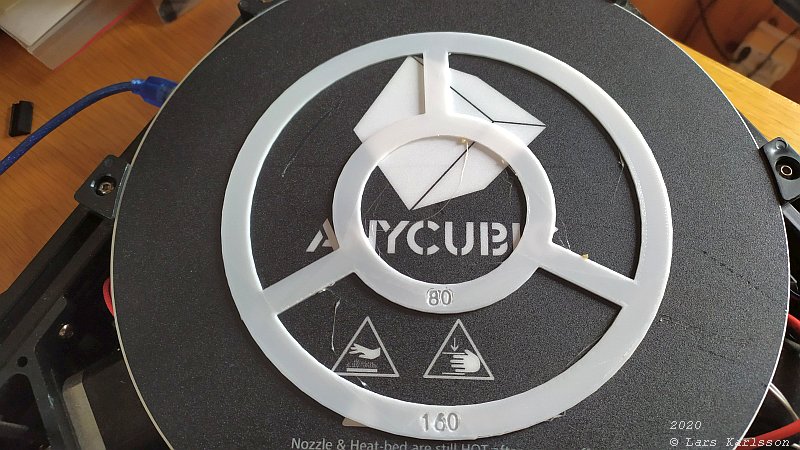
Finished after less than a hour. 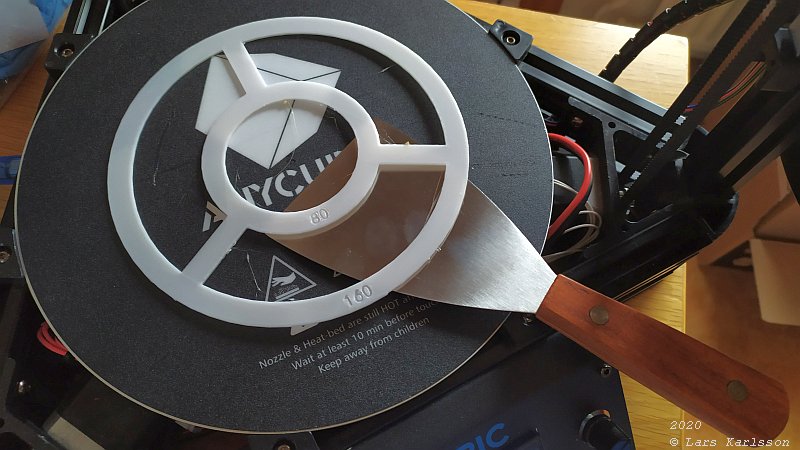
I used the tool that was included with the 3D printer, easy to get it away from the print bed. 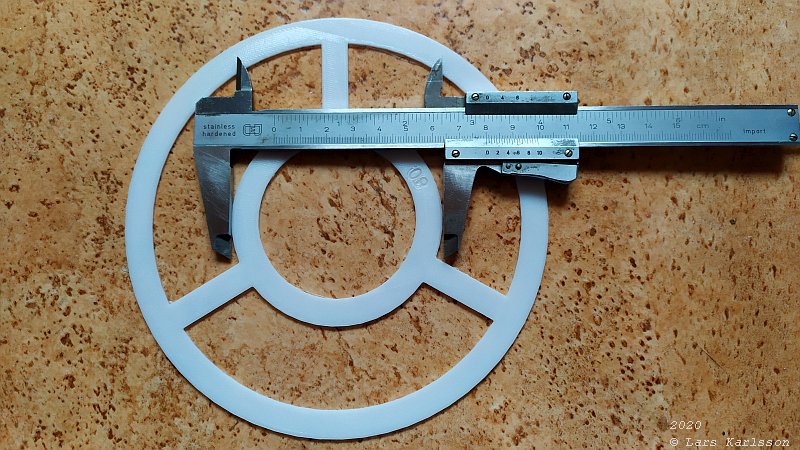
When checking the size of inner ring of 80 mm. Amazing, it's about 79.95 mm, only a difference of 0.05 mm ! 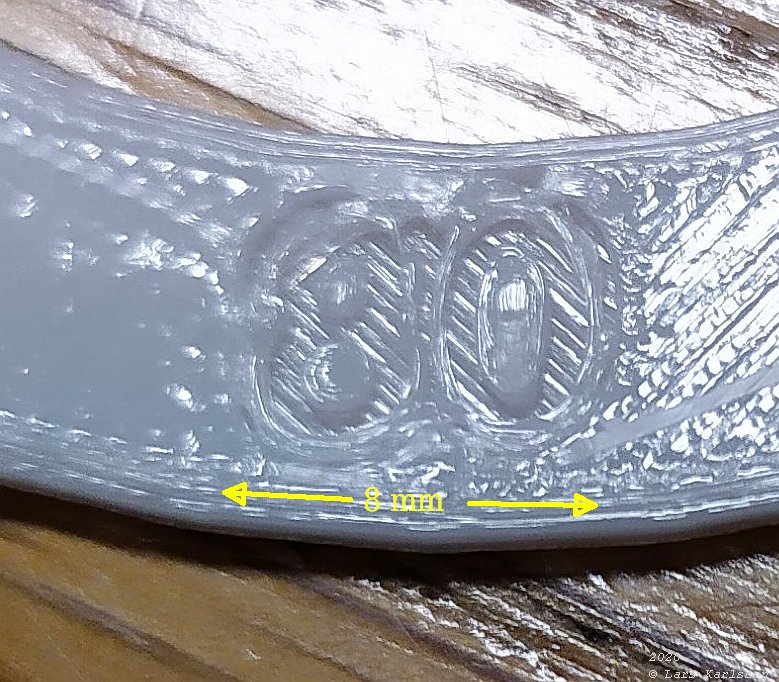
Looking at the small details, I have no experience from 3D printing and couldn't judge if this is good or not. But it impress to me.
|
|