Astrofriend's homepage

www.astrofriend.eu
Share: Twitter Reddit Facebook Gmail Gmail Email
Search Astrofriend's homepage:

Valid CSS!

All pages shall now have been validated

Info Cookies (Kakor) / GDPR

Navigation

Advertisement /
Annons:

Twitter @AstrofriendLars

Follow Astrofriend

Tutorial News

Advertisement / Annons:

My astronomy project:
Building a battery box and an astro server


Content:

  1. Astroserver and powerbox, ver 1.0
    1. Introduction to battery box and astroserver
    2. Fuse box and fuses
    3. Box and charging
    4. Overview computer and accessories
    5. USB 5 volt external power
    6. Motor focus power
    7. Get rid of messy cables
    8. Cleaning up installation
    9. First outdoor test
    10. Replacing USB-Hub
    11. USB-Hub and focus driver holder
  2. Astroserver and powerbox, ver 2.0
  3. Balcony outdoor outlets
  4. Lithium Battery power

Note:
I take no responsibility or liability for what are written here, you use the information on your own risk!


Page I.4: Overview computer and accessories

Did a supplement in the computer box the other night. I have now had time to test drive the computer equipment in the field and everything has worked fine except for minor communication problems with the Canon camera over USB connection. Bought the USB cable of better quality and set the computers sleep function for USB to disabled. Also for practical reasons I added a power switch that disconnects the power to a part of the connectors. I did not have any switches from the beginning because it is a source of problems.
The battery box has two twisted outlet power cables. One goes to the computer and mount. The other goes up to the connecting plate for the telescope and camera power supply, heat tape, future focus motor. Up here there is also an USB hub. The split allows them to not interfere with each other and then I have been able to use thinner cables, 0.75 mm2.


19 electric switch

The power switch is located on the inside of the box to the left, looking for a plate angle to attach it to, it shall have a 20mm hole. Under the red plastic cover is the 45Amph car lead battery.

Summary of what is available in astro box today, this is the most equipment necessary for an evening of photo shooting:

  • Battery, 45Amph, auto parts store.
  • Fuse Terminal with 4 outlets of which 3 goes through the main switch.
  • Cigarette light sockets, 3 outlets.
  • 12 volt to 19 volt converter for the PC.
  • The computer, the ASUS EEE mini PC communicates over the LAN or WiFi.
  • 12 volt to 8 volt converter to the camera.
  • USB to Serial converter for control of the bulb function on the camera.
  • EQMOD Direct, PC USB connection to the serial port of the EQ6 mount.
  • GPS positioning.
  • QHY5 guide camera, not operational yet.
  • Heating band 3 watt power, under construction.
  • USB hub.
  • Miscellaneous USB cables.
  • Various power cables.
  • Battery charger, If I have access to mains power charger work in maintenance mode all the time. Have not noticed any problems with it.

In the computer is installed:

  • UltraVNC for remote control.
  • ASCOM, the joint monitoring program for the various astro component parts.
  • CdC, Cartes du Ciel star map application, also controls the mount.
  • EQMOD, for direct control of the mount, EQ6 SynScan pro.
  • PHD2, for guidance, not operational yet.
  • APT, for control of the Canon camera, the first is also able to do dithering between shooting.
  • OpenOffice, the spreadsheet program such calculations can be made.
  • Operating system Windows 8, freaking crap!

I remotely control this from a laptop. When I'm on the permanently place, I have a 24" externally monitor connected. And there is also a router. When I'm out on the field I I plan to connect the laptop directly to the equipment and does not use the built-in computer. In field mode the max distance is about 3 meter between the mount and laptop.


Ready to observe

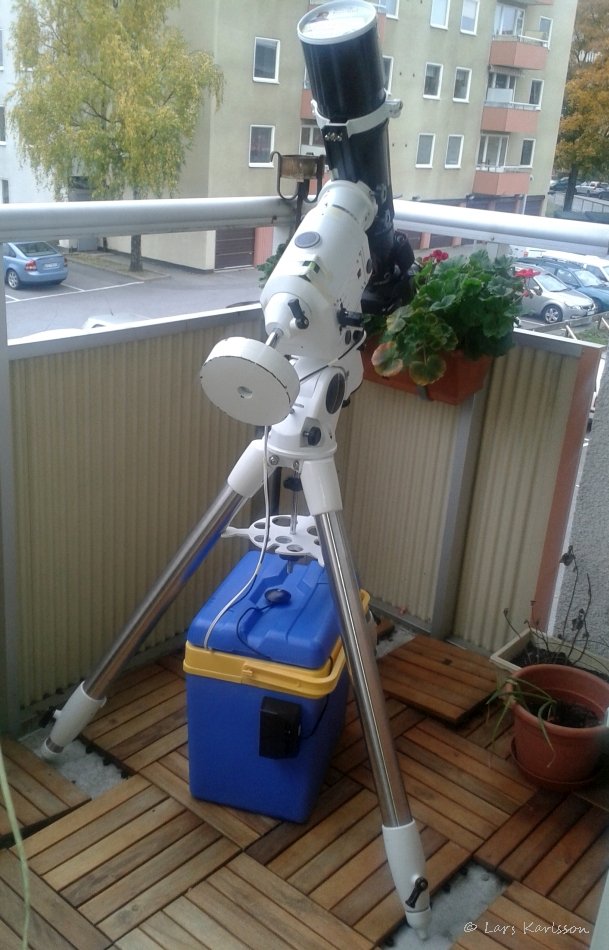
Ready for first test.


In the garage

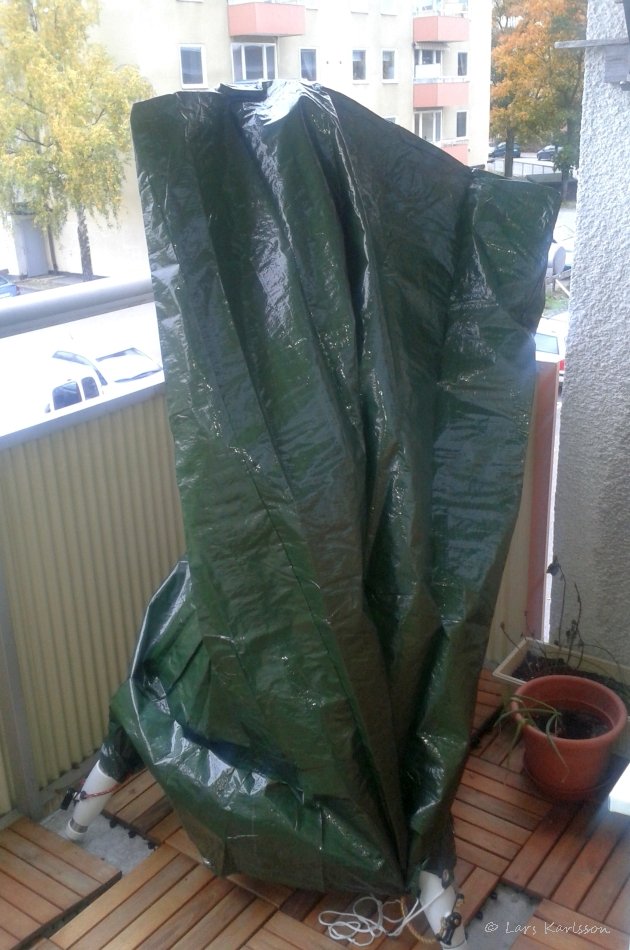
Parked in the garage.

Go Back to content

Go Back
To page I.5

Advertisement / Annons: