|
Advertisement / Annons: |
Tutorial:
|
Content:
Note: |
4, Calibration testsWhen there are high light pollution you will notice the artifacts from calibration more easily. One of them I have is that around the edges there are a "light frame" from the flat calibration. Here I do some test to see if I do something wrong. All these calibrations, dark and flat are done in Siril. Edge artifacts from flat calibration: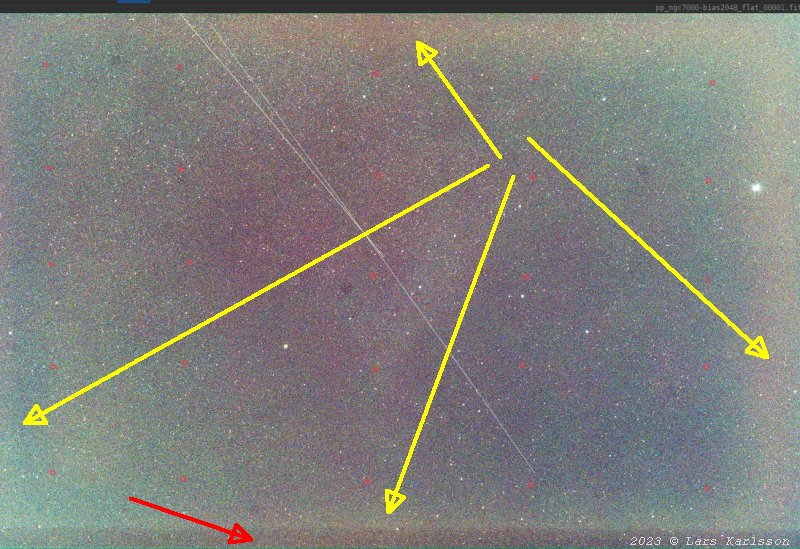
Around all four edges can be seen this frame of light after the flat and dark calibration. It shouldn't be there. The red arrow points on the dark band that is caused by the DSLR camera's mirror. It block some of the light rays from fast lenses/telescopes, most it happens on full frame cameras. In this case a 300 mm f/4 lens and a Canon 6D camera: Why do we get vignetting from the camera house. Later when I once again analyzing this light frame I get around the image, I noticed that it's only in the red channel, green and blue looks okay. Then I'm even more convinced that it's some reflection that cause this. The images here and below are histogram stretched, all images has been background subtracted by a one degree 2D polynomial. The object is NGC 7000, a bright and big nebula, Bortle Class 9, sad but that what I have where I'm living. Normal calibration, dark and flat: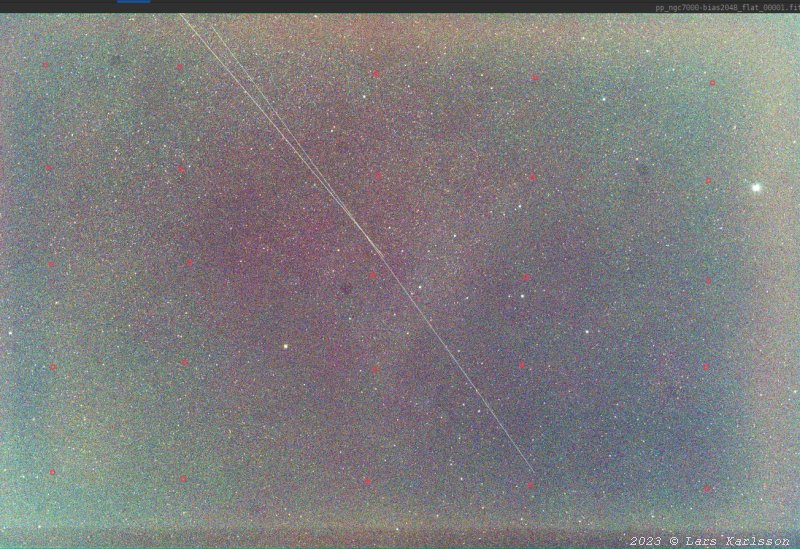
Here I have used a MasterDark with +4 Celsius temperature, the image has by average +3 Celsius temperature. The masterFlat is taken with my new flatbox: 3D printed LED flat box and the latest. Normal calibration, dark and flat: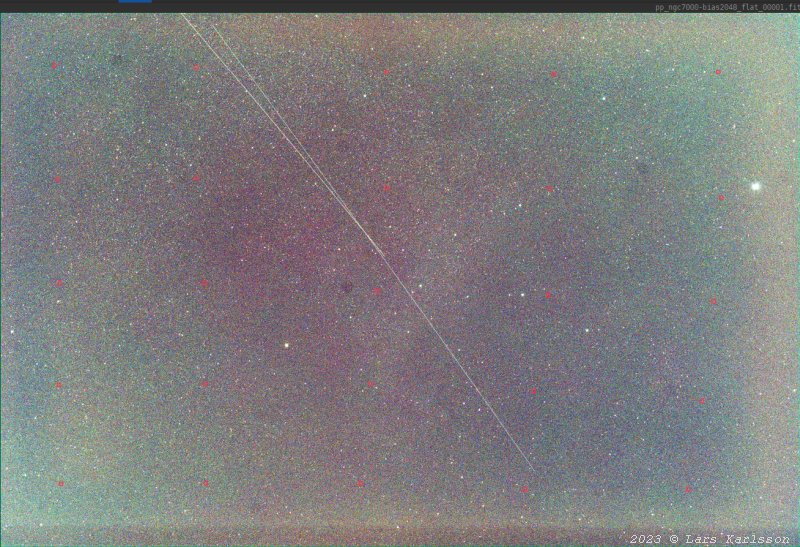
Same calibration as above but now with a MasterDark with 0 degree Celsius temperature. Calibrating with MasterDark replaced by a constant:
With a low noise camera without amp glow and stacking images taken with dithering it could work with a constant subtracted instead of a MasterDark. That was what I always did earlier: Dithering instead of dark calibration. No difference can be seen here about the edge effect. The constant I use is 2048 ADU which is the Canon EOS standard on older cameras. Calibrating with MasterDark replaced by a constant: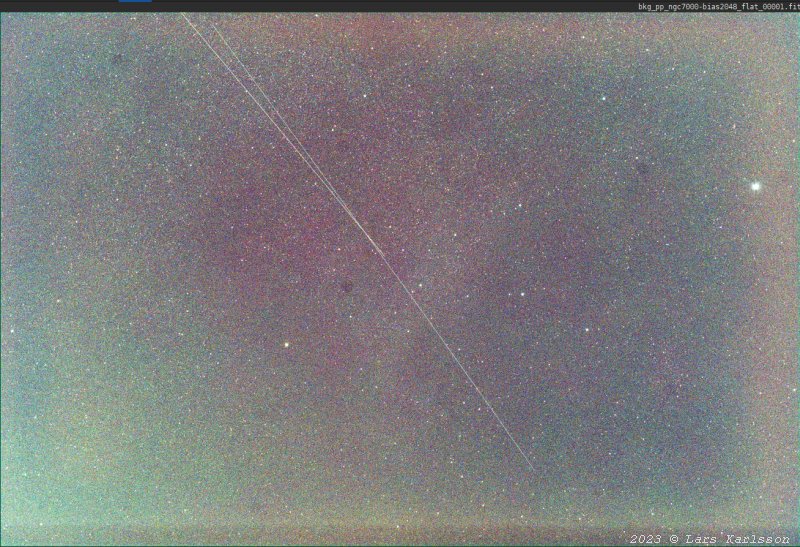
Same calibration as above but with an older MasterFlat, still taken with my own flatbox. What is causing this edge effect ? I'm not sure, maybe reflections in the narrow camera entrance. Another problem can be that I take these flat frames indoors at room temperature, even if the focus setting is the same as outdoors the temperature difference get it slightly out of focus. No experience yet how much this influence the flat frames.
|
|