|
Advertisement / Annons: |
My astronomy project:
|
Content:
Note: |
7: Power splitterTo my old setup I built a power splitter which contained fuses and volt and ampere meters. Very useful and now I design a new version, more compact and real DC connecters. The power splitter isn't placed at the telescope. Earlier I had it at the power source, now I move it to the mount. Old power splitter: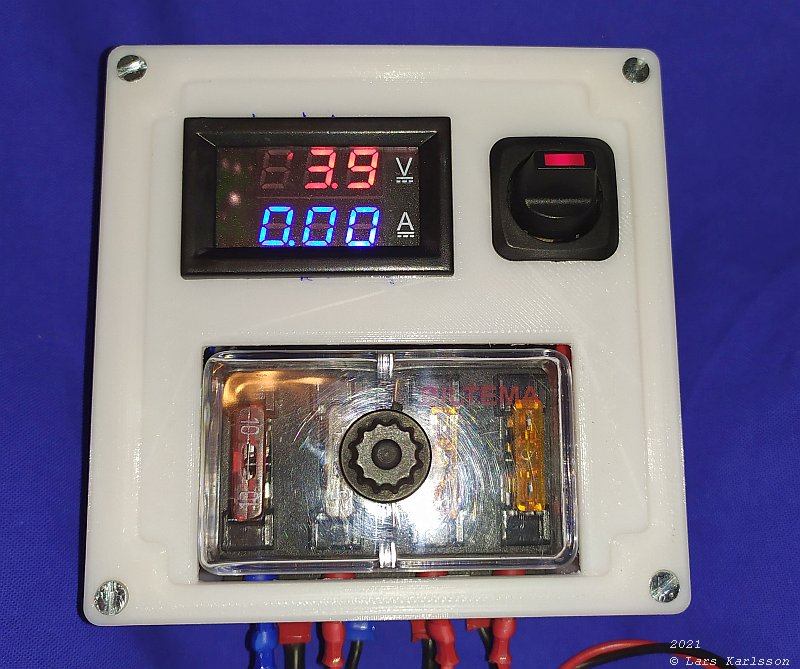
I have had a lot of use of this, the voltage and ampere meters let me know the power consumption of different devices I connect. If I can get it shrink it will be even better. The dimension of the old box are: 100x100x55 mm. New CAD design: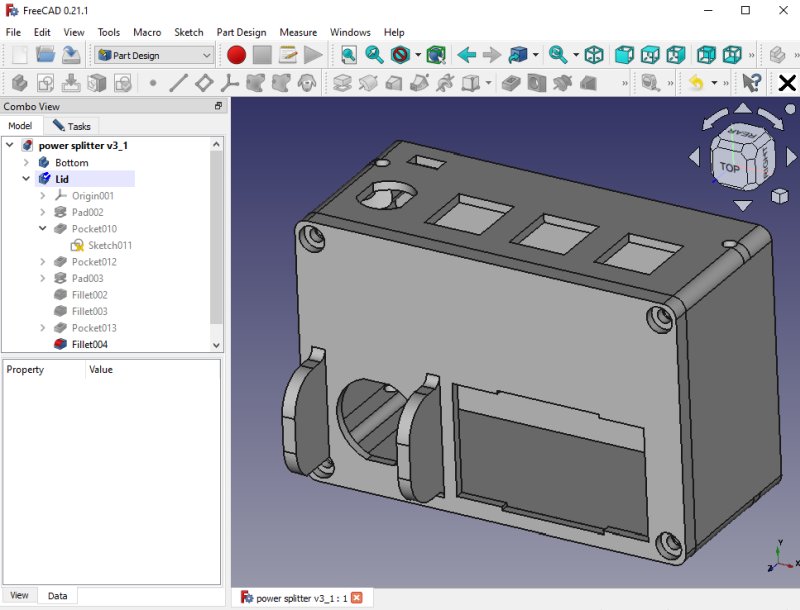
The new design, one thing that took a lot of space on the old design was the fuse box. In the new design it's replaced by electronic fuses, often called polyfuses. The main fuse is still an ordinary fuse. The old car flat connectors are also replaced with 2 pol DC connectors I have used on other devices earlier. Now the input power cable and output connectors are placed on top of the enclosure. With that it's much easier to remove and add new devices and no risk to get wrong polarity. With the old design it happens that I by mistake hit the power switch and all devices got without power, it take a long time to start it up again. In the new design I had placed two walls around the power switch to not let this mistake happen again. The dimensions of the new box are: 90x65x39 mm. I will also design a bracket that I can attach it with to the mount. New an old design: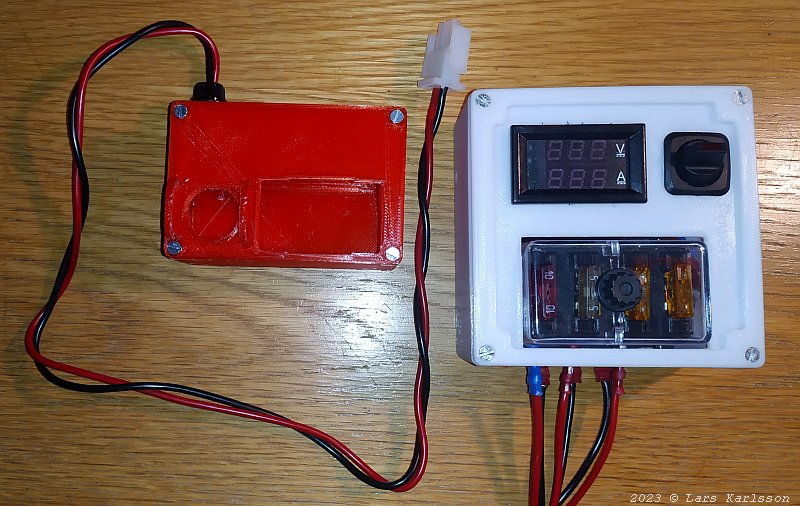
There is a dramatic reduction in size now when I don't need the fuse holder. There are 4x M3 and 4x M4 threaded holes which can be used to attach a bracket. This look good, maybe I rebuilt the old one too. Bracket: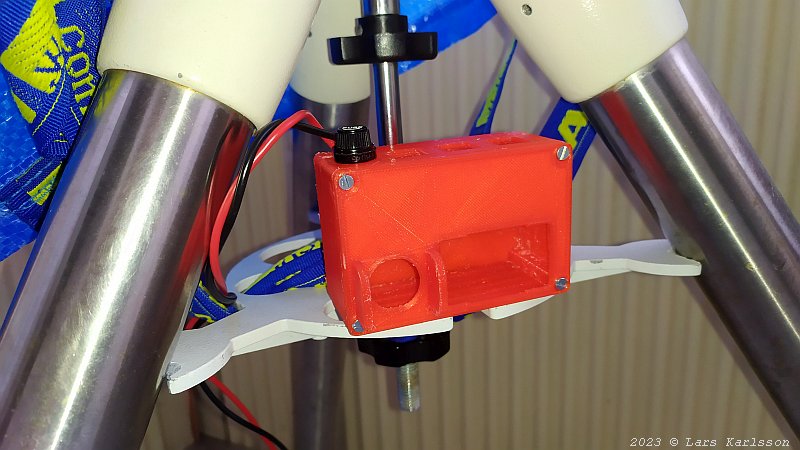
This is the place where I want it to be. The spreader is almost the same on the EQ6 and HEQ5 mount, one bracket will fit both. 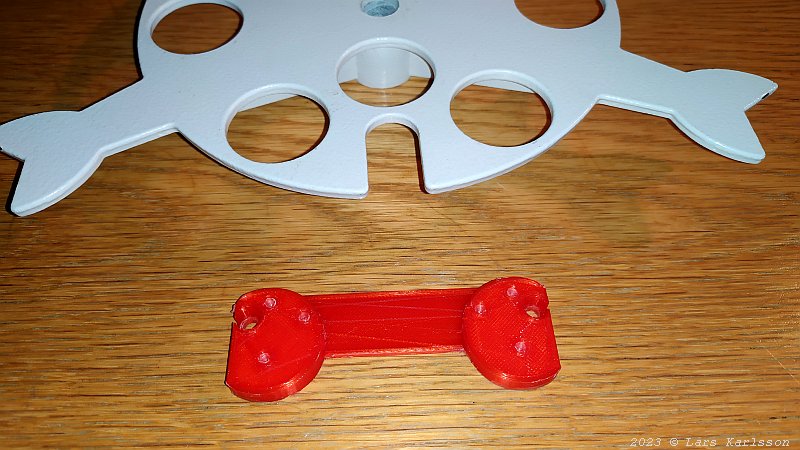
I designed this bracket, it has two half circles that fit the spreader and can be screwed to the power splitter. 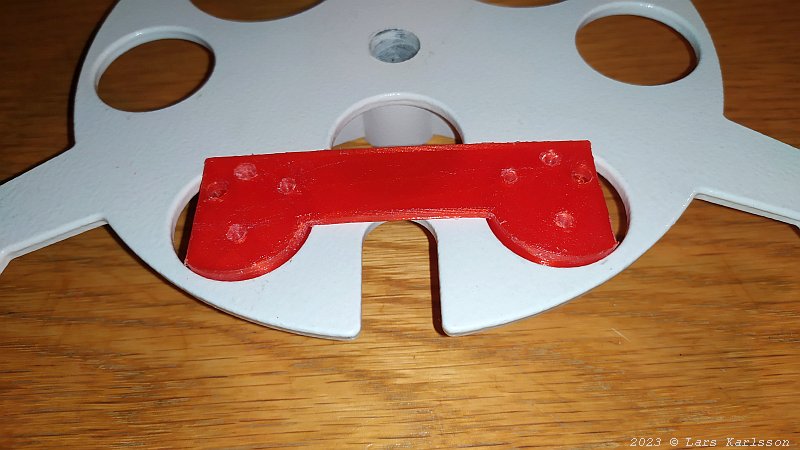
With a little force it can be squeezed in place. 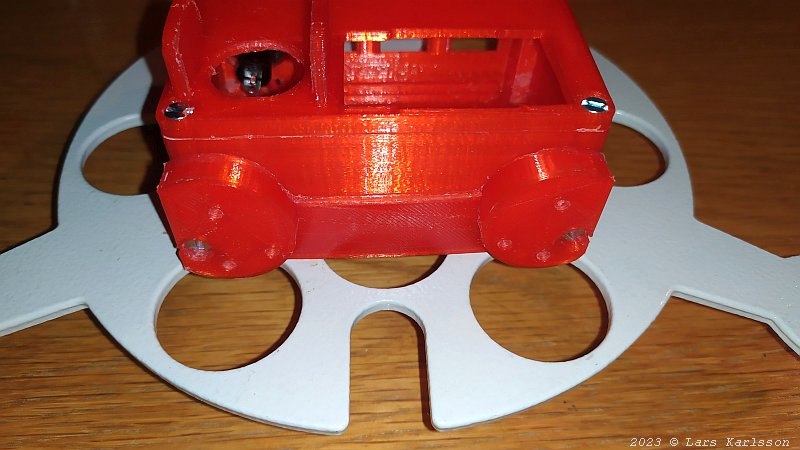
Screwed to the power splitter. 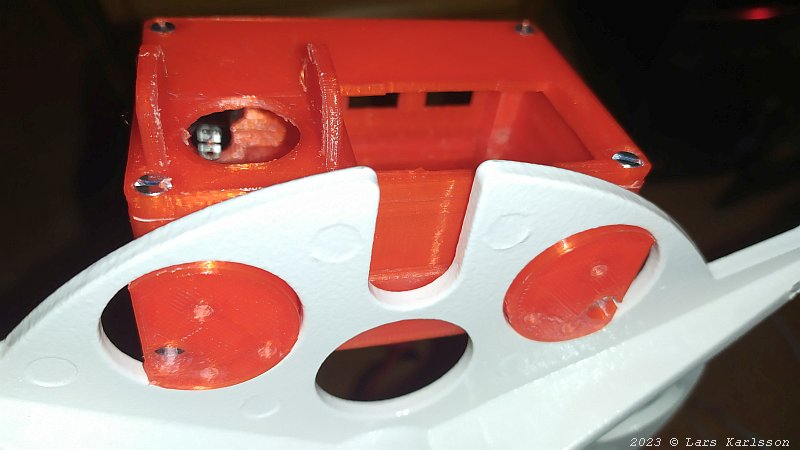
Squeezed in place. Later when it starts to be worn I maybe have to add some lock mechanism at the bottom side. That's what the three threaded M3 holes will be used for. The cables can be relatively stiff out in the cold, they have an area of 1.5 mm2 and together they can act some force on the power splitter. Now it's time to order the electronic items that will be installed in this box. Electronics: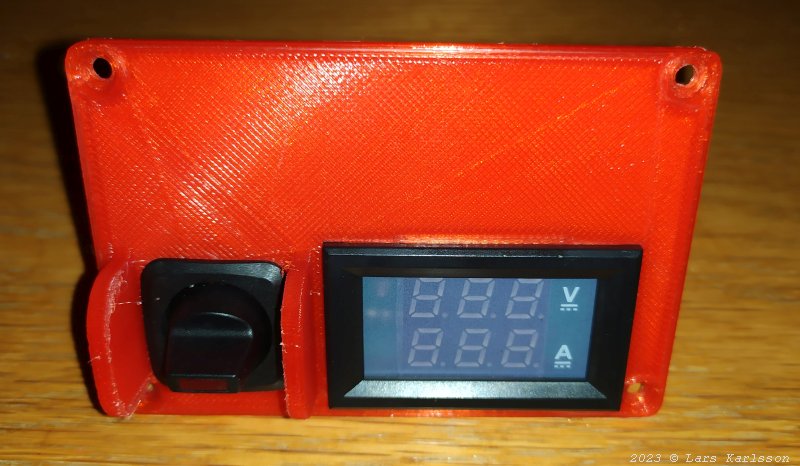
My electronic components arrived today. The power switch and the panel instrument. 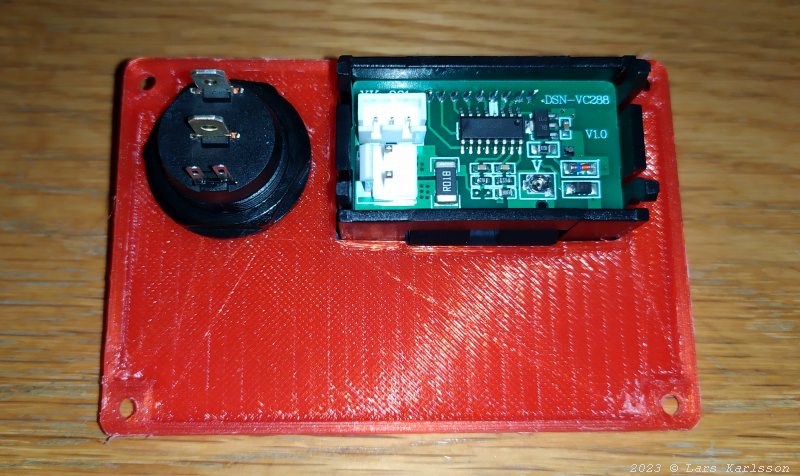
The power switch has a built in LED indicator. The instrument has the range 0 to 100 Volt and 0 to 10 Ampere, the shunt resistor is built in. 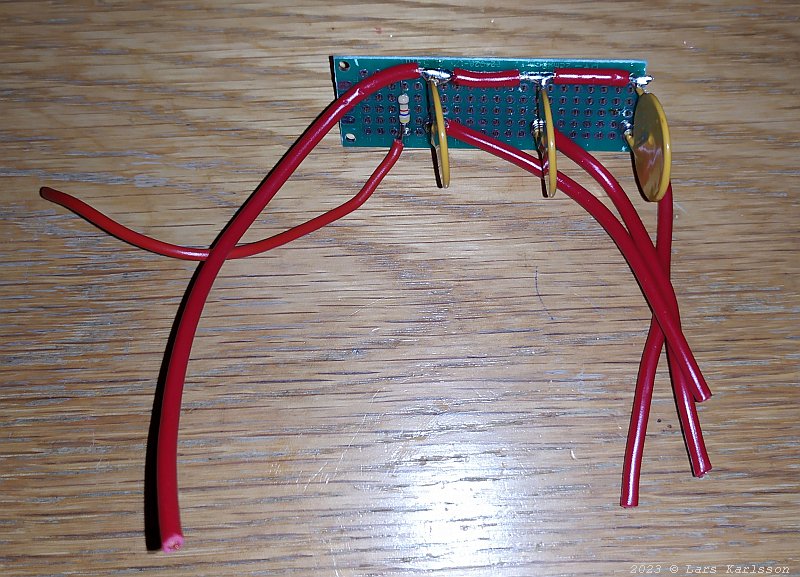
Circuit board with three 2.5 Ampere automatic fuses, Polyswitch. The small resistor is to the LED indicator in the power switch, 4.7 kohm. 
The three panel mounted power 2 pol connectors installed. This will be great, much easier and safer out in the dark. 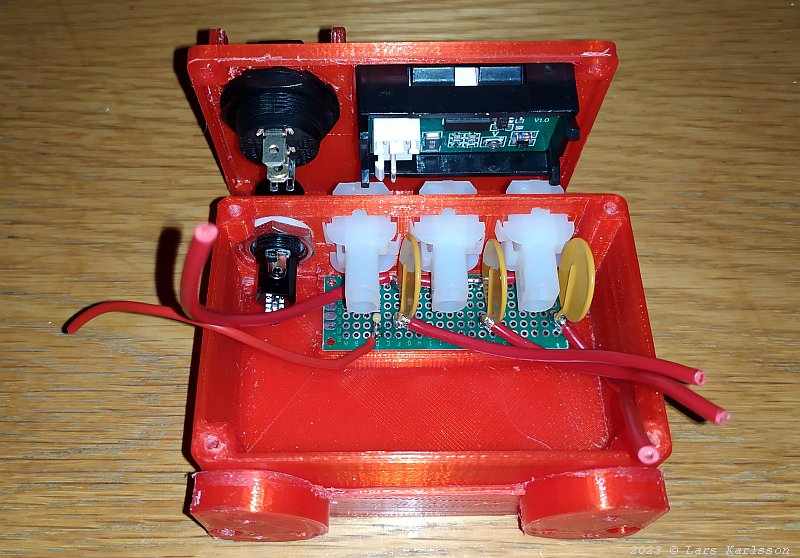
Now is only the last wiring left to the panel connector, the incoming power cable is also missing. 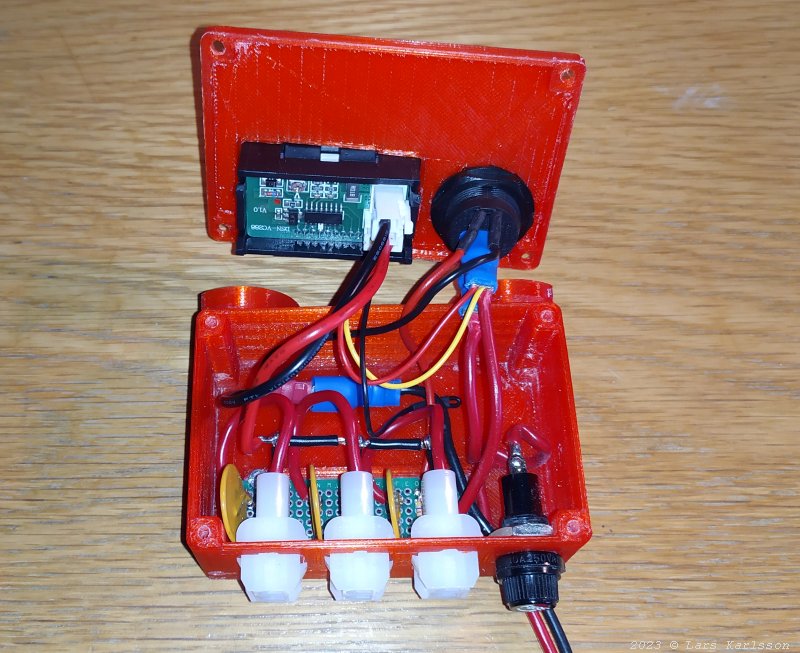
All the wires in place, if I can find 90 degree flat pin connectors it will be better, the blue ones at the main switch. 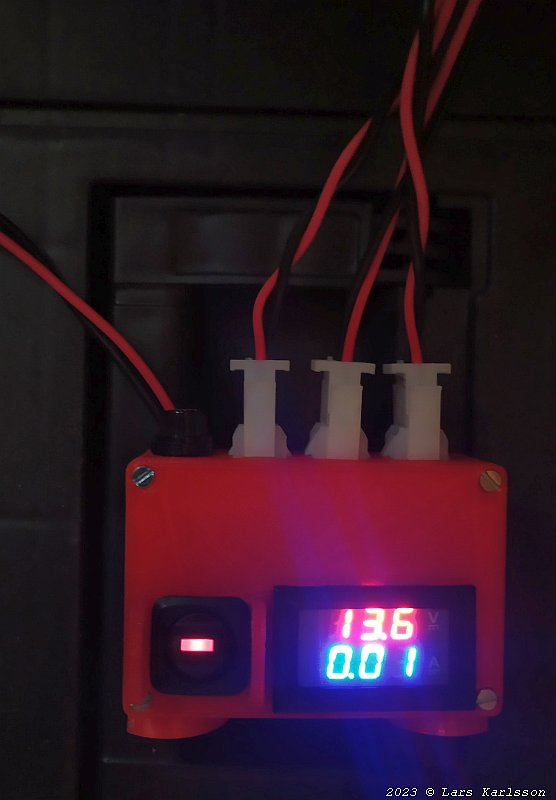
Power it up and connect it to the telescope, no smoke !
|
|