|
Advertisement / Annons: |
My astronomy project:
|
Content:
Note: |
2: ElectricalWith this new setup I will redo the electrical system to be more user friendly and practical. Focus controller and USB hub: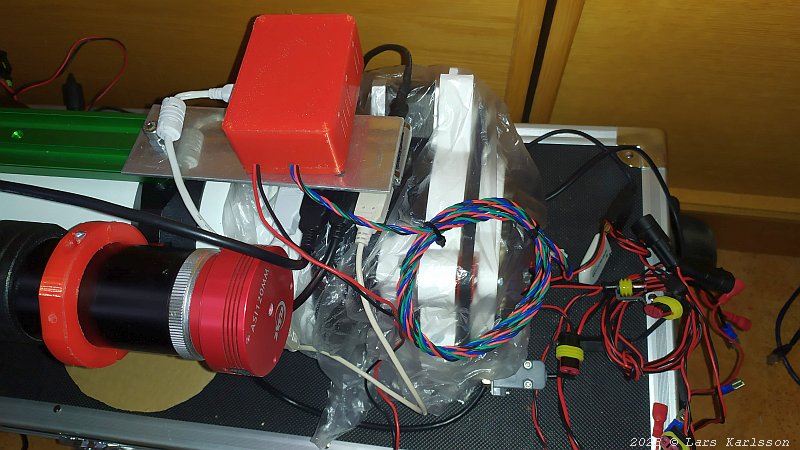
Before I plan for the last details I want to test some astrophotos. I had to rotate the guide camera 180 degrees to have the USB connector point upwards. The image will be upside down but that can the guide software handle. A bracket (the silver one) hold the focus controller and a USB Hub, more about: MyFocuserPro2 which it's built around. I use a much smaller USB hub now, I will have a separate 5 volt power supply for the Raspberry. With that it's easier to adapt it to new models, the Raspberry Pi 5 needs more power, 5 Volt 5 Ampere. New power cables: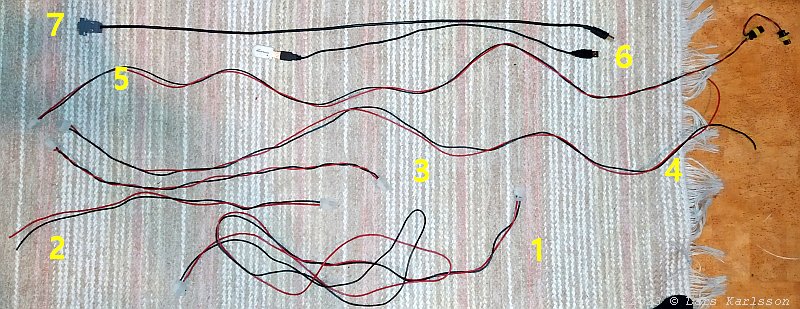
To the new setup I use about the same kind of cables that I have to the smaller telescope system. Cable 1 to 5 handle the 12 volt system.
With the power output divided to three terminals I can reduce the fuse size and make it more selective. I will use polyfuses which is an electronic fuse. Compare to the older setup I have shorten the cables from the power splitter to move it closer to the devices. The Sky-Watcher mounts that I have, EQ6 and HEQ5 are sensitive to low voltage. Below 12 volt it fail, better with 13.5 volt. Low voltage loss in the power cables is a must. 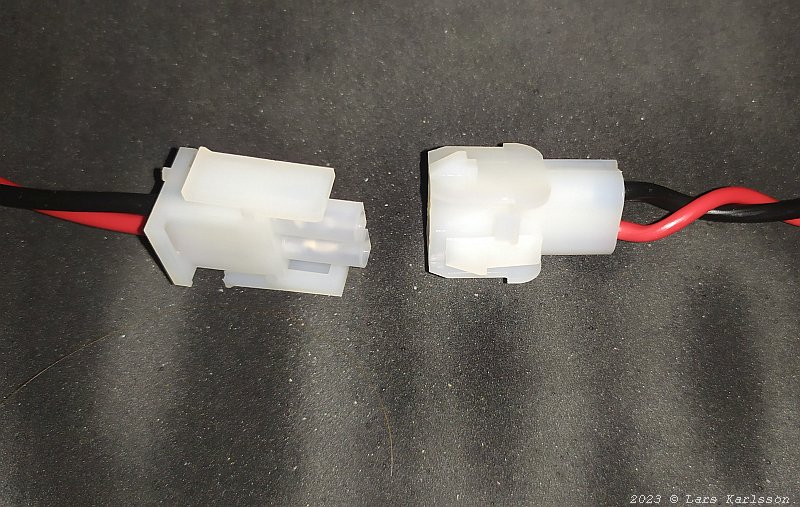
As power connectors I use ordinary ones from RC-cars, they can handle 18 Ampere. I both crimp and solder the connectors to the cables to ensures a reliable function. All DC cables are twisted to reduce the sensitivity to electric disturbances. Other devices:More devices to add: Raspberry computer, power supply 12 to 5 volts to Raspberry and hub, 12 to 8 volt for camera and maybe one more spare, power splitter fuse box with volt and ampere meter.
|
|