|
Advertisement / Annons: |
My astronomy project:
|
Content:
Note: |
4: Brackets hub and computerThe stand at front I attach a bracket that can hold the Raspberry computer. USB hub bracket: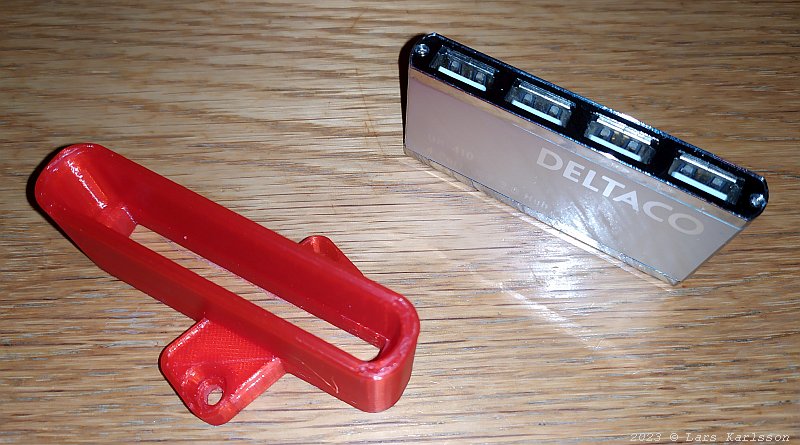
The USB hub is really small but still it isn't so easy to get it to fit where I want it, I optimize for short USB cables. I had to tilt the bracket. 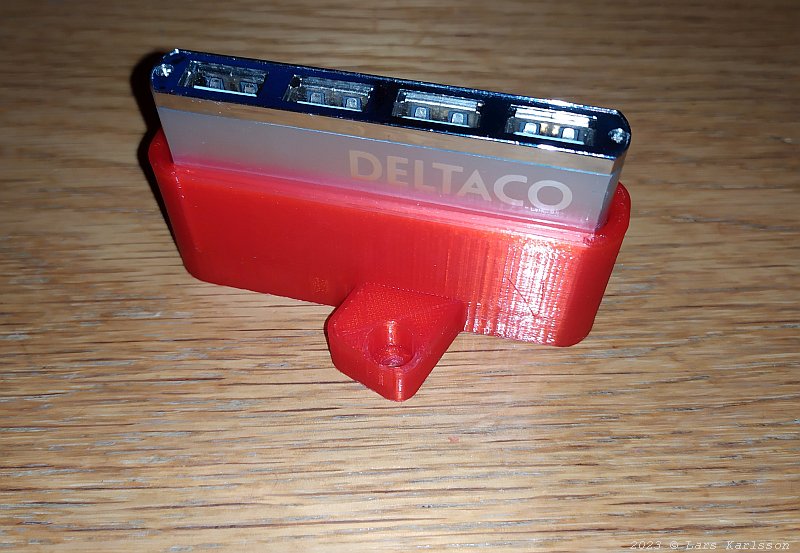
The hub fit like a dream in the bracket. 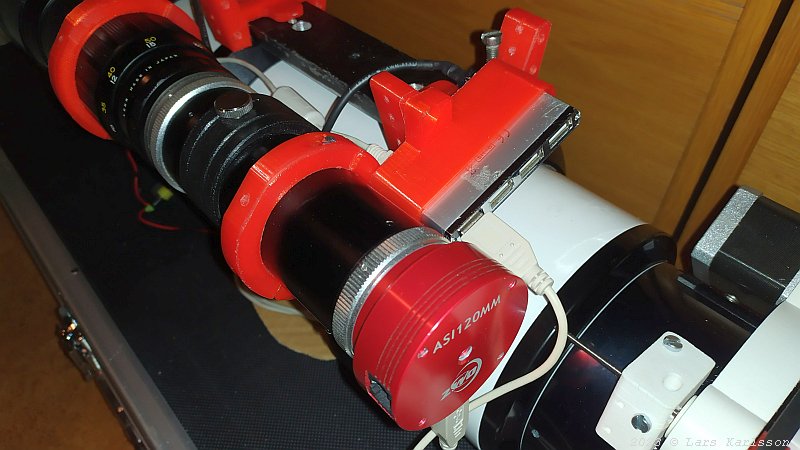
The hub mounted on the bracket, all cables has a free passage and it's placed where there was unused area earlier. 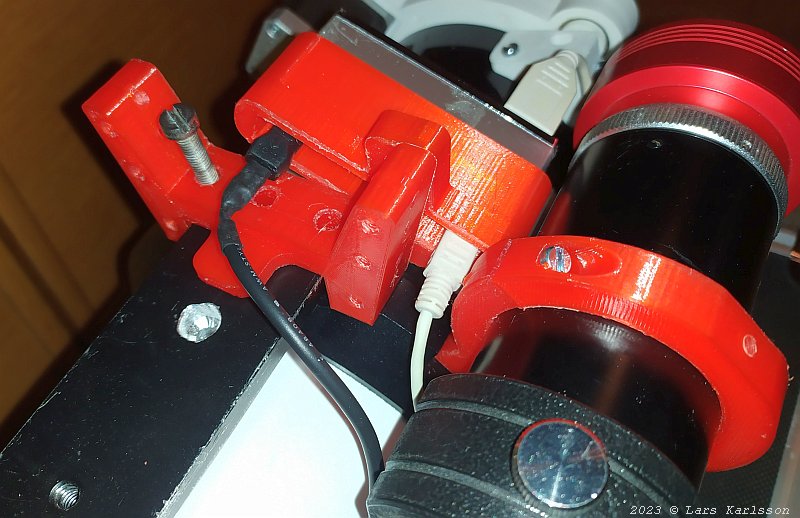
The hub bracket from the back side. The cables has space around but must be put aside, the head of the mount protrude up here. Raspberry Pi4 bracket: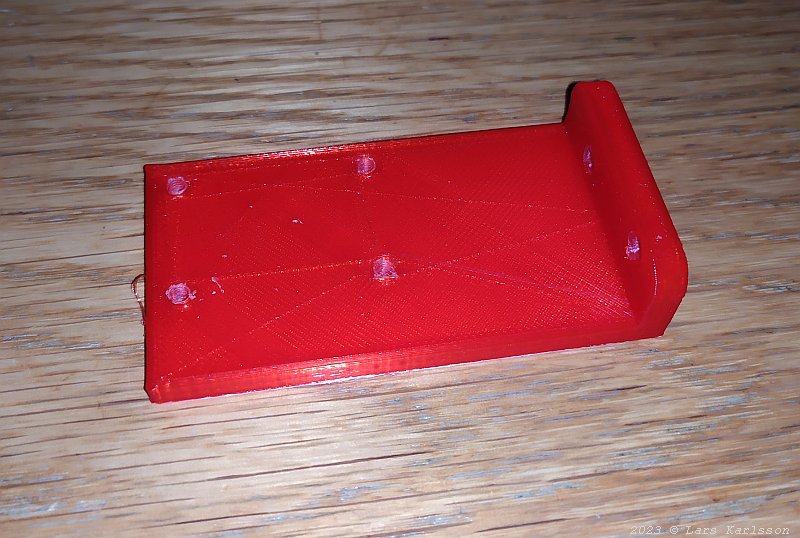
The little Raspberry also need some bracket. I placed this one at the front stand. 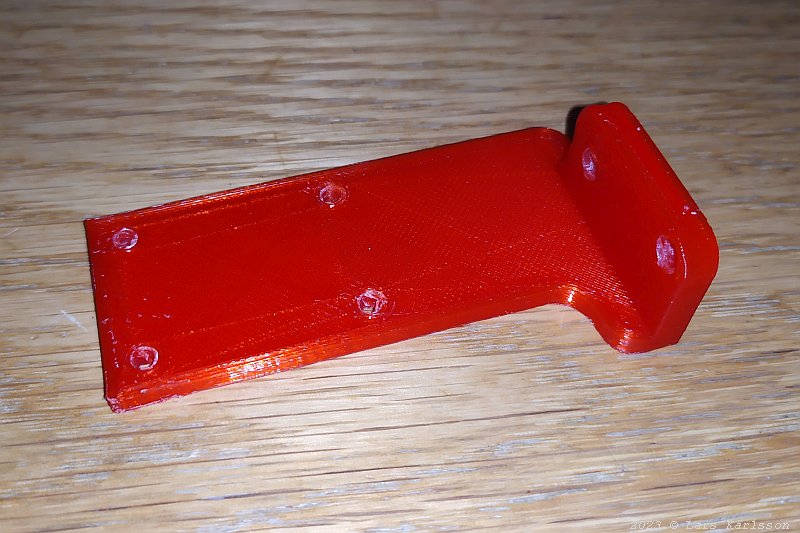
An updated version of the bracket. Give more space around the Raspberry and better ventilation for the cooling. 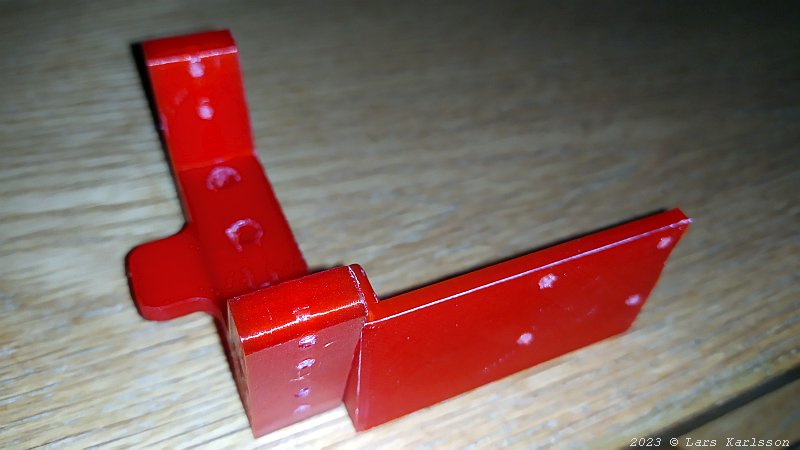
Raspberry bracket mounted together with the front stand. One part missing, the cage that I put the Raspberry into. It's during 3D-printing. 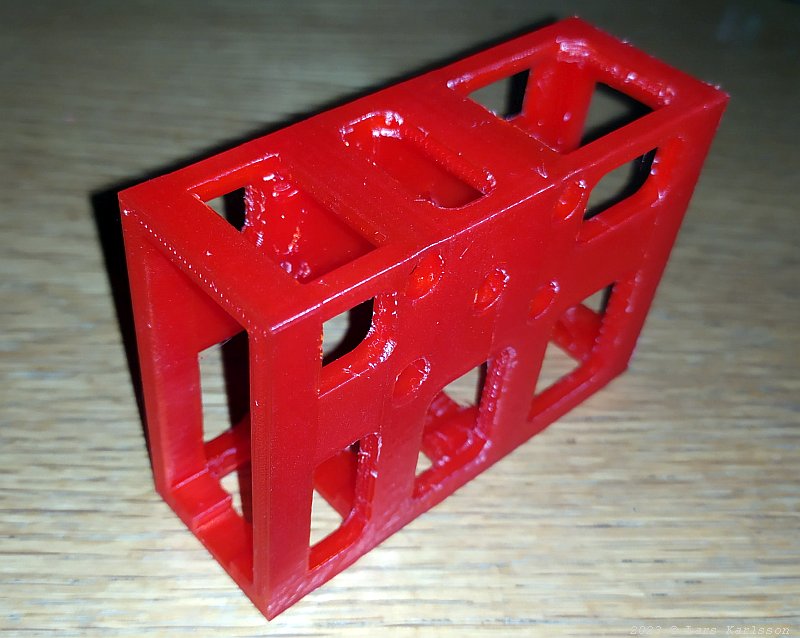
The cage that hold the Raspberry Pi4 in place. I use the same design of the bracket to my other telescope, but this is printed in nice red color. 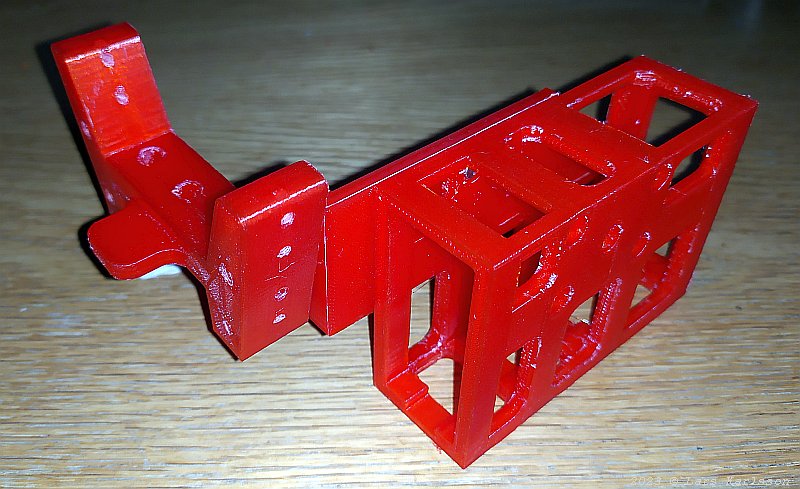
Mounted on the earlier bracket I made. 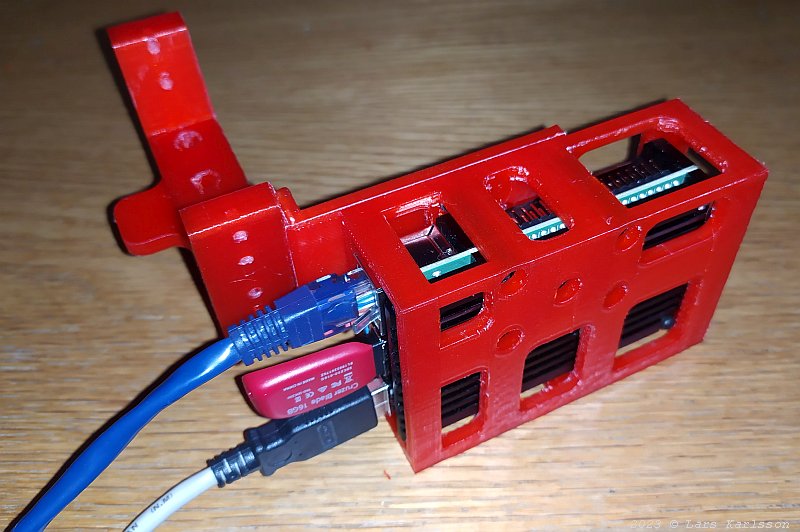
The Raspberry inserted in the cage. It must be very open because it's only passive cooled. This is the Pi4 model, now has the Pi5 model come, I'm not sure if it will fit in this cage. If not I have to design a new cage. 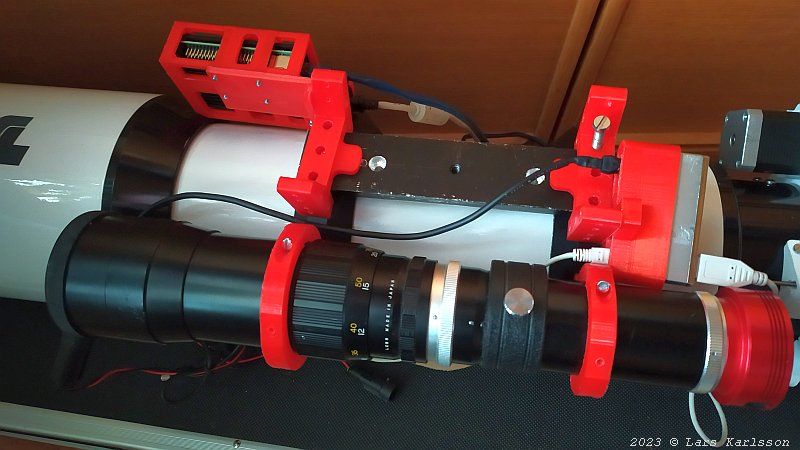
The Raspberry bracket mounted on the telescope. It come a little bit too close to the dew shield, dependent on where I have the balance of the telescope maybe this is a problem. Next one to install is the focuser control unit. 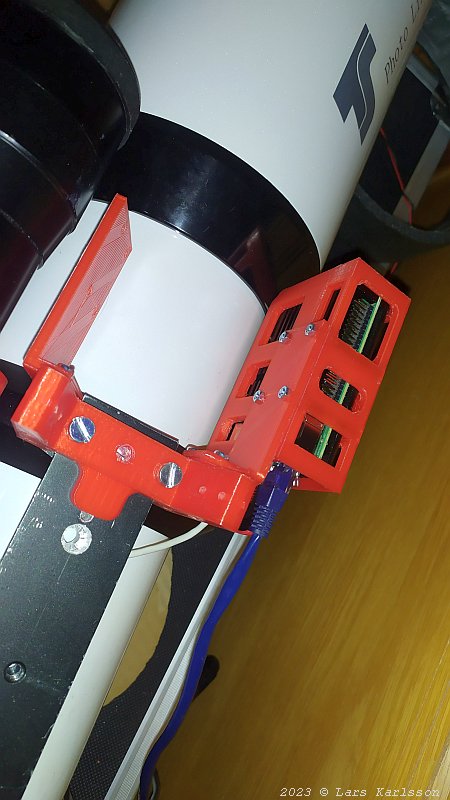
The version 2 of the bracket. Moved the cage that hold the Raspberry away from the telescope. The first version of it sits now to the left. Maybe a temperature regulator for the dew heater can be placed here.
|
|