Astrofriend's homepage

www.astrofriend.eu
Share: Twitter Reddit Facebook Gmail Gmail Email
Search Astrofriend's homepage:

Valid CSS!

All pages shall now have been validated

Info Cookies (Kakor) / GDPR

Navigation

Advertisement /
Annons:

Twitter @AstrofriendLars

Follow Astrofriend

Tutorial News

Advertisement /
Annons:

Advertisement / Annons:

3D CAD:
GT2 pulleys for focusing a camera lens


Contents:

  1. Calculating number of teeth
  2. CAD of 15 teeth pulley, part 1
  3. CAD of 15 teeth pulley, part 2
  4. CAD of 15 teeth pulley, part 3
  5. CAD of 15 save and prepare to print, part 4
  6. CAD of 174 teeth pulley, part 1
  7. CAD of 174 teeth pulley, part 2
  8. CAD of 174 teeth pulley, part 3
  9. CAD of 174 save and prepare to print, part 4
  10. CAD of 174 clean from support material, part 5
  11. CAD of 174 new version, part 6
  12. CAD of 174 slicing and printing, part 7
  13. CAD of 12 and 15 teeth, new design, part 1
  14. CAD of 12 and 15 teeth, printing, part 2
  15. CAD of 180 teeth pulley, part 1
  16. CAD of 180 teeth pulley, part 2
  17. CAD of 180 teeth pulley, part 3
  18. To be continued

Note:
I take no responsibility or liability for what are written here, you use the information at your own risk!


17, CAD of 180 teeth pulley, part 3:

Now it's time to print out the pulley. Very exciting if it will fit this time.


180 teeth pulley, Export it to Cura as a STL file:

3D CAD: Making a drawing for GT2 pulleys to the focuser of lens

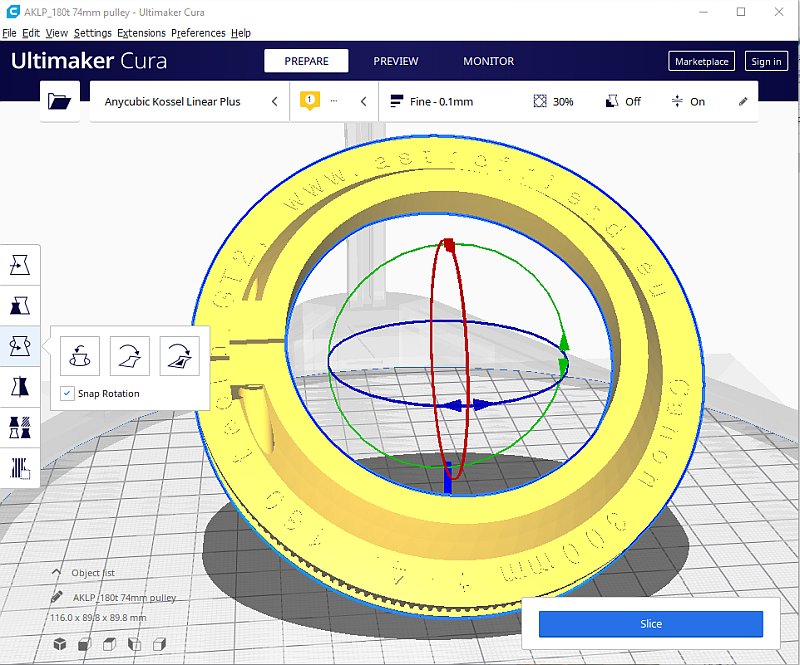
I Export the drawing as a STL file to Cura, the slicing software. Yes, it looks correct, if it looks okay in Cura it will normally be printed correct also.


Testing the printed pulley on the lens:

3D CAD: Making a drawing for GT2 pulleys to the focuser of lens

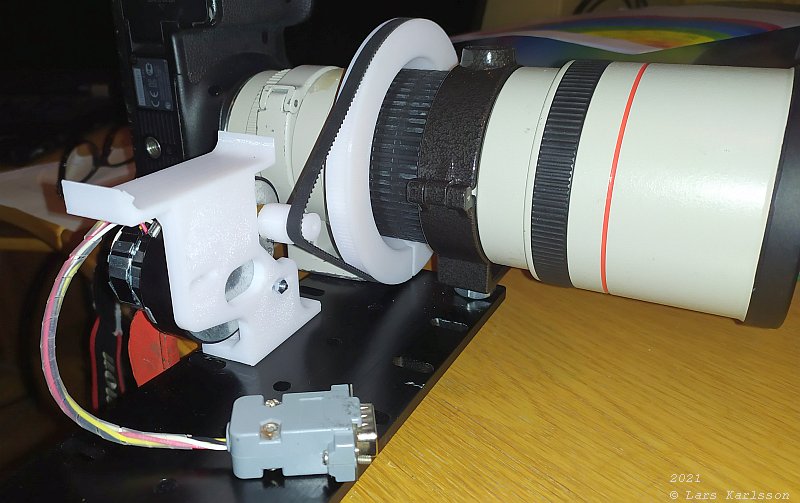
There where no problem this time with the 3D printing. It fit the lens barrel and the timing belt wraps round perfect to the teeth of the pulley. It's a GT2 pitch 2 mm and 400 mm long timing belt I use.


3D CAD: Making a drawing for GT2 pulleys to the focuser of lens

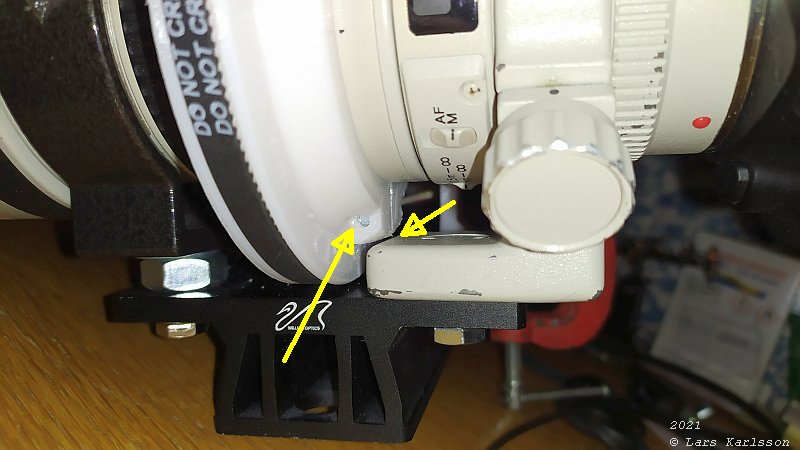
As a bonus I got the pulley to turn all they way around without hitting the lens holder. It's not necessary but it's safer to have it like this. I had to nail down the corner that protrude, I will update the drawing later. The control buttons are hard to reach with the camera in this position, but no need to use them.

If there is space enough I will place a pocket here instead of the threads, with this new slimmed pulley it wasn't so easy to thread the hole.


3D CAD: Making a drawing for GT2 pulleys to the focuser of lens

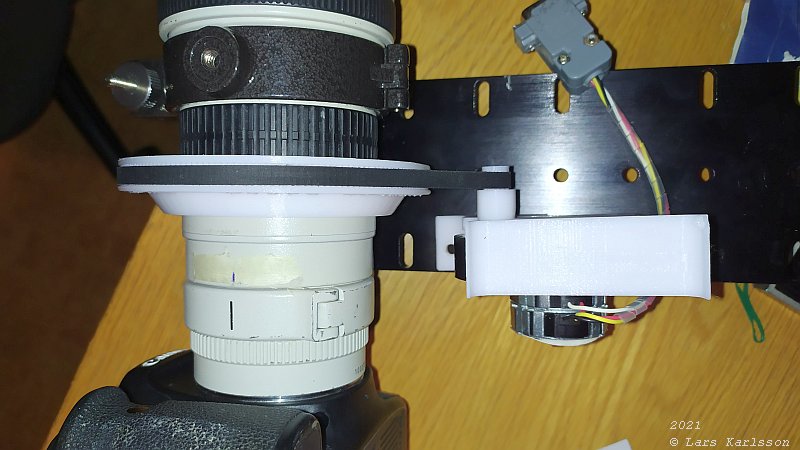
I must print out a new 16 teeth pulley before I can proceed with the new version of the motor bracket.


3D CAD: Making a drawing for GT2 pulleys to the focuser of lens

Later when the new 16 teeth pulley is installed I can measure where I shall have the mounting holes to get the correct tension of the timing belt.


3D CAD: Making a drawing for GT2 pulleys to the focuser of lens

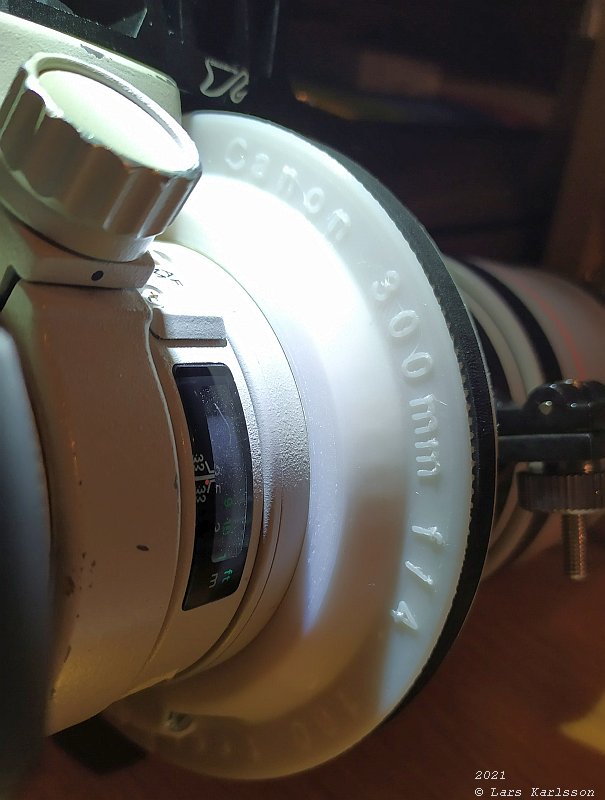
It was a lot of work to understand this text tool, but very handy, if I 3D print a lot of this pulleys for different lens' it's now easy to know which is which.


To do list of the 180 teeth pulley:
1. Replace the threaded hole with a pocket for a nut.
2. Adjust the edge so the pulley can turn free around the lens.

Nothing important to do now, now I'm most eager to have it out and do astrophoto. It will be the first time I can remote focus a camera lens from my normal astro software I use. It will be easy to adapt this system to other camera lenses to, a different length of the timing belt and a new pulley for the lens.

Go Back to content

Go Back
To page XVIII, to be continued

Advertisement / Annons: