|
Advertisement / Annons: |
My astronomy project:
|
Content:
Note: |
9, Enclosure:Before I start with more testing I must have an enclosure to the driver circuit, otherwise it will be a short cut soon or later. As usual I design in FreeCAD and 3D-print it. Bottom part: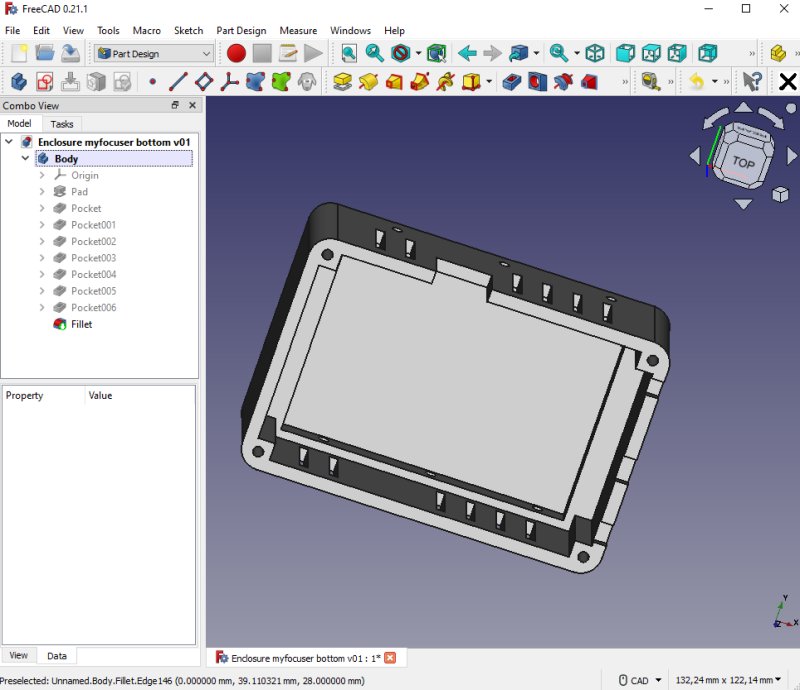
I start with the bottom part of the enclosure. Ventilation openings is built in. Maybe not necessary in the cold climate we have here. The drawback is that it will not be water prof. The cables will be squeezed in the opening between the bottom part and the lid. The third cable is an option for the future, the temperature sensor. For the moment I don't feel any need for it, better to do an auto focusing once per hour. Lid: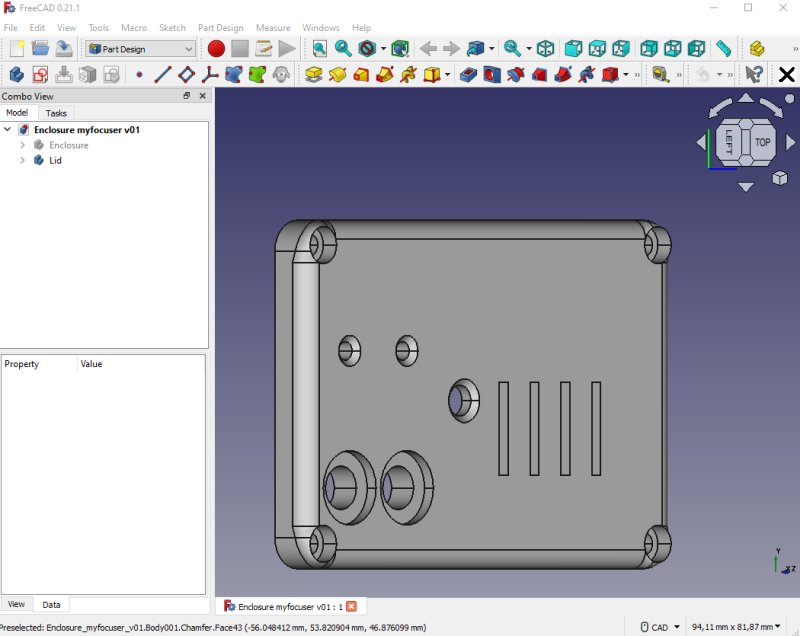
The lid holds the IN/OUT buttons and LEDs. It will also be an opening down to the reset switch on the Arduino board. The red little dream machine: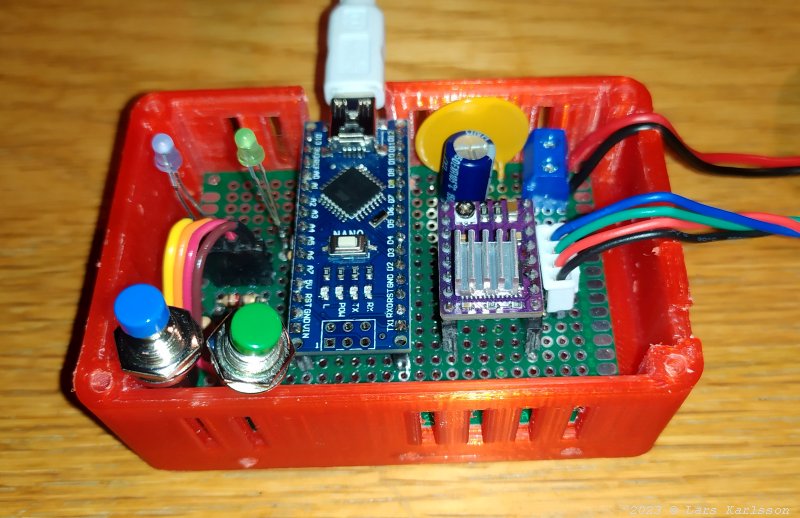
Only one little small mistake this time, but I can use it as it is. The lid will push down the circuit board to correct place. 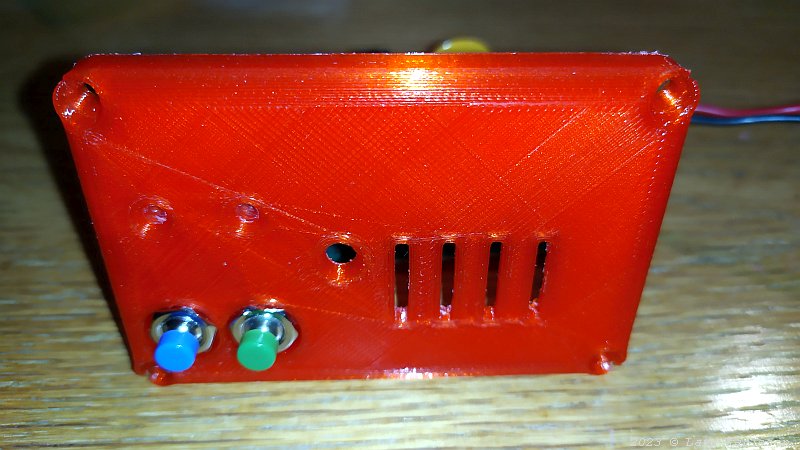
The lid with IN/OUT push buttons and LEDs, the center hole is where the Arduino's reset switch is placed under. Openings for heat dissipation. 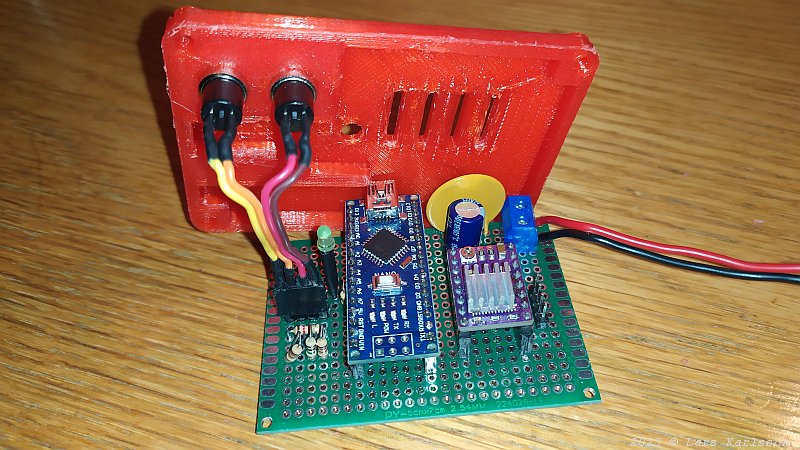
Connection of the push buttons, next time I do this I will use push buttons that can be solder direct to the circuit board. If I also solder the Arduino and driver direct to the circuit board I can lower the design with 10 mm. 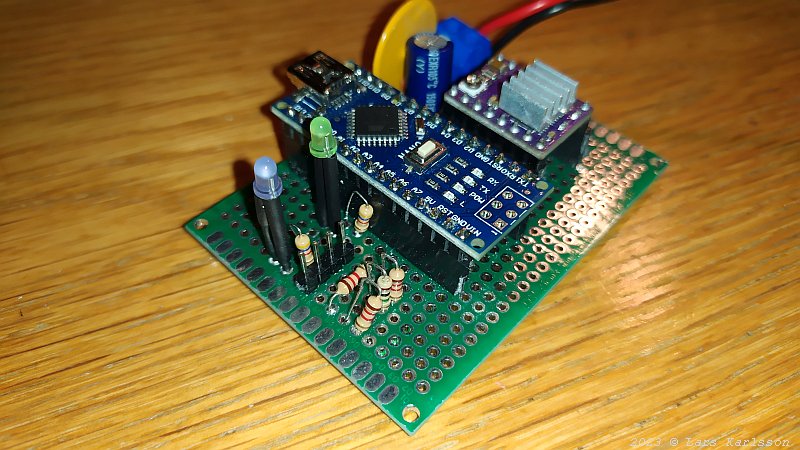
The length of the legs to the LEDs must be adapted to the height of the enclosure. I have also put some isolation tubes around the legs to not let them do a short cut. 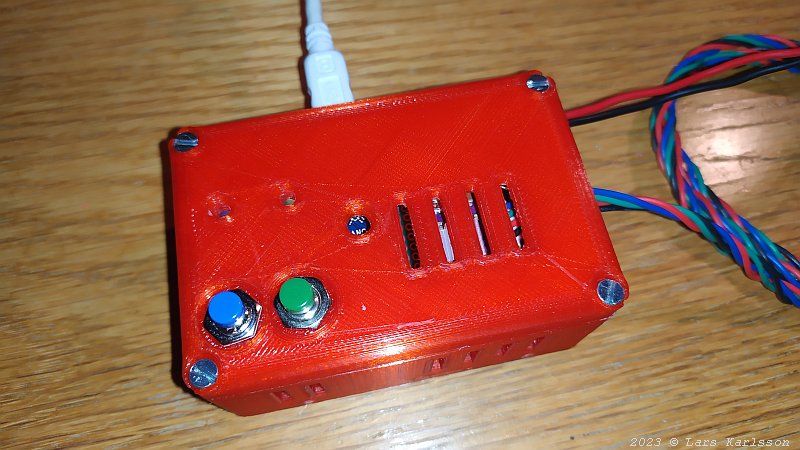
Finished, the dimension of the box is: 84x56x35 mm.
|
|