|
Advertisement / Annons: |
My astronomy project:
|
Content:
Note: |
1: Overview of the parts and an inside look for broken partsI already have the EQ6 mount and it's working well for me. But sometimes when I travel I want to bring with me some lightweight mount and the EQ6 is for sure not that. Then I found an used SkyWatcher's Star Adventurer, it was broken. It had been broken by accident when it hit the floor and some parts was bent. And it has a terribly backlash and there is noise from the gearbox too. It was a chance of course to buy this. But I like the look of it and I couldn't stop me from buying it. The look of it give the feel that it is of high quality and with the red paint it look nice. In Sweden it cost about 280 Euro as new, I also bought some extra parts to it. 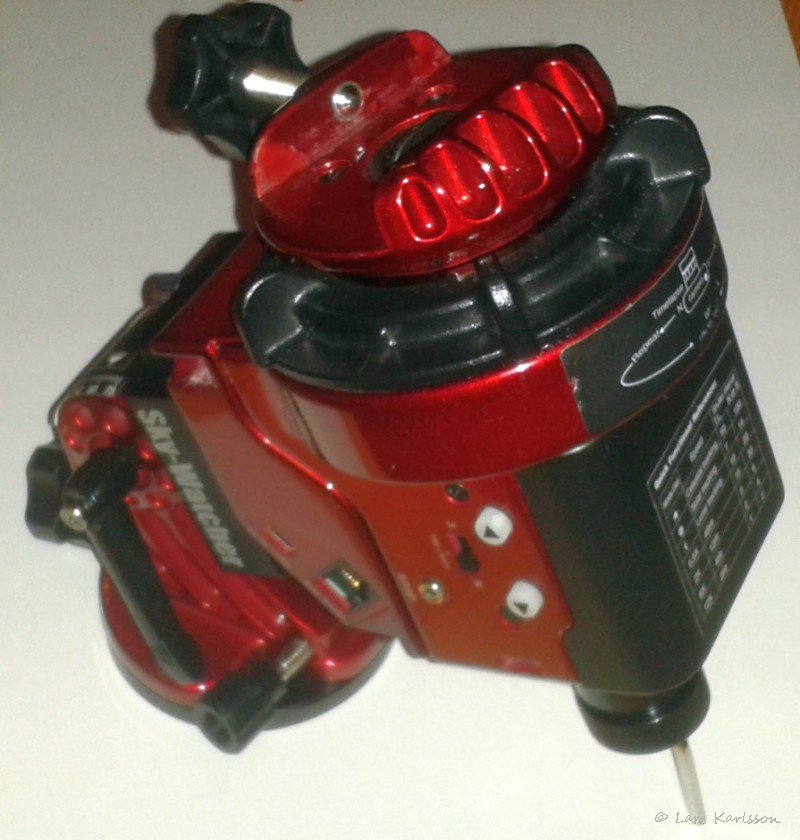
The knobs to the left are for the altitude and azimuth adjustment, the middle one lock the altitude adjustment. To the right of the knobs there is a port for guide camera connection. The switch for north or south. 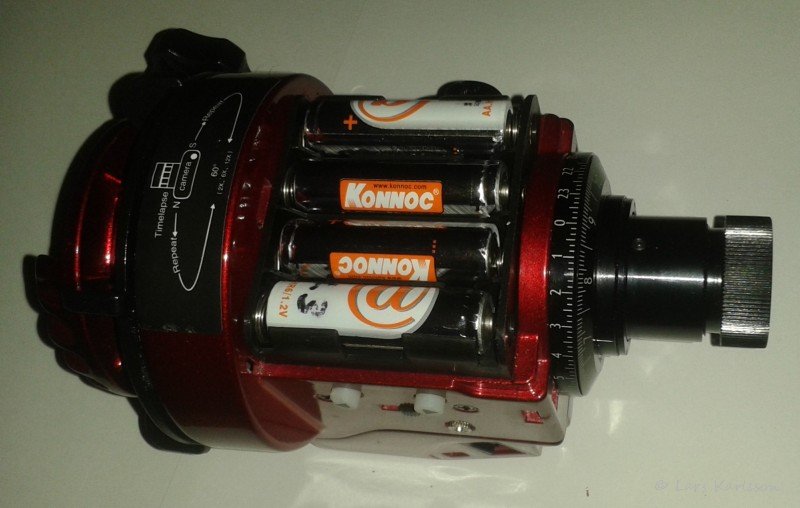
Under the grey cover is the battery compartment, it holds 4 AA batteries, it's also possibly to power it from a mini USB with 5 volt. 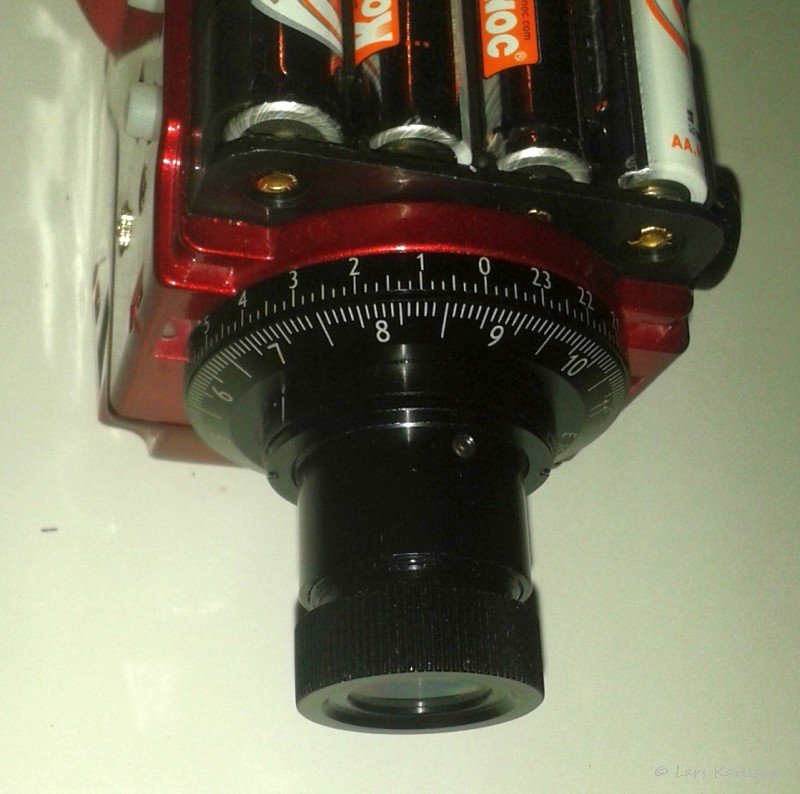
There is also included a polar scope. A must if you want to use any longer focal length lenses. They max recommend 50mm, but I have read of people who use 300mm lenses, then there is a need of guide camera. Star Adventurer has an USB port for RA-guiding. 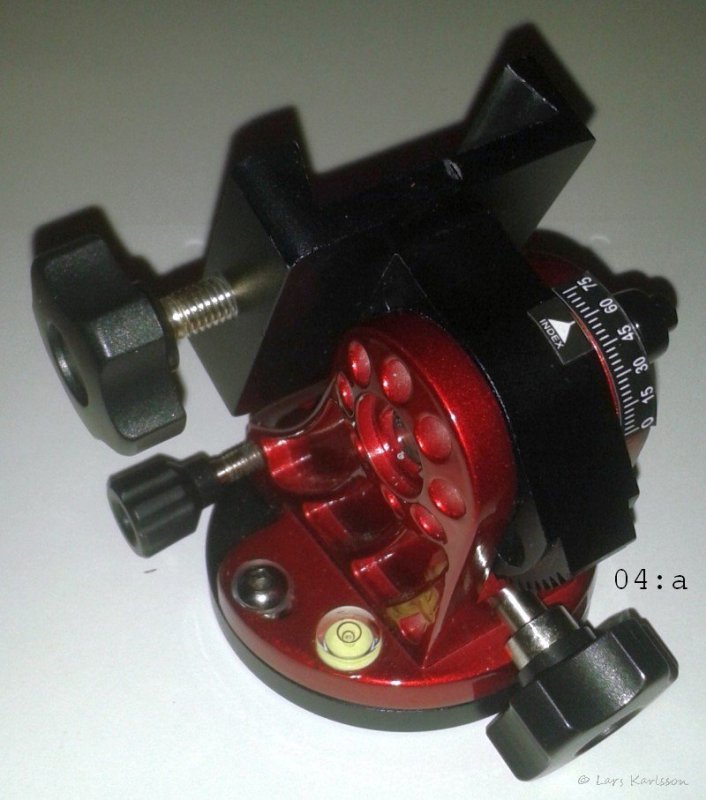
The wedge, very advanced with a worm gear (04:a) to adjust altitude, it also handle high altitude as where I live 60 degree and up to 75 degrees. 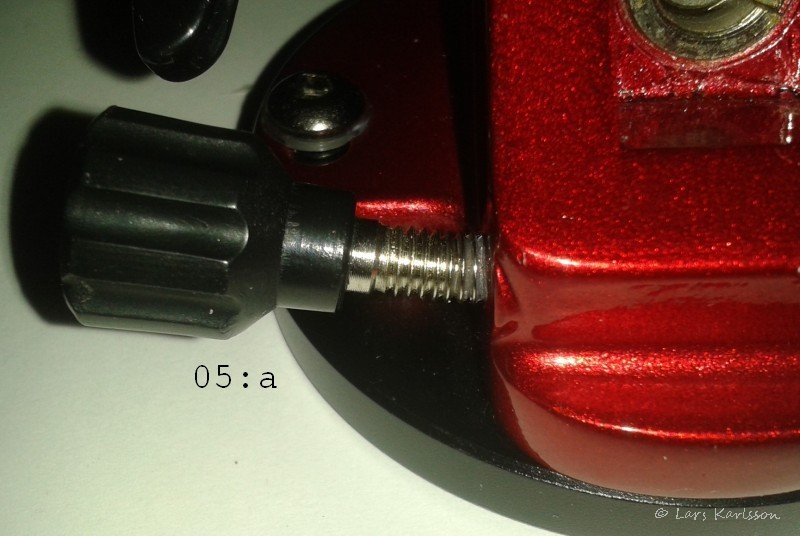
One sign of what had happen, a bent screw (05:a) which adjust azimuth angle. I think it's made of brass. No damaged to the cast part. Just have to order a new adjust screw, maybe not necessary, it works already but with some limitations. 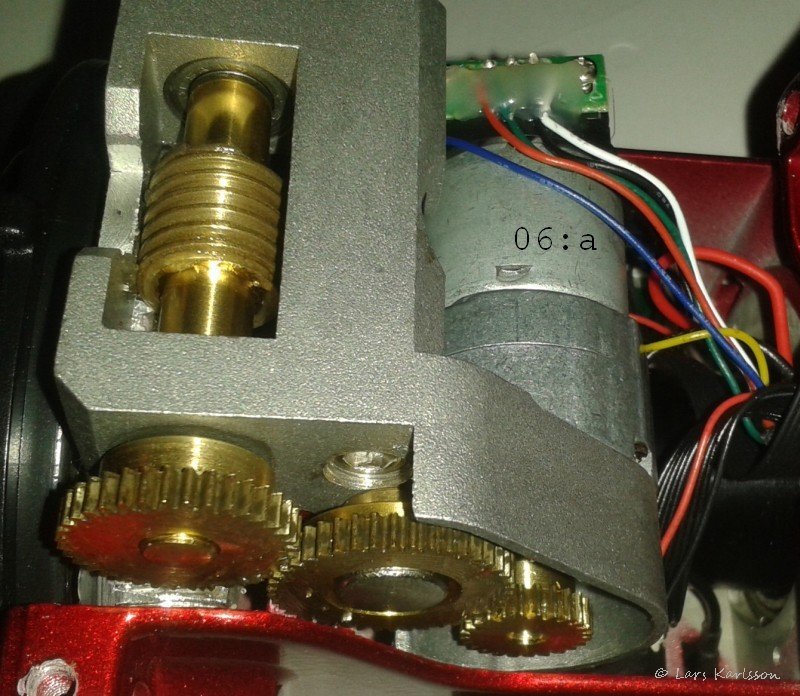
After open it I got a surprise, what a high quality to be just a simple star tracker. But because it's broken there are some parts that doesn't work. Very high backslash and stiff gears. (06:a) the DC motor. 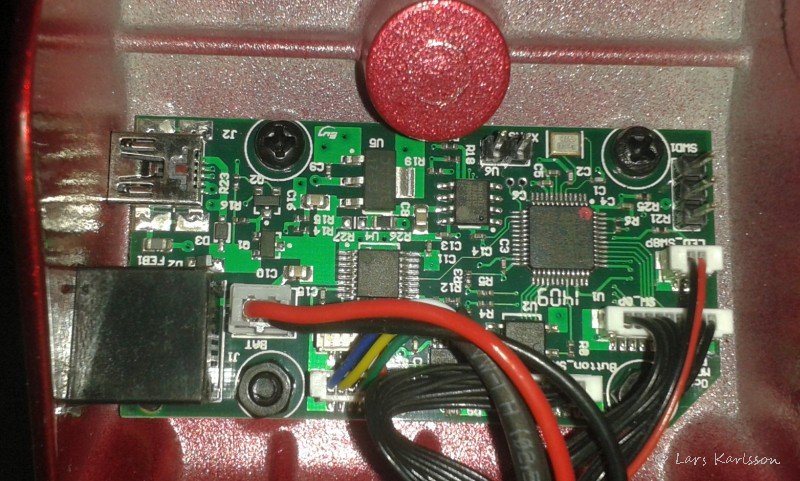
A highly integrated control device mounted in the lid, looks good. To the left, ports for guiding and a mini USB for power inlet when not used with batteries. 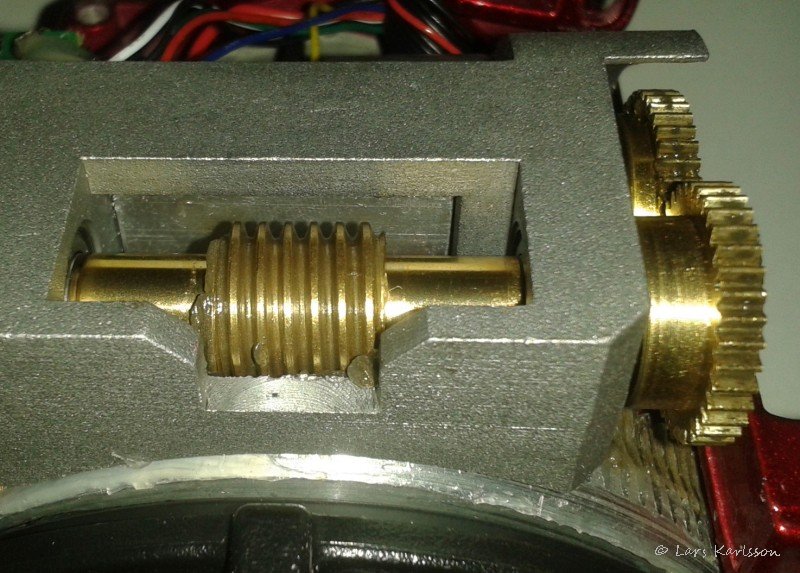
Worm gear with the big gear bottom right, a very heavy construction in a small case. Even this part is very loose, the shaft can be moved about 2 mm. Can't see any damage, maybe just to adjust, but how can it be so poor adjusted then? 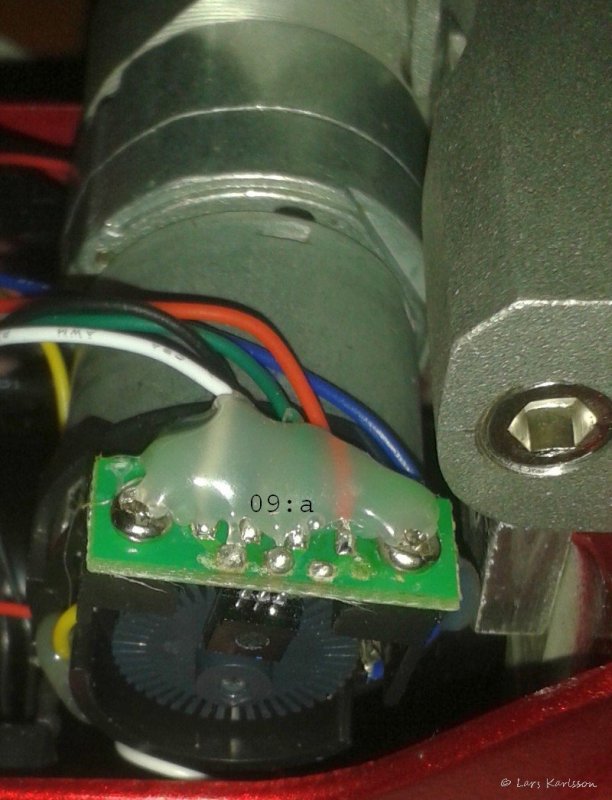
There is no stepper motor, a more modern technology with a DC motor and a pulse sensor (09:a). Consume much less power and cheaper.
|
|