Astrofriend's homepage

www.astrofriend.eu
Share: Twitter Reddit Facebook Gmail Gmail Email
Search Astrofriend's homepage:

Valid CSS!

All pages shall now have been validated

Info Cookies (Kakor) / GDPR

Navigation

Advertisement /
Annons:

Twitter @AstrofriendLars

Follow Astrofriend

Tutorial News

Advertisement / Annons:

My astronomy project:
Repair of Star Adventurer mount (and a look inside)


Content:

  1. Overview of the parts and an inside look for broken parts
  2. Adjustment of worm gear and gearbox
  3. Will it work after this repair and adjustment?
  4. Complement with a tripod
  5. Complement with a light weight holder
  6. Polar Align
  7. Travel kit
  8. Dithering ?
  9. Red Dot Finder
  10. Test photo on M31 and M45
  11. Soldering mini USB contact

Note:
I take no responsibility or liability for what are written here, you use the information on your own risk!


4: Complement with a tripod

The Star Adventure needs a steady tripod, more than a normal tripod for photo.

Tripod

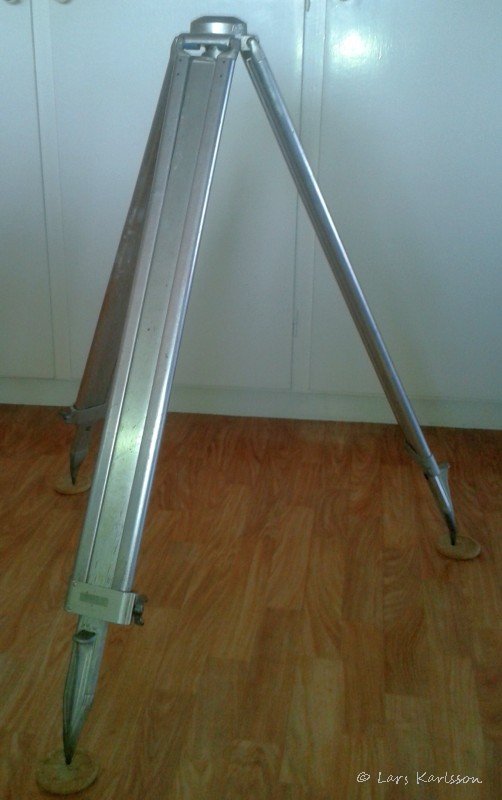
Luckily my friend Robert had an steady tripod that I could borrow.

Tripod head

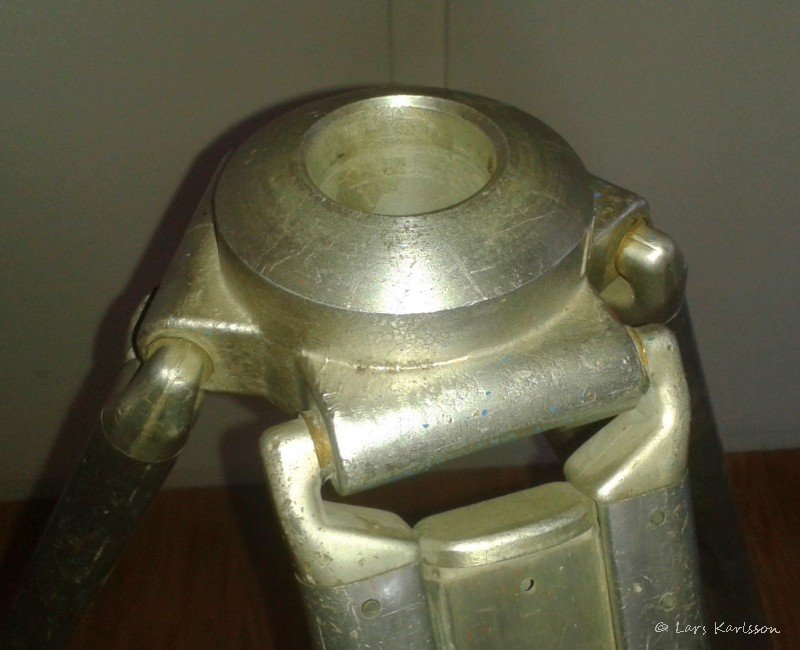
I had to tighten the friction screws to the hinges. The head of the tripod has a bolt to attach it to the instrument.

Tripod bolt

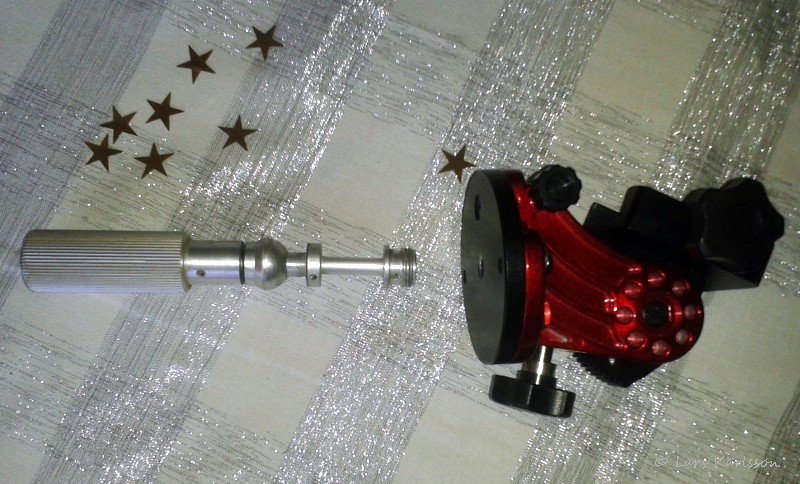
The bolts diameter is too far big for the Star Adventure. I don't want to destroy anything on the tripod, I have too replace it with a 3/8" bolt.

3/8" bolt and washer

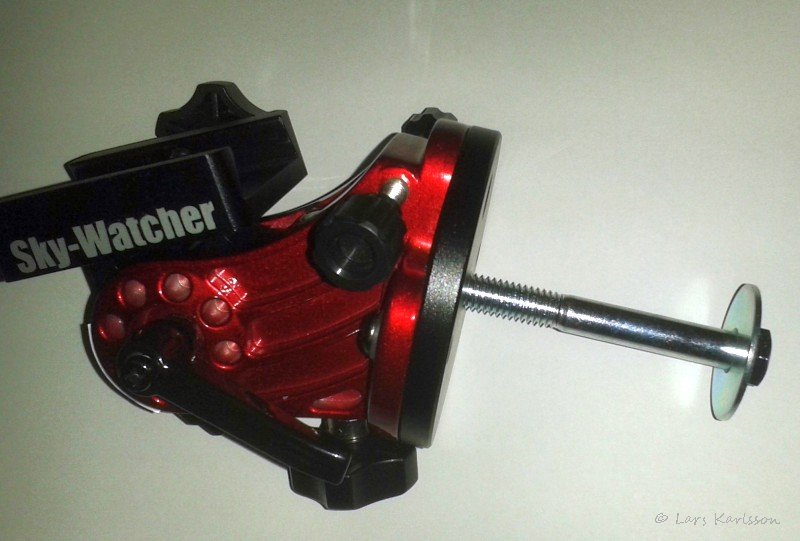
Here is the new 3/8" bolt with it's washer.

Tripod with Star Adventure and Canon 6D camera and Sigma 150mm f2.8 lens

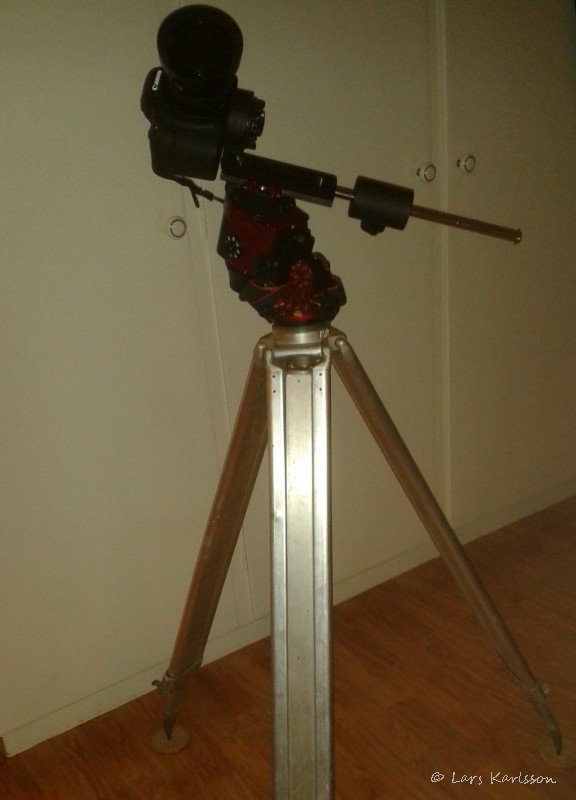
Here how it looks with the Star Adventure, Canon 6D camera and Sigma 150mm f2.8 lens attached. The tripod is very steady and light weight.

Go Back to content

Go Back
To page V

Advertisement / Annons: