|
Advertisement / Annons: |
My astronomy project:
|
Content:
Note: |
11: Soldering mini USB contactAfter a couple of years the Star Adventure's mini USB contact got broken. It just disappeared. 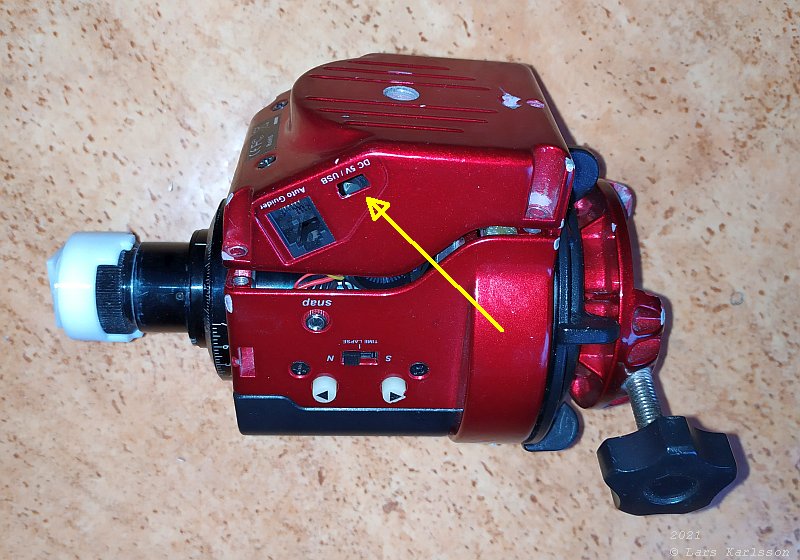
Too much force on the cable and I got a hole where the mini USB contact was placed earlier. It was one year ago, I normally don't use this USB contact, only when I not take power from the internal batteries. But today it was a good day to do something about it, if I can. 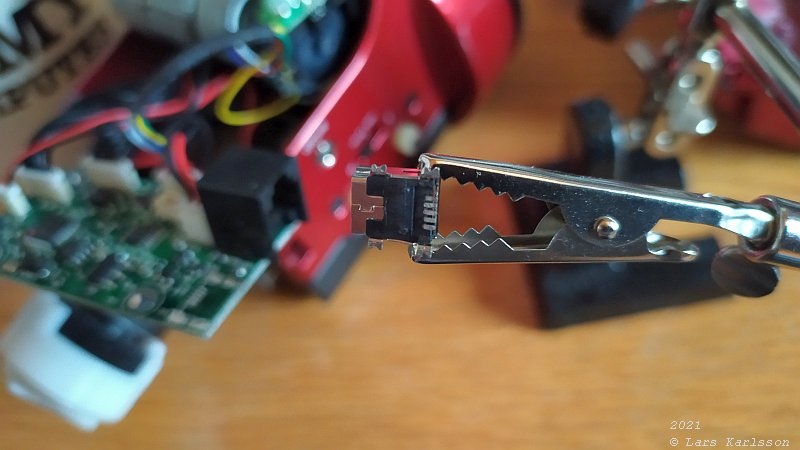
Open the case of Star Adventurer and found the small contact inside, look at the connectors, ridiculous small, how to solder that ? 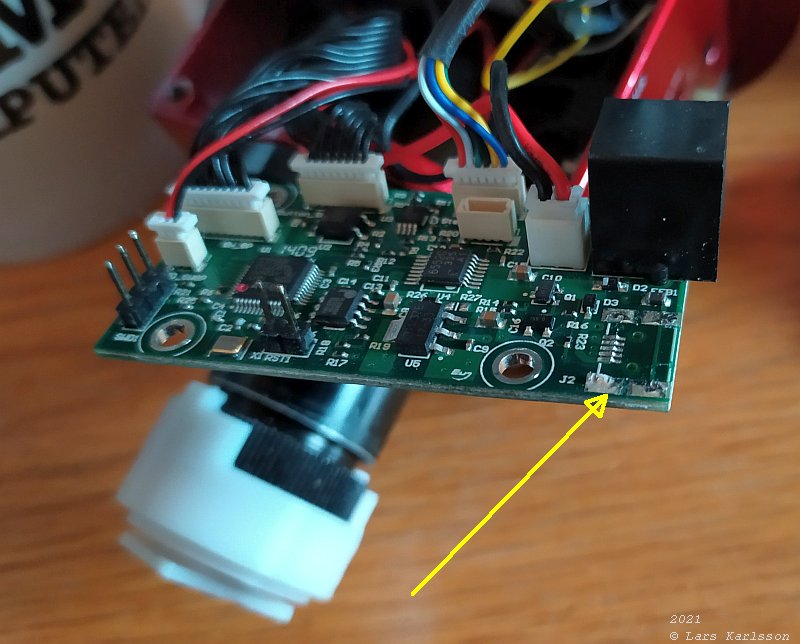
The circuit board where the mini USB contact was placed. You can see that the soldering wasn't very good already from the beginning, they used too little heat when they soldered it or maybe an oxidation problem. 
Clean all surfaces that will be soldered from oxidation and old tin, apply solder paste. Place a very thin new layer of tin on the surfaces of the circuit board and the shield's four pads. In this case the surface of the shield was very oxidized, I took a small knife and scrap away the top layer with oxidation. Next problem is to placen the USB contact in correct position, must match the hole of the lid, this is not easy. When found the correct position, hold the mini USB contact in its place with a screw clamp. 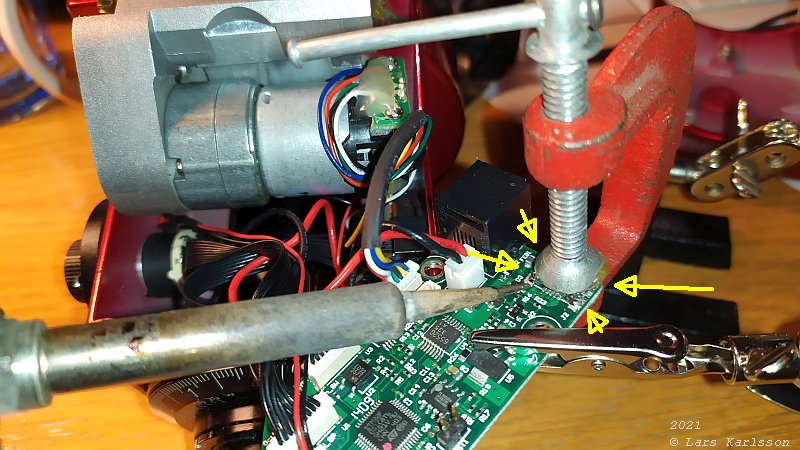
I mounted the thinnest soldering tip I had, about 1 mm, and start soldering the four pads of the corners that hold the metallic shield around the contact. 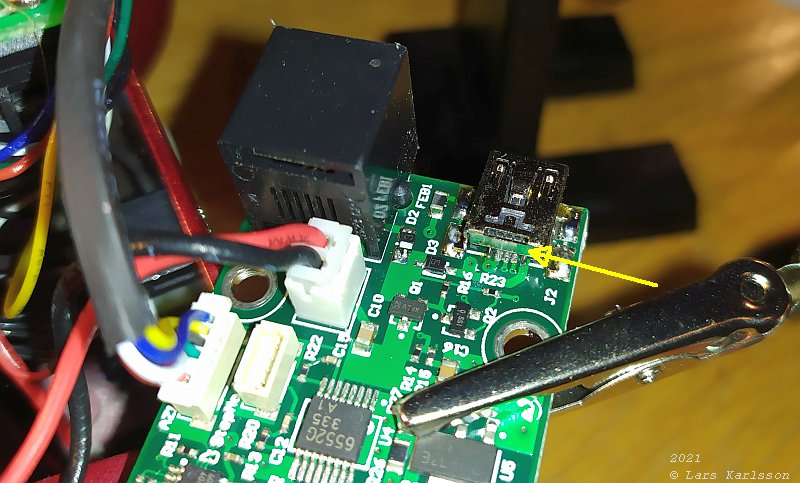
No chance to solder the connectors, they are hidden behind the sheild. I have to open the metallic shield a bit. 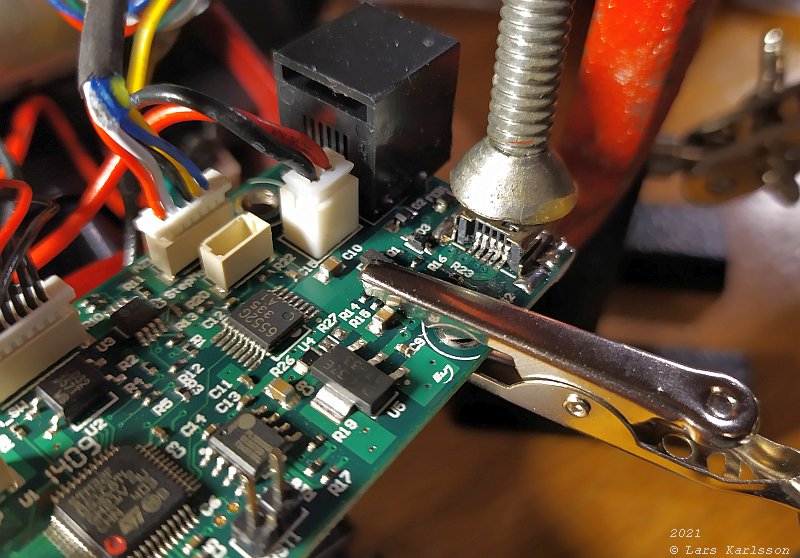
Now it's time to soldering the connectors, very very difficult, I don't even see what I'm doing, they are hidden behind the tools. 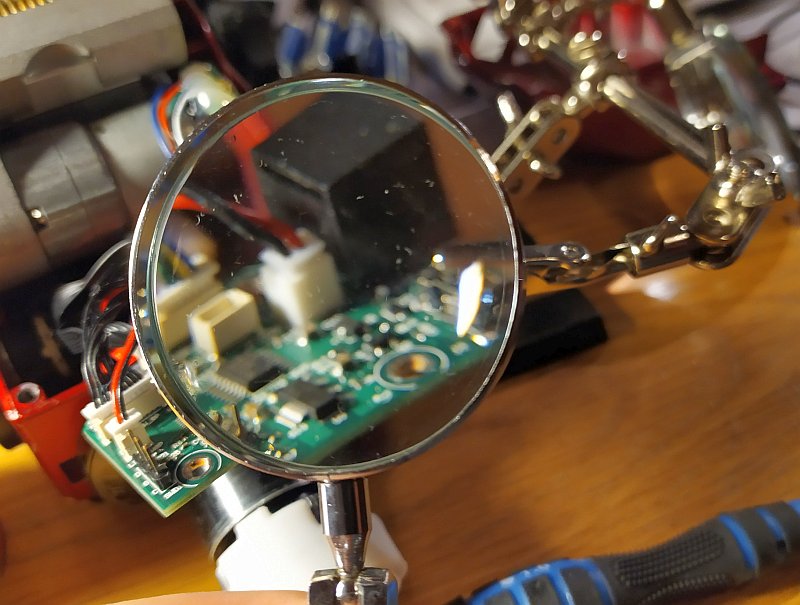
A magnifying glass is needed. 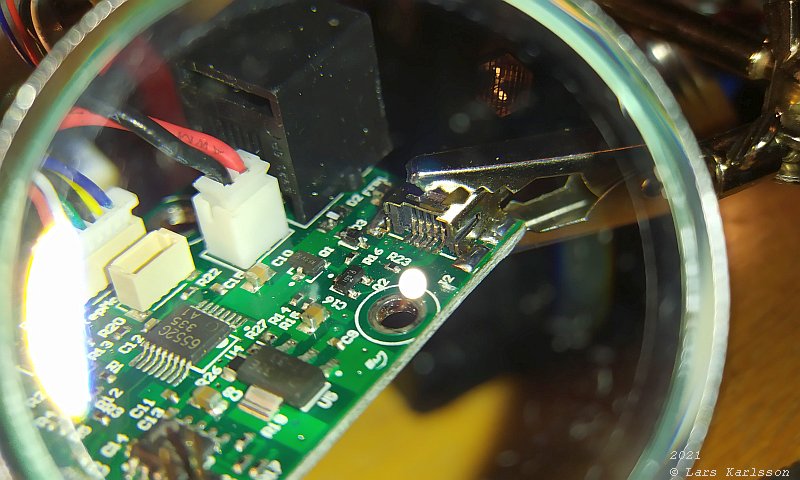
I didn't place any more tin on the conectors, just heated they up. I didn't succeed the first time, the second time it look convincing that it could work. Use a multi meter and check for no shortcut between the connectors, very important before connecting any power. 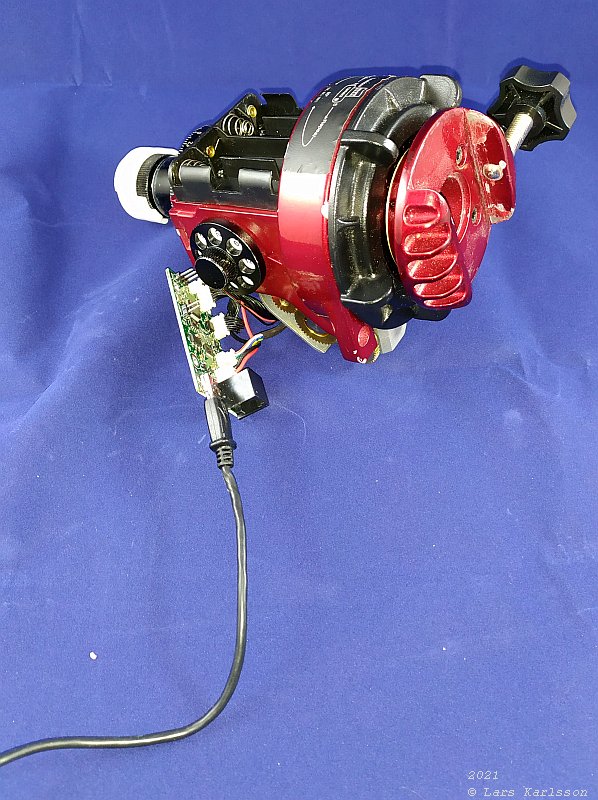
Use a power source that is protected against shortcuts, do not use a battery, too dangerous. Power it up from an external USB power hub. And yes it worked !
|
| Go Back |