|
Advertisement / Annons: |
My astronomy project:
|
Contents:
Note: |
3, A second practical test, Sigma APO 150 mm and object M13:When prepare for this test I choose an image of a globular cluster, M13. Perfect with lot of point objects. Instead to examine images from my telescope, TS130 APO I this time examine image from my telephoto lens, Sigma APO 150 mm f/2.8. This equipment I brought to a much darker place. Workflow:Drizzling technique workflow:
Intermediate file format is Tiff and Fits 32-bit floating point. A spread sheet over the optical data and a Canon 6D full frame camera. The lens is stopped down to f/4. 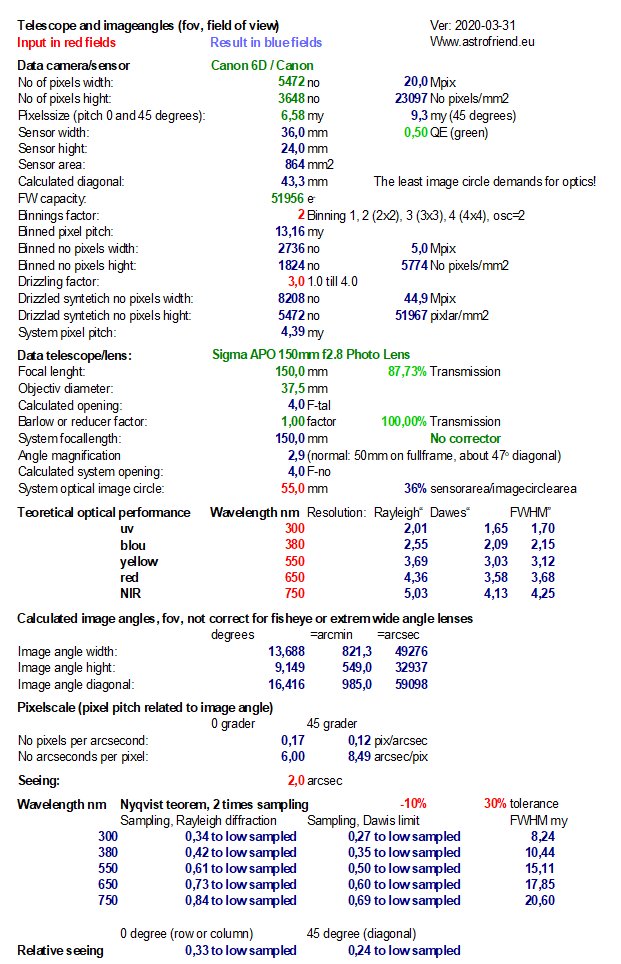
Standard image after demosaicing:With a short telephoto lens it's not the seeing that set the resolution limit. The theoretical resolution at 500 nm is 3" and less then the seeing set in this calculation. It will still be the seeing that set the limit because of some practical limitations even for an APO lens like this. The calculations shows that even with a 3x Drizzling we not come close to the theoretical needed sampling. But not practical and for sure will not give more resolution, Drizzling is difficult. Below is an image done with my old procedure, only demosaicing: 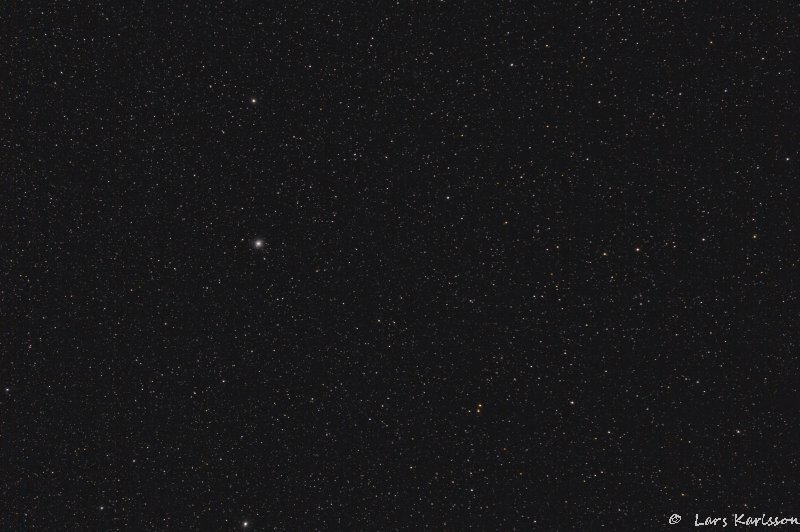 (click on the image to get a full resolution photo in a new window)
The Sigma APO 150 mm f/2.8 lens is very nice to work with, but it will not deliver at full opening, I have to stop it down to f/4. My other lens in this range, a Pentax 67 165 mm f/2.8 work perfect at f/2.8, but always a bit soft but the images look good. Crop image: 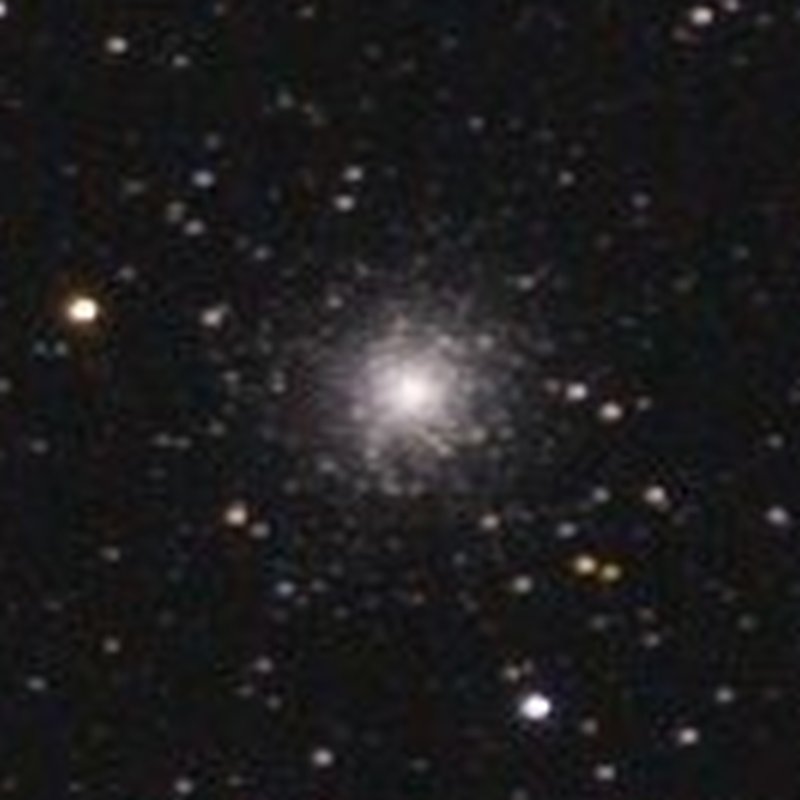
This is a 133x133 pixel crop at center, it's then interpolated to 800x800 to be comparable to the Drizzled image below. 3x Drizzled image: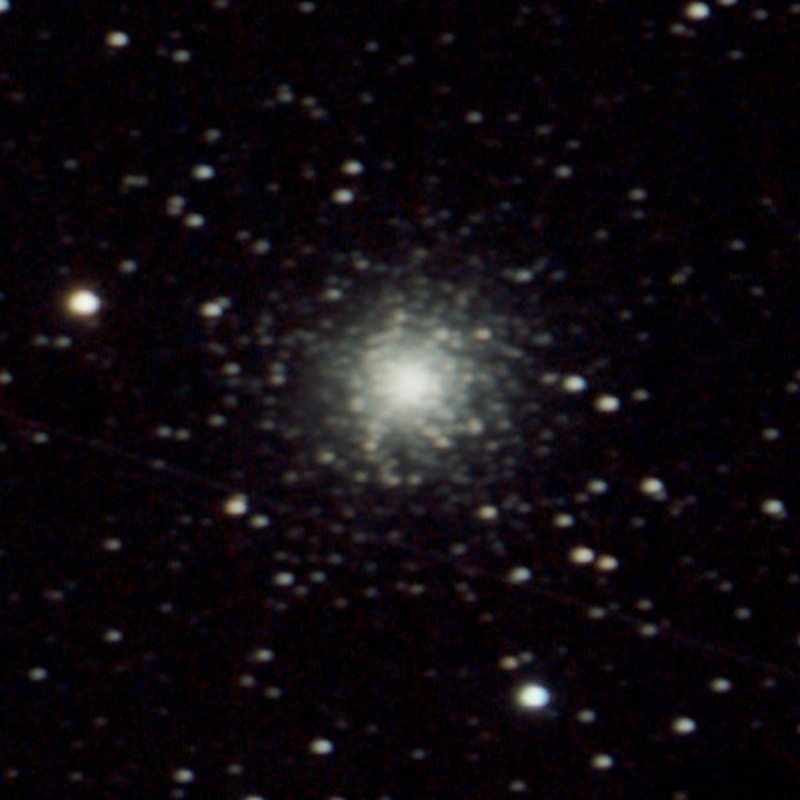
It looks better but I didn't get the levels correct so it's not exactly comparable. Now when I have got some experience from Gimp and how to process astroimages I get more critical. When aligning the images in the stack I noted that DSS don't do it as good as AstroImageJ. This image I have corrected it partly by moving the red and blue layer a couple of pixels. You can do it from Gimps Menu: Layer>Transform>Offset. But first you must decomposed the image to three separate layers, that is how we started. If I now maybe can get better quality from my undersampled camera lenses, is there any need for a big heavy telescope ? 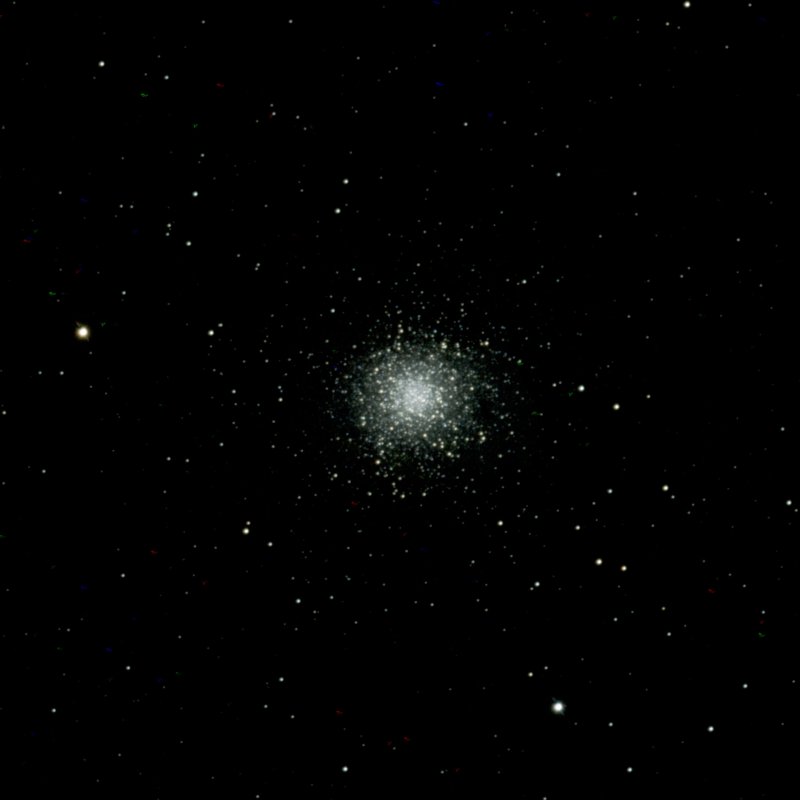 (click on the image to get a full resolution photo in a new window)
There is a difference of course, it's hard to believe it's the same object and scale. The TS130 has a 130 mm opening compare to the Sigma lens stopped down to f/4 only have 37 mm opening. The telescope also have six times longer focal length. But how will it be if I one day can afford a 10" RC telescope and a dark place. Do I get twice as good images or does the seeing limit it?
|
|