|
Advertisement / Annons: |
My astronomy project:
|
Content:
Note: |
Page II.2: AstroserverFrom the the old astroserver I take most of the needed parts to the new astroserver ver2. 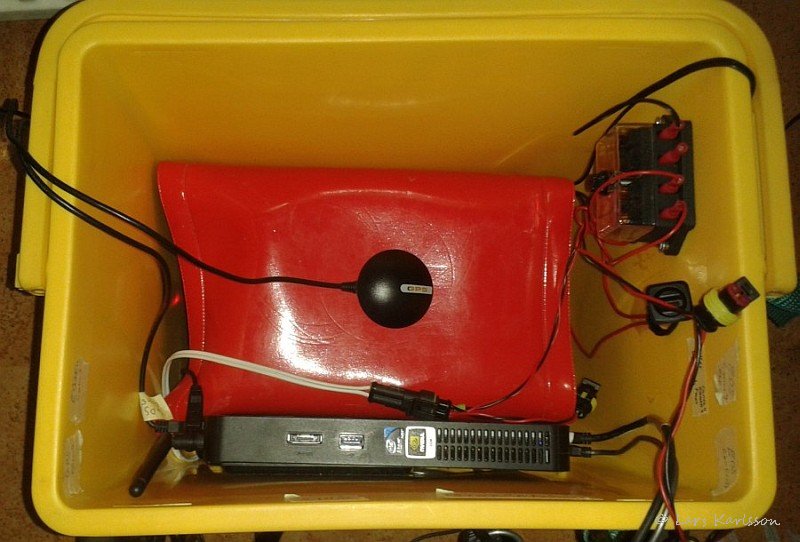
The old astroserver with the battery under the red cover. I will use the same old Windows 8 astroserver as earlier. Windows 8 maybe doesn't have a good reputation but this one has served me well. 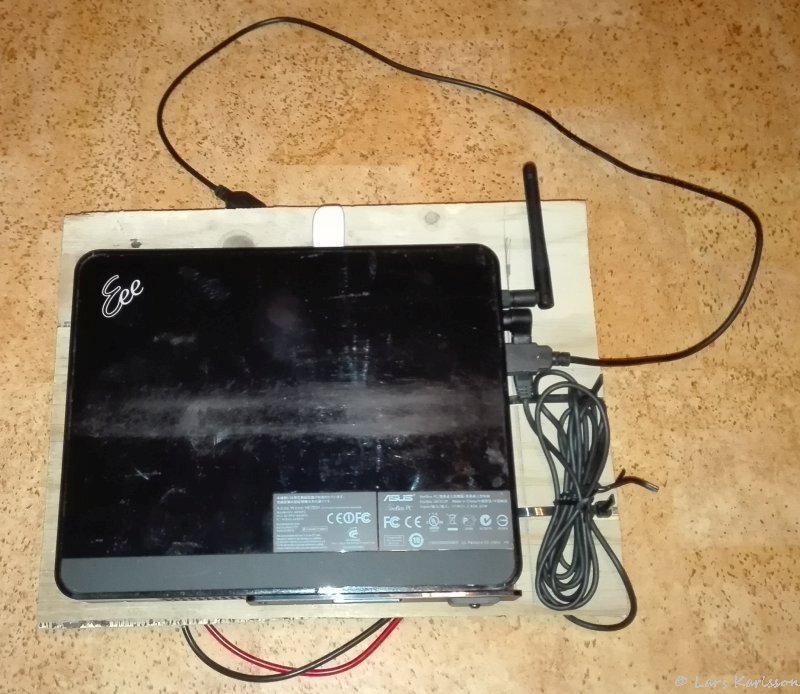
The hardware is a mini PC, Asus EEE two core 1.6GHz computer. No keyboard or monitor, it's remote controlled. The only bad thing with it is that it needs 19 volt power. The NUC series of mini PC computers has models that operate direct at 12 volt. To have the maximal flexibility to change in the configuration I have the parts mounted on a plywood board. It doesn't look very professional but it's very easy to add more units or reconfigure them. It operate both with WiFi through an external antenna and a local LAN network. 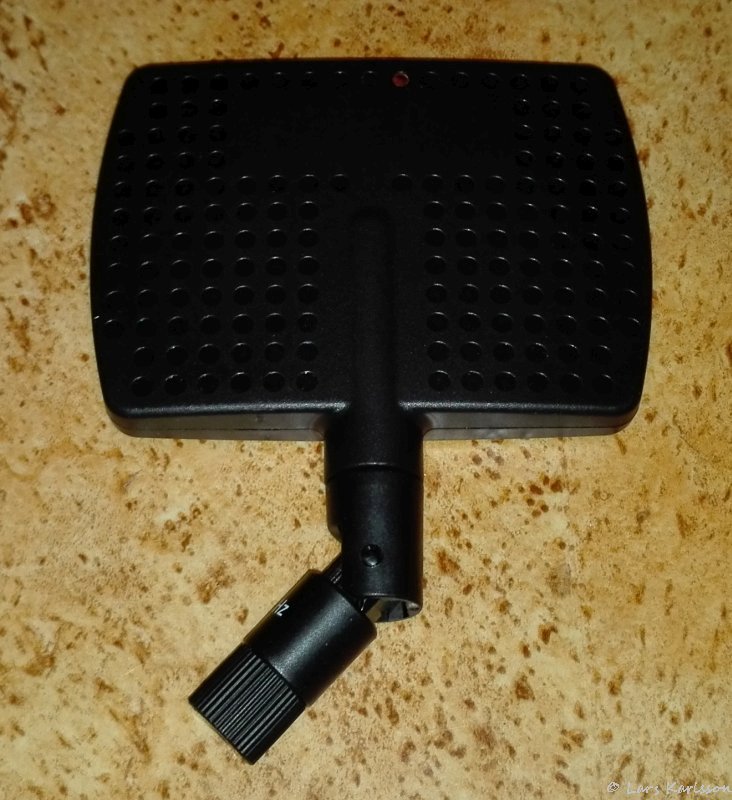
To receive a better signal I replace the antenna with this directional antenna, it will be mounted on outside of the observatory connected with a three meter long cable. 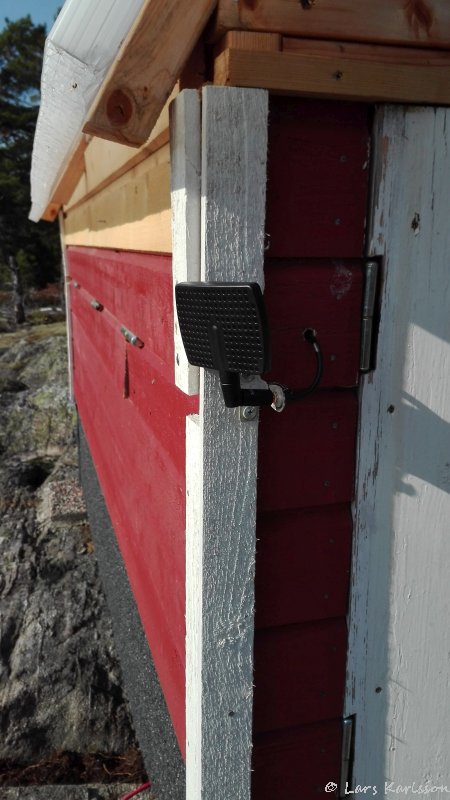
Here the WiFi antenna is mounted on the corner of the observatory, pointing down to the main house. One surprise was that the old antenna on the computer wasn't removable. But it works anyway when I place the antenna cable close to the computer antenna. 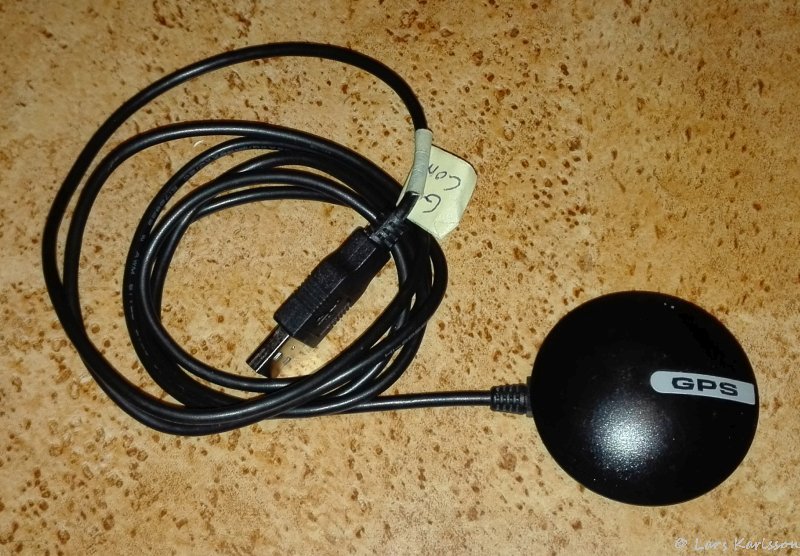
There is one antenna more, the GPS antenna. Needed to get the position and correct time. With wrong information the GoTo functions will not work correctly. 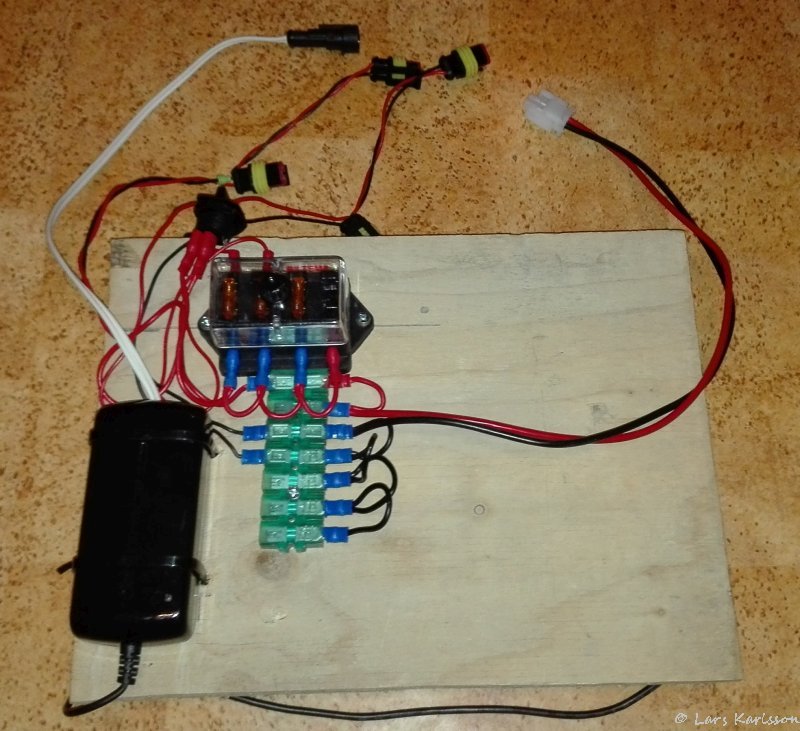
On the backside is a voltage converter from 12 volt to 19 volt. A fuse central and some extra room for future components. There are four 12 volt power outlets (the black and yellow connectors), connects to mount, 5 volt converter, focus unit, dew heaters. Later when I get an even smaller PC I can move it from backside to here and save some space. The red and black cable to the right connects to the battery central.
|
|