|
Advertisement / Annons: |
Project:
|
Contents:
Note: |
6: Camera external 12 Volt powerDon't do what I'm doing here, buy a new converter instead on eBay or somewhere else. If you fail it's high risk you destroy your camera or even worse ! I just want to show what's inside the battery. I have not used my Canon 6D camera on external power earlier. The internal battery has always lasted long enough. But now when we have rain and clouds and I have a boring time. I thought it could be a good idea to build a battery adapter for my Canon 6D camera. I have already done that to my old Canon 5D that consume its battery very quickly. The battery dummy: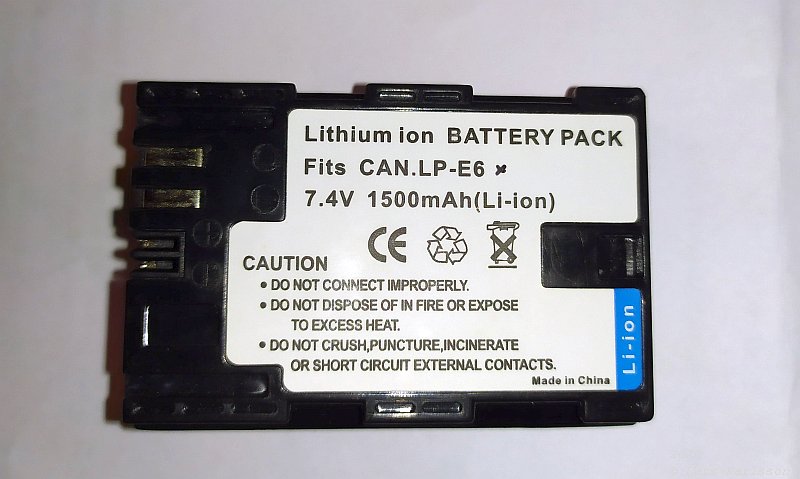
What you need is a battery dummy, a device you put into your camera and connect it to an external power unit. In my case I had a non working camera battery and I took that and rebuilt it. Be careful when doing this, Lithium ion battery can be dangerous if you shortcut or similar, explosion and fire ! Canon 6D cameras use the LP-E6 battery. You can follow this description in some details:
The battery has the nominal voltage of 7.4 Volt, little bit higher when fully charged and a bit less when it's time to recharge. 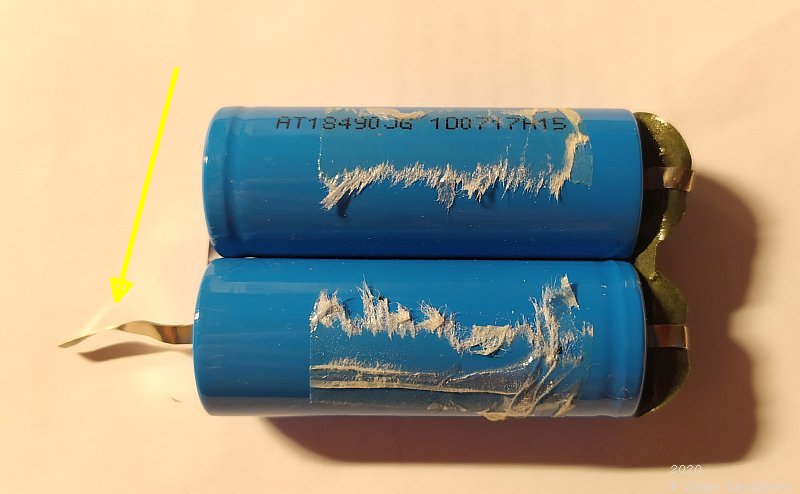
When you open the battery box, be very careful, it's hard glued together. If you stick your knife into too far and puncture the battery it can become a catastrophe. As I told you in the beginning, don't do this, buy a new battery adapter instead ! Handle the battery with care and deposit it correctly, set some isolation tape around the battery, you don't want to shortcut it. On the left side is a terminal from the connection between the two battery cells, probably used to check if the battery is working properly. 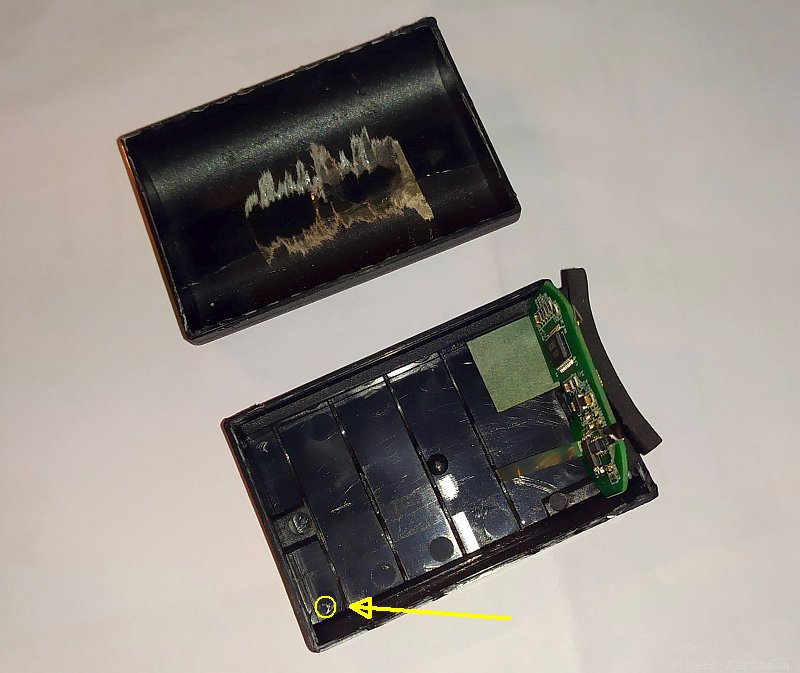
Inside the battery box there is a circuit board. Maybe it send some signal to the camera or charger, I kept it. I drilled a small hole in the corner to let the cable out from the battery box. There is also a corresponding hole in the camera house, drill the hole in correct place relative the camera's hole. 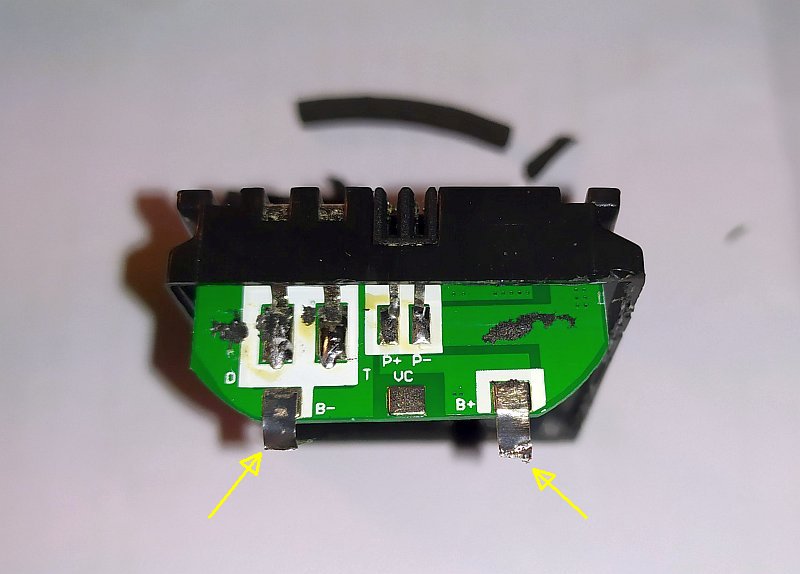
The two terminals where the former battery cells were connected, negative and positive terminal. 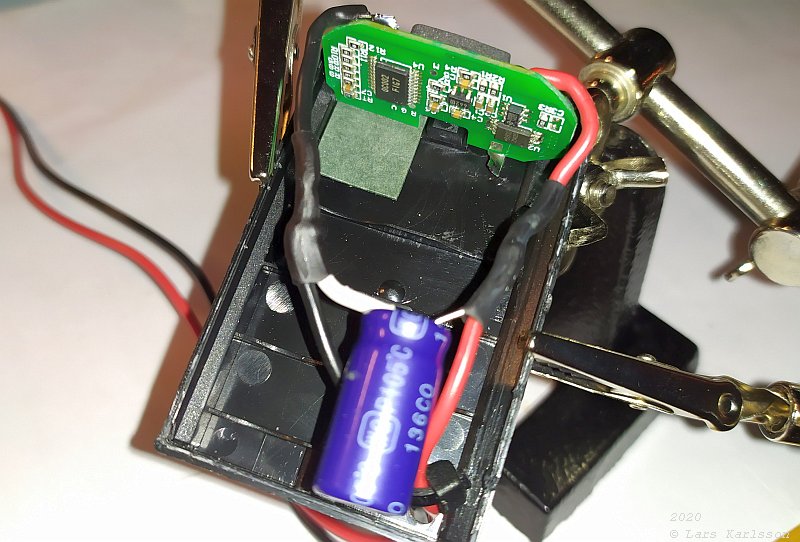
Here I have installed the new 8 Volt DC cable, added a capacitor to better handle peak currents, i.e. the shutter motor starts. Capacitors size: 470 uF and 25 Volt. Glue the cable in the opening so it don't moves inside. 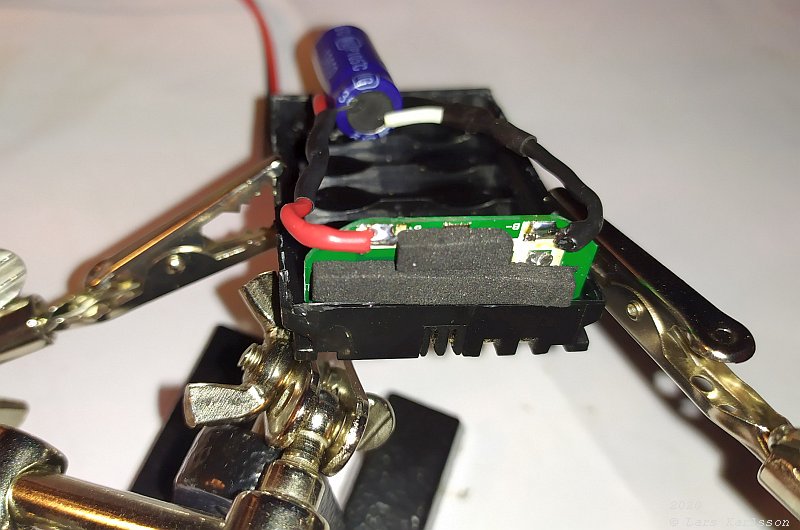
The backside of the circuit board, at this end are the electric connectors placed that connect to the camera, four pins. 12 Volt to 8 Volt series regulator: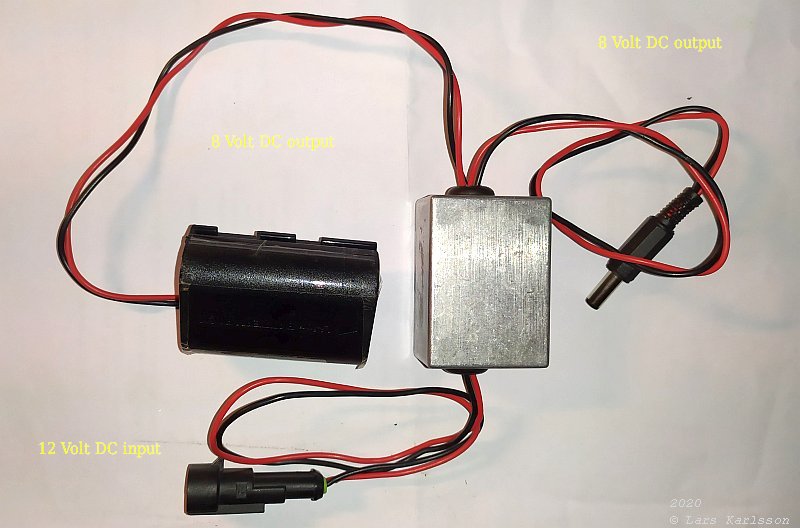
What I have read on internet about what voltage the adapter shall deliver to the camera I have seen voltages from 7.8 to 8.2 Volts. I have chosen a 8 Volt serie regulator, maybe more safe to chose 7.8 Volt. I have built it into a metal box that also act as a cooler of the device. See above photo of the 12 Volt to 8 Volt power unit. It can deliver 2 Ampere, also the stepper motor to the focuser take power from this device. Not recommended because a stepper motor can give spikes on the current and maybe destroy other sensitive devices. The converter from 12 to 8 Volts is a simple series regulator, better to have a switched inverter, more energy efficient. I will later build two separate Voltage regulators to not have them to interfere each other. I used this adapter earlier to my old Canon 5D camera. First I had the regulator inside the battery dummy, but it got too hot and heated the camera, gave a lot of extra noise. In parallel with this I'm practicing to relearn CAD, 15 years ago since I did something (on amateur level). 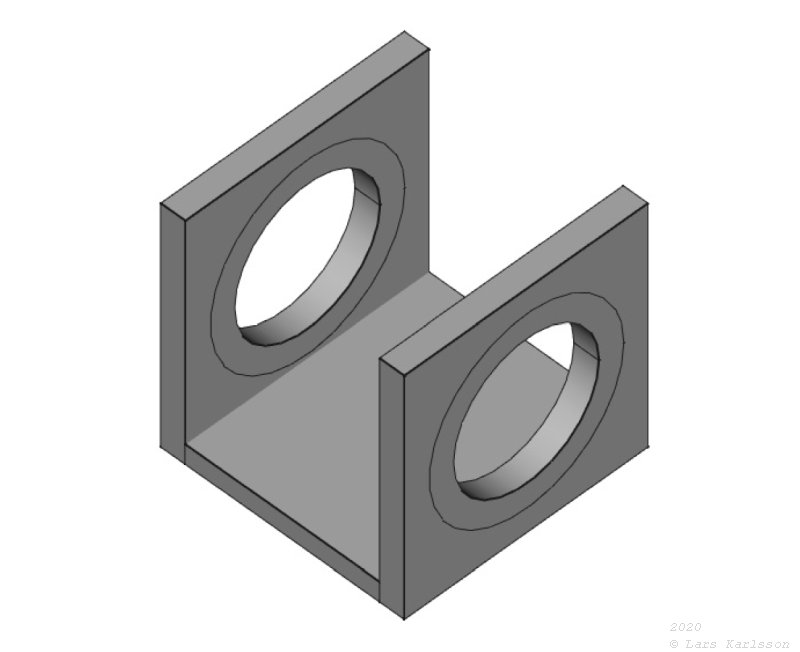
There are a lot of mechanical holder and adapters I need. Most interesting is if I can make them by myself with the 3D-printer. But first I must learned how to make CAD drawings. First draft of a lens holder, have a look at my first attempts to CAD. 
It has come long now, the last thing I'm working on now is a new enclosure to the mini PC. Have a look on all my: CAD project .
|
|