|
Advertisement / Annons: |
Tutorial:
|
Content: |
3: Hardware setupAre supposed to say that it is very difficult to make high quality flat-images for calibration. I usually put a white paper as a diffuser about 0.1 meter in front of the monitor. However, it is very sensitive about the lights falling onto the paper and monitor screen, which can give undesirable gradients. I will try to develop this further because flat calibrations is important. Here is my very simple setup that I have when doing flat shooting: 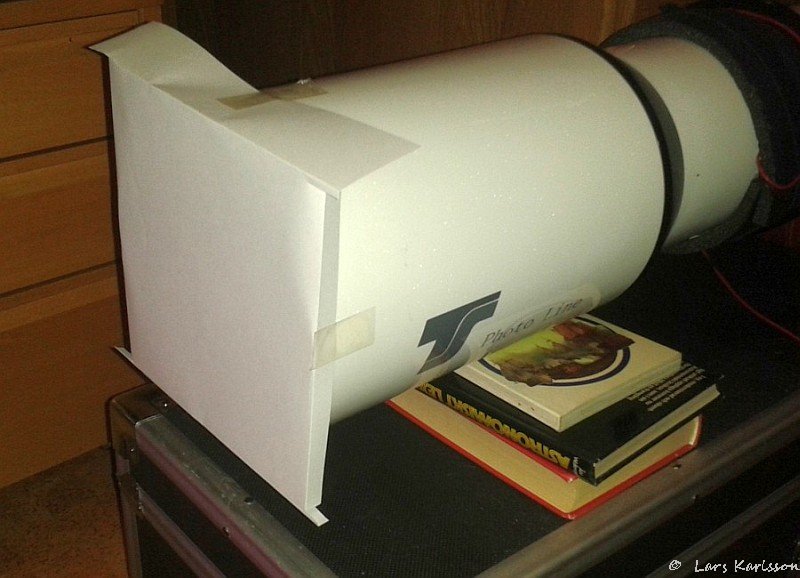
The diffuser is a sheet of paper that I tape to the hood. 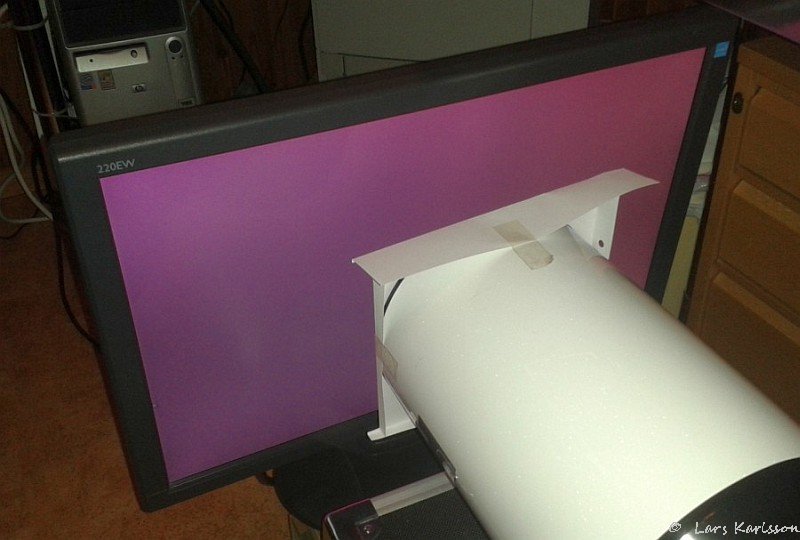
LCD monitor that is connected to a laptop with a mirror image across both displays, the distance is about 0.05 to 0.1 meter. Here you set the color that gives the same signal strength on the three RGB channels, the image I created in Windows Paint. The levels that are balanced between the three color channels are important since they are taken with the same exposure time in a color camera. Level becomes too low on any channel and it make the flat image noisy, and to high and there is a risk to clip the highlights. If you have a monochrome camera you don't have to worry as you take an exposure for each color at a time. Note that the histogram in the camera usually is useless, it is not linear. On my camera, a Canon, the 50% linear level is when the cameras histogram is pushed to the right edge. 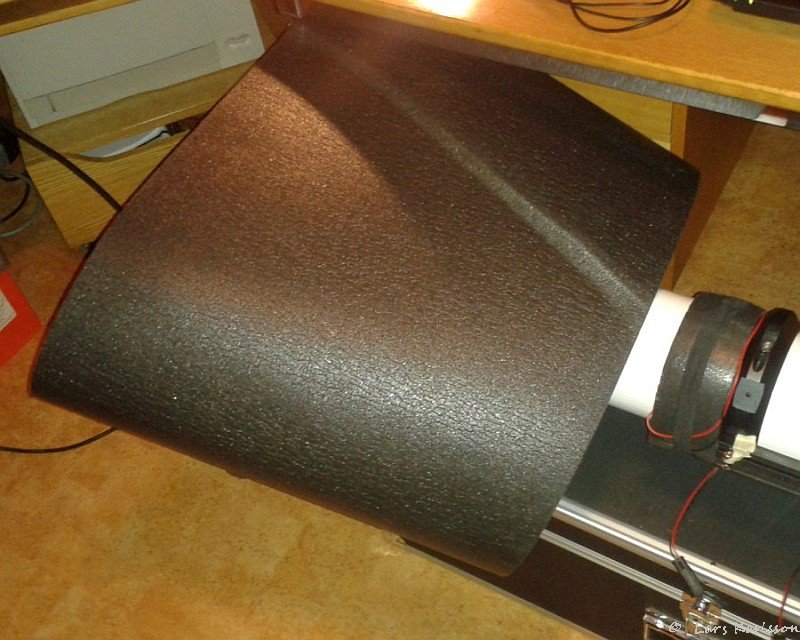
When I take pictures I cover the installation with a light shield and switch off the lights. If you do not shield the screen from disruptive light or the light changes in the room, from other monitors for example you will have problem. You have to do it much more serious than I have done it in the image above. I set up a batch in the camera control program (APT). Example: 55x ISO400, 55x ISO800, 55x ISO1600. Takes just minutes to complete. Do not forget to tape the viewfinder of the camera so no light enters backdoor and disturb, even more important when taking darks. These flats are supposed to also have a set of darks, the flats are taken with about one second exposures, I usually use the same darks as bias. However, if I have done this flats for multiple ISO speeds it needs to take darks with the appropriate ISO to each and bias also.
|
|