|
Advertisement / Annons: |
Tutorial:
|
Content:
Note: |
2: Setup the app "Camera Connect"Now when you have the app up and running you have to setup it correctly after your needs, maybe different from my setup. I only use the app (or plan) to set the focus of the lens and verify that the camera is pointing to the object. Setup camera settings:Tap the camera setting button on the phone display. 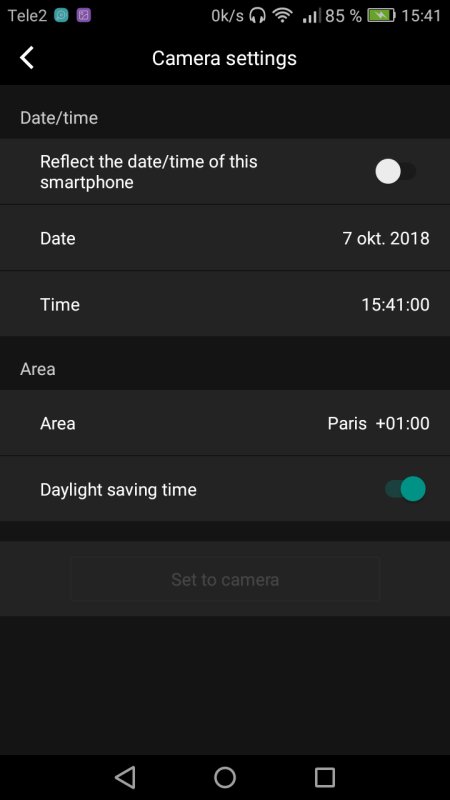
I only use this menu to set the cameras date and time. Very practical because at least in my case my phone is always synced to a central clock. Much easier than to do it with the camera's setup menu. Sync cameras date / time clock from phone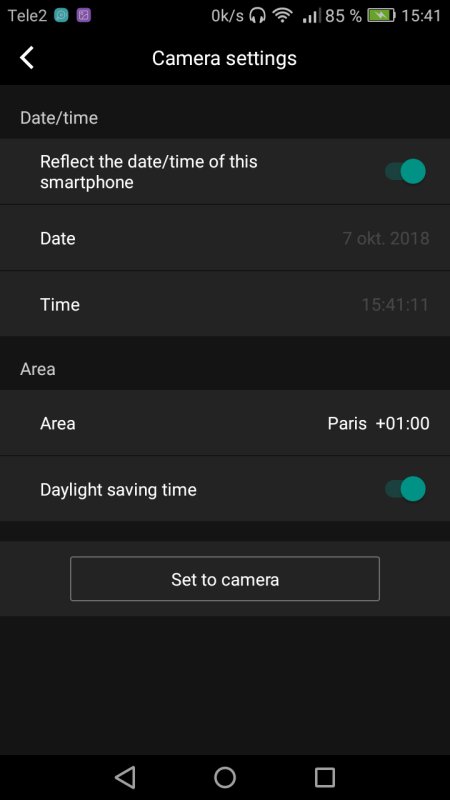
If you find it convenient to do the clock sync as I do. Tap the "Reflect the date / time of this smartphone" enable button. Then tap "Set to camera" button. You should see that the clock change date / time if there is a difference. Local information menu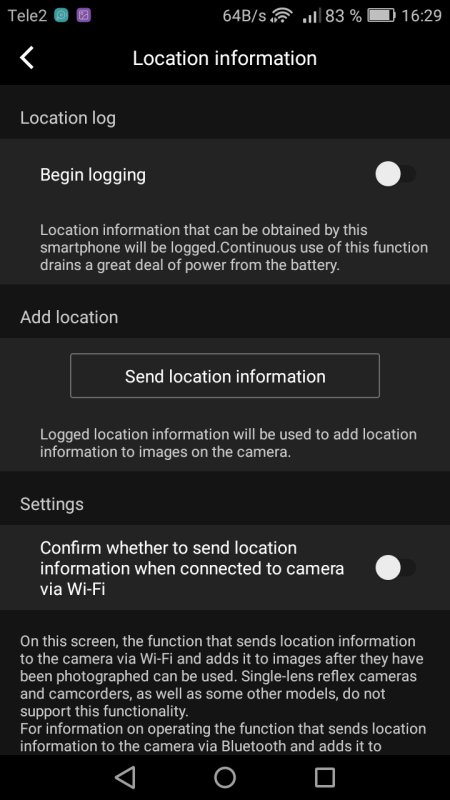
I don't use any of this functions yet. Camera operation menuReturn to the camera menu again. 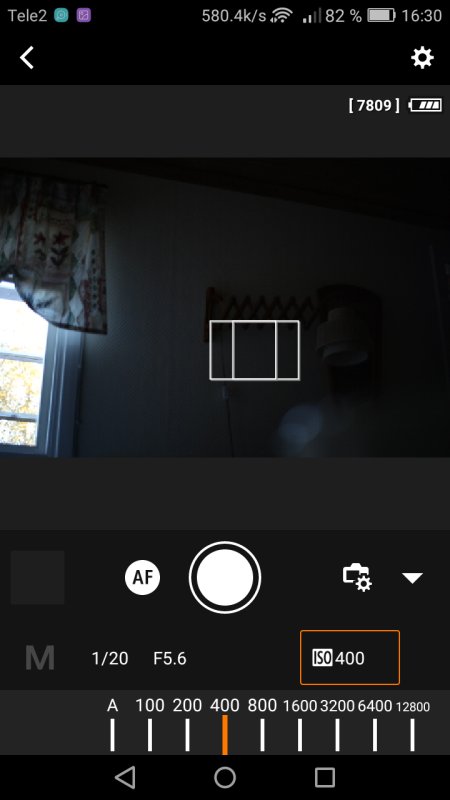
I have the camera in manual mode. If your phone goes down in sleep mode, restart it again and the camera also wakes up, you hear the camera's mirror flap down and up (DSLR). Remote live view shooting settingsAbove the battery indicator you have another setting, tap that button. 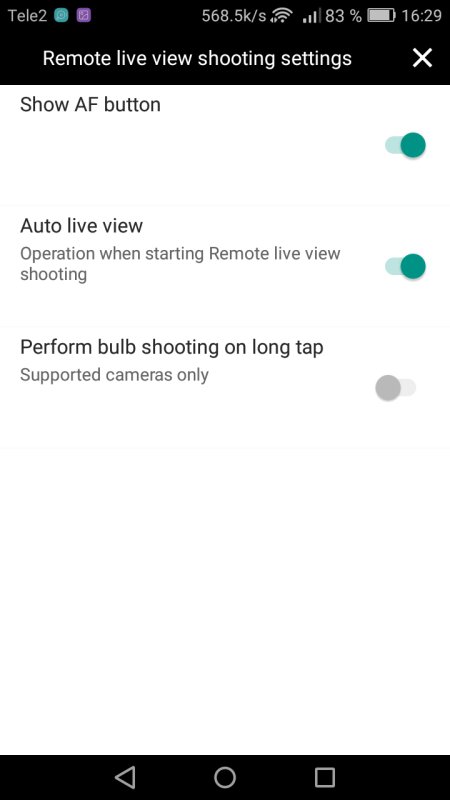
You can have other setup, this is just what I feel is convenient. Live view window orientationAnd last there is a setting above the ISO setting button, tap that. 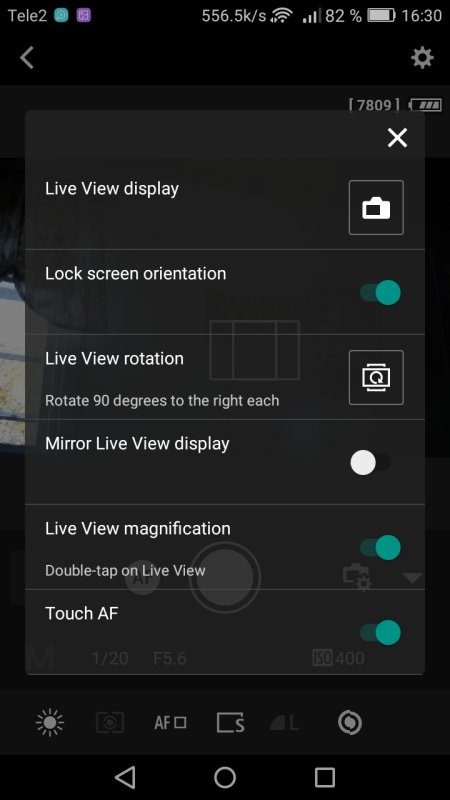
Here you can rotate the display of live view and mirror it. I do not. The "Touch AF" button's function is used when you want the the camera to autofocus at the place where you tap the smartphone's window. When doing astrophotography you normally has this button disabled and do the focus manual. Note: The camera lens is always set to autofocus!
|
|