|
Advertisement / Annons: |
Tutorial:
|
Content:
Note: |
7, Stack rggb files:Now we have come to the last part where we stack the sub images together. 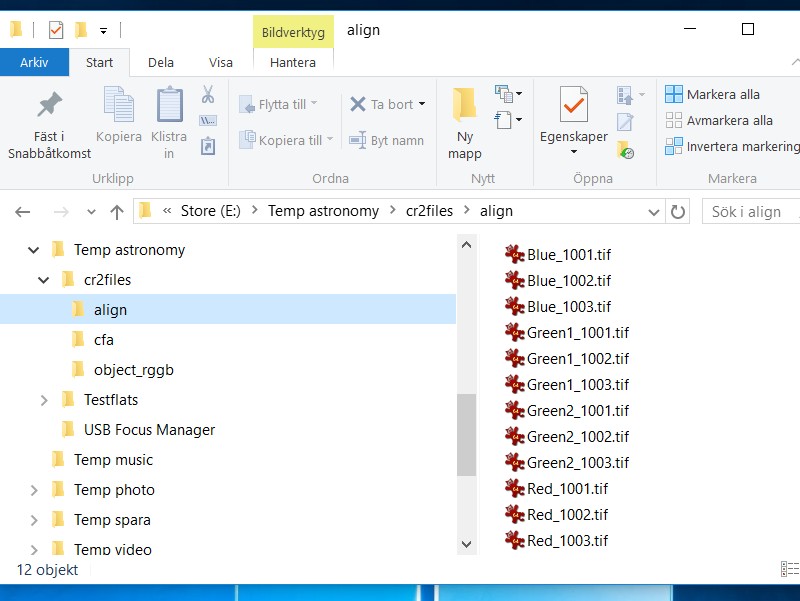
Here are the test files I will use in this example.
Note: 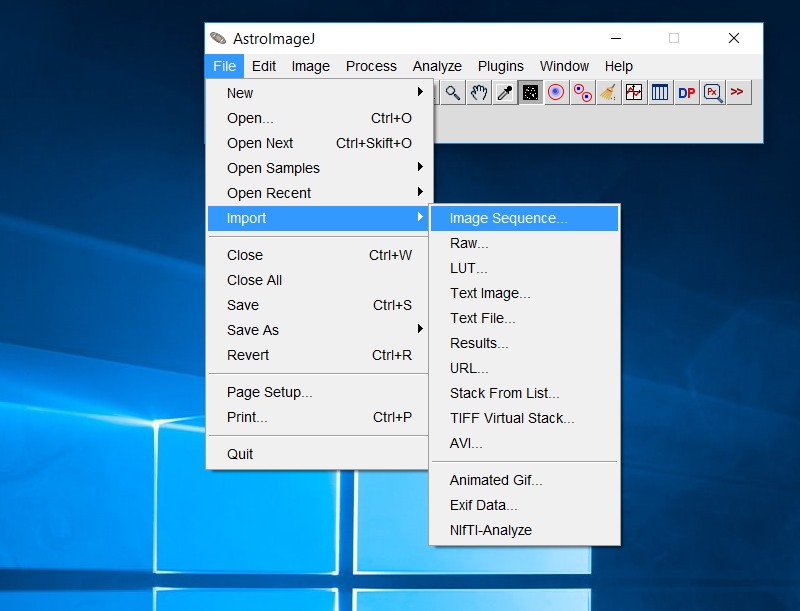
For each color we import the sub images as an image sequence, a virtual stack. 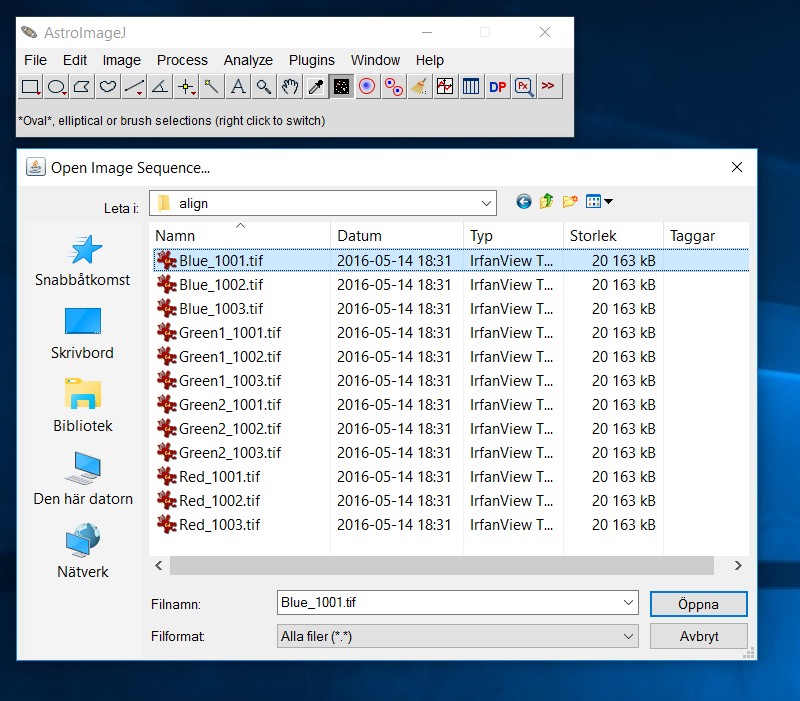
In my case they are stored under the map "align". Double click on the first file of your sub images. 
Here is all the twelve sub images, but we only want one of the three colors. If we start with the red color channel we can filter out the red sub images easy. Just type "Red" in the field "File name contain" as you can see above and then only the sub images that contains "Red" in filename will load to the virtual stack. |
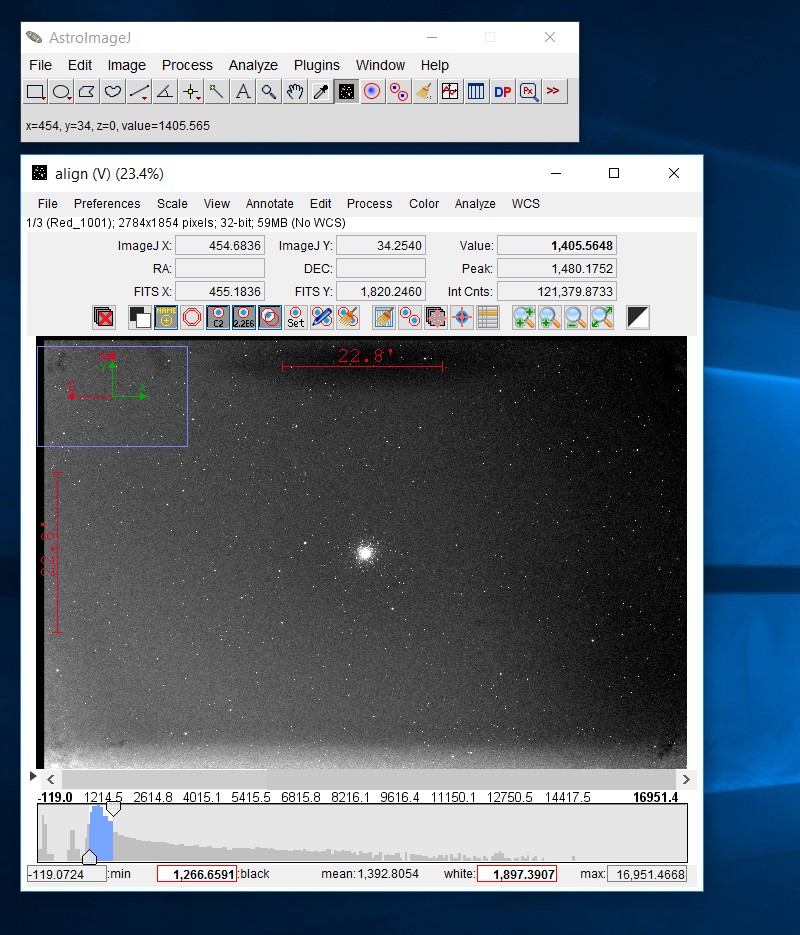
The three red sub images loaded in the virtual stack. 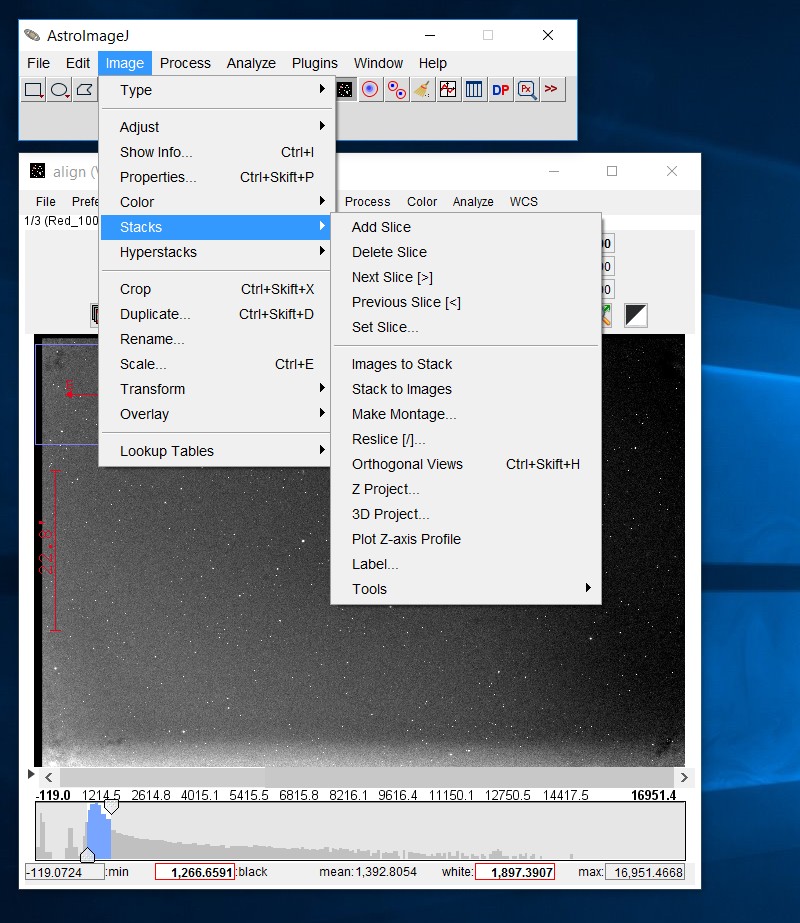
Now we want to stack these three sub images. We do it with something that's called Z-projection (think in 3 dimension). 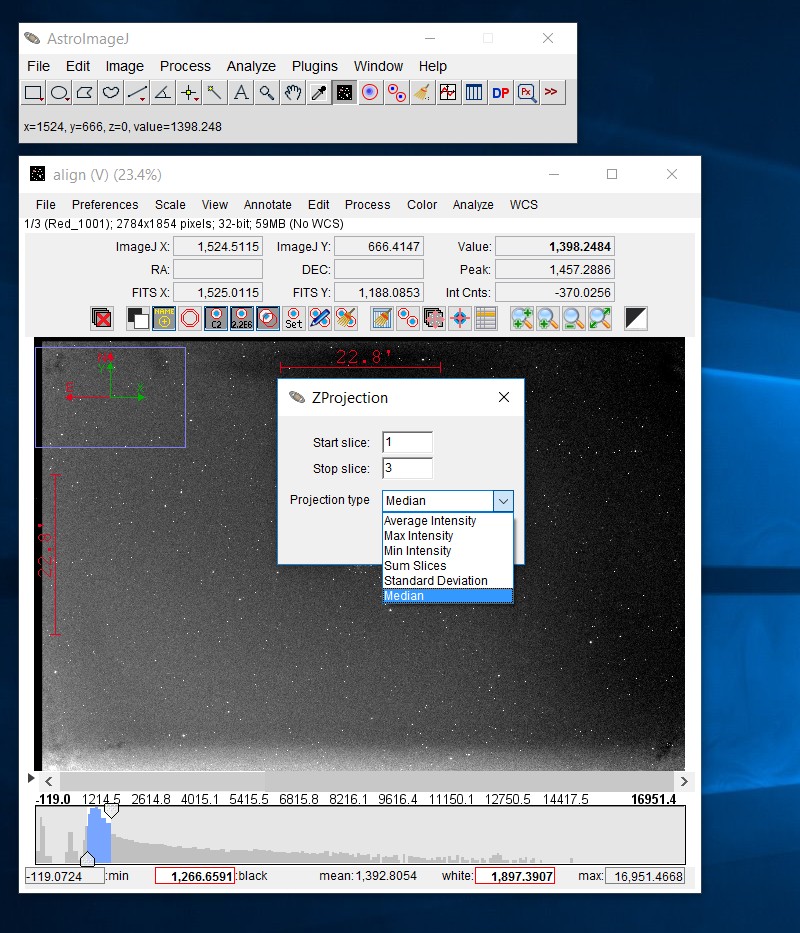
Normally you add the sub images as Median. It will suppress outliers as satellites tracks, and also hot pixel, static pattern, etc if you have taken your images with dithering technique. You should at least have ten sub images of each color to get this to work properly. 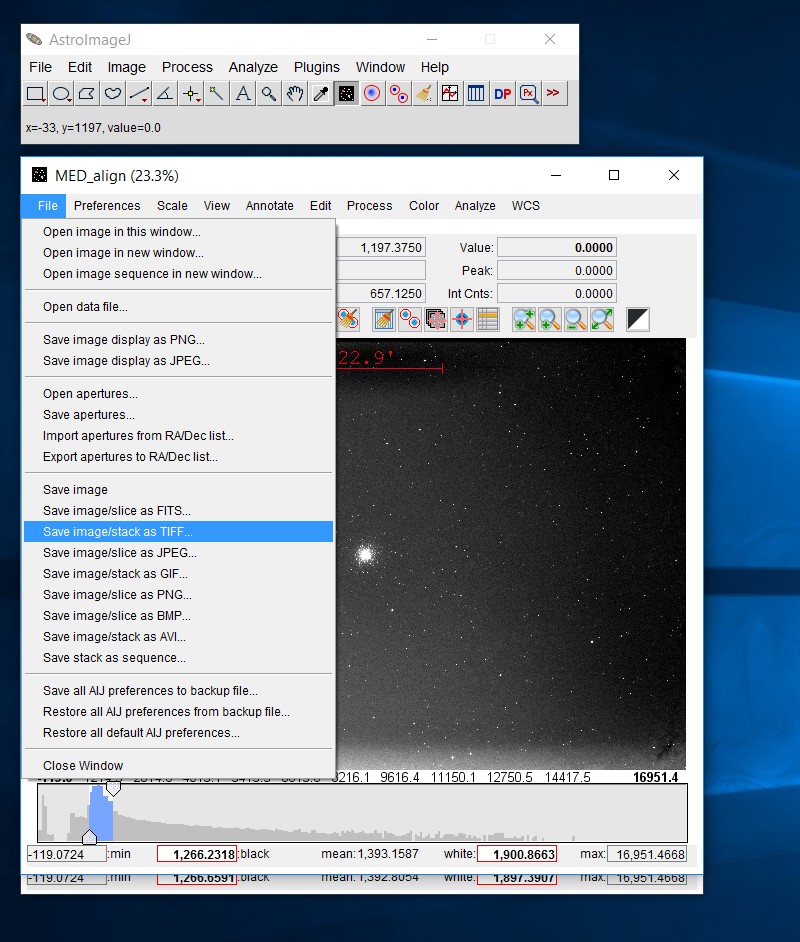
Save your MED stacked image "align" with a unique name that you can recognize as the red stacked image. Make also a new directory to the MED stacked images.
Note: |
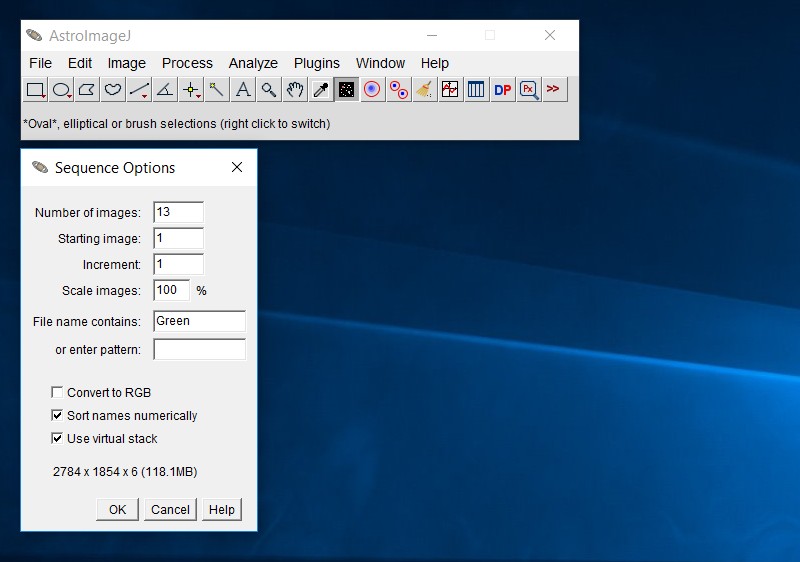
Repeat import sequence for the green channels. It's a little bit different, you have two sets of green channels. But you have earlier aligned them and then you can stack them together. The stack will contain twice as many images for the green channel, and then we get a higher S/N ratio for this channel. The filter "Green" will load both Green1 and Green2. When finished, save it where you saved your red image. 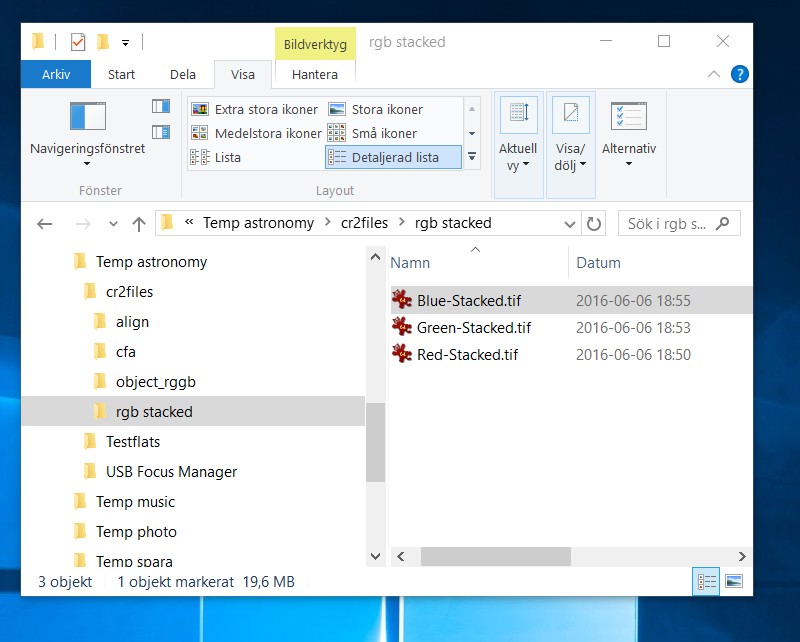
After had repeated these for all three color channels it should look something like this. What's left is to rgb combine them. I normally do this in the software Fitswork. But it's possible to do it in AIJ also or any other software that can do this. The images are stored as 32 bit floating point TIFF files. But you can store them in other formats if you prefer that. With less than 32 bit per pixel you will lose information. After you had combined them you have to crop your color image to get rid of the now unusable over scan border. As you notice the end result is only one quarter of the pixel count compare to the DSLR cameras normally pixel count. A 20Mpix camera will only leave 5Mpix files of each color. But this is the true resolution. Later I will do test with Drizzling function to get true higher resolution from this images, not cheated interpolation files which we normally have to work with after debayering. Yes, as you maybe noticed, we didn't have to do a debayering to get this result!
|
| Go Back |