|
Advertisement / Annons: |
My astronomy project:
|
Content:
Note: |
1: Introduction to making a dew heating bandThis miserable condensation on the front lens! What to do about it? Built a heater band! Other names of it are Dew heater or Heater stripe. Out and look for suitable material to the dew shield. Boat accessories, car accessories yielded nothing. Later I found a sleeping mat in black color. 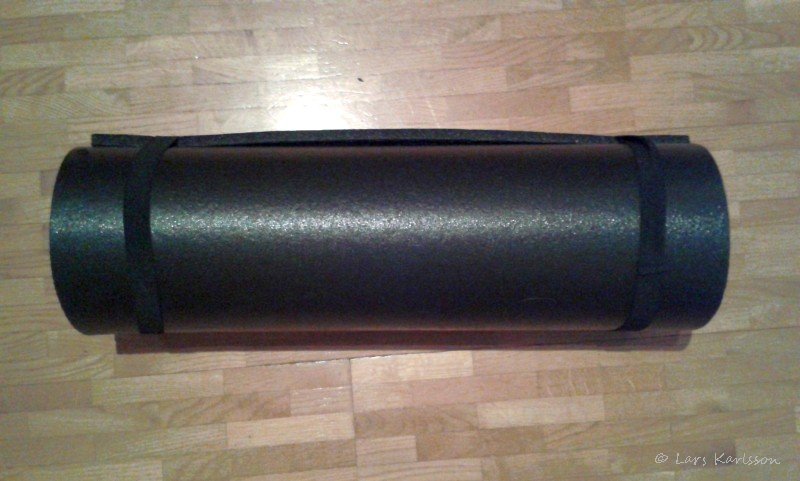
This will probably last for all my telescopes lifetime, two meter long. 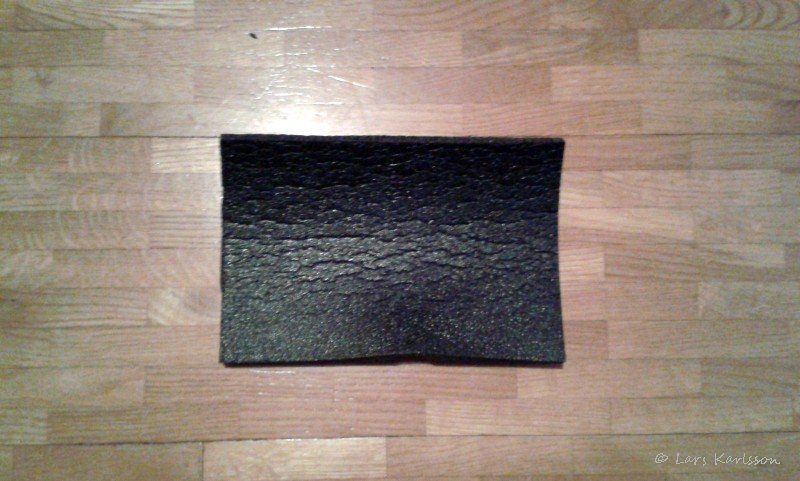
A moderately large piece was cut for the 165mm lens. 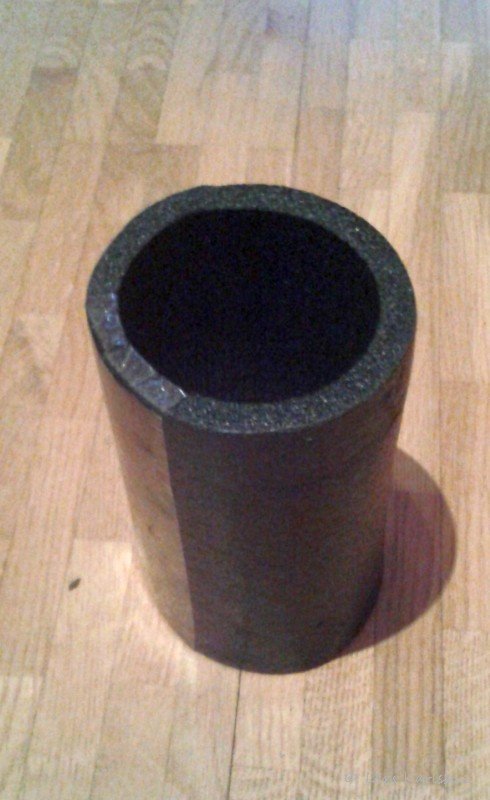
Transformation to the cylinder shape by tape, the tape must be replaced with a higher quality before the test in the cold to be made. This cylinder has the dimension 150 mm long and 110 mm of it extends beyond the ordinary lens hood. The front lens has a diameter of 60 mm and the dew shields inner diameter is 75 mm, should be enough. This lens is made for the medium format film size of 60x70 mm in contrast to the small full frame 24x36 mm camera that I have. 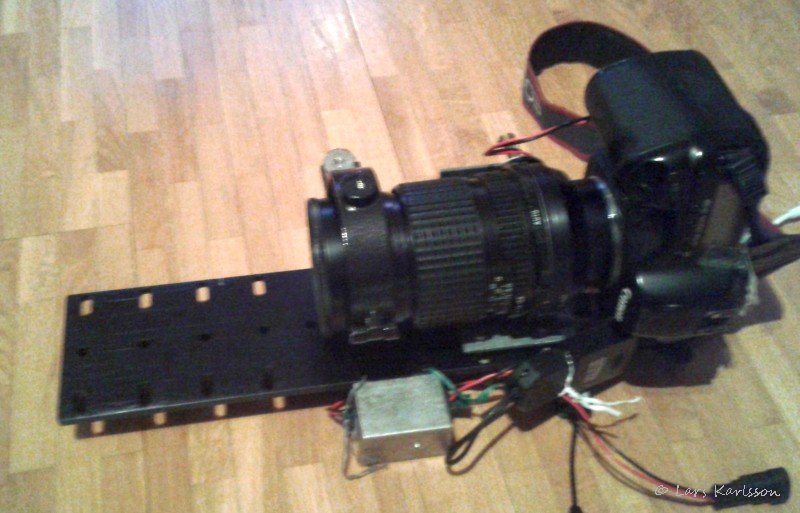
Dew shield off. 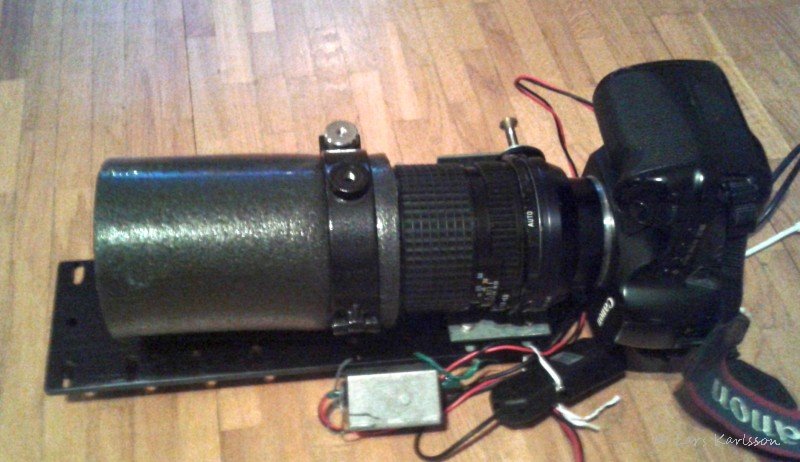
Dew shield on. I have ordered some components to build a heating element as well, so there will be both a hood and a heating band for safety. The black plastic was handy to work with, only to remark is perhaps that it was really dull on the surface. The heating element I chose to build by myself to get it tailor-made for this lens. 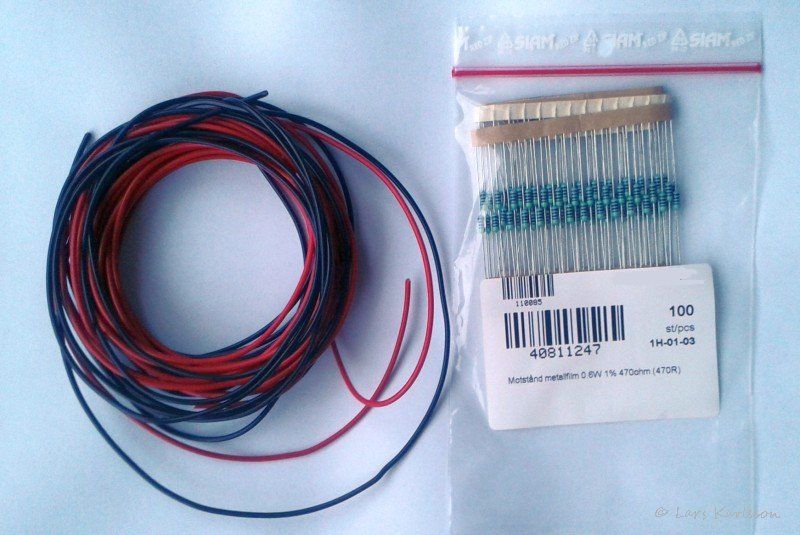
The day after I ordered the resistors they showed up in the mailbox, 100 resistors of 470 ohms each. To this dew heater, it takes 10 of them and gives a total resistance of 47 ohms when they are connected in parallel and a power of 3 to 4 watts at 12 volts. The cost 0.022 Euro pieces! 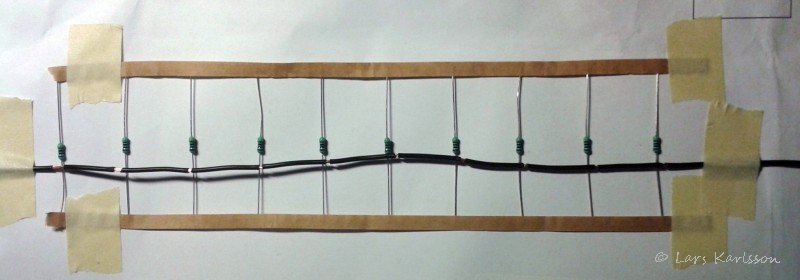
Fix the ten resistors at equal distance on the 27 cm distance corresponding to the perimeter of the front of the lens. 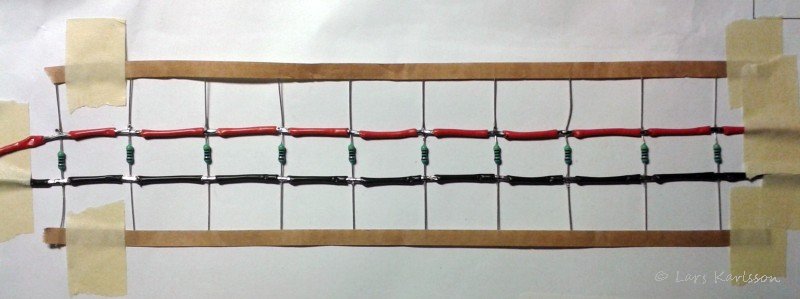
Cut and strip the cable that feeds the resistors. All resistors are connected in parallel. 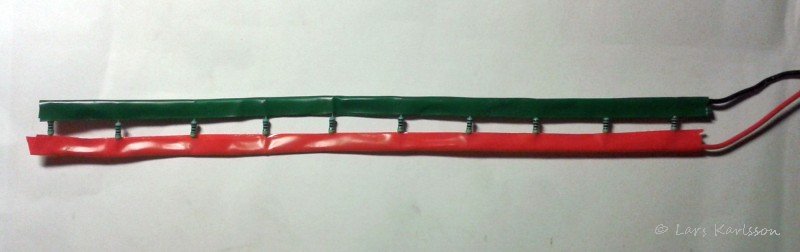
Insulating tape so that no live parts is in contact with the metal parts of the lens or each other. 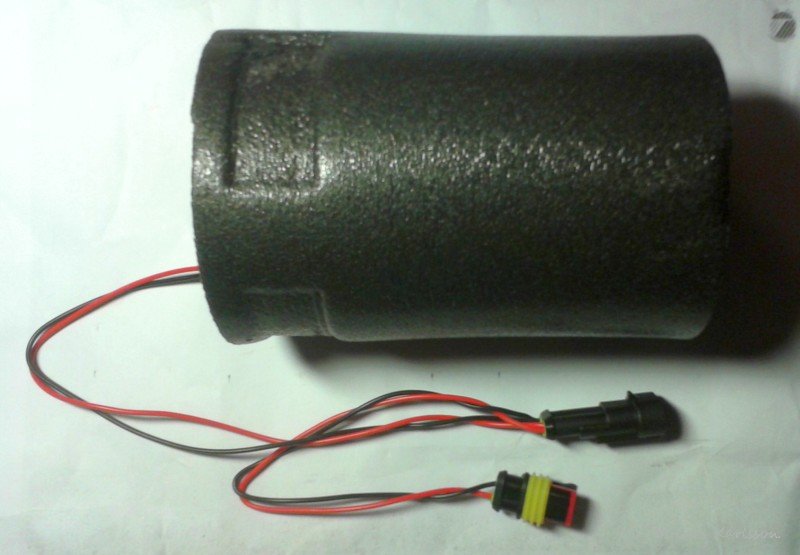
An extra touch was to connect an extra outlet for more accessories to be connected in the future. |
Attach heater to the dew shield and cablesDew heater. It goes forward, now heat element tape mounted inside in the dew shield. 
Here is the heating elements attached against the insulation in the dew shield, regular duct tape used. 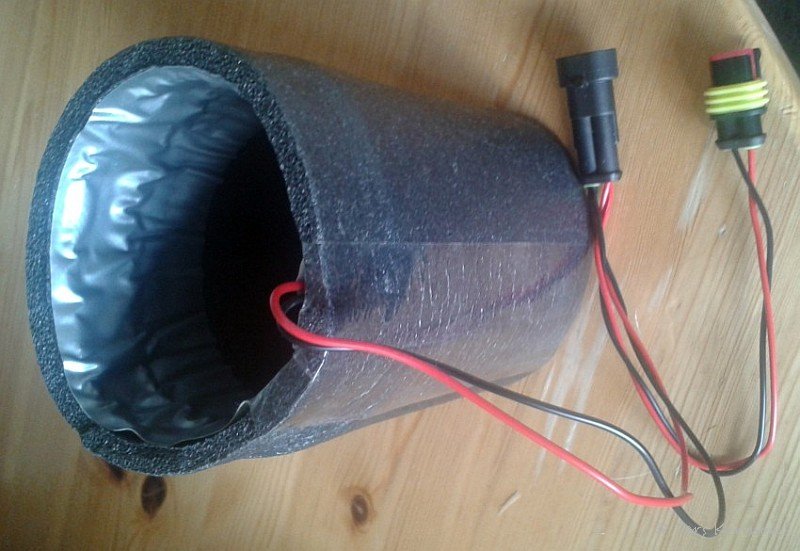
The power is a little bit over 3 Watts which I wrote earlier. Only the front part of the lens is heated, the insulation reduce cooling effect and make it energy efficient. Should not be powered on during warmer weather of course. 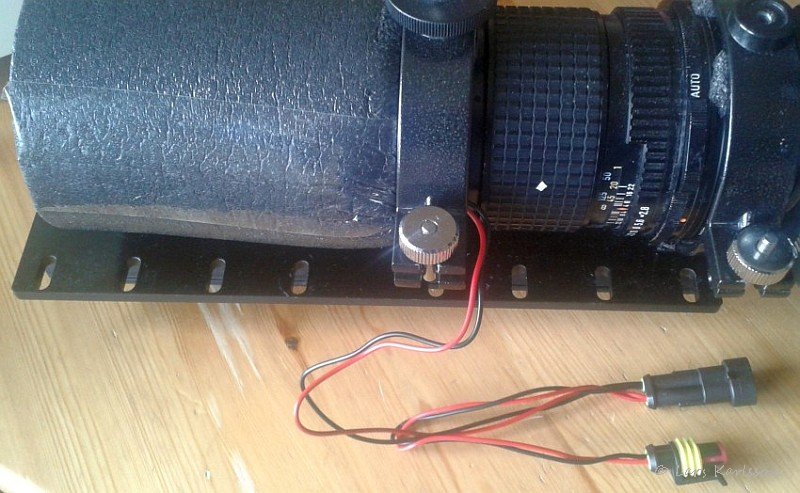
On the power cable I have mounted one more connector. The idea was to test it during yesterday evening, but the weather stopped that as usual.
|
|