|
Advertisement / Annons: |
My astronomy project:
|
Content:
Note: |
2: Heater band for 5" refractor telescopeNow we turn our attention to the larger refractor and to manufacture a dew heater band to the telescope, the tube diameter is about 160 mm. I have it to sit just behind dew cap where it is usually recommended. 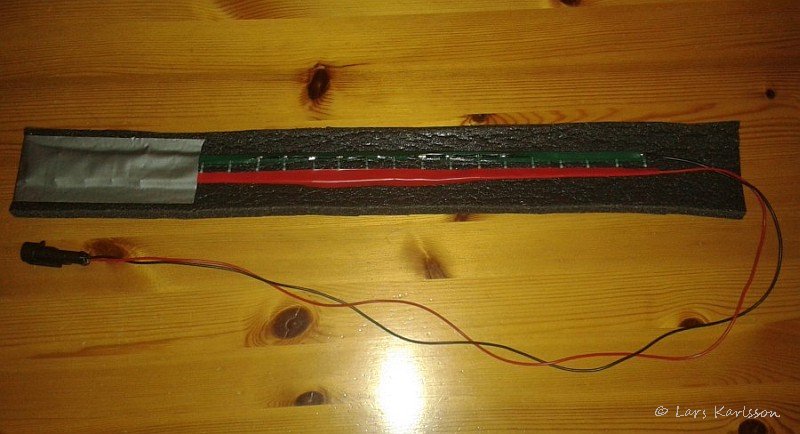
I calculate the power needed, it becomes 23 resistors of 470 ohm each would make an power of 8 Watts at 13 volts, it is 2 cm between the resistors. The selected effect gives a little margin so that a power control can be installed later. 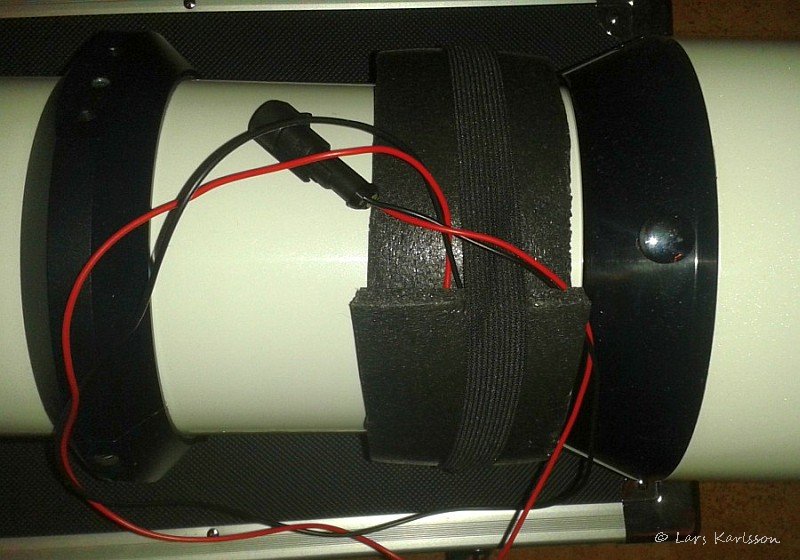
The resistors are attached to an thermal insulation to cover the outside so that most of the heat is delivered inside to the front lens. Even better might have been to just heat the lens holder. That had been a completely different structure and it will have to wait for the future. The disadvantage of this solution chosen is that the entire tube is heated unnecessarily and drains the battery faster.
Update: Field test and modification of 5" dew heaterAt last I have been able to test the equipment under real conditions. Concluded fairly quickly that the dew heater doesn't have power enough to keep condensation off. It was mounted behind the lens hood where you usually place it as you see in previous images. With aluminum that conducts heat well, it means, unfortunately that it heats the entire telescope tube. One can compensate for it by increasing the effect, but I don't want that since it involves other negative effects. 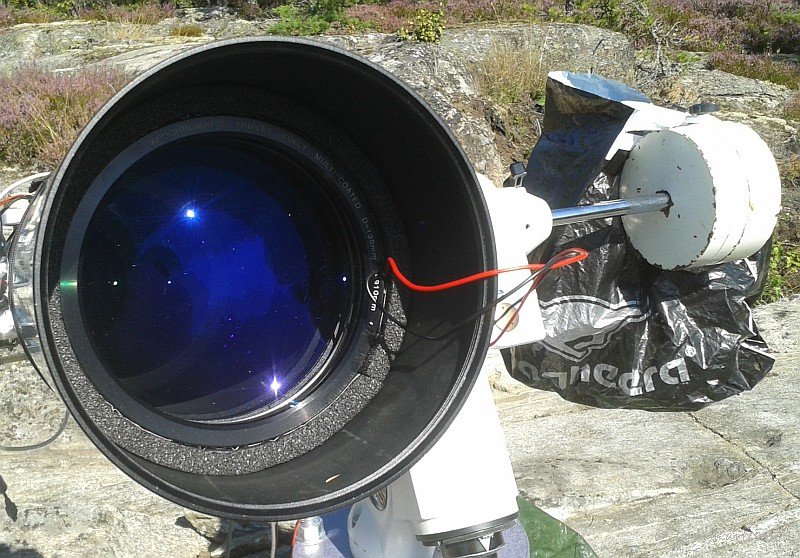
After some quick thinking during the night, I found this solution that I am fortunate could manage in the dark to modify it to. Between the lens hood and lens holder there is a gap that was big enough for the electric heater band to fit in between. Now I don't have to heat the entire telescope tube, only the lens holder, very effective. Just as I wanted it from the beginning. 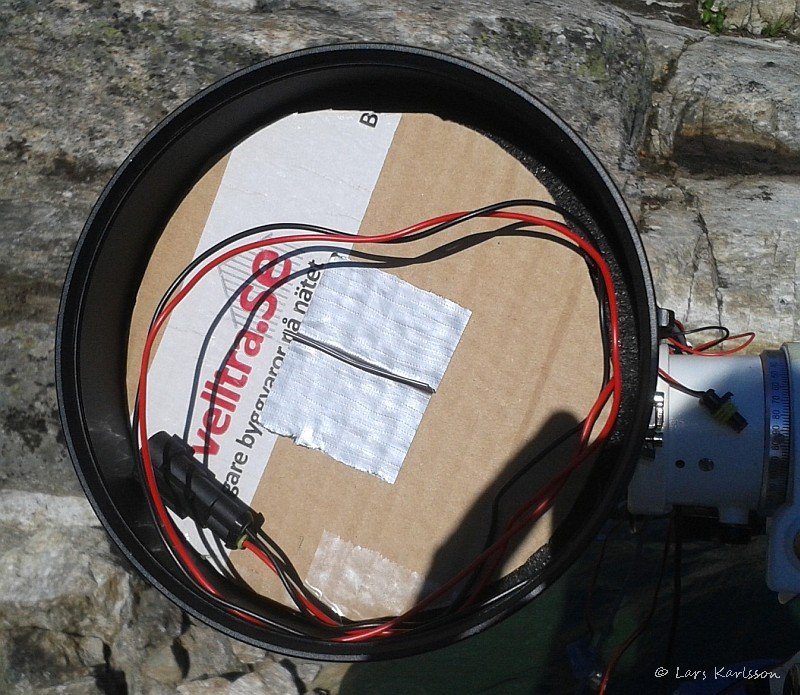
A small problem arose however, now I had a cable that came out at the front of the lens, thus I could not mount the protection cap. Was solved by making a separation wall placed in front of the lens for protection, there is now space between the lens and cap so that the cable can be rolled up inside and thus protection cap can be mounted again.
|
|