|
Advertisement / Annons: |
My astronomy project:
|
Content:
Note: |
5: Dew USB heater narrow band model with regulatorThe lens dew heater I bought earlier doesn't fit my short focal lenses very well. I need a more narrow heater band. As an example my project where I build a 300 mm lens astrophotography systemand later the Pentax 645 300 mm system. 
The two lenses on my 300 mm system. To the left my own built dew heater with three power settings. To the right the wide dew heater I bought earlier. 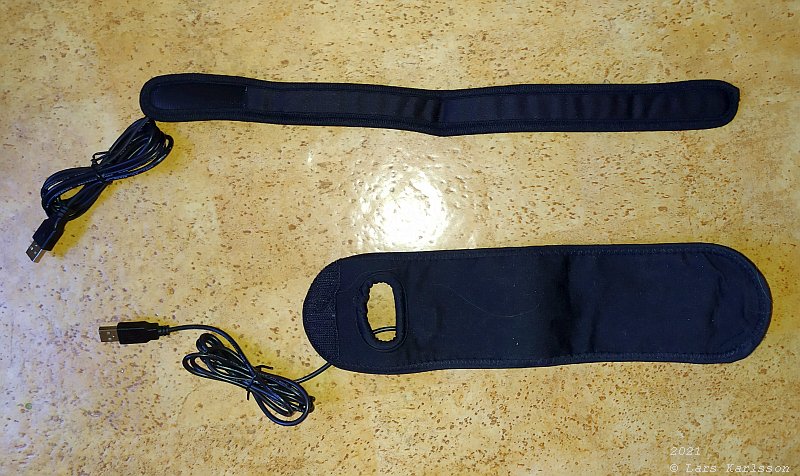
At top the new dew heater I bought, much more narrow and will fit my lenses better and not waste with the power as much as the wide one at the bottom do. 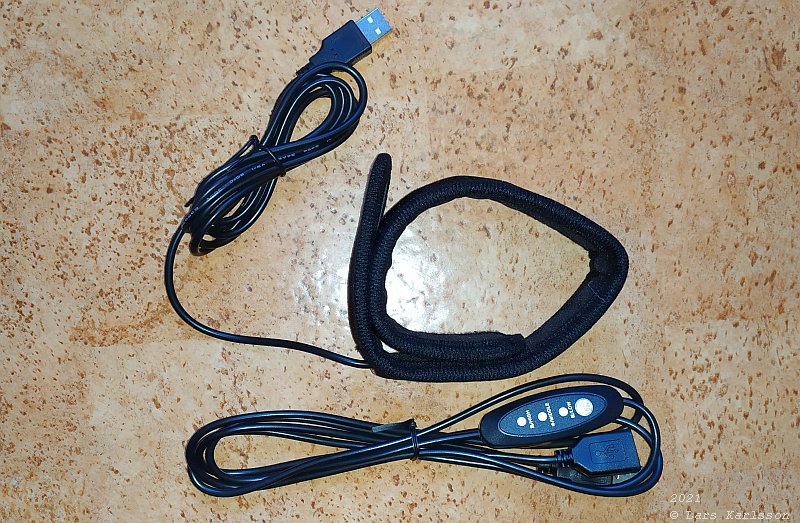
The lens heater was delivered with a power regulator. It turns on and off the power in a slow pace. A couples of seconds between each cycle, but this is a slow thermal system to heat so it works. It has three power level settings: 1/1, 1/2 and 1/4 correspond to about 2, 4 and 8 Watt. 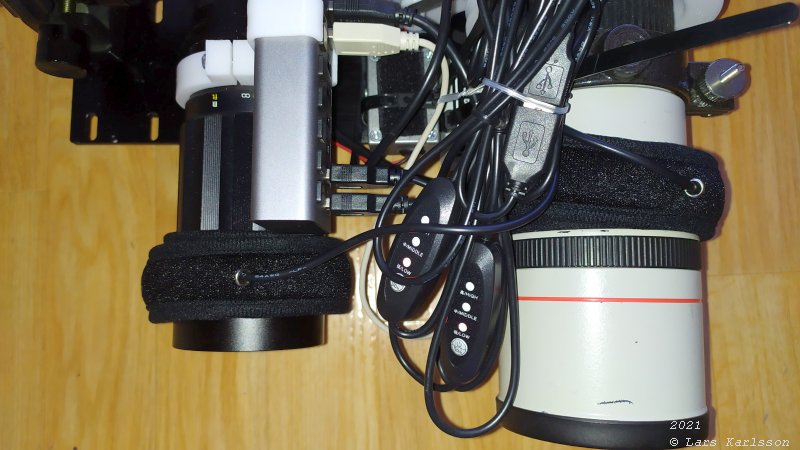
Dew heaters mounted on the lenses, what a different ! All the cables I must get rid of later, my plan is, if my test show that the 1/4 power setting is enough, I cut the cables and solder the two heaters in series of each other. That will reduce the power to 1/4 of each without a power regulator. From my measurements I have done a power table to see the difference between the old and the new dew heaters. Powered from 13.7 Volts:
From this I can see that my old heaters, homebuilt and wide, takes 5.6 Watts together. The new heaters used in 1/4 power mode will take 3.6 Watts together. The power out from the heating bands with regulator are lower because of losses in the extra cables. I will save 150 mAmp or 3.5 Watts on the 12 Volt side. Everything to get the battery to last longer is good. Later after some test out in the cold: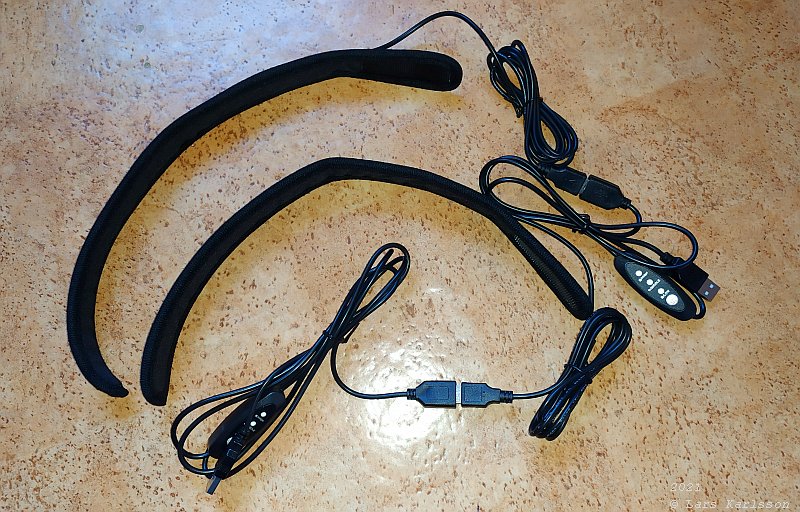
After one night with -8 Celsius degrees I found that the dew heater worked perfect even at the lowest power mode, 1.8 Watt on each dew heater. But I don't like all these cables. Including the regulators it must be almost 5 meters of cables and I need less than 0.5 meter. 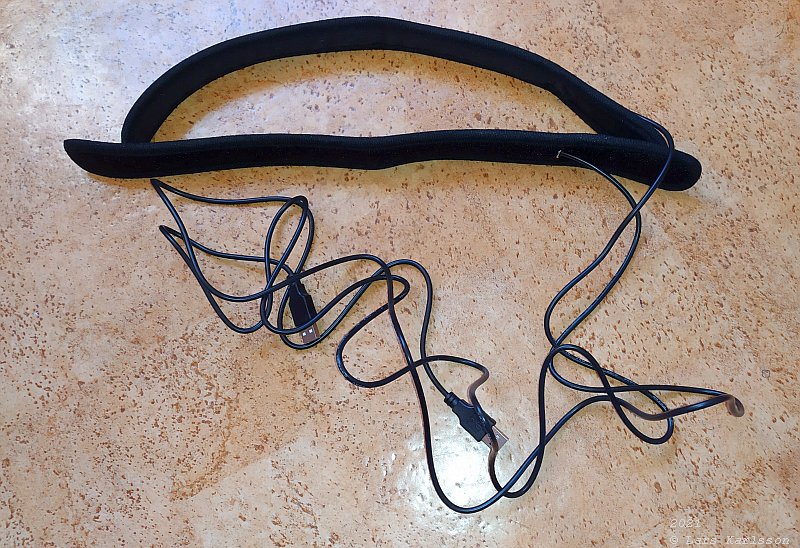
Away with the regulators, but still the long cables on the dew heaters. My new dew heater's cables cut into pieces ! 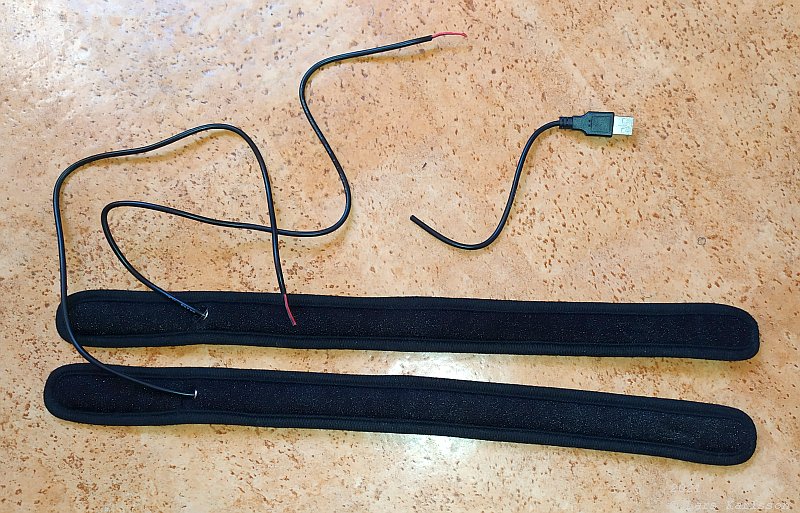
Cut the cables to 0.45 meter and saved one 0.15 meter of cable with the USB A connector. My plan is to connect the two dew heaters in serial of each other, then it reduce the power. It would be something like 1.8 Watt per dew heater. 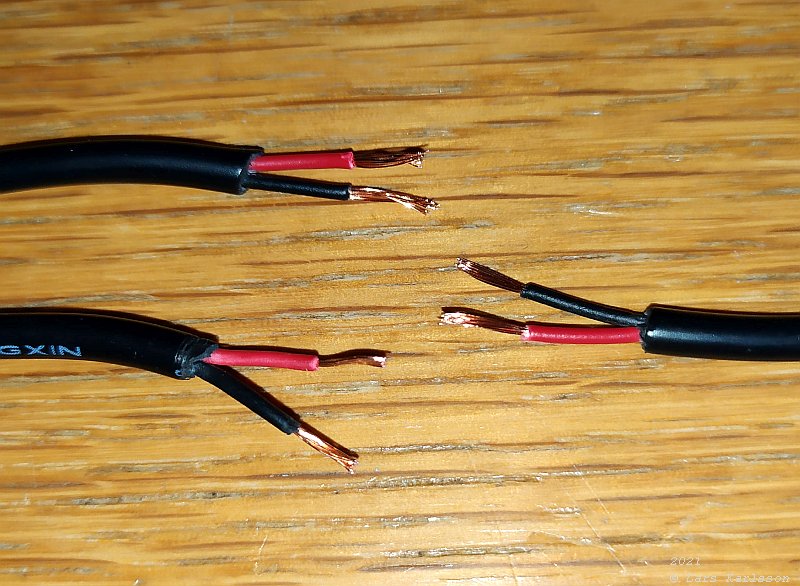
To the left the cable of the two dew heaters and to the right the short cable with the USB A connector. Now I have to solder them together. 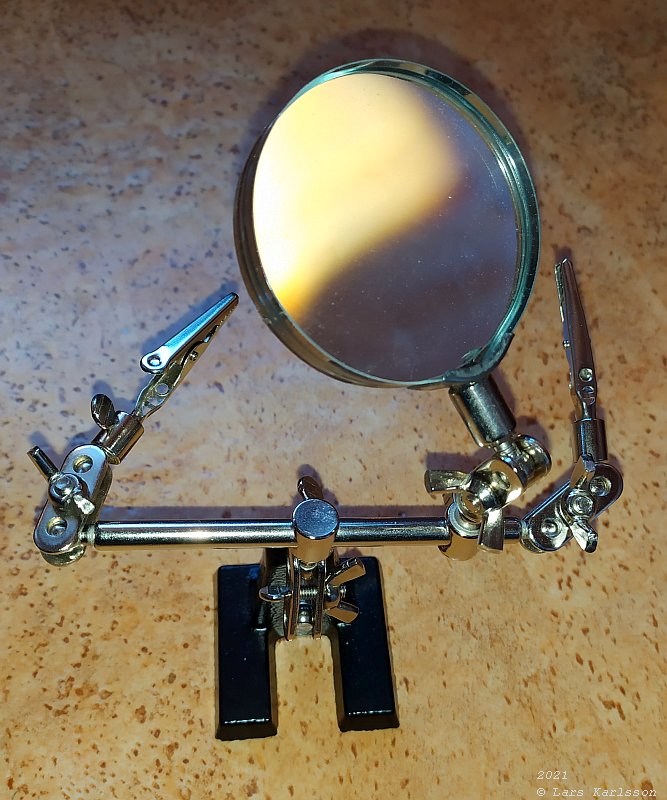
To do work like this I have to call in my assistant, the Handyman ! 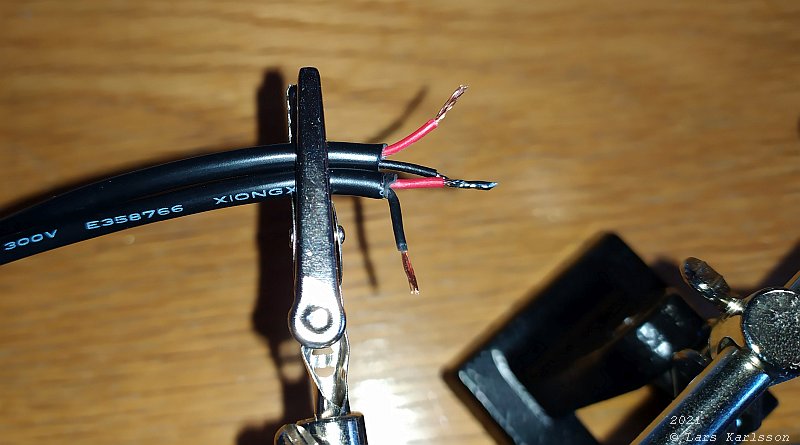
First I solder the two wire that make them to be serial connected. 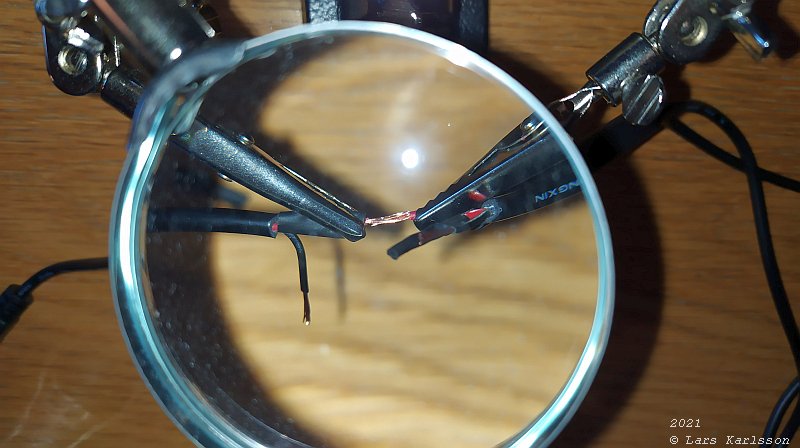
Handyman hold them together and I solder them. I put the clamp over the shrink tube to not get it too hot when I solder, protect it to shrink already now. 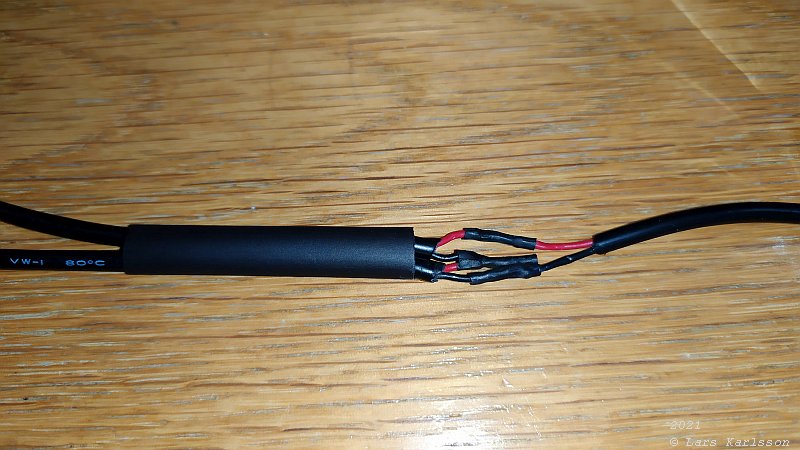
Put one big shrink tube over all cables, before I solder them together ! 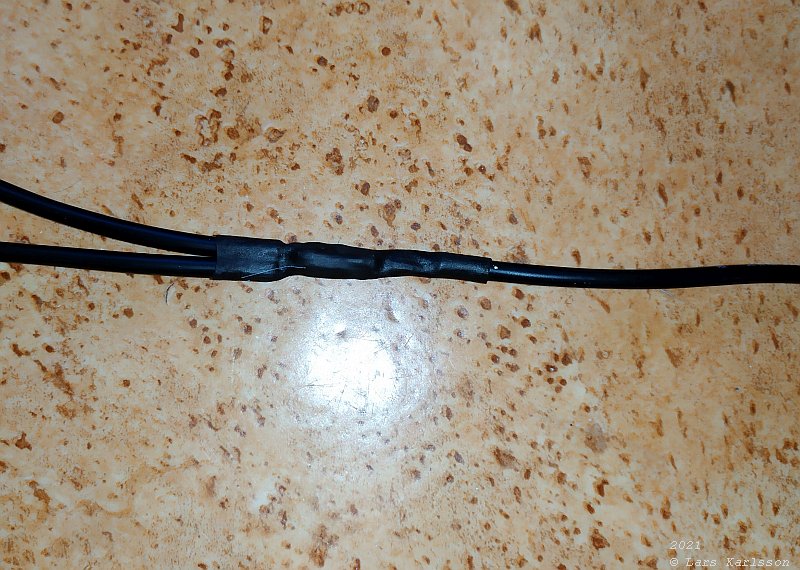
After soldering and added shrink tubes. 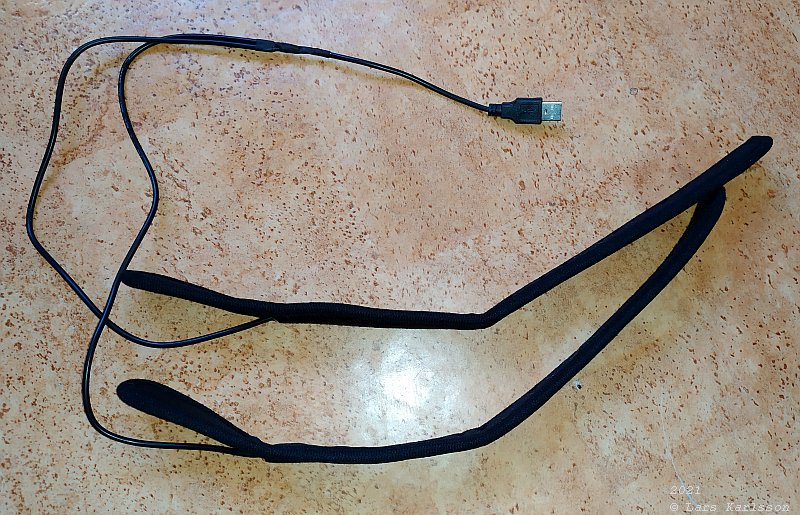
So much cleaner look now with the new short cables. 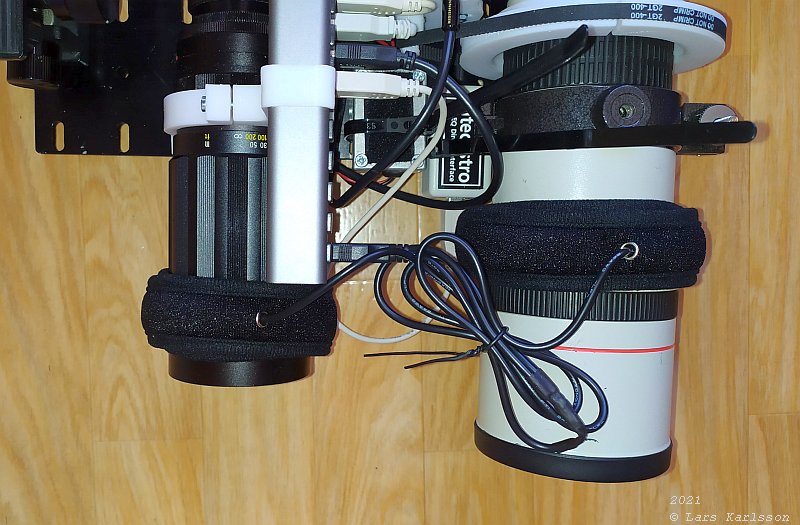
Install the dew heaters on the lenses and turned the power on. I get 0.29 Ampere at 13.7 Volt. That give 3.98 Watt or 1.99 Watt on each dew heater. That is more power than earlier, why ? Because the shorter cables means lower resistance and lower power loss in the cables, more power to the dew heaters. If this will be too much I can connect the regulator again, only need one now. To my shortest lenses, the 50 mm f/1.8 and the 16 mm fisheye 1 Watt is enough.
Update: These two lenses were very easy to attach the dew heaters to, other with plastic rings around the front lens decrease the heat transfer and need more power.
|
|||||||||||||||||||||||||||||||||||||||||||||||||
|