|
Advertisement / Annons: |
My astronomy project:
|
Contents:
Note: |
2, Setup PHD2:After my first test of the EQ6 modified mount with timing belts I understand I must do a much more accurate setup. I can't have my old parameters as a base for my rebuilt EQ6 mount. I'm also sure that the old setup wasn't optimal. I have to search internet for some guide how to setup the EQMOD and PHD2 software to get it optimal. The document "PHD2 Best Practices" by Bruce Waddington and Andy Galasso: Credit PHD2.
After a half hour of searching on the internet I found a lot of guides how to setup PHD2, but this guide stands out, "PHD2 Best Practices" by Bruce Waddington and Andy Galasso. Andy I know from earlier and he helped me with the comet offset guiding. This guide looks to be very good and I try to follow it as long I can. At PHD2 you can download this guide as a PDF file, there are three languages to choose from:
Other useful links how to use and setup PHD2:
What I written below is how I have setup my equipment with help of the above information. Advanced Setup, Global: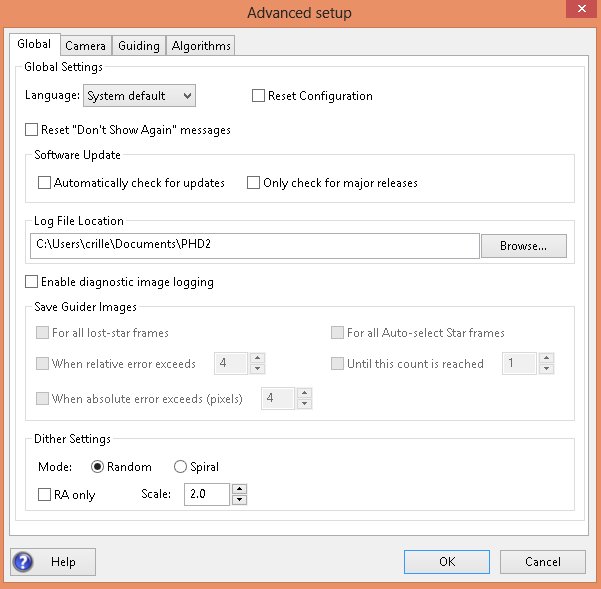 Credit to PHD2.
I click on the "Brain" button in PHD2 and choose Global setup. The Global setup is just the standard. Advanced Setup, Camera: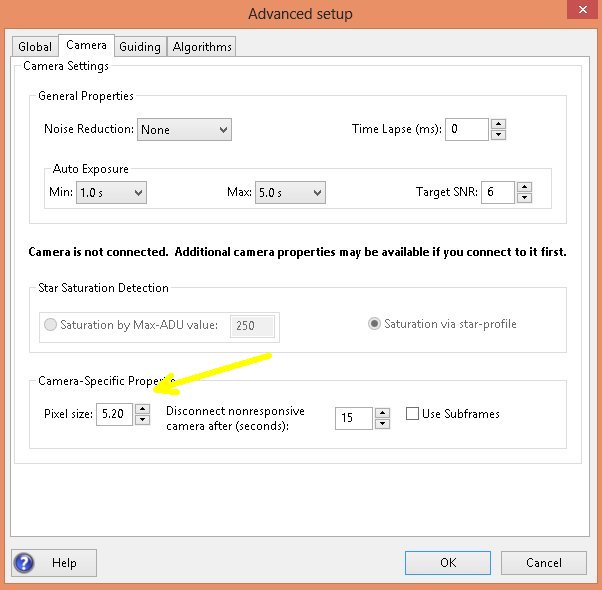
In the Camera setup I do the following:
Advanced Setup, Guiding: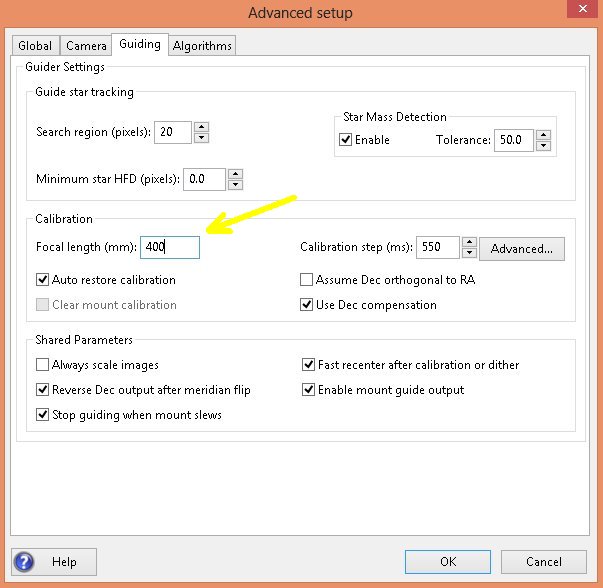
I check the focal length of the guide scope, 400 mm, ok. All other parameters according to recommendation. Click the advanced button. Advanced Setup, Guiding (Detailed Calibration Parameters):New window open, "Detailed Calibration Parameters": 
I can read that the recommended guide speed are from 0.5 to 1.0 sidereal. I only had set it to 0.3 in my old setup. I increased it to 0.9 now. I have also change this in EQMOD. Click the reset button and get new Calibration step, ms = 550. Advanced Setup, Algorithms (before):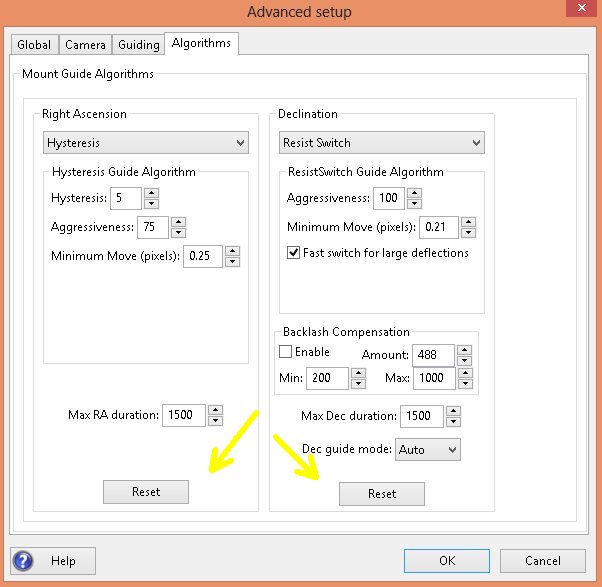
This is the parameters I used when the EQ6 mount had spur gears. I reset both RA and DEC parameters. Advanced Setup, Algorithms (after reset):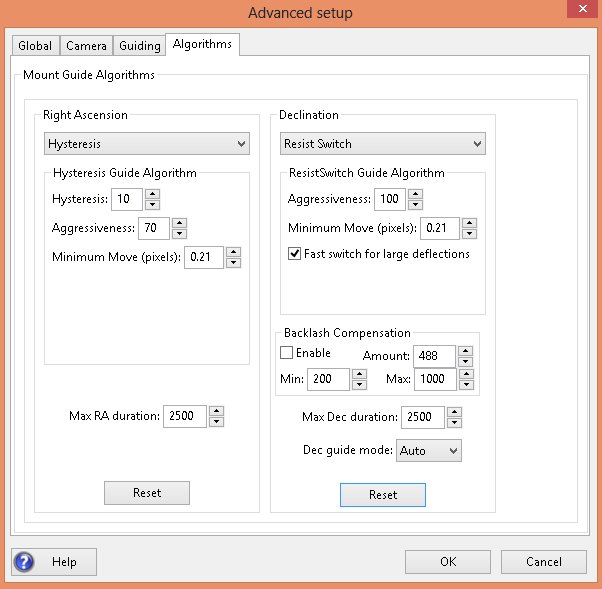
With the parameters reset I start with a new fresh setup. Later I also enabled the backlash compensation and got much better guiding in the DEC axis.
|
|