|
Advertisement / Annons: |
Tutorial:
|
Content: |
1: IntroductionI normally orient my camera's long side of sensor along the RA-axis. I think it could be wise to always use the same orientation, in future you maybe add more data and then it's easier to align them together. When I'm auto guiding the telescope I normally use the PHD software, that software can handle the guiding for whatever your guide camera angle is, but if there is a problem it's much easier to solve the problem if the guide camera is aligned along the RA-axis. Here follow a short explanation how I normally do it. I don't take any responsibility for it, all risk on you!
|
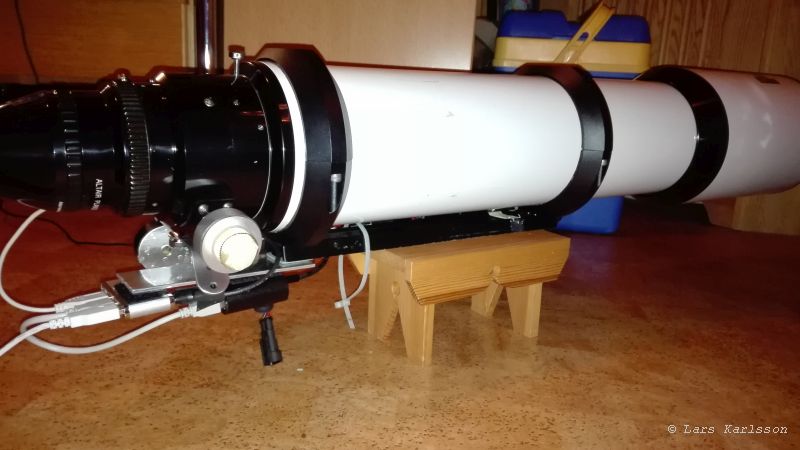
2: Level up telescopeI do this very simple. First I let the telescope stand on the Vixen tail on a distance at the floor. 
As you see I have the Vixen tail at the back end of the telescope and the balance point is at the front of the tail. I must have it like this if I want to retract the dew cap all the way back, if I can't do that the telescope will not fit in the transportation box.
|
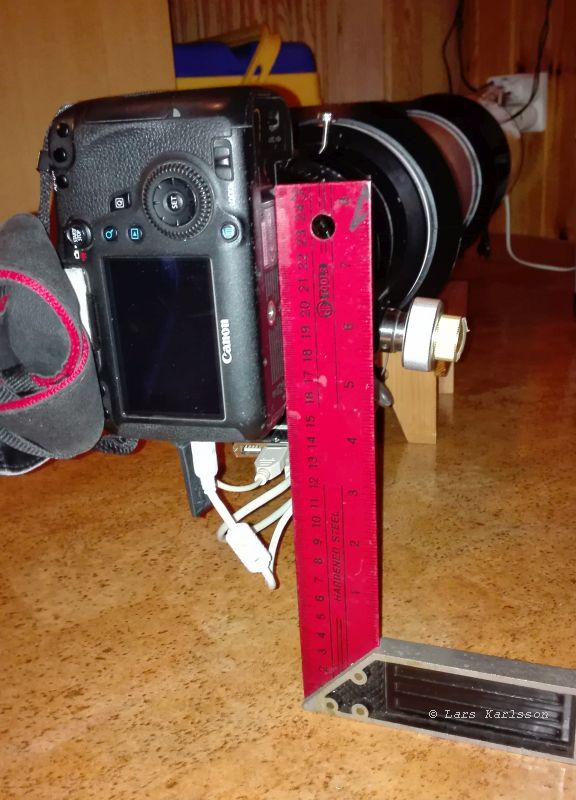
3: Adjusting main camera along RA axisWhen the telescope is leveled up you can adjust the main camera. 
Use a normal angle hook too see if the camera is in the correct angle. This is the orientation if you want the camera's long side of the sensor line up with the RA-axis. North direction is up on the camera sensor. If you have the meridian flip activated the camera will be upside-down when you pass the meridian. All my adapters are threaded to maximum stability. 
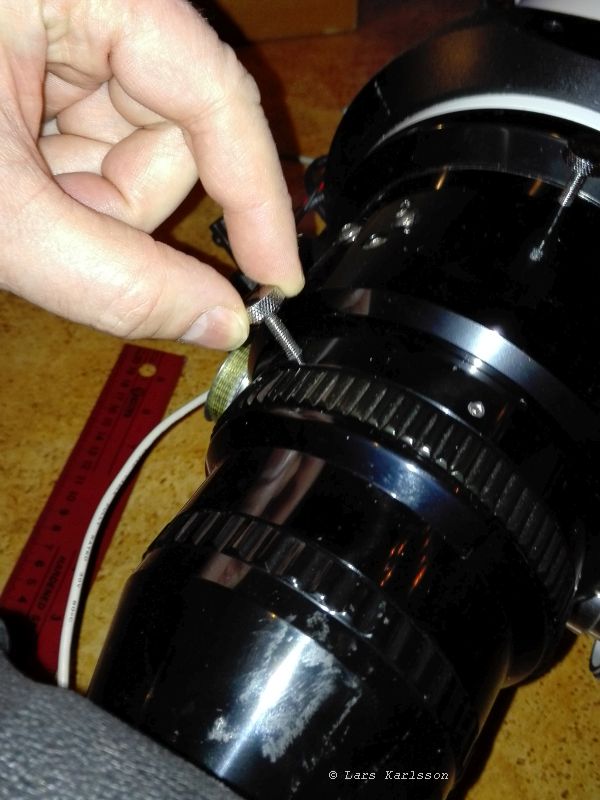
When adjusting the camera angle I have this joint that is rotatable, loosen the lock screw and then rotate. In your system you maybe rotate the camera at somewhere else joint. A fine adjustment can be done later by letting a star drift along the sensor without the RA motor running, check that the star doesn't drift up or down the sensor, it should follow a row. Here you can see and read about my adapters:
|
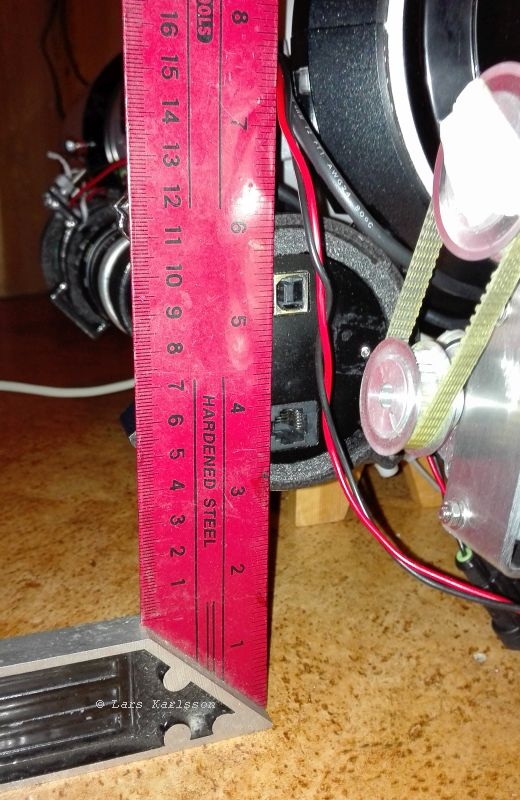
4: Adjusting guide camera along RA axisAfter that I adjust the guide camera, also along the RA-axis. 
You have to know which orientation the sensor have in the camera house. You find it out by practice, my camera is the QHY5 and have this orientation. The camera is just pressed into the tube holder. It's very limited space here, that's why I have the focuser tilted a bit. Later I will have a more robust holder of the camera.
|
5: Fine adjustment of the camera angle:If you want to have higher precision of the camera angle you can use a crosshair if you have it in your camera control software. Later I will add a screen dump here how it looks in the the ATP control software. Just take a picture of a star that's on the horizontal crosshair line to the left, then move the telescope so that you have the star on the right side of the line. If it has moved away from the line, adjust the camera and do the test again. Do the same procedure for your guiding camera, that camera take photos continuously so it's much easier. PHD software has a "bull's eye" with a cross hair that you can use.
|
| Go Back |