|
Advertisement / Annons: |
My astronomy project:
|
Content:
Note: |
4: Replacing off-axis adapter with a temporary guide telescopeI decided to mount a guide telescope as a temporary or maybe permanent solution to have guiding opportunities, I don't want to stress to find an off-axis guider solution. I have an old telephoto lens 400 mm f/6.3 laying around. I have used it long time ago for guiding and it worked. My main telescope has 910 mm focal length in this configuration, the guide camera has a little bit smaller pixels so it match fairly good. The telephoto lens has Pentax M42 x 1.0 mm thread and the guide camera has T2 which has M42 x 0.75 mm thread, the pitch are different. I have to place an adapter between them, I already had one, I also mounted two extenders, 10 mm and 18 mm to get the camera in focus. 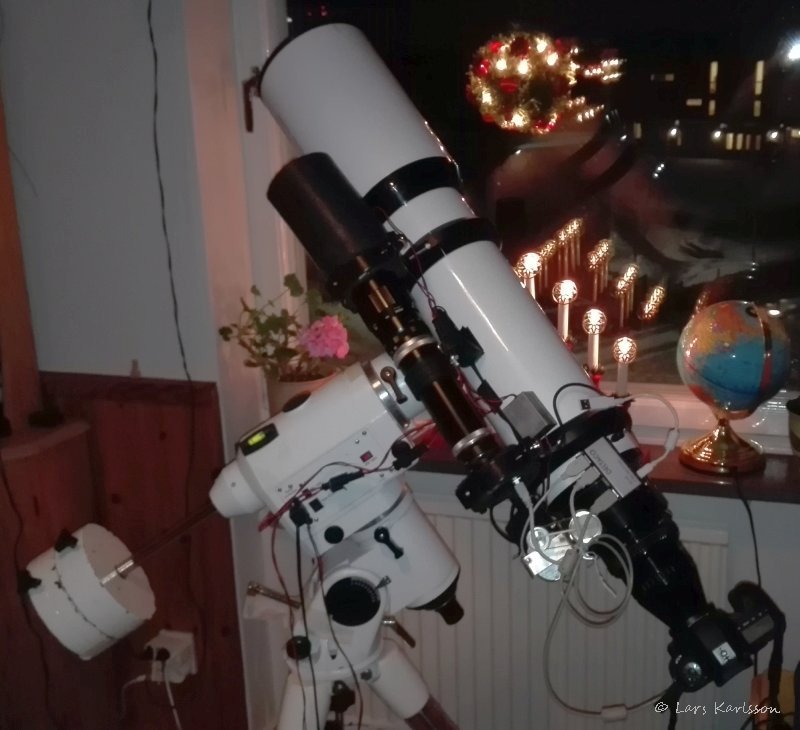
My tube rings for the main refractor are already prepared to take extra gears. Perfect, here I can mount an extra pair of small tube rings. My telephoto lens diameter is about 65 mm, in my desk I found a pair of 90 mm tube rings. I can use them and fill the gap with something. I mounted the guide telescope as close to RA axis as possible, then I need less counter weight and it will be more compact also. One drawback of having two telescopes is that I need two heater bands, I took the one I have for my wide field lens and it fit almost perfect. 
It's hard to see here with all black painted parts how I mounted the tube rings, but you can see how I filled the gap to hold the lens/camera. I have also rearranged the focuser so it points towards the RA axis to save some balance weight. It's important to check that nothing on the telescope hit the mount when it moves. 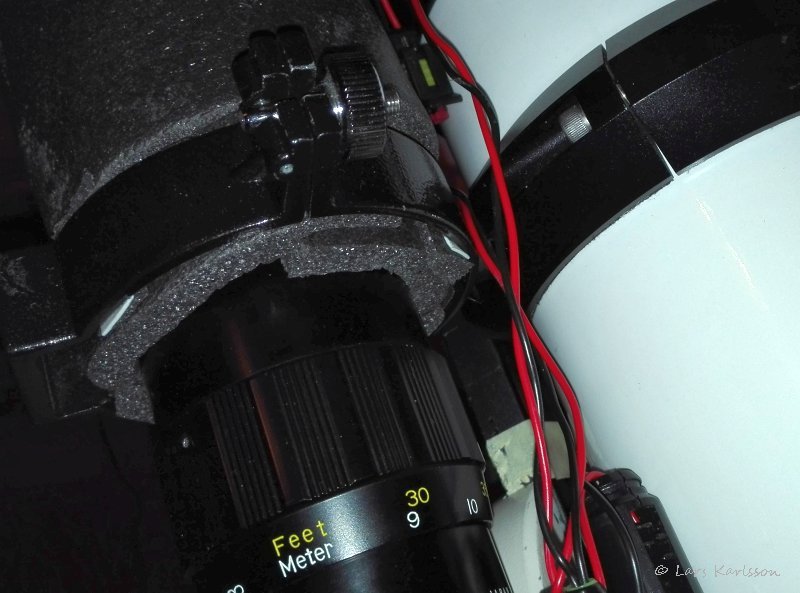
A pair of 65 mm tube rings should be perfect, but the smallest tube rings I have found is 3" or 75 mm. If this guiding setup work as it should I maybe keep this solution for a while and replace the tube rings with smaller ones as a more permanent solution.
Update: 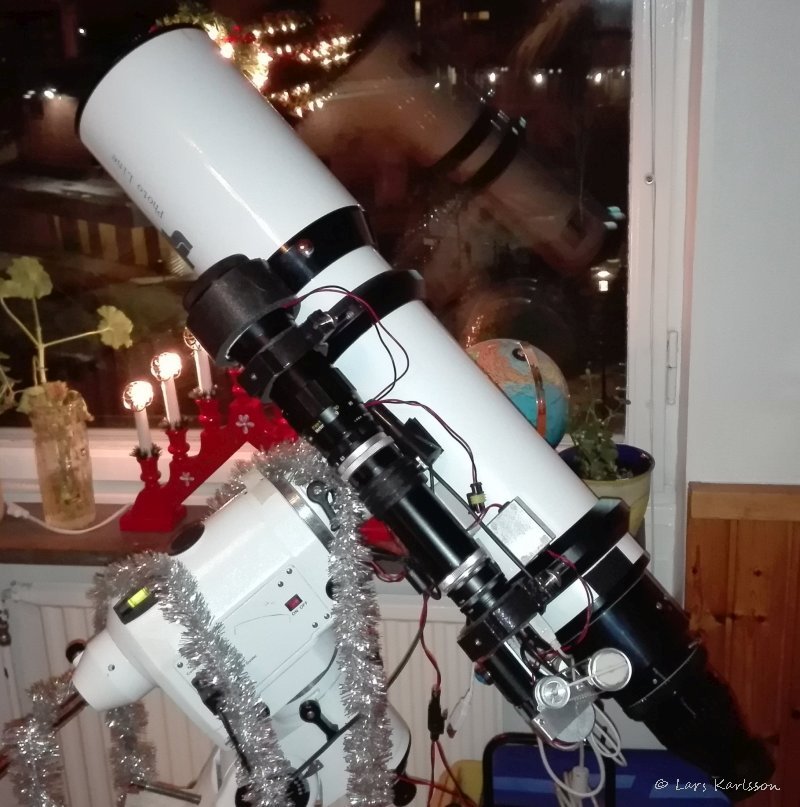
The front holder, I cut a new thermo insulation for the heating band that fit the guide telescope better. 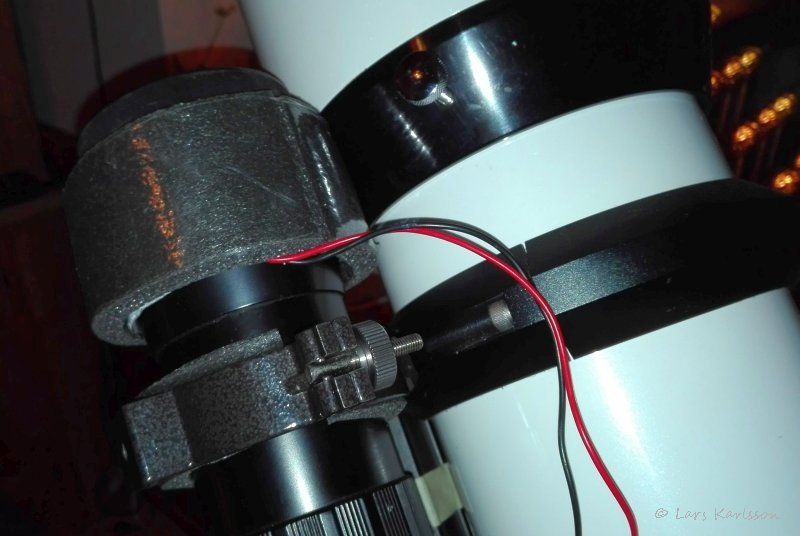
Detail of tube ring holder and heating band. The main telescope tube rings have recesses where you can mount accessories, e.g. guide telescope tube rings. 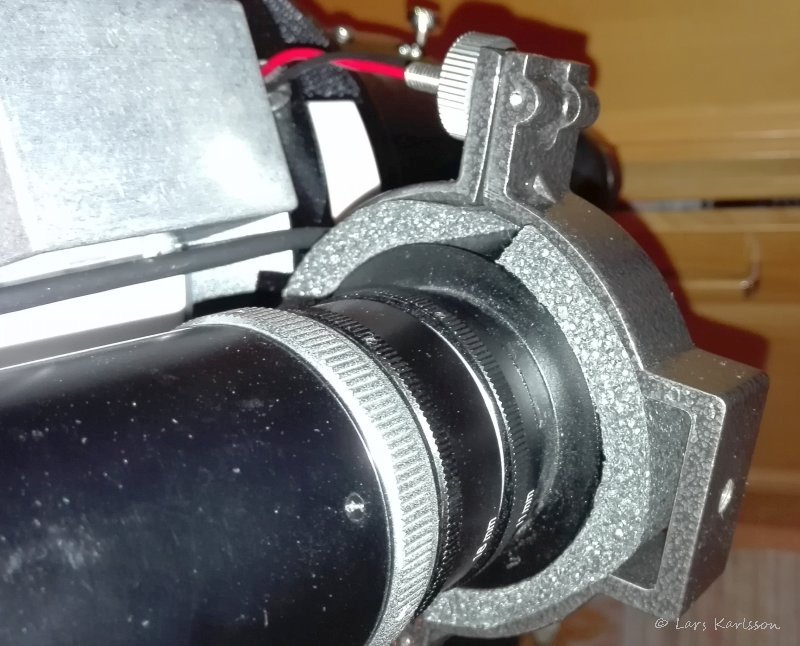
The tube ring holder at the camera end. I have to mount the tube ring holder upside down to fit it to the main telescope's tube ring holders. The guide camera is an old QHY5, not very sensitive but should work in this configuration. 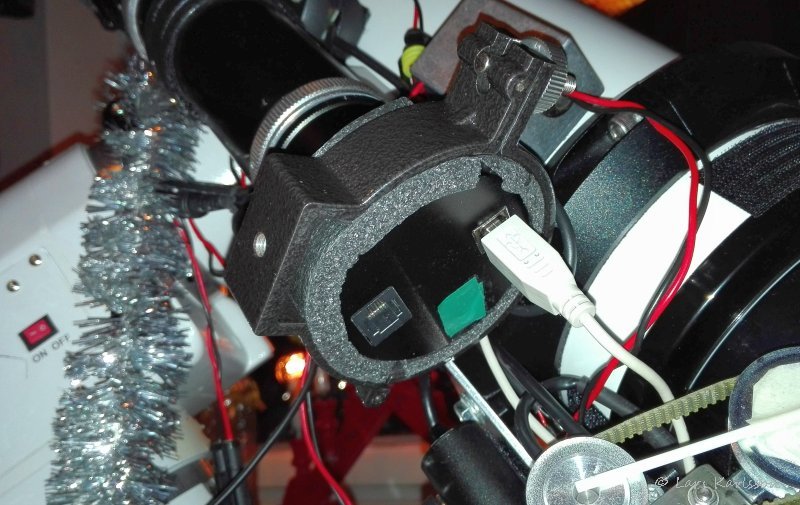
Connection side of camera. I don't use the ST4 guide port, I guide through software and ASCOM. 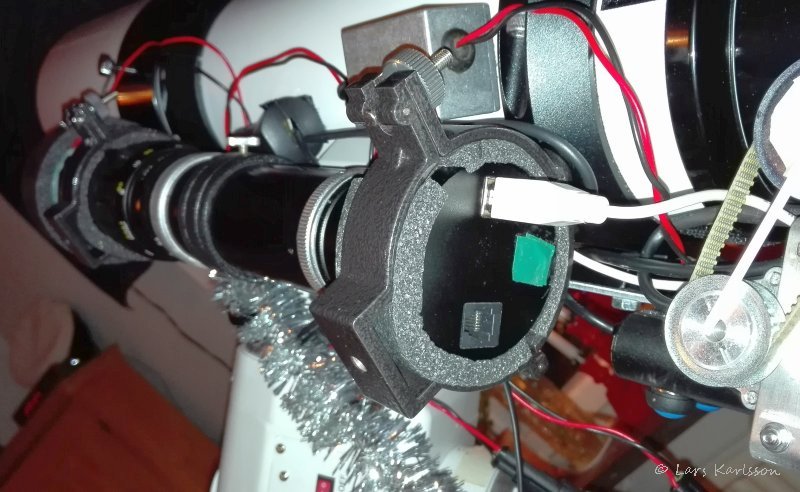
Overview, the two "boxes" you see behind the guide telescope is the 5 volt and 8 volt reducers from 12 volt. If I don't get too big problems with flex with this guide telescope I maybe keep it. Looks very good and it's stable. Don't take very much space either. I don't have any IR block filter in this configuration, I get more photons to the guide camera but less sharpness. It's not that important to have the guide star sharp in a guide camera, better with more light I think.
|
|