|
Advertisement / Annons: |
My astronomy project:
|
Content:
Note: |
1: Disassembling the RA axisLast time when I used my Star Adventurer mount I noticed that the friction coupling to the RA axis was very stiff. With that not functioning it is very difficult to aim the camera to different objects. Something I must repair as quickly I can if I don't want to loose clear dark nights without a chance to doing astrophotographing. But what is wrong and what had cause it? 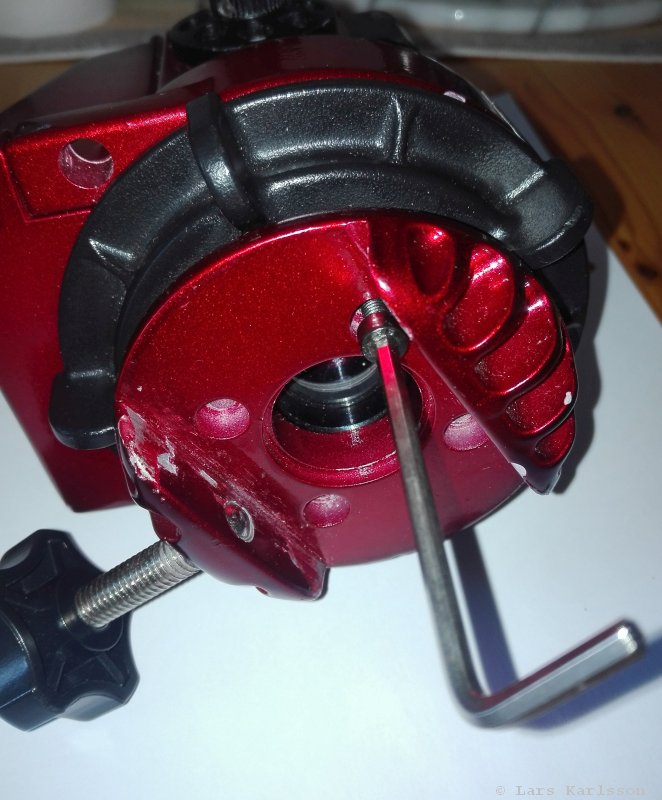
I started to take apart the head that holds the Vixen tail. You need a 3 mm Allen key to that. 
Unscrew the friction lock nut, the big black wheel here. 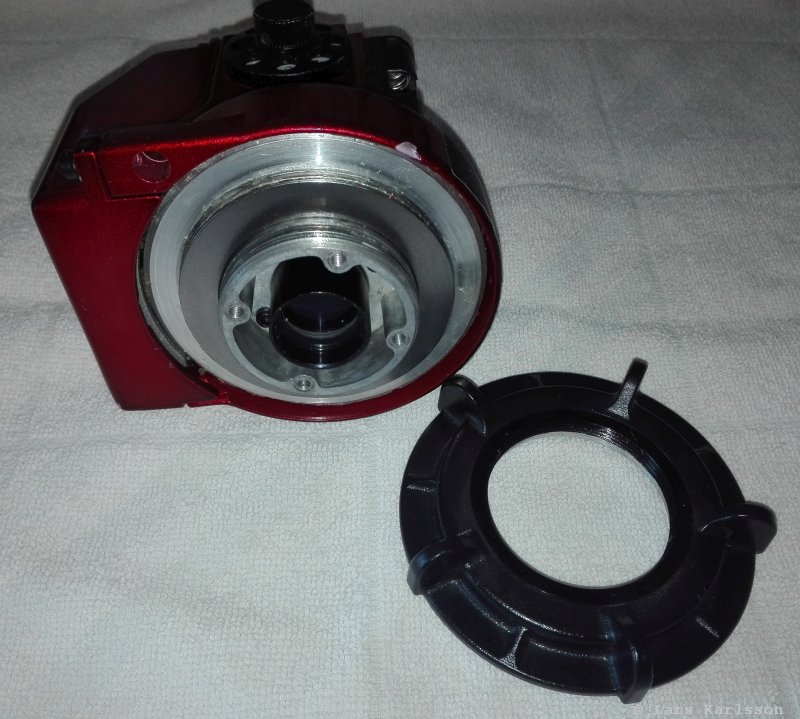
The big washer are part of the axial roller bearing, its function is only for the friction coupling. 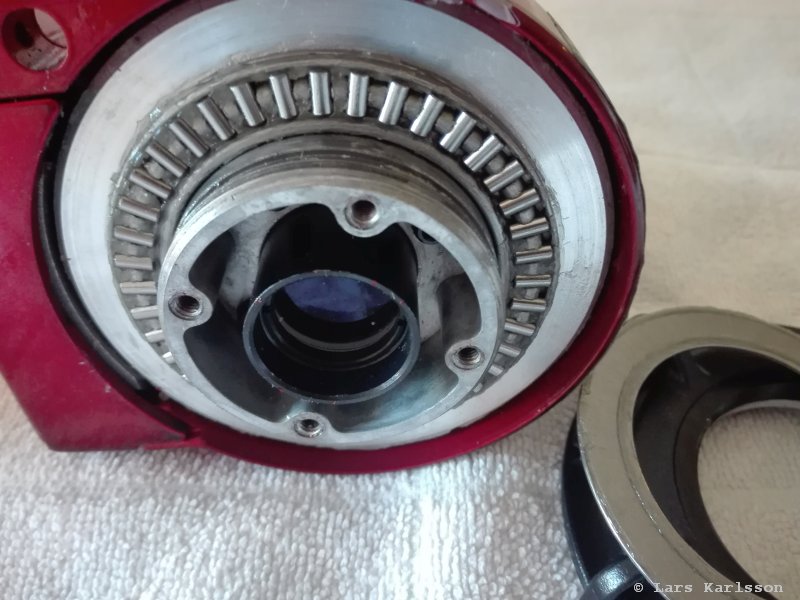
Be careful, don't drop any of the rollers. 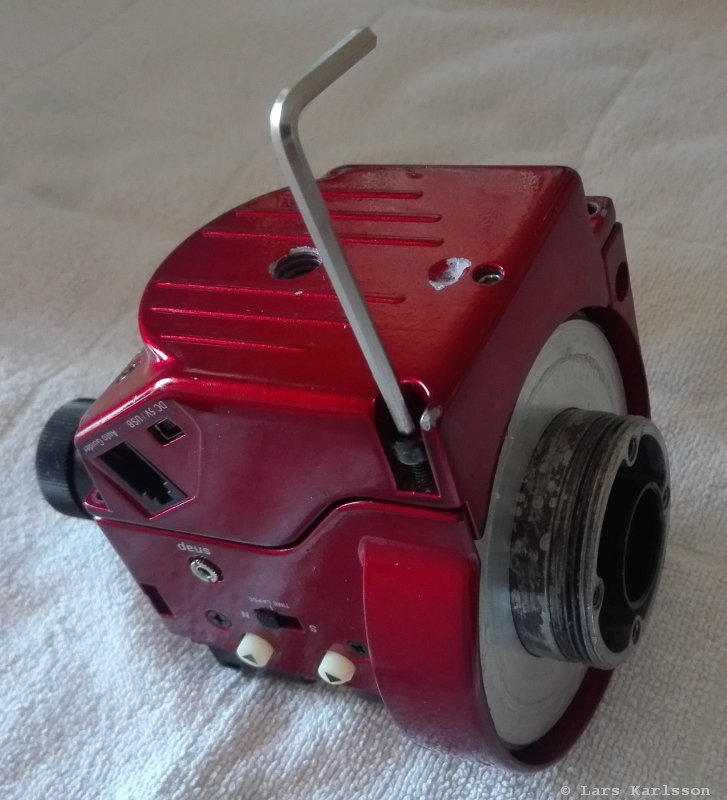
Now take away the lid, 3 mm Allen key, when the lid is off the force on the worm gear is gone. Be carefully with the cables, don't snap any of them. The coming step I do here was not necessary, but it could maybe be interesting for you to look at. If you don't want to see them you can jump to the last photo at the bottom. 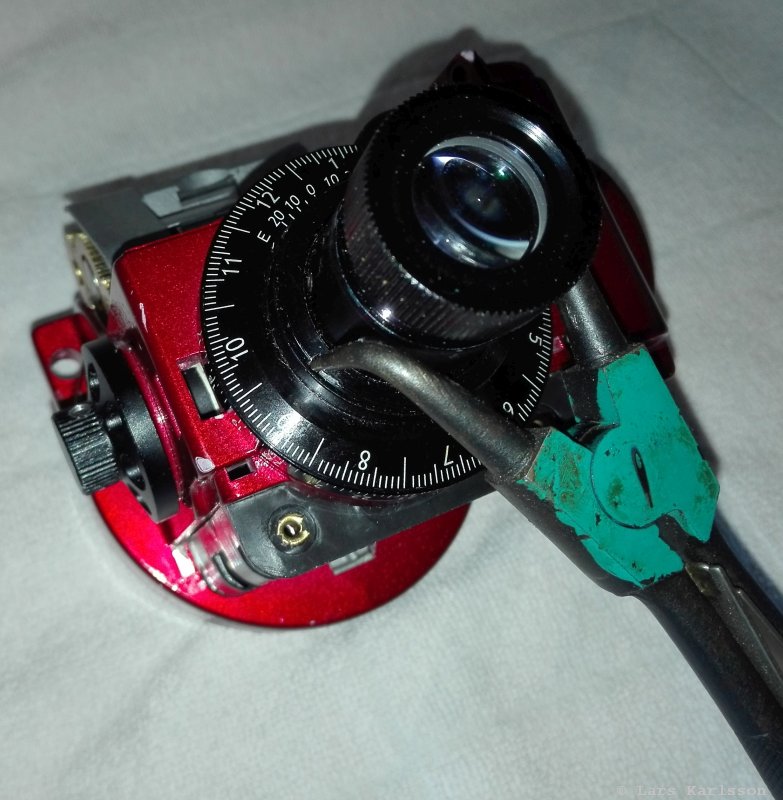
After this I dismantled the other end of the RA axis. You need a special tool for this. There are two pits in the nut that lock the RA axis. The tool I use here is not the correct but the only one that I had at home. 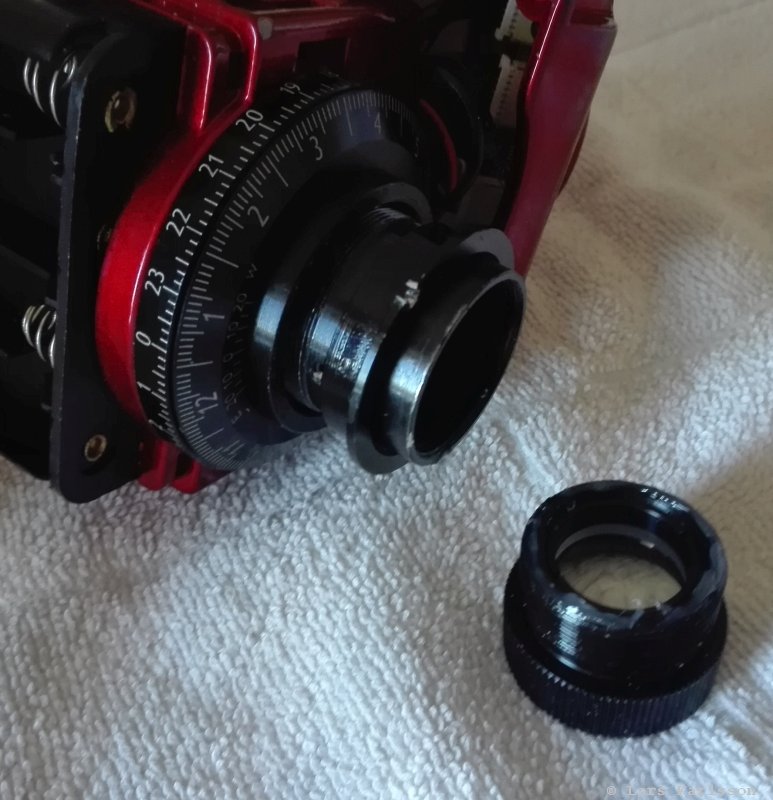
To get the lock nut off you have to unscrew the ocular to the polar finder. Don't get any dirt in here, as you see there is a lot of grease on the threads to make it dust proof. 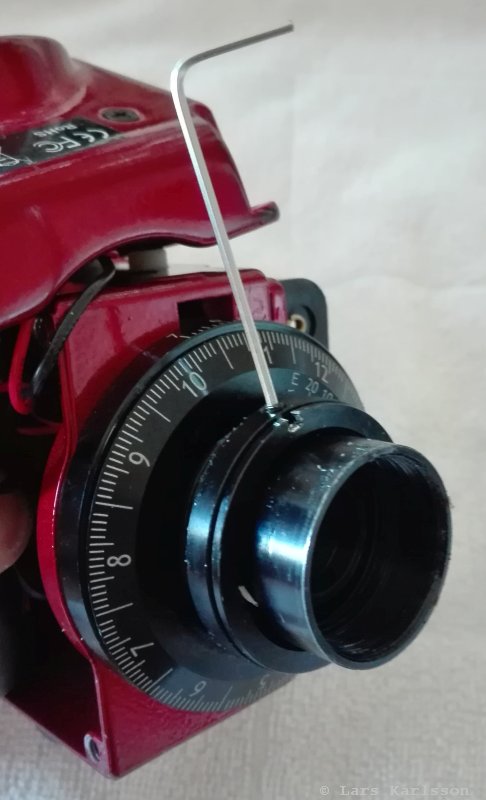
The next thing is to unlock the stop ring, you need a 1.5 mm Allen key for this. Note, there is a marker on this ring that's need to be in correct position when you assembly it together again. 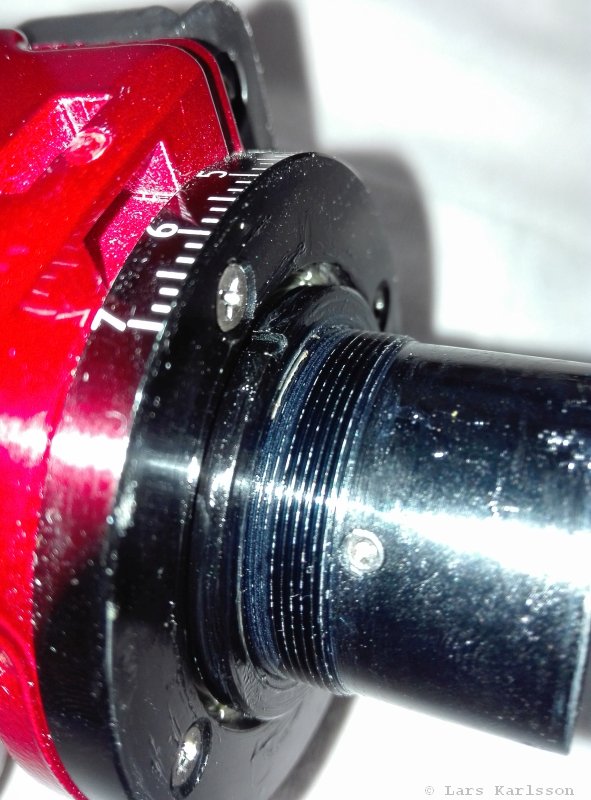
Then there is another lock nut, this one you only need your fingers to screw off, at least in my case. Late when you assembling it together again, this is the nut that adjust the axial play on the RA axis bearing, do not over tight! 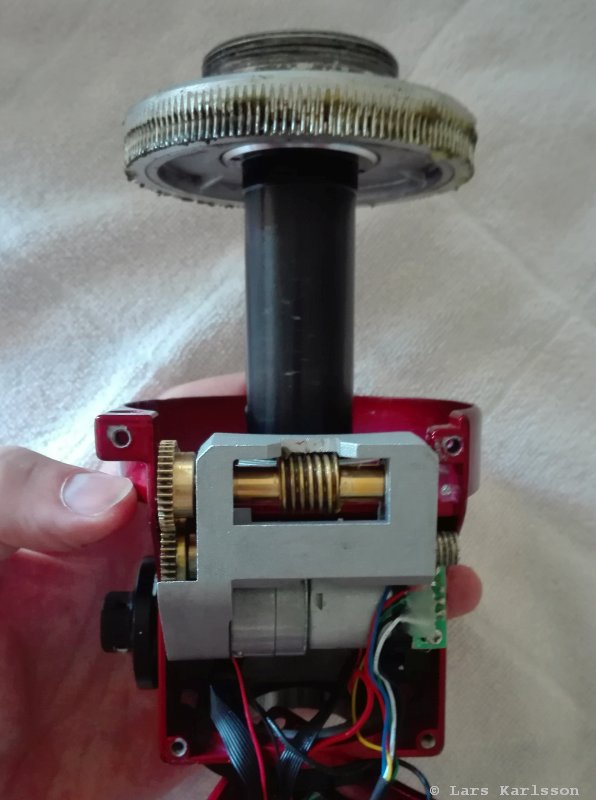
Now you can pull the RA axis out of the chassis, you must push the worm gear out of way first so you don't destroy the teeth of the gears.
|
|