|
Advertisement / Annons: |
My astronomy project:
|
Content:
Note: |
Page I.6: The hatch towards southI want at least reach the horizon in one direction and this hatch is in the direction of south. Maybe when I start to build the roof I will have part of it connected to this hatch. 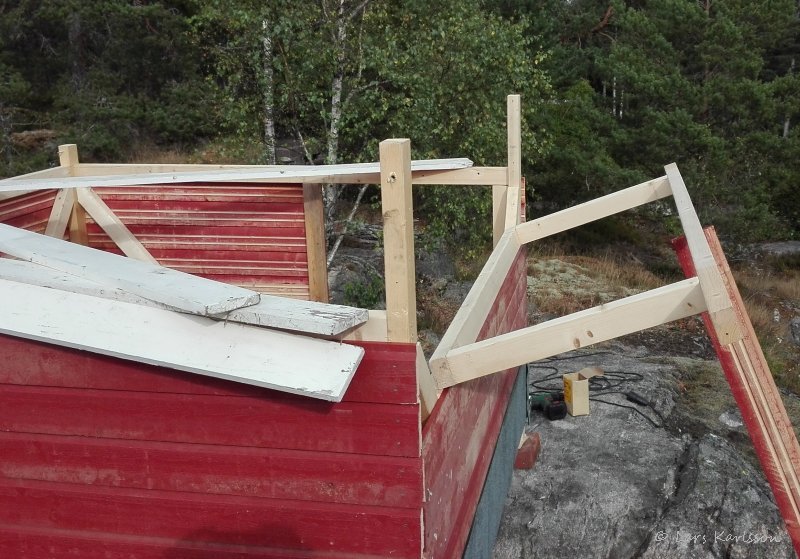
This hatch will tilt all the way down later, it lower the rim with 0.2 meter and that's what needed to reach the horizon. We have the planets at highest position i south. I'm not very interested in planets and today my telescope isn't built for that purpose, but maybe it will be in the future. 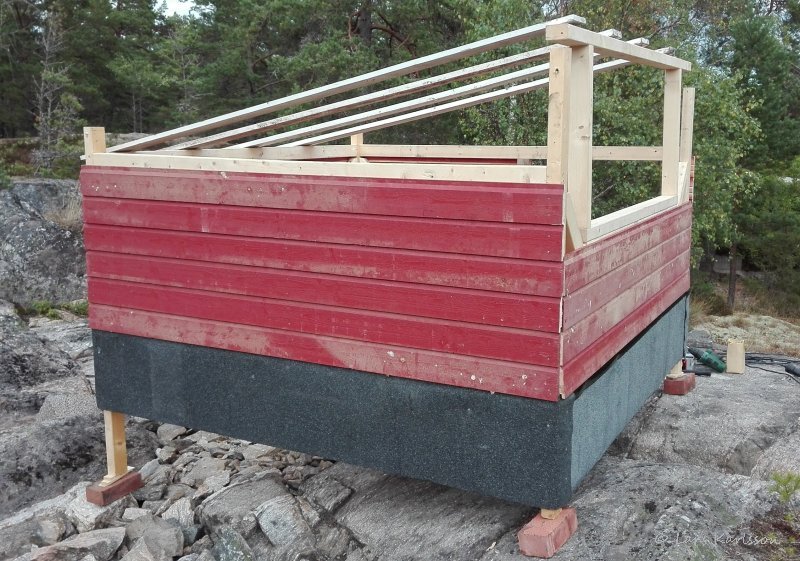
Hatch in closed position, maybe I will have it titled in future and mount a solar panel on it. Then I can charge 12 volts batteries and then I don't have to be connected to the power grid. 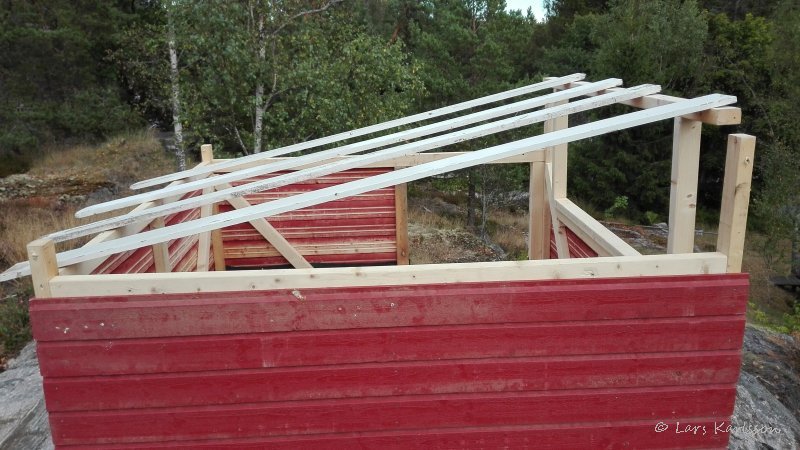
The slope of the roof must be enough to let the snow fall off. The roof surface will be of plastic material so the friction will be low. I hope the snow will fall of by itself.
|
|