|
Advertisement / Annons: |
My astronomy project:
|
Contents:
Related projects:
Note: |
13, Power up and EQMOD gear ratio setup:Installing RA and DEC clutch arms: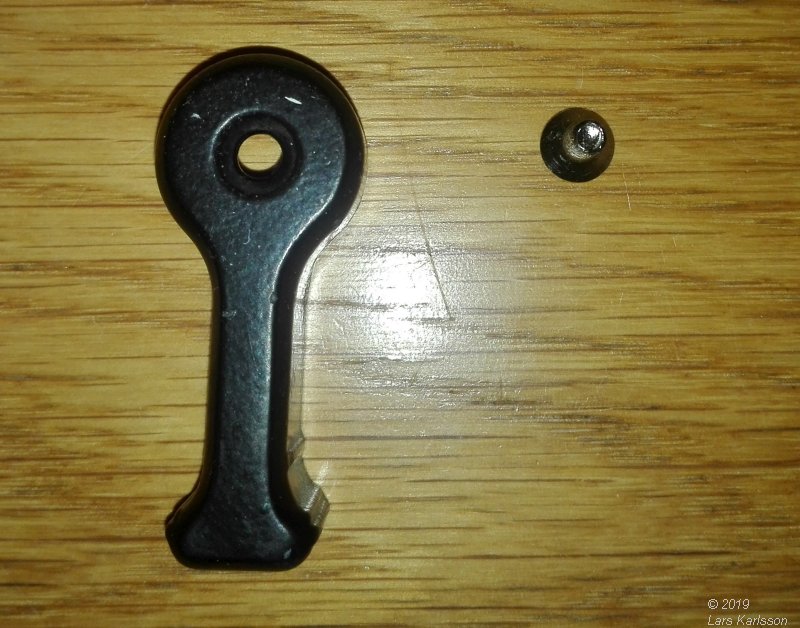
Now I need to use the clutches on the mount and I install the black arms to make the handling easier. 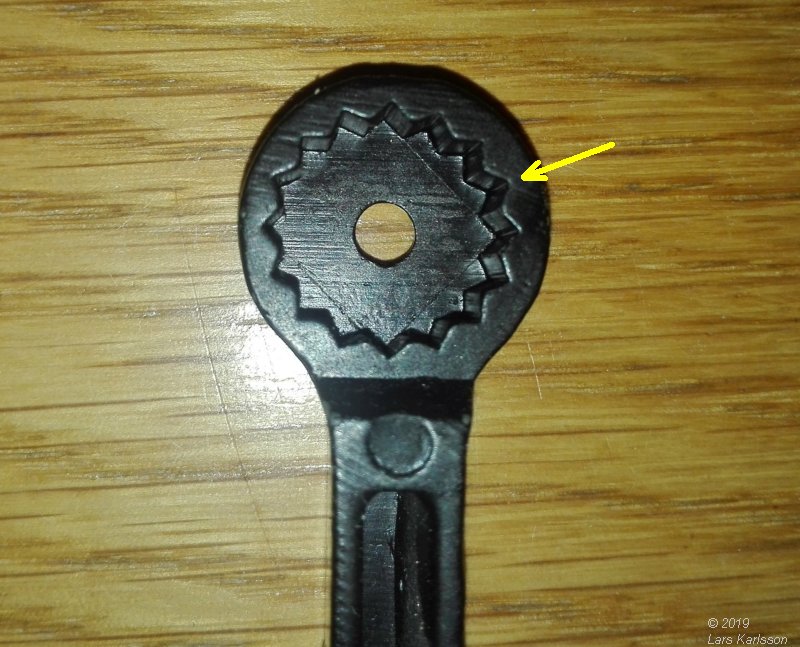
The backside of the arms, the star shaped hole let you install the arm in different angles. 
I set the arm to be in this position when clutch is open. 
This is the closed position. Installing driver board and cables: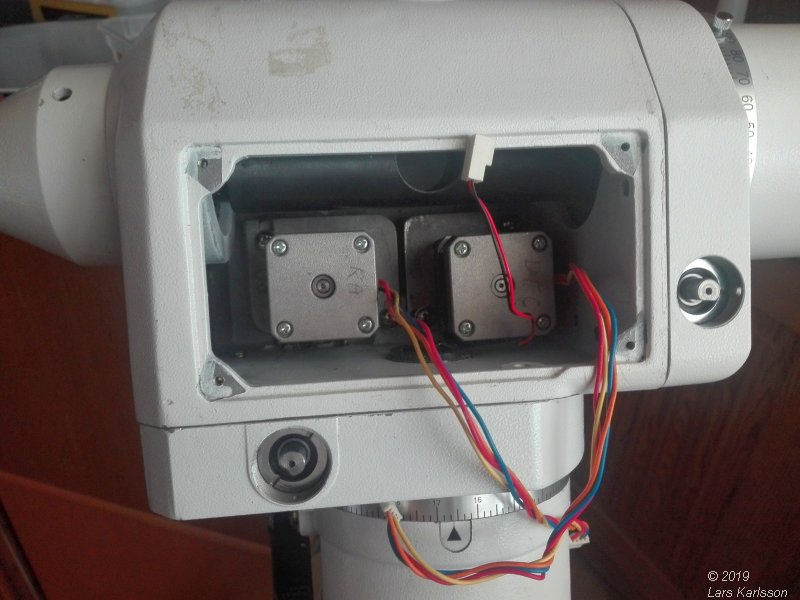
The stepper motors with the three cables that shall be installed into the driver board. 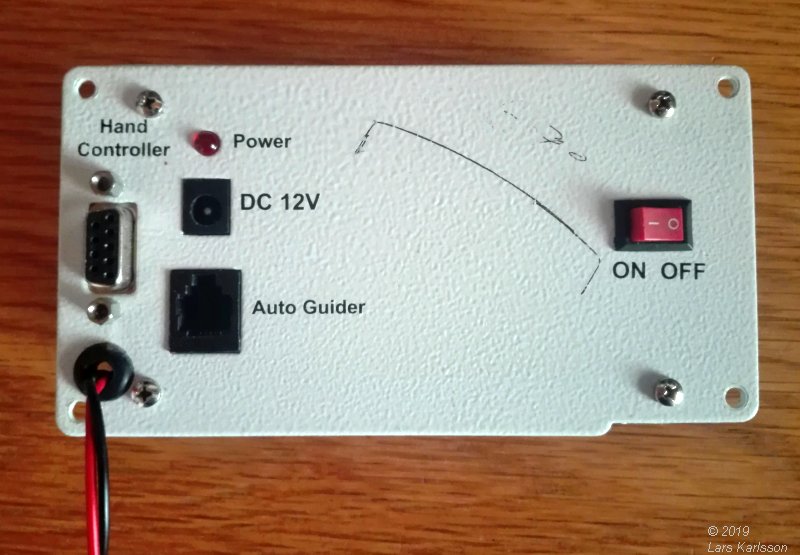
Front panel to driver board. Note my special power cable, got tired on the original connector that always jumped out. Soldered a permanent cable. 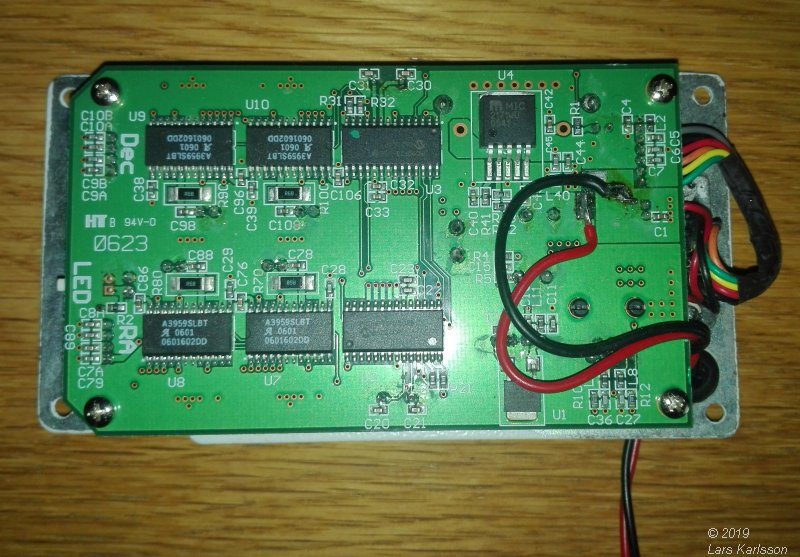
Backside with the PCB driver where my direct connected power cable attach. 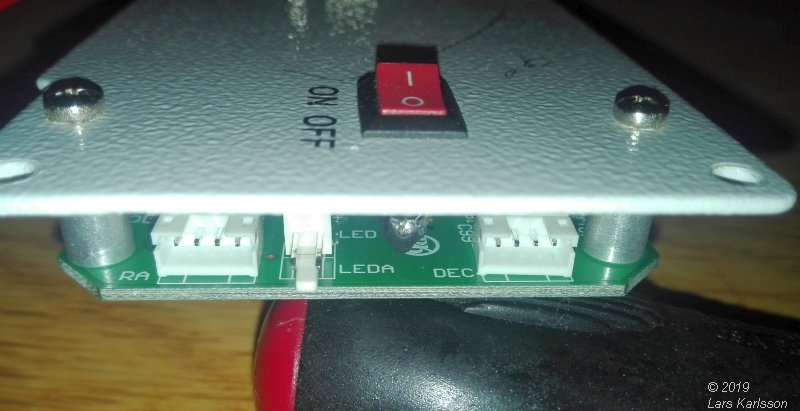
At the short side the connecters, RA, polar telescope LED and DEC. |
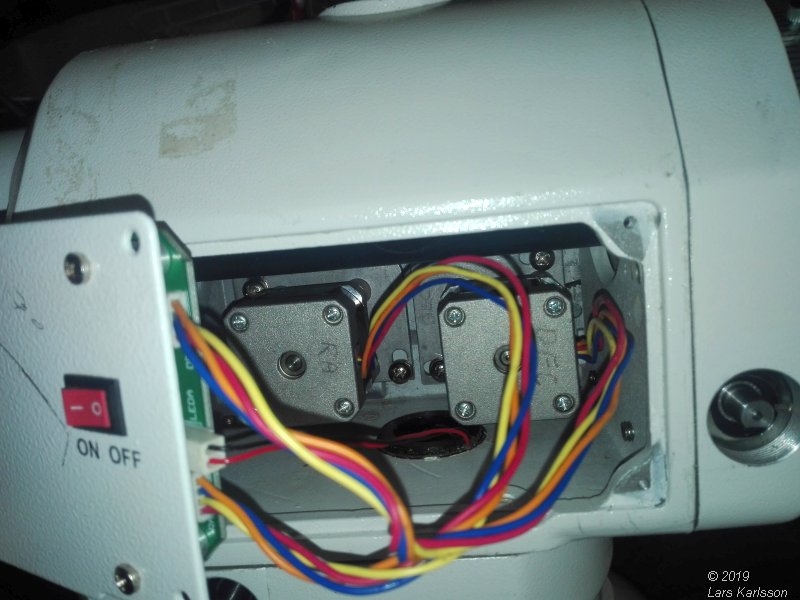
Install the cables, don't mix them! The RA and the DEC connectors are of the same type. 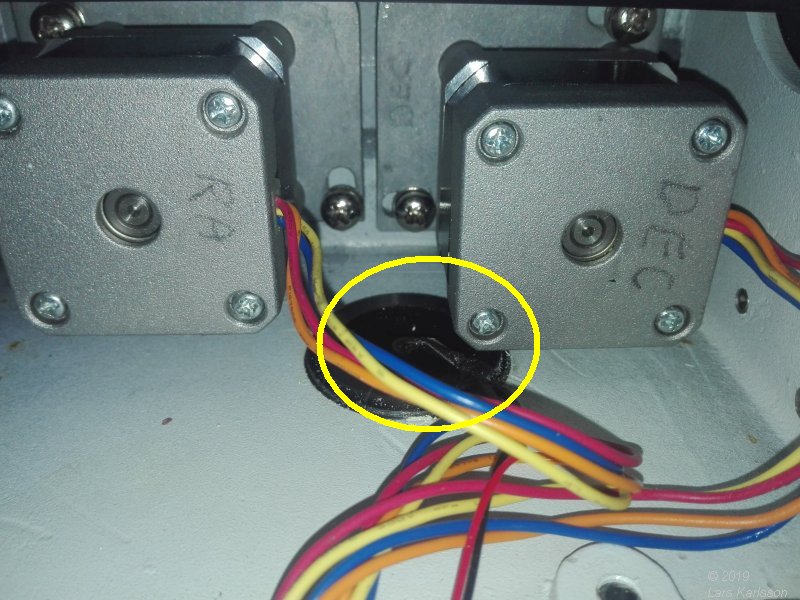
Don't let the cables block the polar scope's opening. 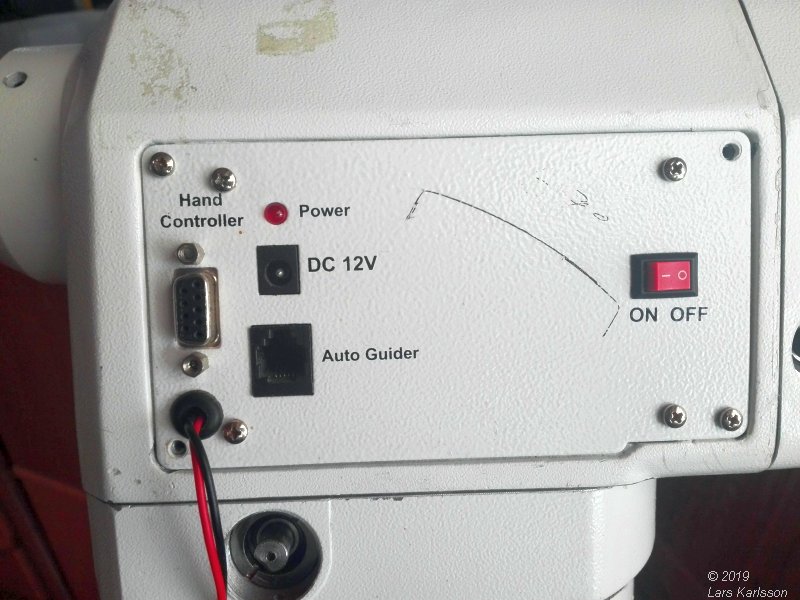
Be careful when installing the panel to not squeeze any cable. Power up: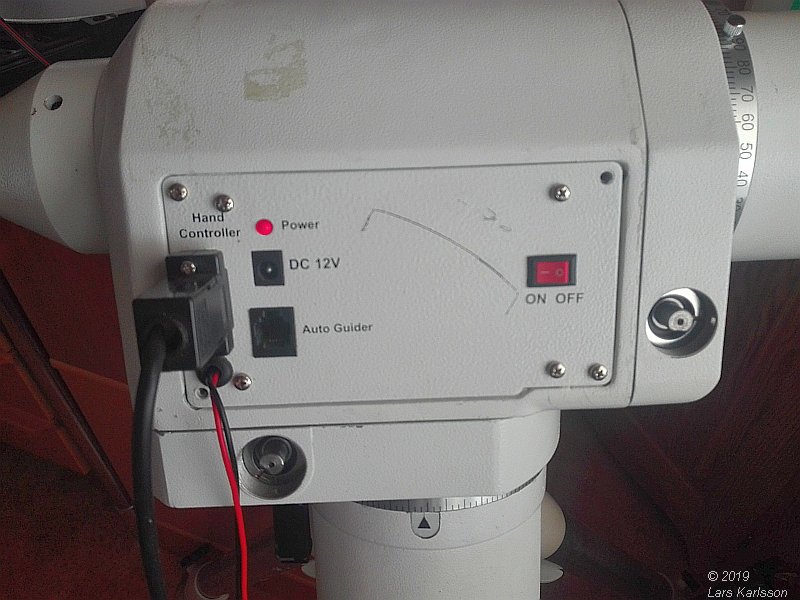
Connect the serial cable with its 9 pin D-sub connector from the computer and power up. Test DEC axis, 90 degree:I do some small jumps with the RA and the DEC motor to verify that they work as they should. A bit more nosier than I thought, comes from the motor itself. I had to adjust the RA timing belt's tension, otherwise everything looks okay. 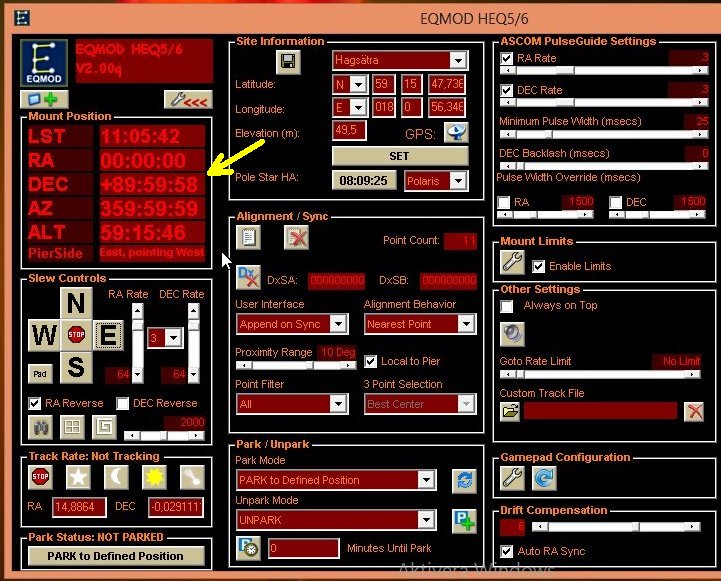
Set the DEC position to 90 degree or as close I can come. 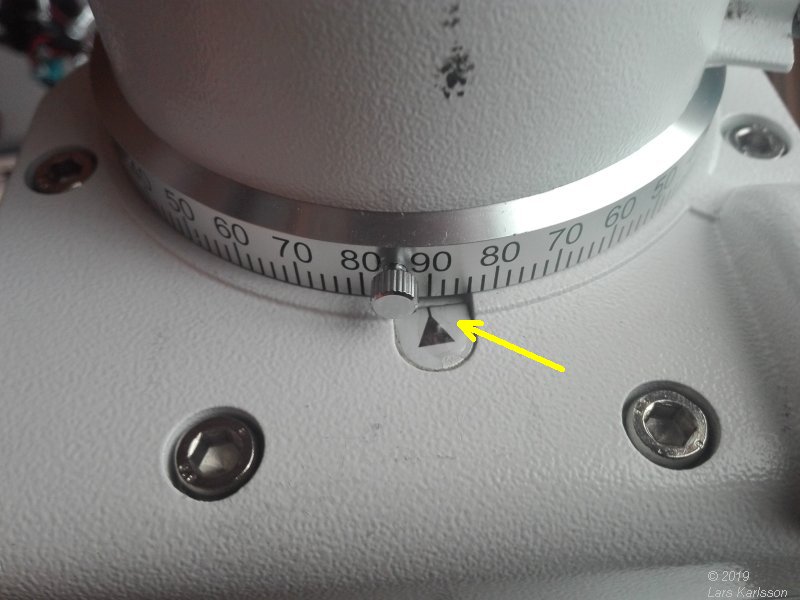
Prepare for an 90 degree revolution on the DEC axis. Set the scale to 90 degree and locked it. 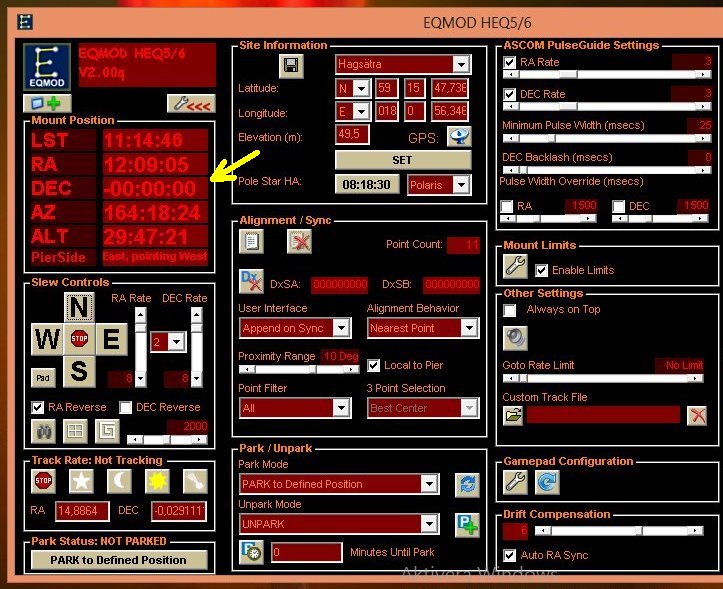
Move the DEC axis to 0 degree position. 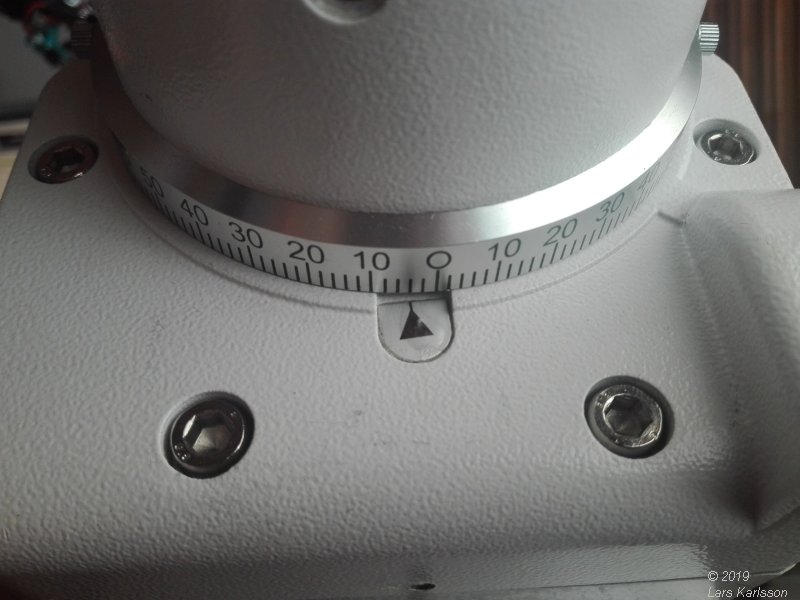
Check on the scale where the DEC axis stop, at 4 degrees, not at zero as it should. That was expected because the gear box doesn't have the standard gear ratio anymore. |
Setup EQMOD for a custom gear ratio: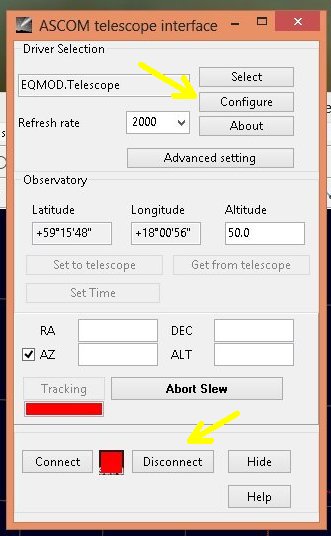
I use CdC, Cartes du Ceil to control the mount through EQMOD. From CdC I can start the setup interface. Click on configure. Note the mount shall be disconnected. 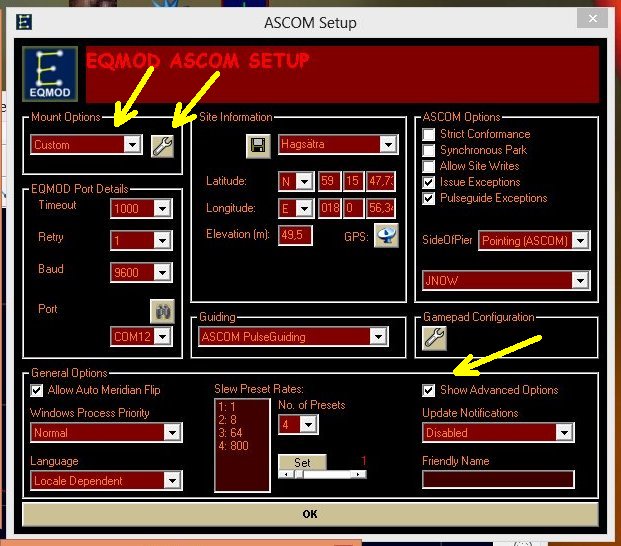
Set "Show Advanced Options" and choose Custom from Mount options. Click the tool. 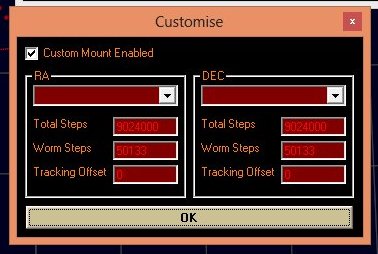
This is the menu where the gear ratio is setup. Adjusting DEC axis:We need some data to put in, this is an overview of the standard data: I need the figures for Total steps and Worm gear steps. All EQ6 mounts has a worm gear of 180:1. The stepper motors has 200 steps per revolution and 64-bit micro steps. I have prepared a table to let it be easier to compare:
As you see, no decimal, it's exact ! 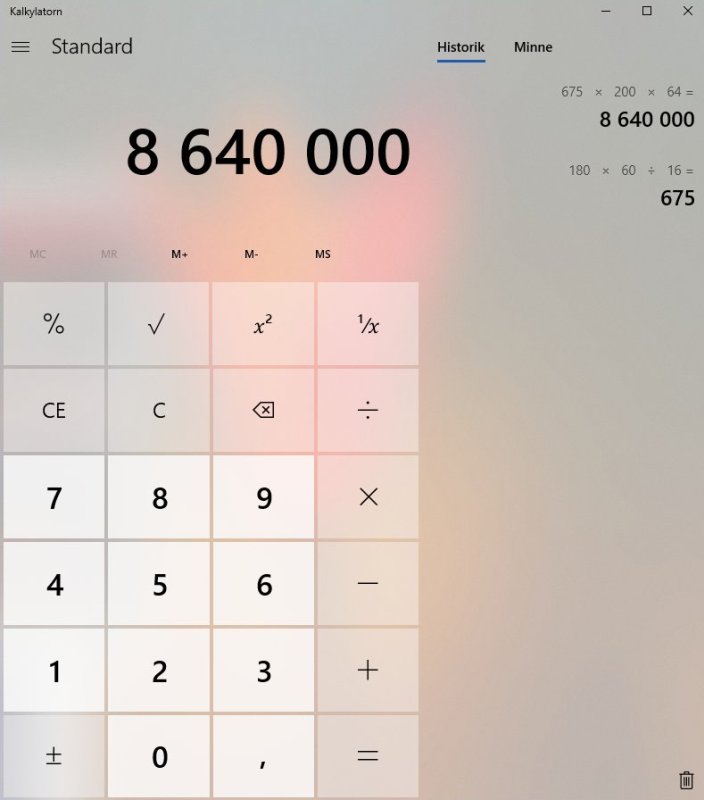
Here you can follow how I did the calculation of total micro steps per revolution. 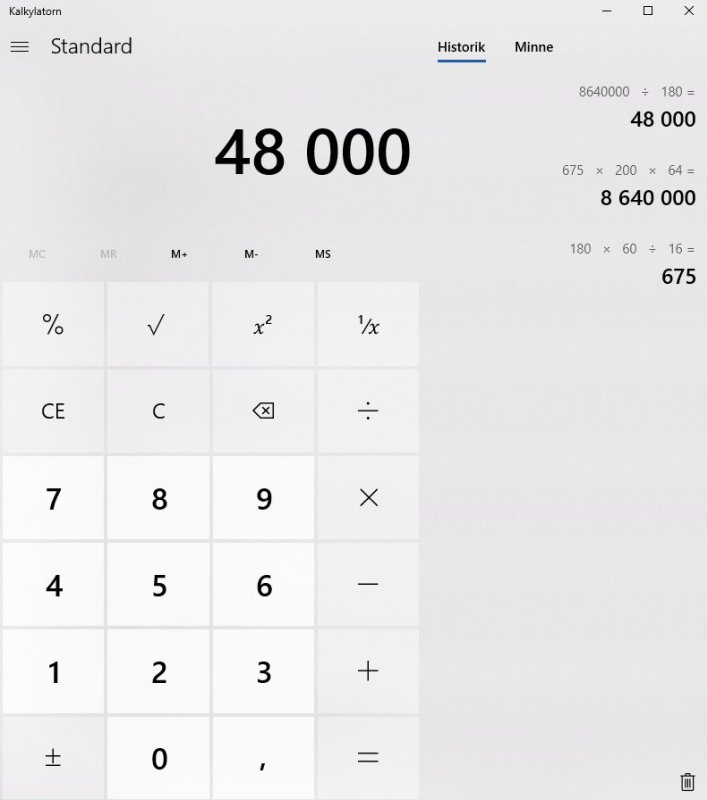
To get the micro steps per worm gear revolution, just divide by 180. 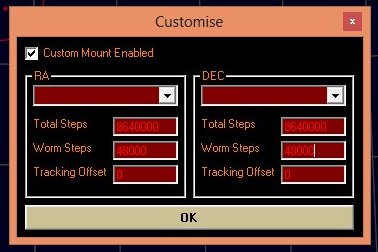
Setup with these new figures. Testing new setup: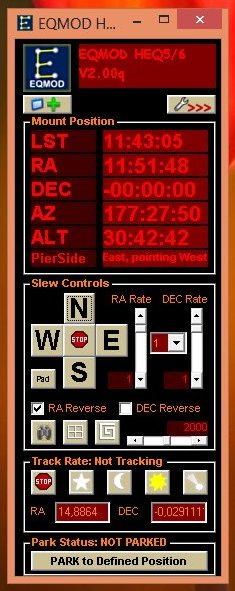
This is the first time I setup a different gear ratio. Do a new test of the position, move the DEC axis to 0 degree. 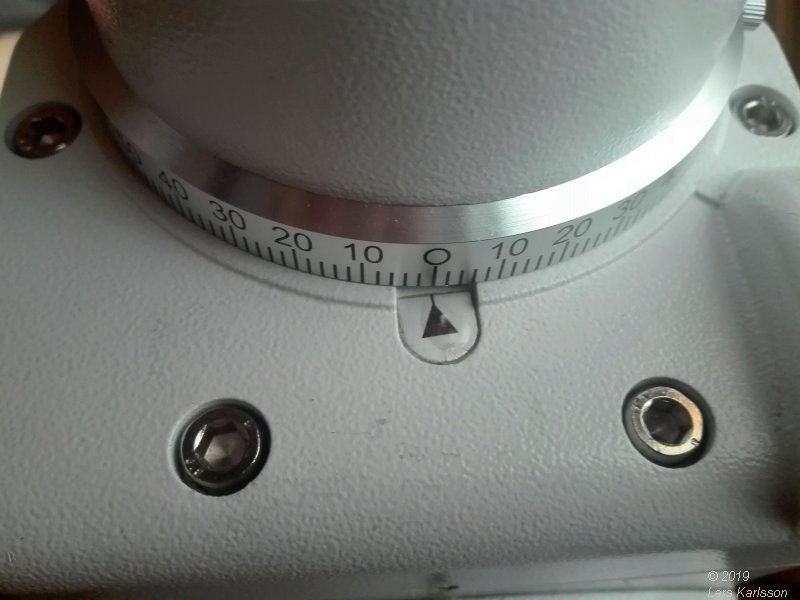
Set the DEC scale to 0 degree and lock. |
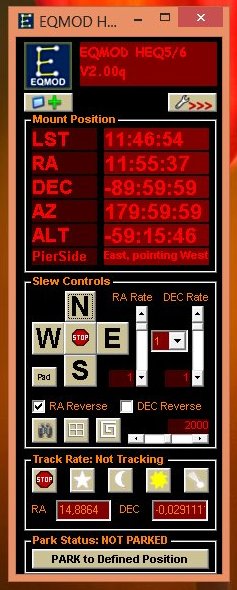
Run the DEC axis to as close as possible to +/- 90 degree. 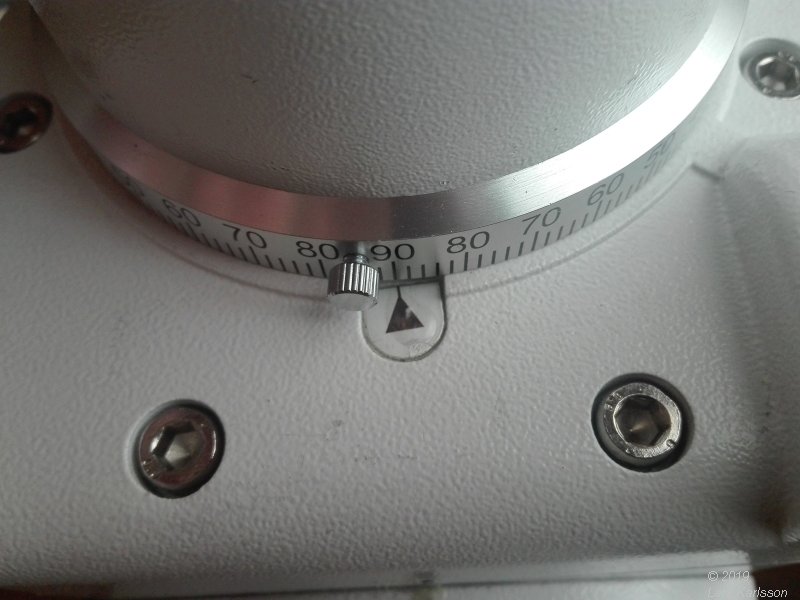
Read the DEC scale and check, yes correct. 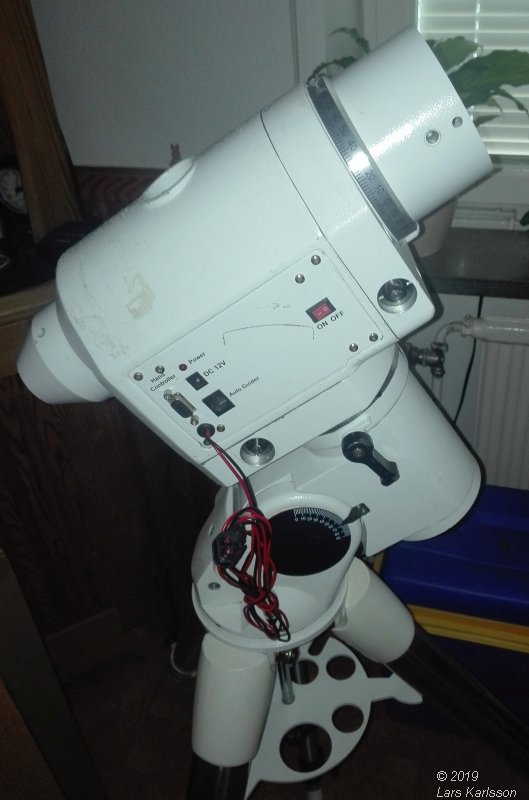
Not much left to do now for a first outdoor test. I have noted some noises that maybe can cause a problem later. When moving the axis all the revolution round it in some places makes some oscillation sound, it sounds like the timing belt act as a string. But I don't think it have too high tension, more like the belt isn't perfect centered on the pulleys. Sorry to know there are so difficult to see what's going on inside. Maybe the timing belt will rip off later, but now I must do some outdoor test before I take it apart again, if necessary. I could of course have made a new panel and mount the stepper motors on, let them have the pulleys on outside instead, much better overview.
Update:
|
|