|
Advertisement / Annons: |
My astronomy project:
|
Contents:
Related projects:
Note: |
9, Test installing timing belts and motors:RA and DEC motor brackets: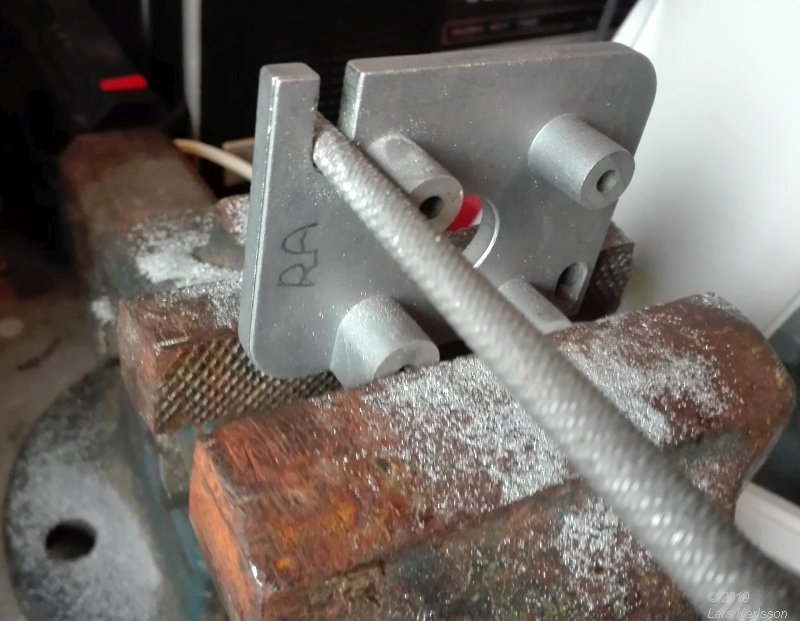
Before I can start to install the timing belts I must do some small modifications on the stepper motor brackets. I must prolong the holes to let the adjustment of the tension of the timing belt to have a wider range. Timing belt holes: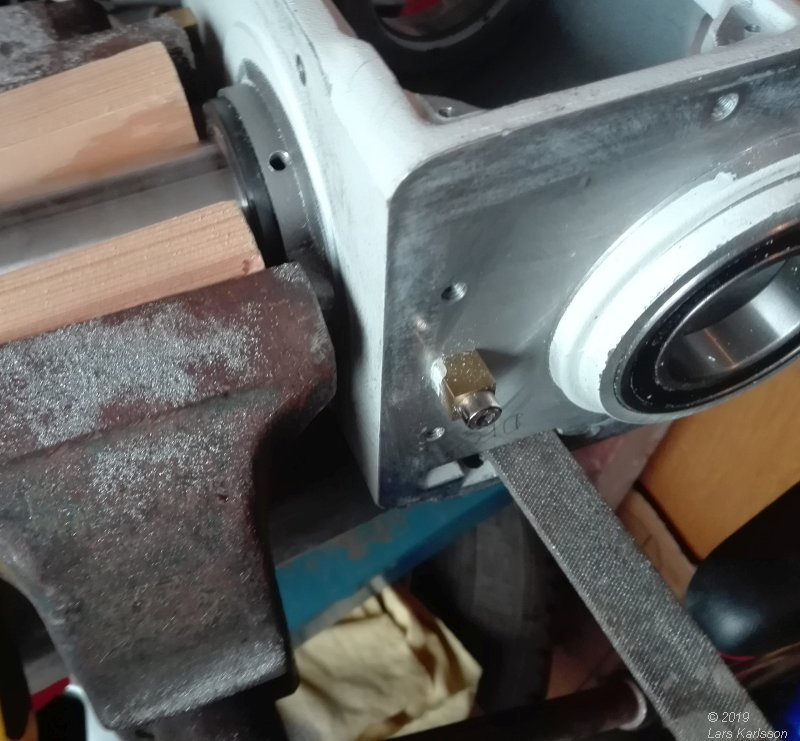
The mount chassis has to be modified too. A bigger opening let me move the timing belt and pulley. I need to do it to not have the belt hit the bracket that holds the motor, it's very narrow space here. 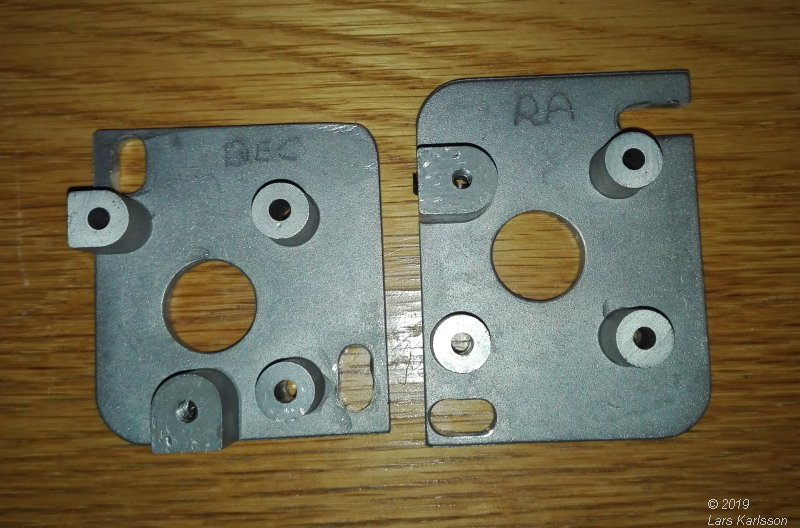
After the modification had been done it looks like this, but is it enough ? I have to test assembling them one more time. 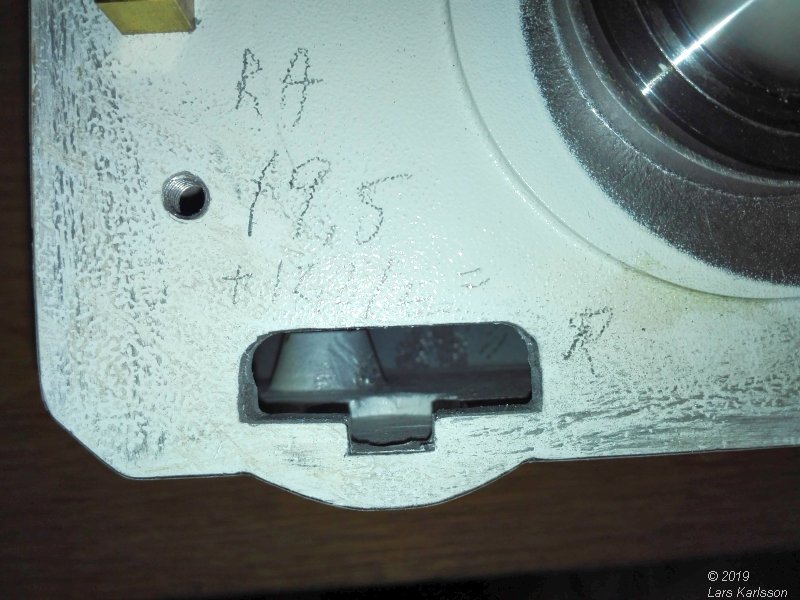
RA belt hole, now 3 mm higher. 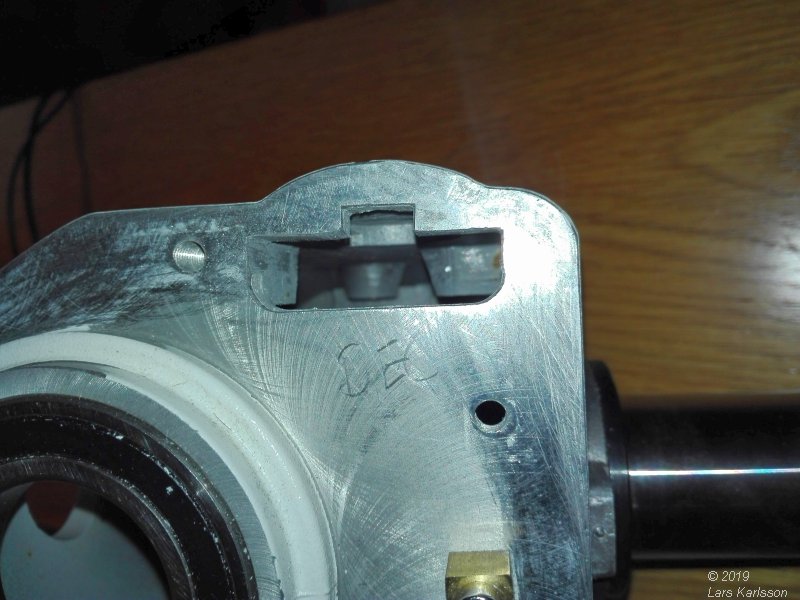
DEC timing belt hole, now 3 mm higher. RA bracket: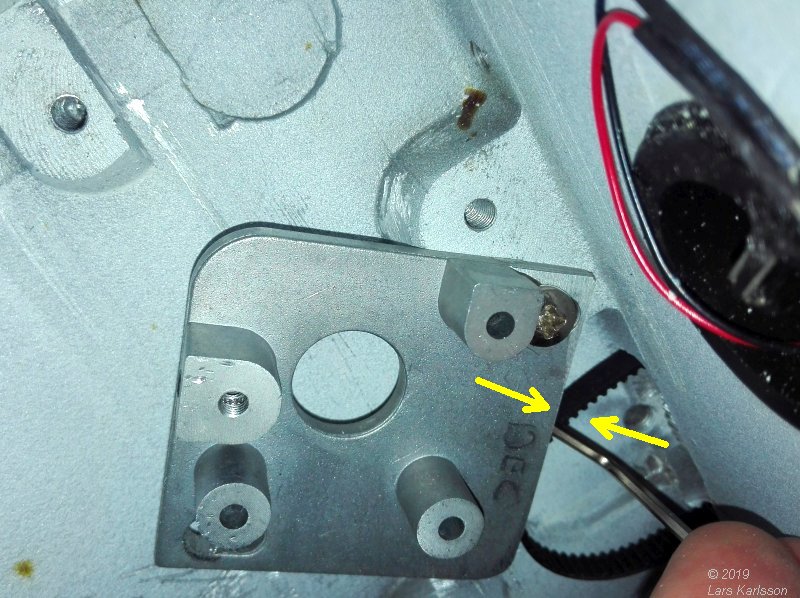
I need to find the distance between the timing belt and the motor bracket. I use an Allen key as reference, I found that a 2 mm Allen key slips in between. This is the RA, but I use the smaller DEC bracket when I doing this. 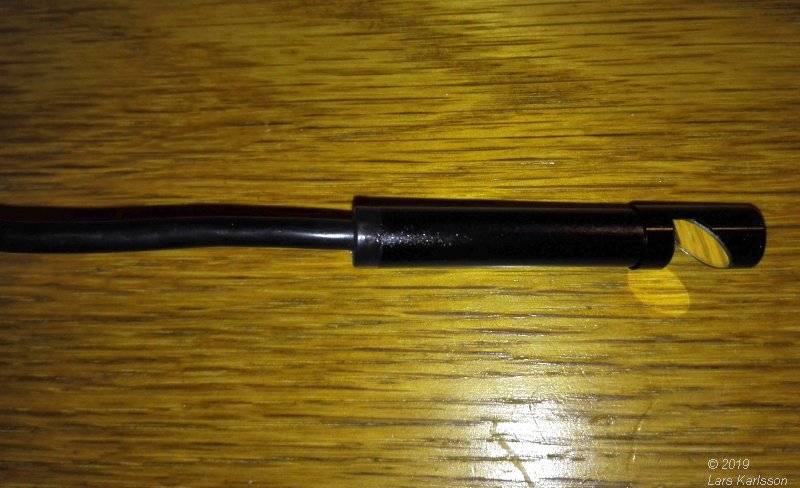
I really want to see how it looks behind. With an digital Endoscope (camera) I can do it. 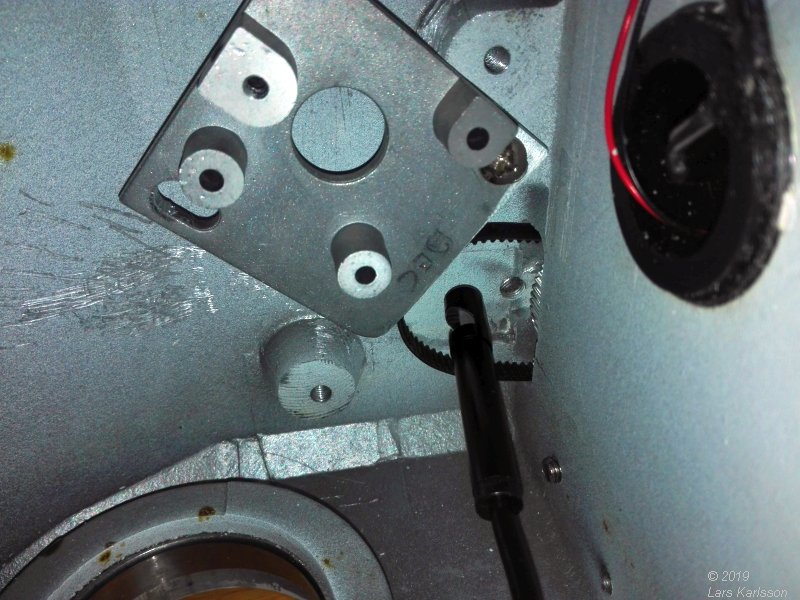
With a 90 degree mirror put on I can come behind and have a look. |
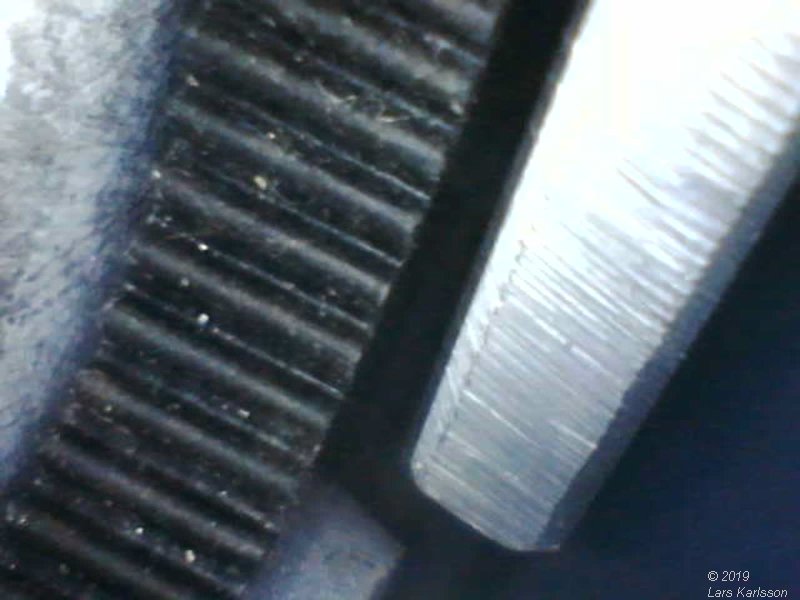
Looks about what I expect it. The width between timing belt and motor bracket about 2 mm. Adjusting RA pulley: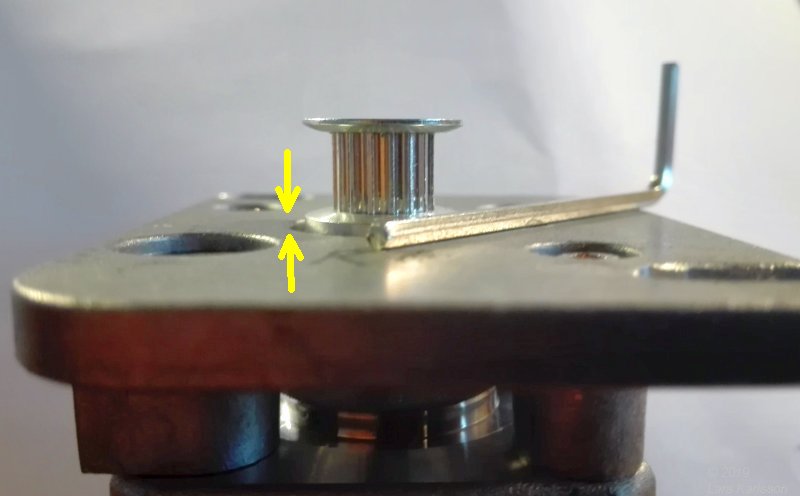
I adjust the pulley to be 2 mm above the bracket. I need to dismantle the bracket from the stepper motor to reach the locking screws. 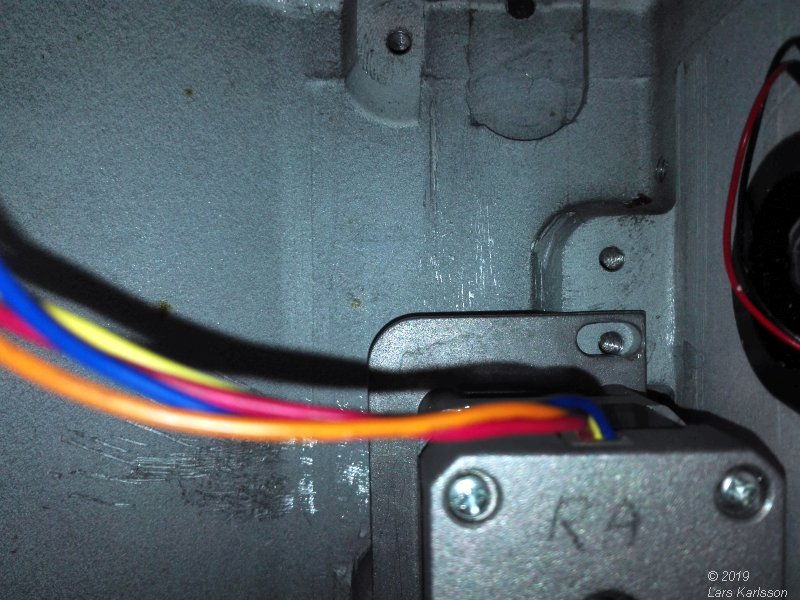
Test mount the motor. Now I can see that the adjusting points width are enough and give some margin. 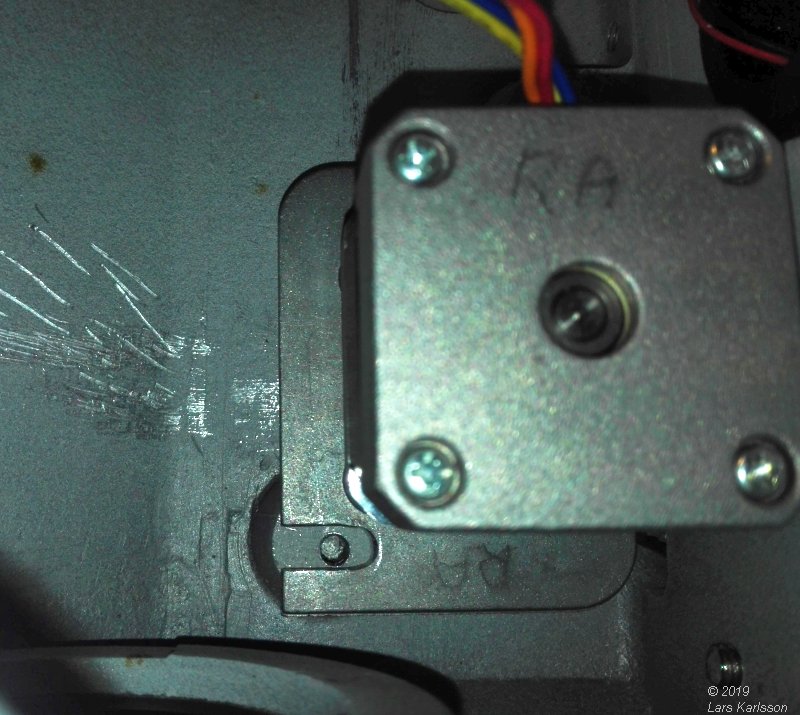
The other mounting hole fit as well. 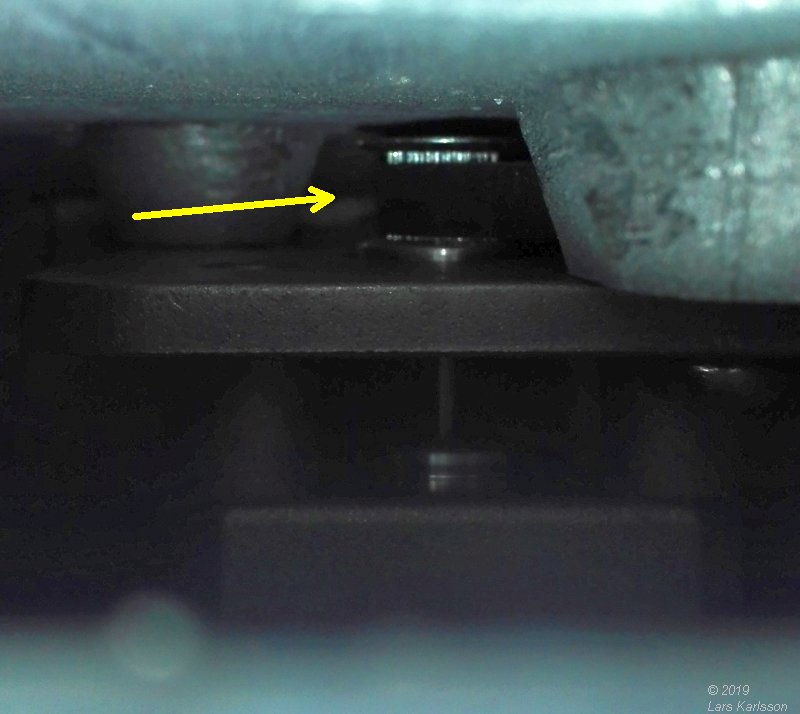
Through the DEC timing belt hole I can see the timing belt and pulley deep down there. 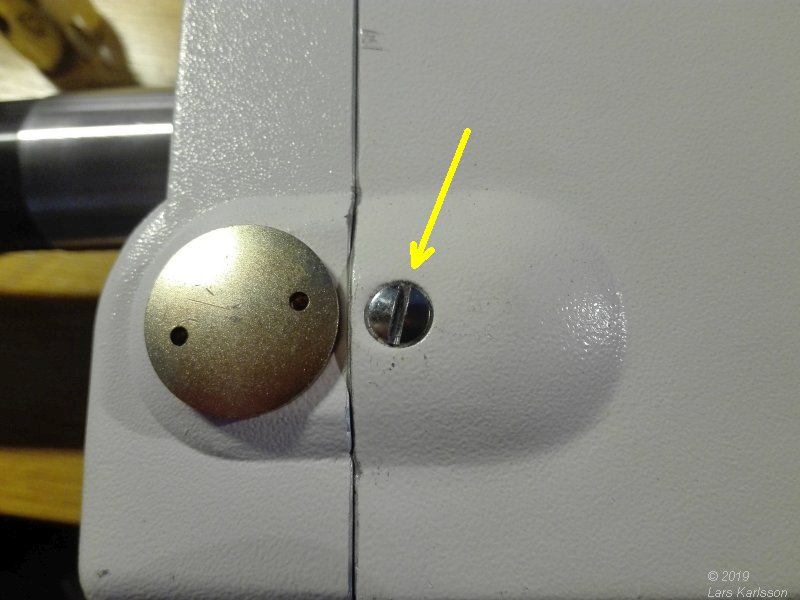
Later I must have some procedure to find correct tension of the timing belt. One solution maybe to use this opening. But it's very small, if I could I had made a much bigger hole something like 20 mm. 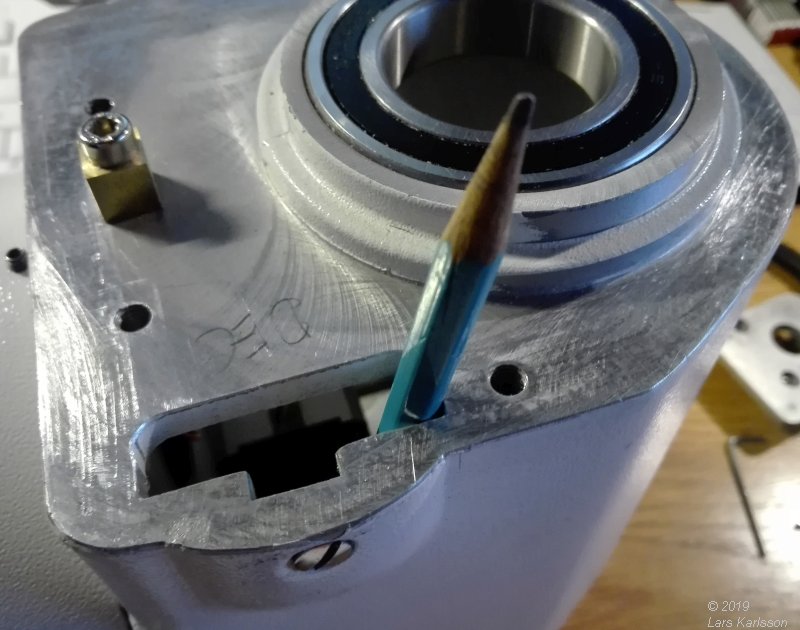
For the moment when I only has the RA motor mounted I can use the free DEC opening. Just press a pencil against the timing belt to get a felling of the tension. DEC bracket: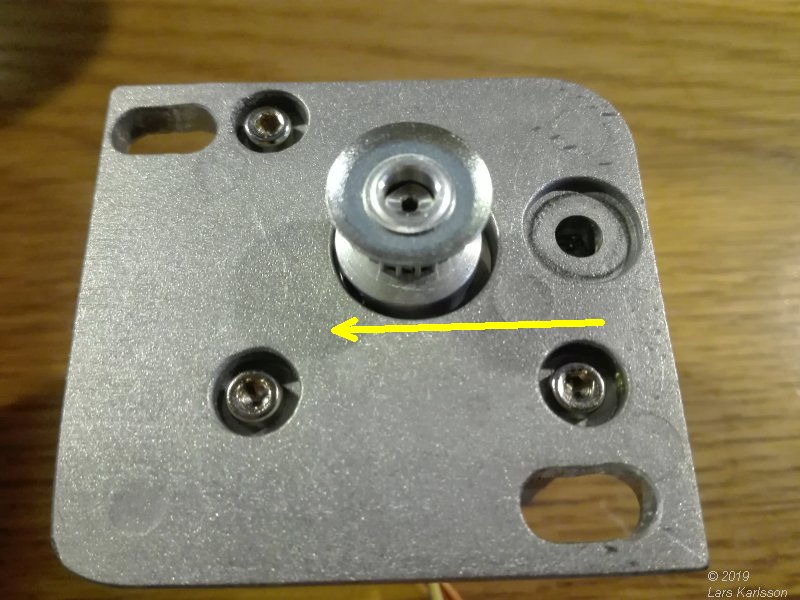
When I mounted the RA bracket I pushed it all the way until the screw holes set stop. Just to gain some extra mm of travel when adjusting the timing belt. I do the same here on the DEC. |
Adjusting DEC pulley: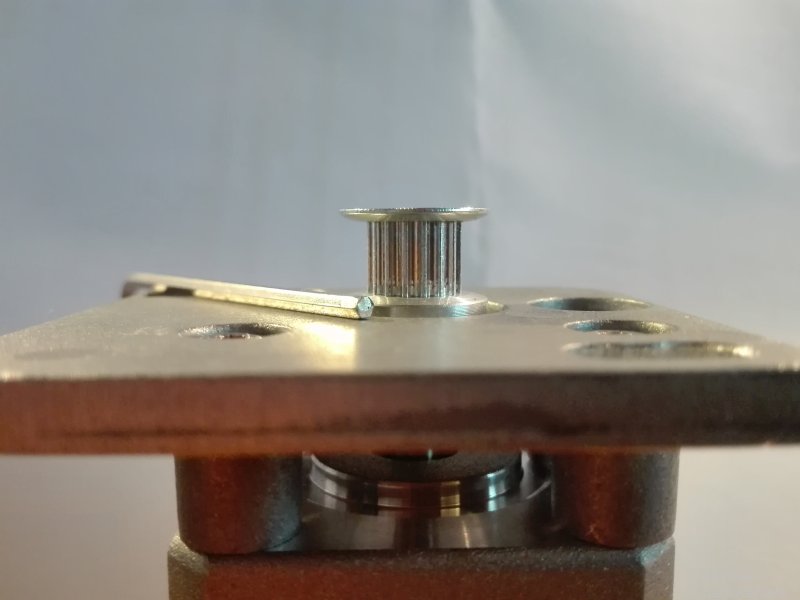
Adjusting the DEC pulley to the same 2 mm above the bracket. 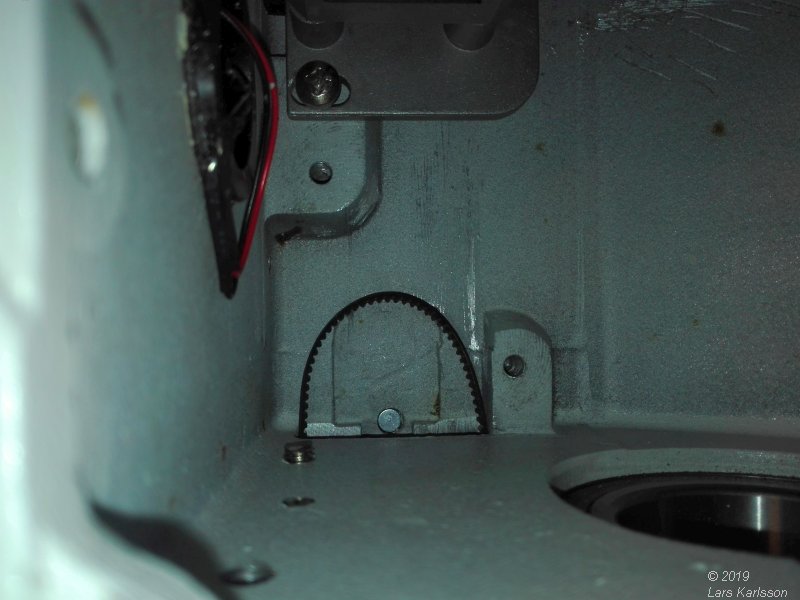
The DEC timing belt protruding into the chassis. 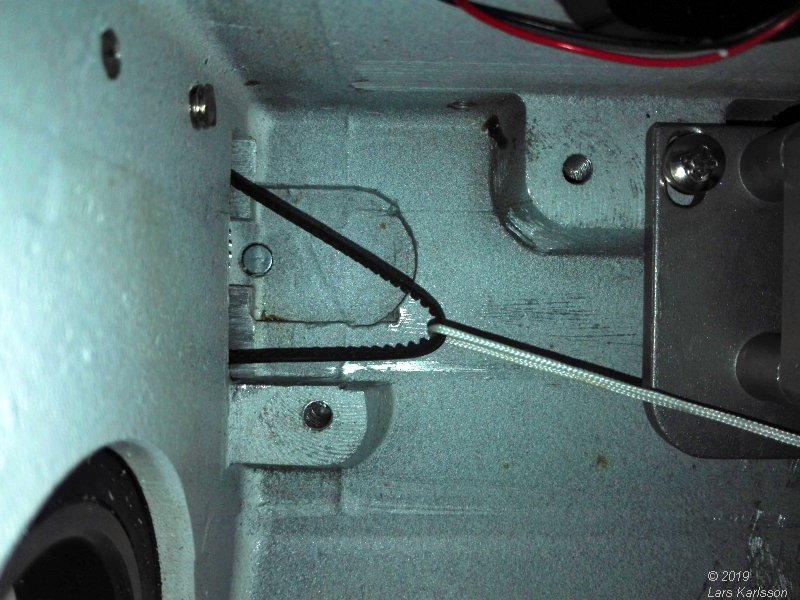
It wasn't as easy as the RA, I need a small rope to stretch out the timing belt before I push in the motor and its pulley. 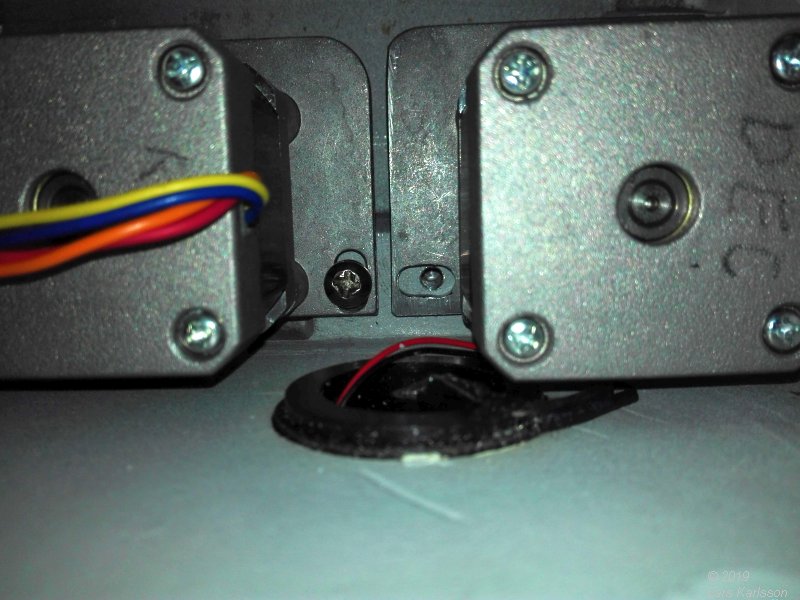
Even the DEC motor came in correct position, what a golden length of timing belts I bought, 184 mm, but even better with 178 mm but maybe it had caused other problems. 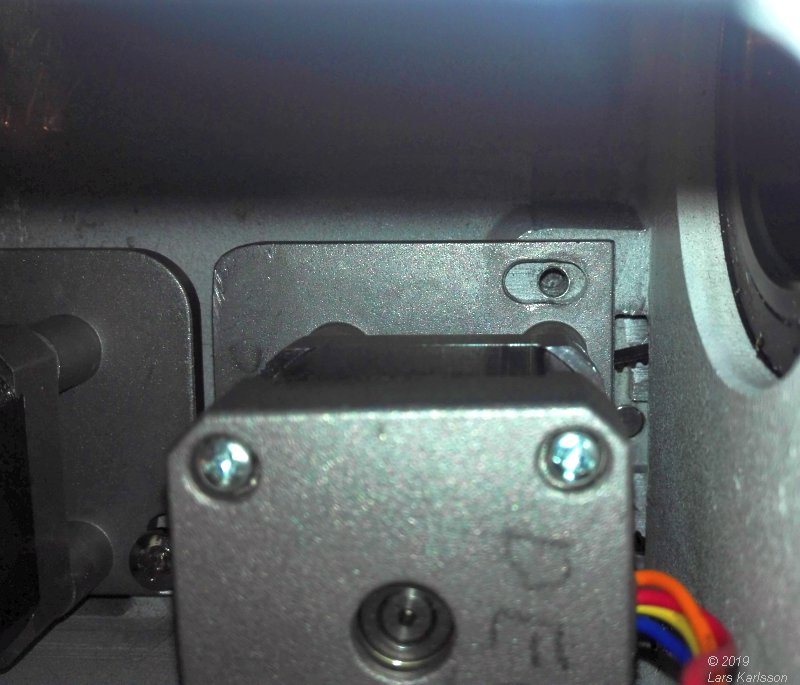
The other DEC mounting hole is also correct. Now I know everything fit together. I now take everything apart and put on grease.
|
|