|
Advertisement / Annons: |
My astronomy project:
|
Contents:
Related projects:
Note: |
6, Lathe of 60 teeth pulley:My idea was to buy a small desktop lathe, but times goes on and I couldn't find any for sale. A friend to me have a lathe that I kindly could use, better for me if I do it myself then let some other do it. The construction is a bit floating and I change my mind when I doing the work and I find difficulties. 60 teeth pulley: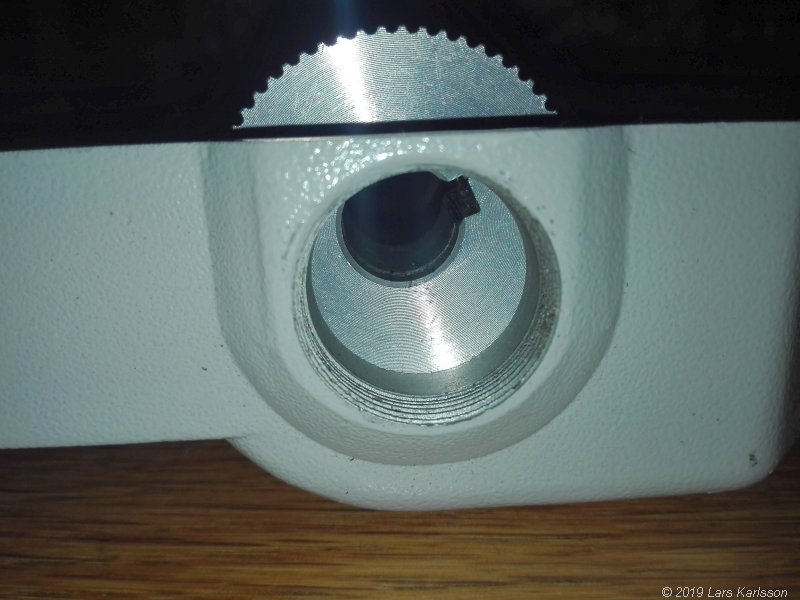
I searched for pulleys in correct dimension but there were no one to find. Then I priority the hole size for the shaft and teeth number. Other things I can lathe to correct dimensions. This is how the pulley looked from the beginning. Too wide hub and too big diameter of the hub. Also the width of the teeth was too big. Teeth width:To begin the work I got some help from the lathe owner to choose the correct tools to use. 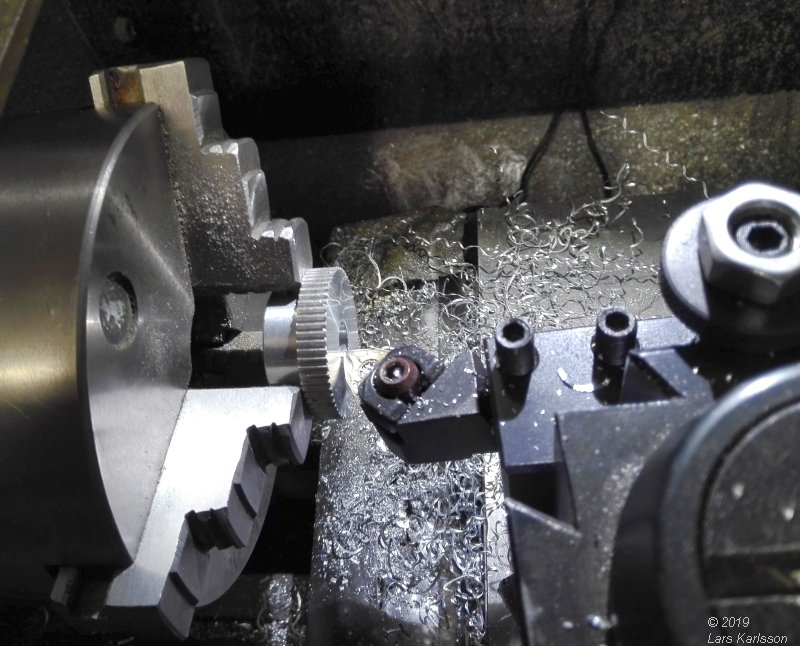
First I lathe down the width of the teeth, from 10 mm to 7 mm. This was the easiest machining of the pulley to do. 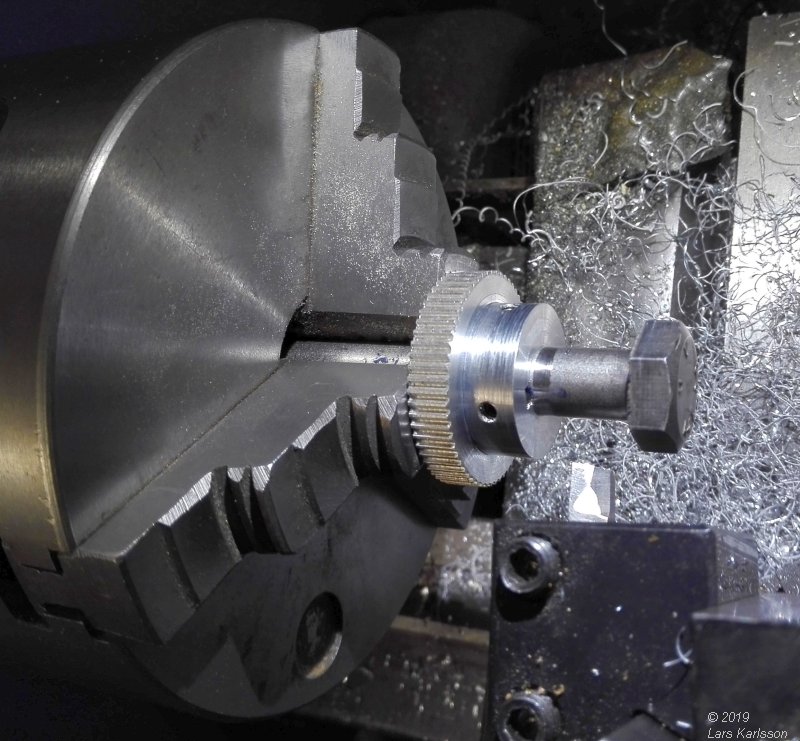
To lathe down the hub on the other side I have to make a holder. I used a 10 mm bolt and I nailed down two flat surfaces on the bolt's shaft surface where the lock screws tight in. I reduced the hub diameter from 29 mm to 22.5 mm. This holder does not center the pulley perfect, but it's not critical. Then I cut the length of the hub by one mm at this side. Later I noted that this was a mistake, I should have shortened it by 3 mm, but I didn't want lathe away more material then necessary. It's easy to correct later, better to take it slowly. Comparing the timing pulley with the spur gear:
As you see the new timing pulley is much wider then the old spur gear. This make the align of the timing pulley more critical to line up with the opening in the chassis correct. 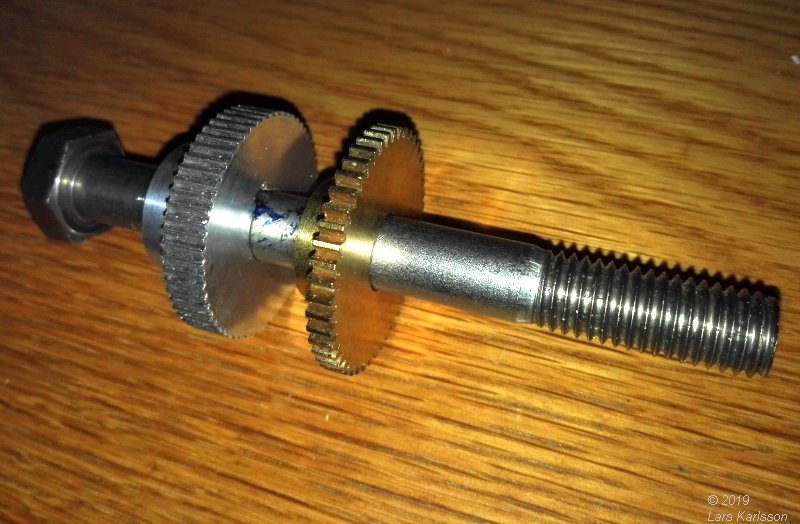
I must later clean the teeth from the machining very carefully, otherwise I will not get a smooth rotation of the pulley and the timing belt will be destroyed. 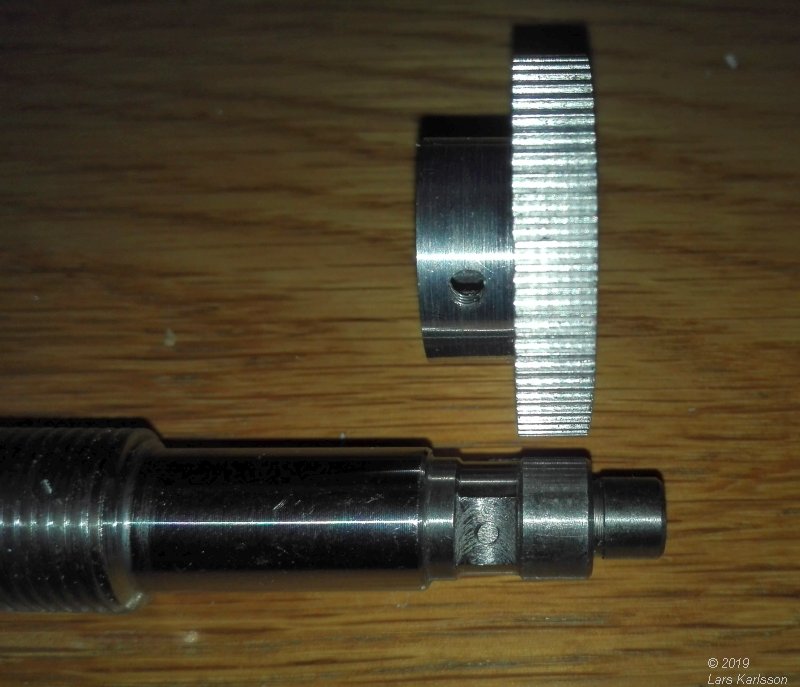
Maximum total width of the pulley is 16 mm. After I finished this work and mounted the pulley in the frame I found that this was to much. 14 mm had been correct, I must have some side play of the timing pulley to get it line up correct. Worm drive setup: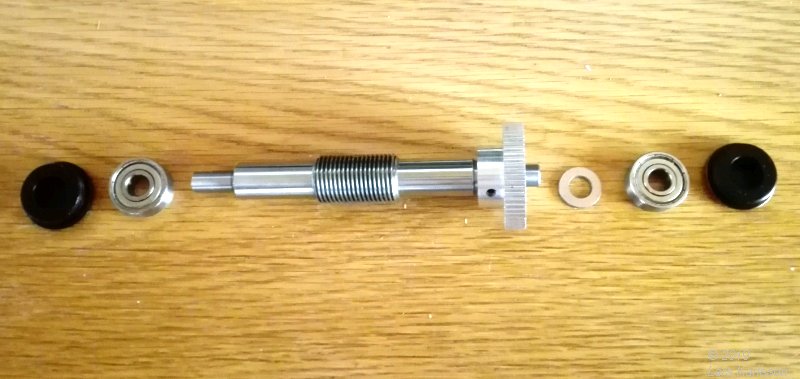
All the parts that build the worm screw. The third item from the right is a 1.5 mm washer, I need it to get enough space between the pulley and the chassis wall, only when doing test. Mounting the worm drive in the lid: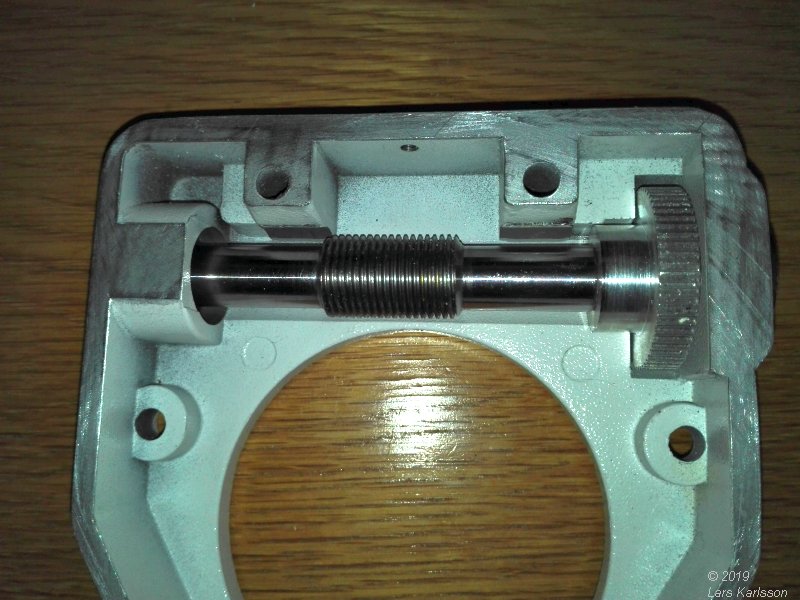
With the timing pulley mounted and the worm drive mounted in the lid I could do a test if it will fit. As you see the shaft's worm drive is not centered against the opening. That's because I have mounted a washer of 1.5 mm to the right of the pulley. It will be correct later when I have shortened the hub of the timing pulley. |
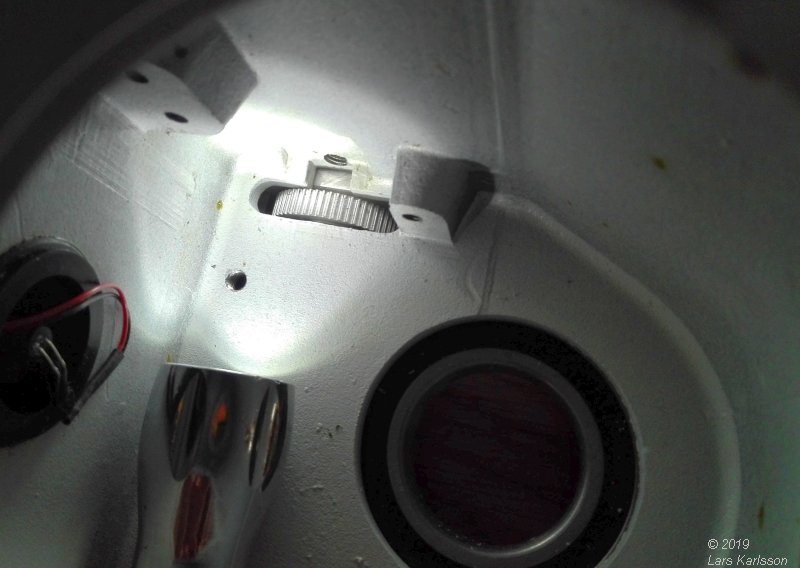
This is the second attempt to get it to fit, I needed to add the 1.5 mm washer I mentioned above to get the timing pulley to fit in the opening. Today's work finished and I just have to clean up all the mess I caused in my friends workshop. It worked out very well, but there are some modifications I must do. When I mounted the washer the shaft also moved 1.5 mm and then the roller bearing and worm drive doesn't fit correct. I can reduce the hub width by 2 mm and correct that. But then another problem arise, the lock screws of the timing pulley will not line up with the axis, I have to drill two new holes more closer to the timing pulleys teeth. Before I do any more thing I must think about this so I don't do any mistake. Among other things, am I doing this totally wrong ?
I have a little hard to believe that 3D printed pulleys can work. There is no heavy load in this case but how about precision? Two years later, if I had done this today I had 3D-printed the big timing gear and get it exactly with the dimension I need and a correct gear ratio too.
|
|