|
Advertisement / Annons: |
My astronomy project:
|
Contents:
Related projects:
Note: |
10, Installing RA timing belt and motor:Put on the grease:
This is the Lithium grease I bought, not white as usual. RA shaft grease: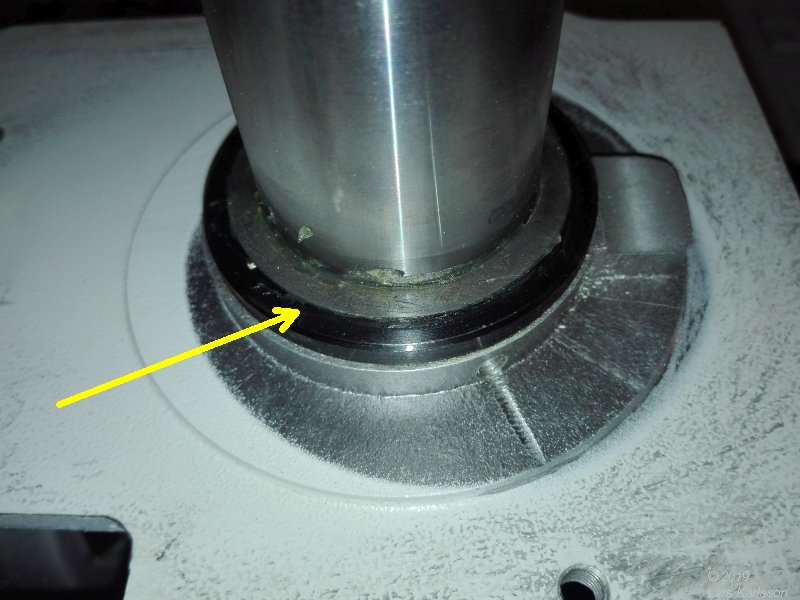
I put grease on the shims, RA shaft. Clean the surfaces very carefully before. 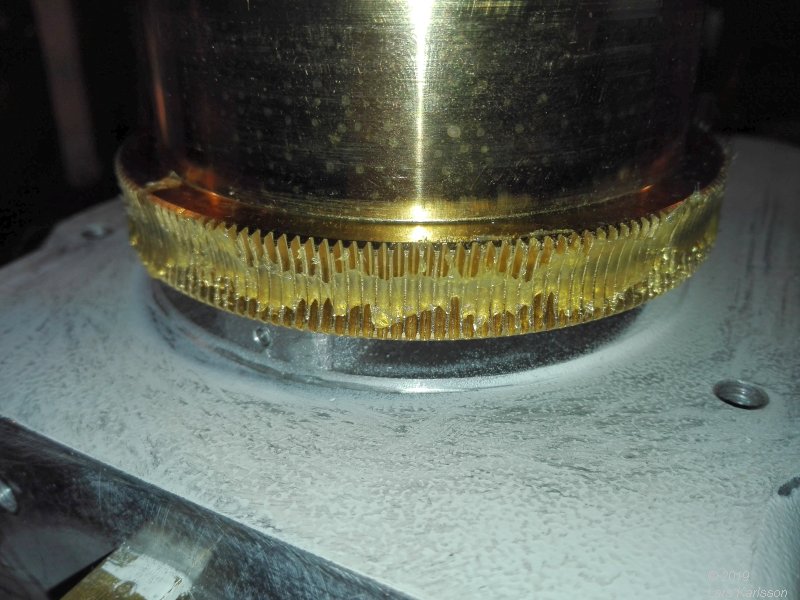
Grease on the worm gear. I cleaned the worm teeth very carefully before. 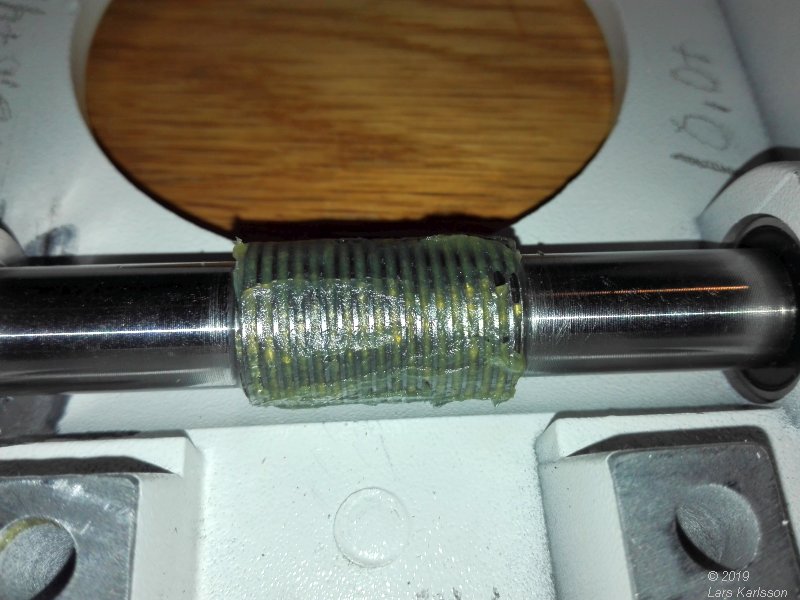
Grease on the worm drive. 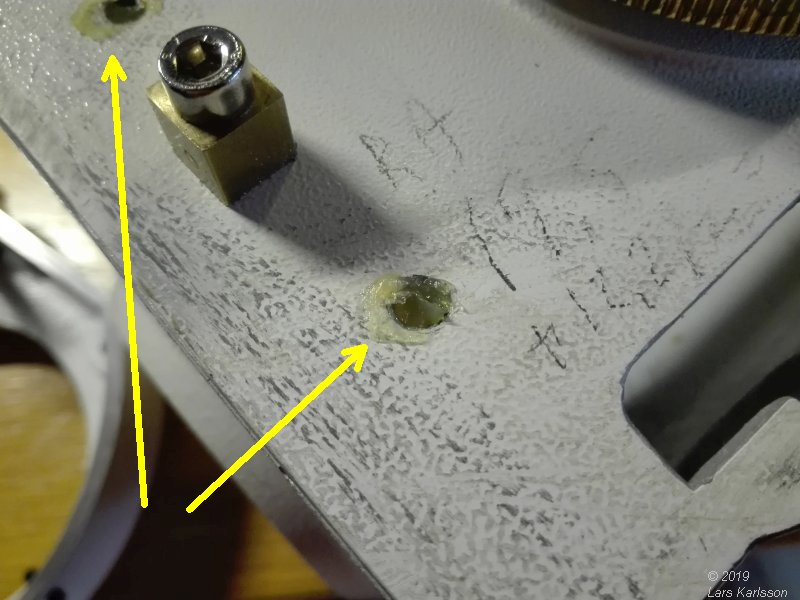
I also dropped grease in the four holes that hold the RA lid. 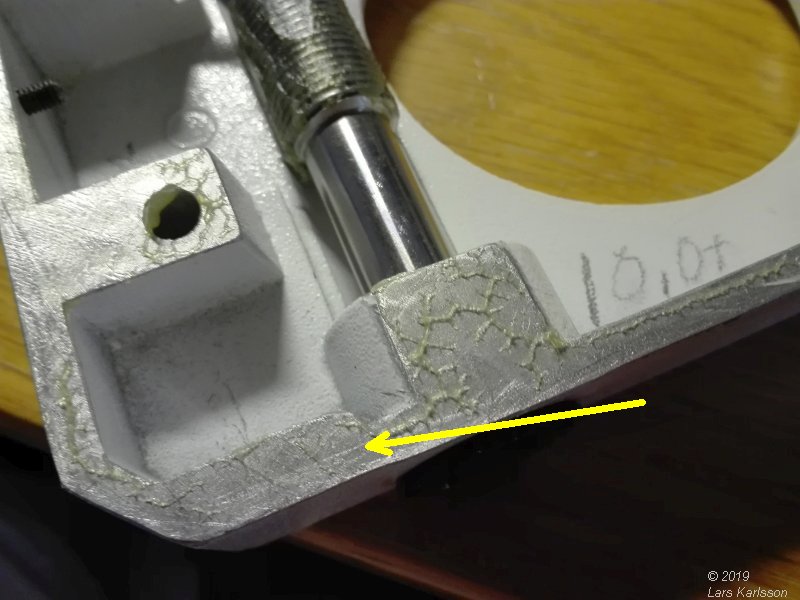
I was not sure if I should have grease at the joint. But at last I put on the grease, it protect the surface from oxidation to some degree and maybe some water protection too. 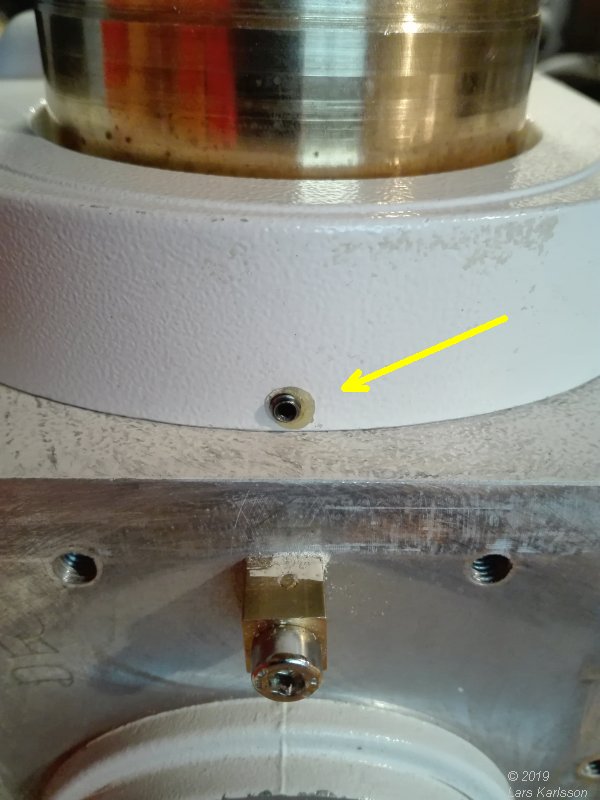
Grease on the adjusting screws for the worm gear, one on the back side too. Installing RA stepping motor: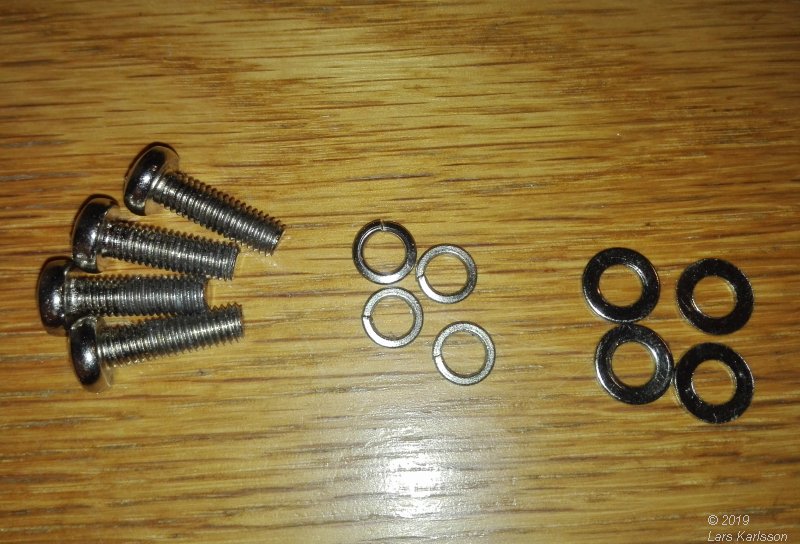
The screws and washers for the bracket that holds the stepper motors. |
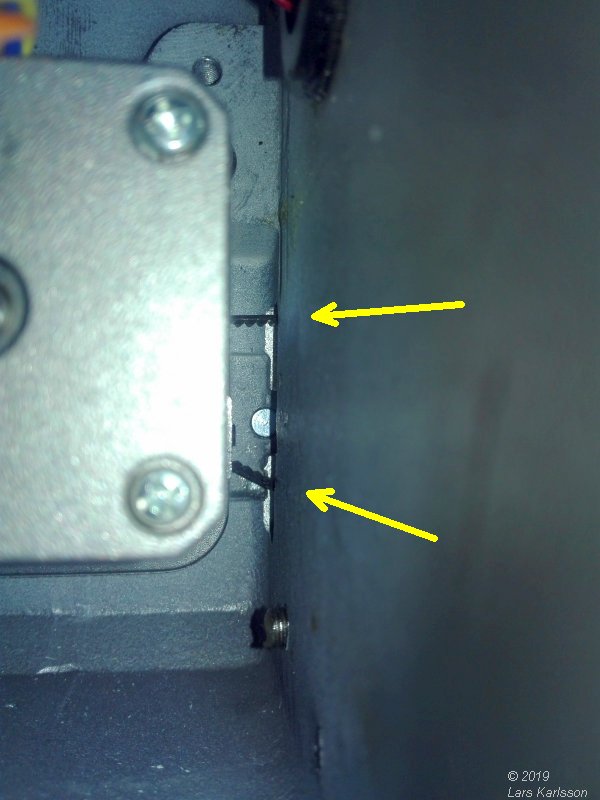
After some work I got the motor in place. The belt drive can be seen through the opening. It will maybe be a problem how to find the correct tension for the timing belt. DEC shaft, grease and shims: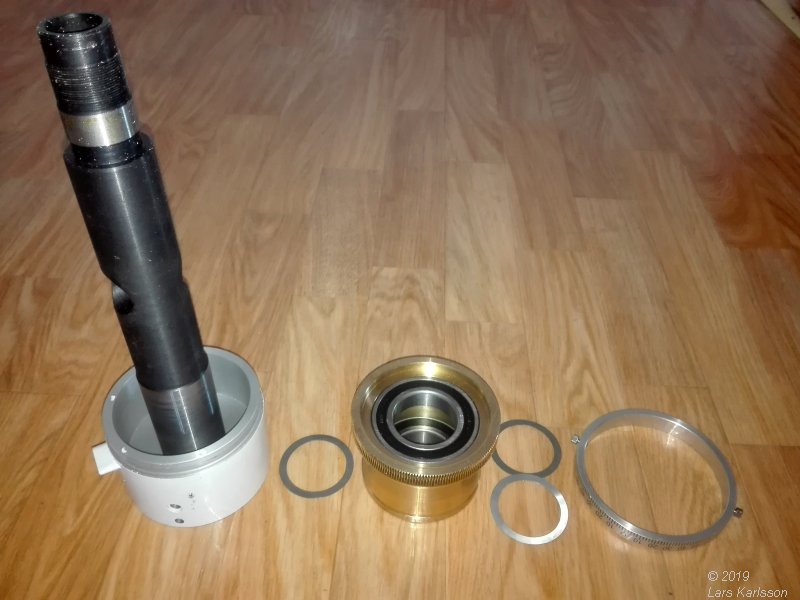
DEC shaft, upper shims, worm gear, lower shims and scale. The DEC shaft is different, must be installed before the DEC motor and belt drive is installed. 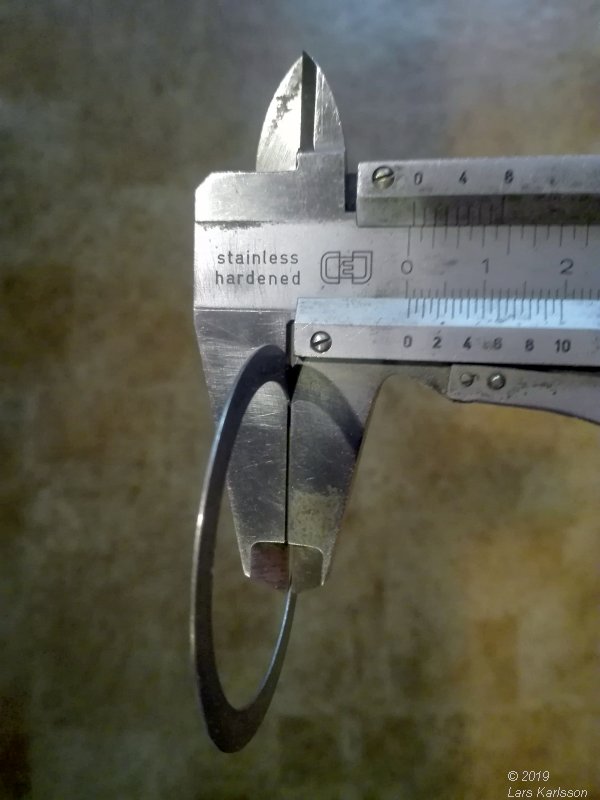
The shims can sometimes "glue" together, especially the thin ones. Check that it's only one of them. Warning, the thin shims can be very sharp, don't cut your fingers ! 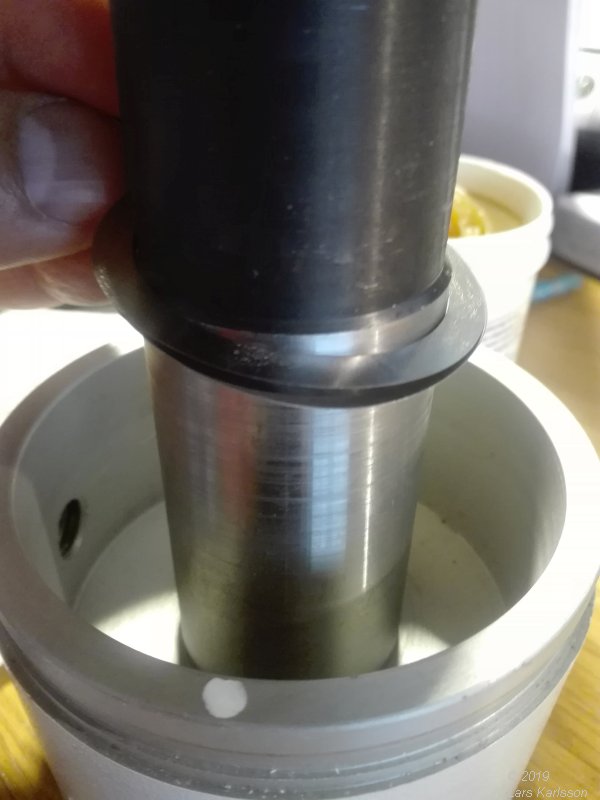
The top shims is placed above the worm gear, tested out with try and error. I started with a 0.5 mm shim but had to add more later. 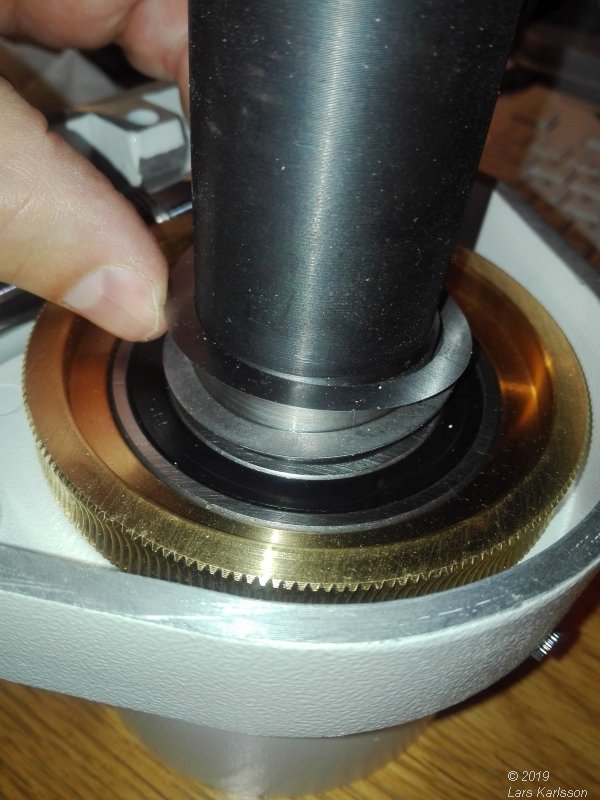
On top of this I place the DEC lid and then the worm gear. Then I place the lower shims, these I already have figure out what size, 0.6 mm, one 0.5 mm and one 0.1 mm. 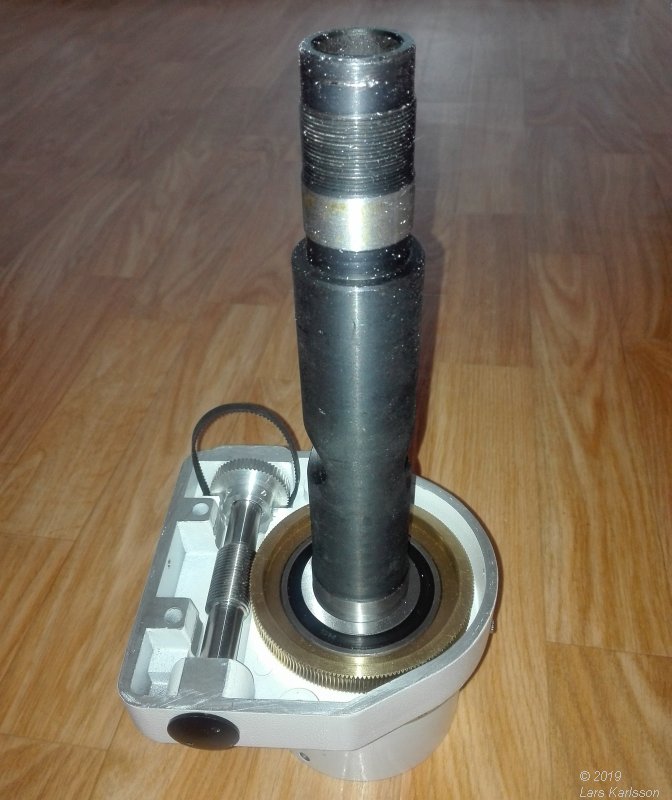
Ready for a first test if I got the shims correct. 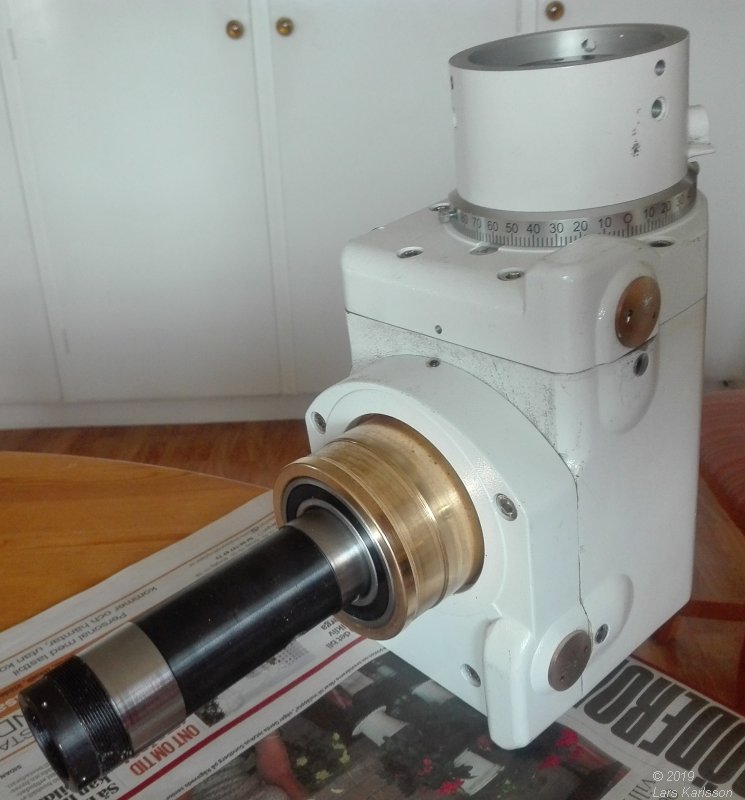
RA and DEC shaft assembled together. 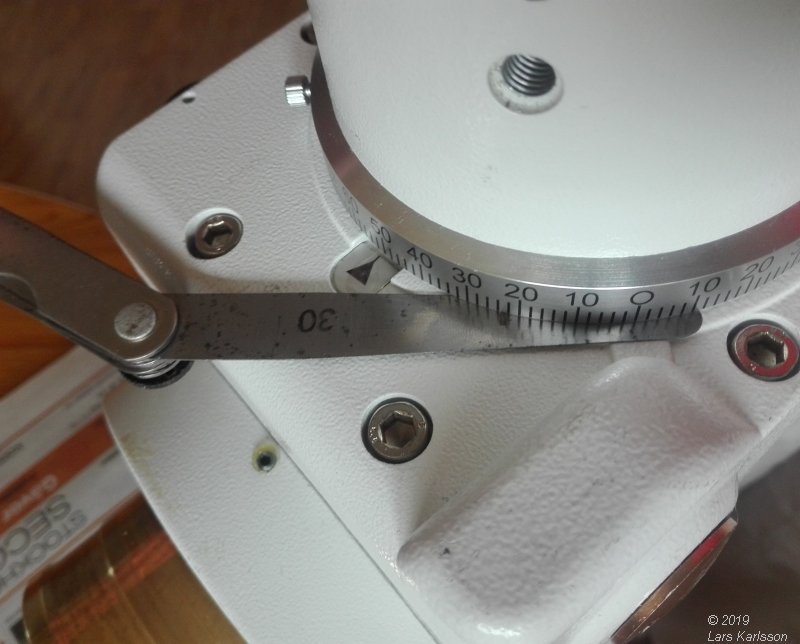
Checking the clearance, 0.3 mm at worst place, little bit too much. But I have not tighten the tapered ball bearing at the other end yet. When I did that the scale was still a bit loose, but when rotating it it got stuck. It's not even, needs more space. DEC shaft, shims try and error: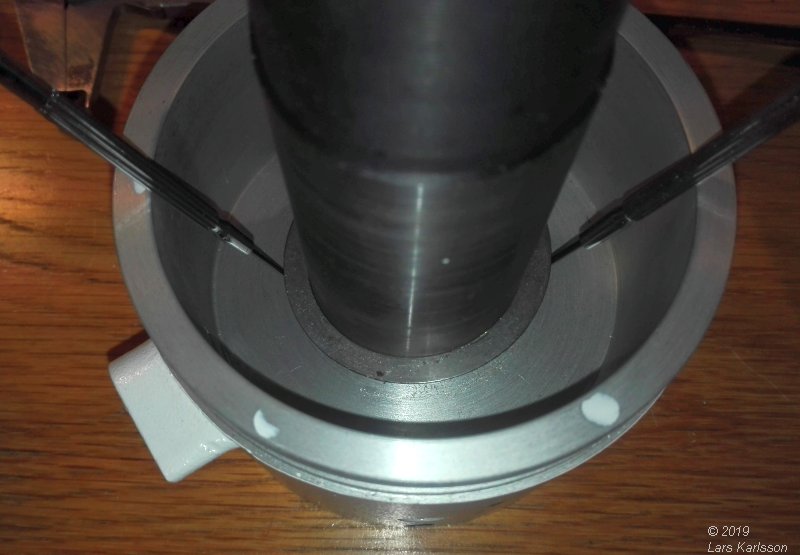
It was not easy to get out the old shims, used two small screw drivers. Maybe magnets had been better. Now I test with 0.3 mm shims (which was wrong). |
DEC coupling lock screw: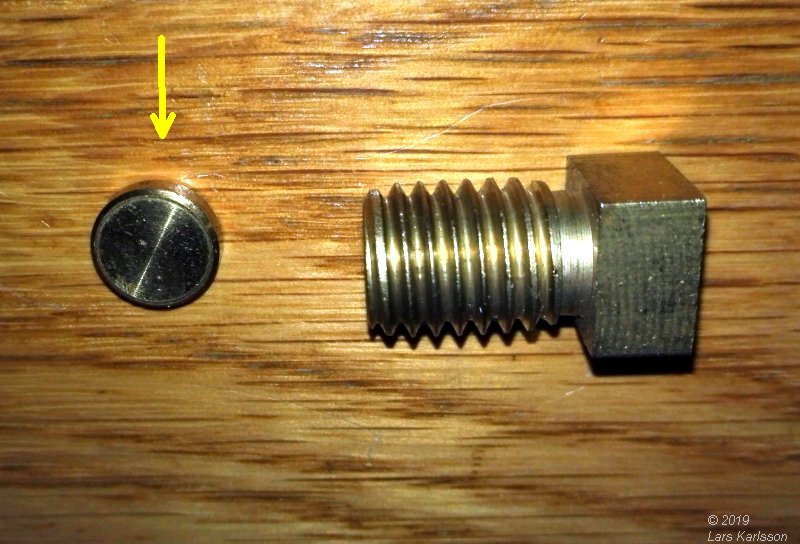
Now I thought it will be correct and never had to open the mount again (but I was wrong). Then I must install the lock to the DEC coupling. The brass "washer" to the left can maybe be difficult to install afterwards, that's why it must be installed now. 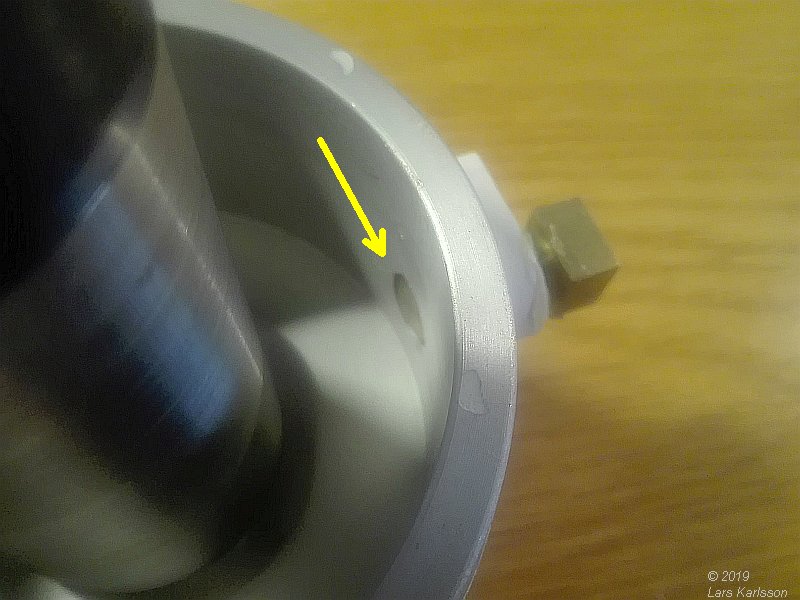
You put in the washer from inside here. Put some grease on the brass worm gear where the clutch attach. 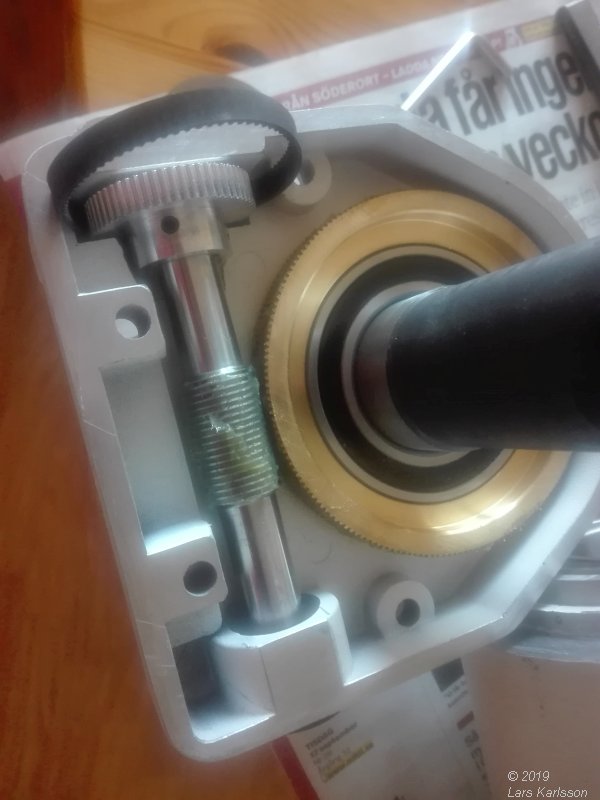
Put on grease on the same places as I did on the RA shaft, set some grease on the brass gear where the coupling's brake pad set in on the cylinder, hidden on the other side. 
I found the best method to assembling them together was to let the DEC shaft stand up and then thread the RA shaft over it. Take it very slowly and do not use pressure, small small movements until they glide in place. Put on grease on the DEC shaft surfaces too where the roller bearing attach. 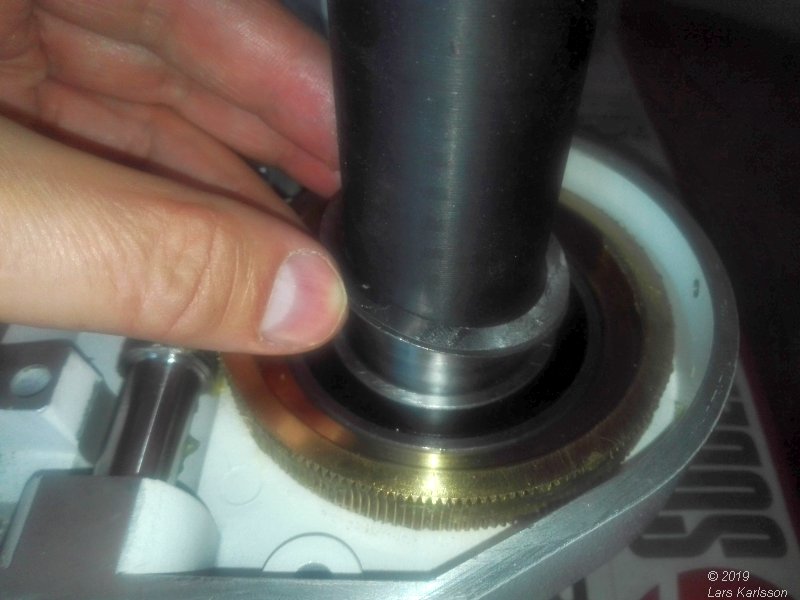
Don't forget to put back the lower shims once again, still 0.6 mm (in my case). Note: this is individual for every mount, you must measure it out for your own mount. It's wise to use rubber gloves, very greasy work. 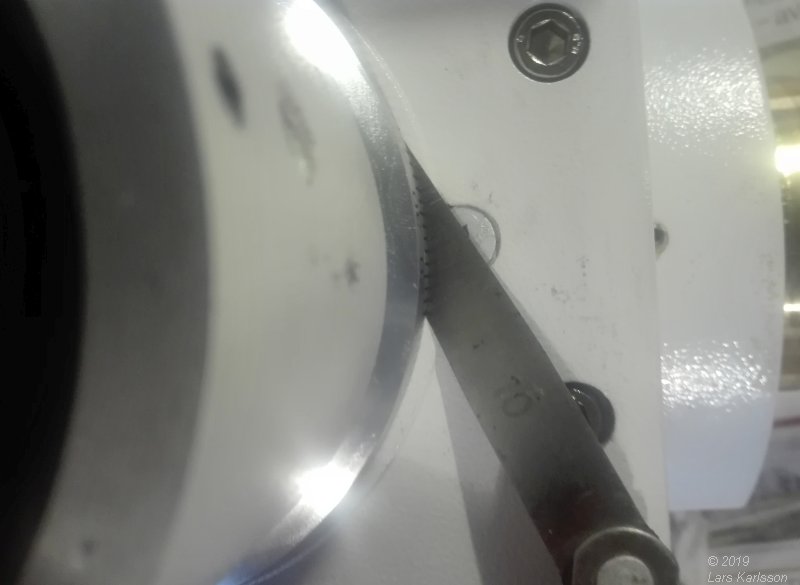
Now the clearance has decreased to 0.1 mm. DEC tapered ball bearing: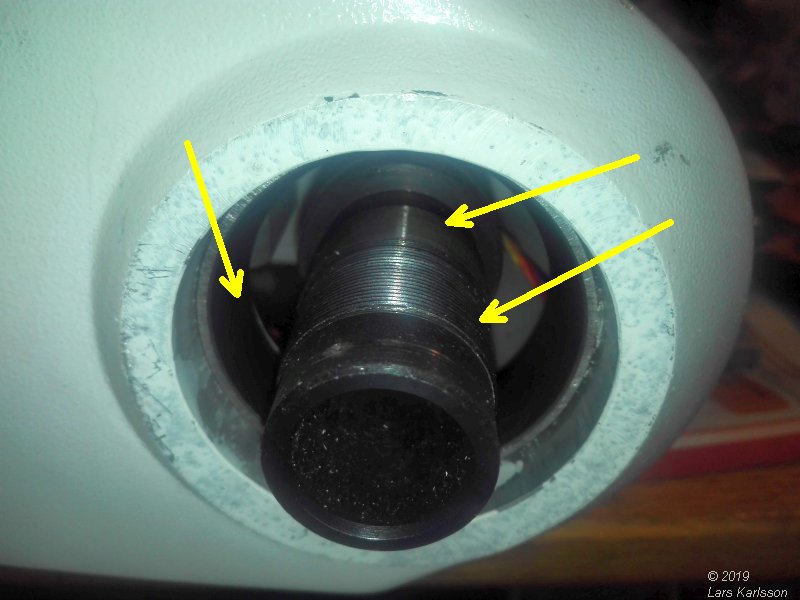
Before get the tapered ball bearing in place, clean very carefully and put on grease. Fill the tapered ball bearing with grease too. |
The tapered ball bearing can be hard to get in place, be careful. After you had got it in place and have about 10 mm thread free, screw on the stop (the big white nut above) and use it to push the tapered ball bearing in place. If it resist something maybe is wrong, take it apart and look if something is in wrong position or bad. DEC degree scale: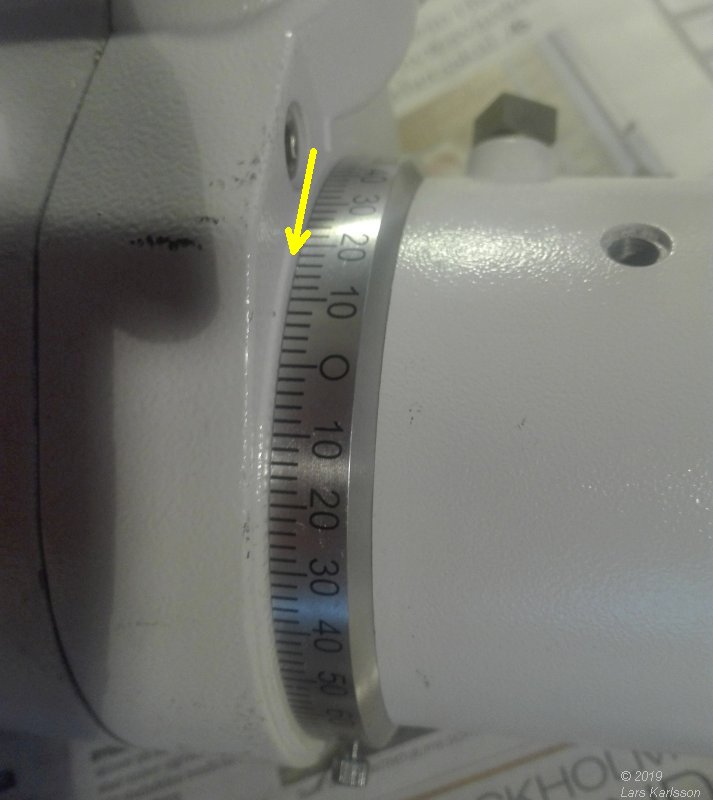
This time the scale got stuck. To small clearance. It feels like something is wrong. 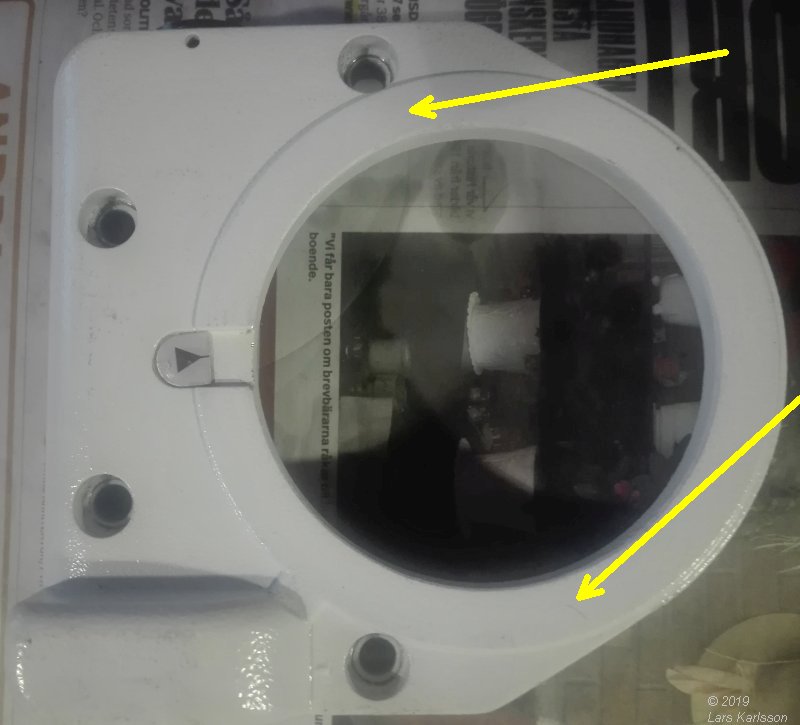
Check the surfaces here if something is protruding. I have already before nailed it flatter. 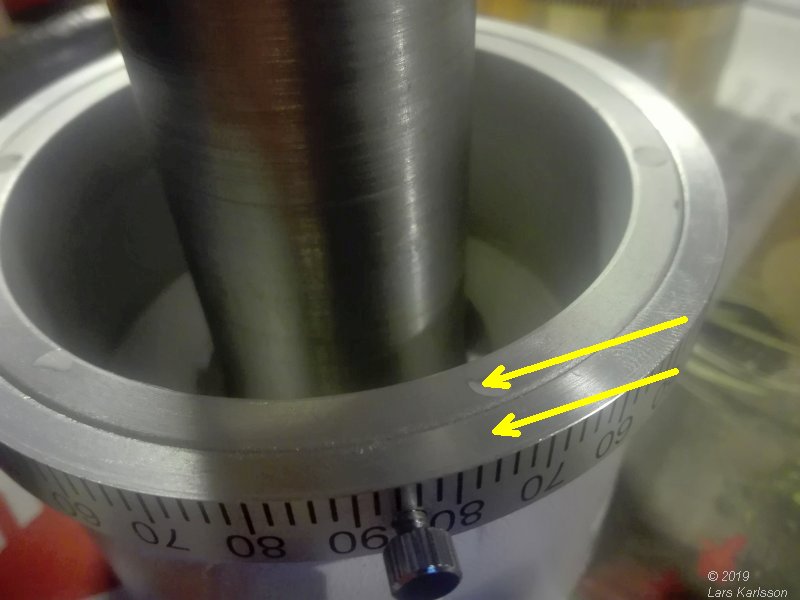
Here I have found something that is not correct. When following the scale around there are some places where it's higher than the inner edge (ring). 
I found that I had missed to clean it from dirt in the dig here and at other places. 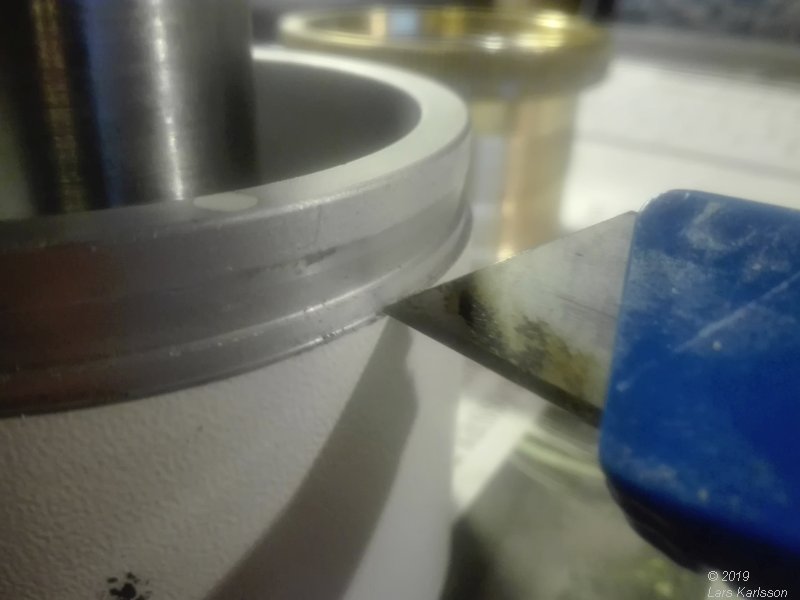
Scratching it clean, I also removed some paint. Later I also noticed the the scale ring was not perfect flat. Couldn't do anything about that and it doesn't affect the function. I solved it by increasing the top shim to 0.4 mm. My mount has always been very stiff, even when the clutches are free. I have always thought it was the grease that had aged. Maybe this paint and dirt was the problem. It could also be that the plastic shims that had been thinner under the pressure. A stiff mount is difficult to get in proper balance, when tracking these roller bearings are locked and the two others are in work. 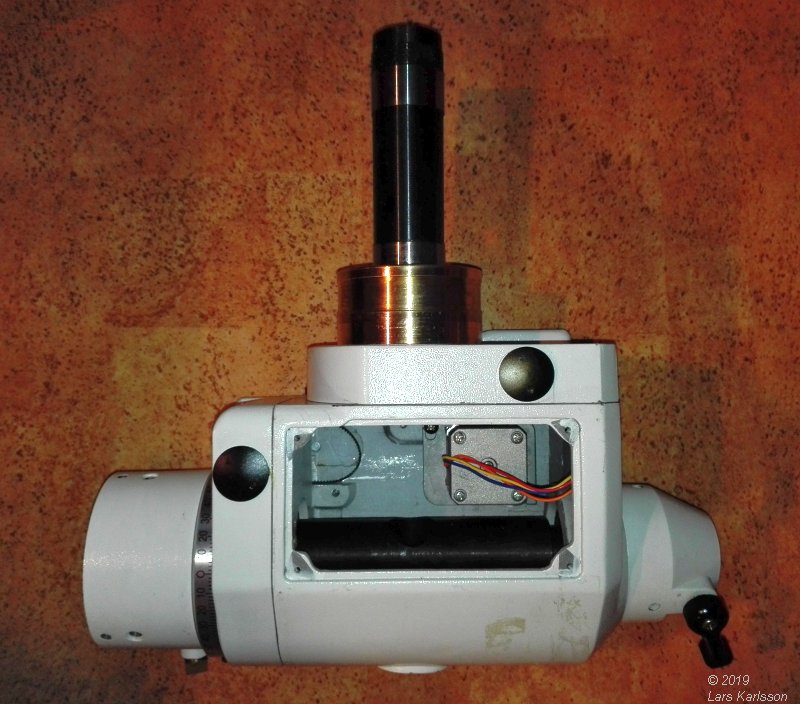
Nice to see the mount a bit more assembled. Next time I can install the DEC motor and timing belt drive.
|
|