|
Advertisement / Annons: |
Chrysler Crossfire
|

|
1, Wheel Camber angles:Wheel alignment according to Chrysler Crossfire Service Repair manual, page 28 to 37. How to do an easy check of camber angle:Here is an easy way to get a rough estimation of your car camber angles (there are many other ways too). You just have to use a spirit level and a calculator. Find a parking lot that's in level where you can do this. Before do this, check the tire air pressure and only brake the car soft when parking, otherwise the angles can change. 
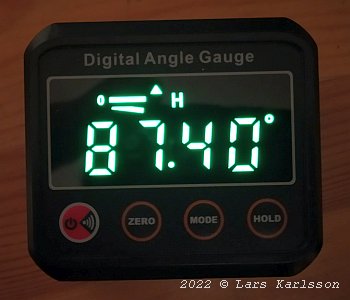
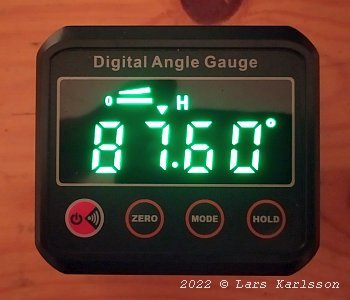
Hold the spirit level against the wheel rim. Measure the L distance in the picture above. If your spirit level is too short or long you can cut a piece of wood of the proper length to line up to the wheel rim and then put the spirit level against this piece of wood. Then your L is the length of the piece of wood. In my case it's a little bit complicated because I have 18" front wheels and 19" rear wheels. You can do it this way, but much easier with a digital angle meter. Measurment with a digital angle meter:Angle measurement with a digital angle instrument. It has a magnet on one side and I attached it to the disc brake:
The floor in the garage is a bit tilted down to the right which these figures are not corrected for.
Update:
I got the limits from here: JLtechno.com . I feel that I don't have the precision I need to do any adjustment and let it be where it's now. The rear are between the limits, in front I don't have any unusual wear. At last I did a measurement of the height at the rear end of the car. There is a difference of 8 mm where the right side is the lower. That's a very little difference, it can be calibrated out with a 5 mm thick rubber pad between the spring and the lower arm, they can be ordered in steps of 5 mm thickness. That is at least what I have read how they do it.
Update:
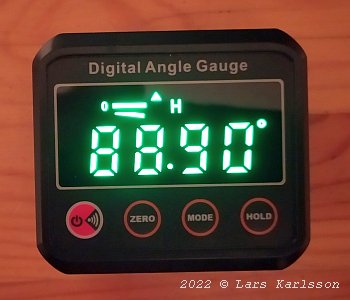
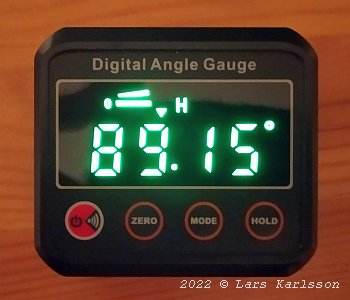
The I set a jack under the front rear wheel to get it in level at rear and did a new measurement:
Now it's perfect, maybe it's because of the weak front bushings, the springs looks okay. Have to check it later more carefully. But first I will replace the lower front bushings and then I replace the front springs as well.
|
|