|
Advertisement / Annons: |
Chrysler Crossfire
|
|
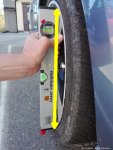
4, Adjustment of front Toe-inI haven't replaced my rubber bushings but feel I must do something about the bad Toe-in I have in front, at least to save my tyres. Adjusting Toe-in at front:From the measurement above I got that the Toe-in needs to be adjusted 0.4o. That's the total Toe-in, each side needs to be adjusted 0.2o to keep the steering wheel in center position. This more a test before I replace the front bushings at the front chassi. After that the Toe-in must be adjusted once again and that will I left over to a workshop to do. You shouldn't do this adjustment if you don't have the knowledge, it's more an information of what I do. 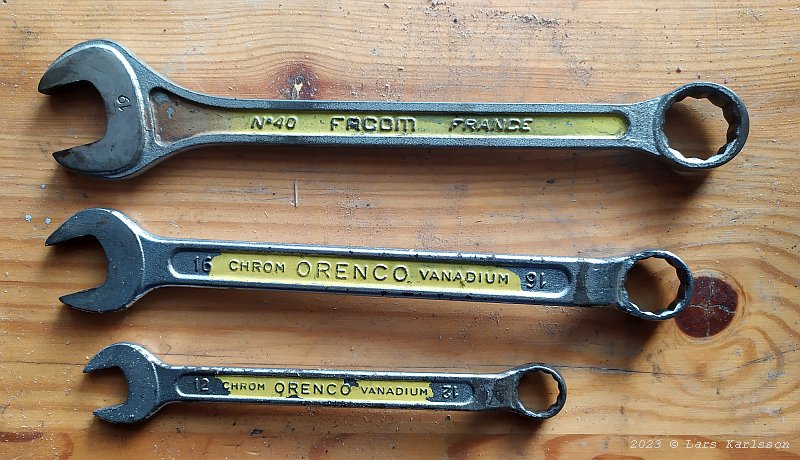
The U-Wrench tools I need, 12, 16 and 19 mm. Left side, driver's side: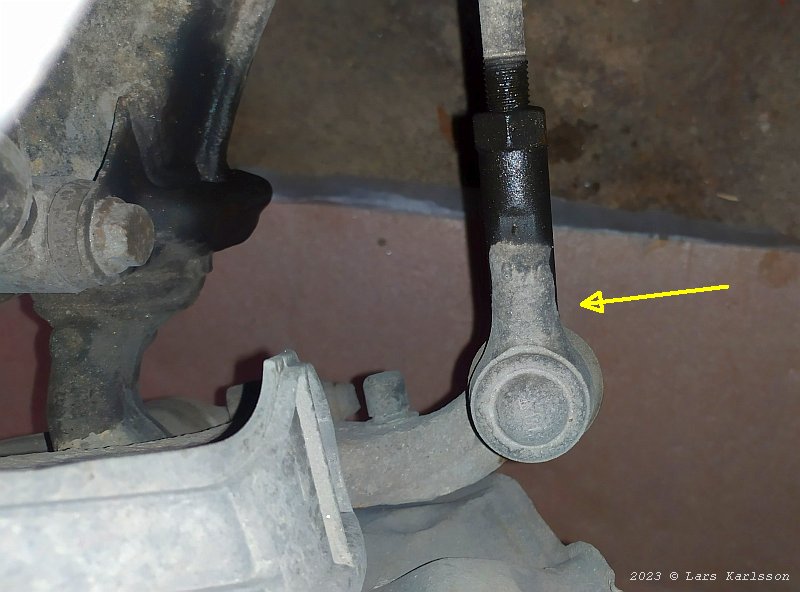
The steering link's outer tie rod that's to be adjusted, seen from above. I have sprayed some antirust solution to it, especially at the threads. 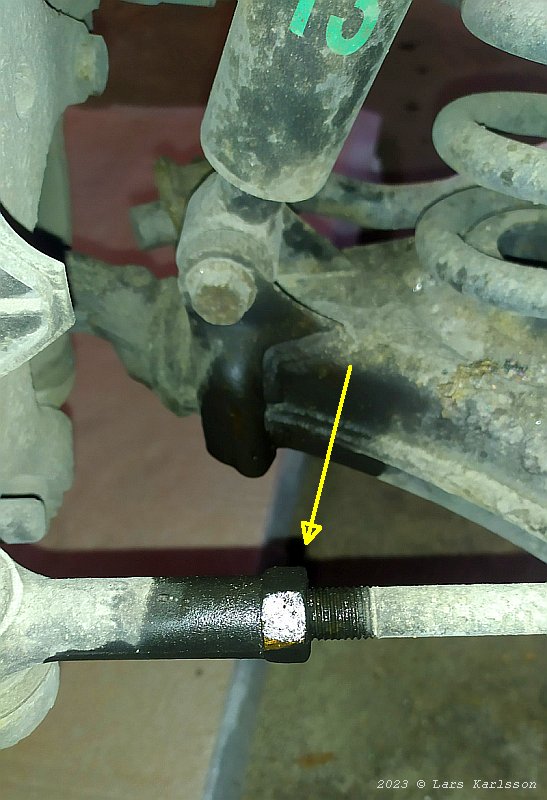
This is the nut that lock the adjustment to a fixed position. Brush the threads with a steel brush to get rid of dirt and rust. 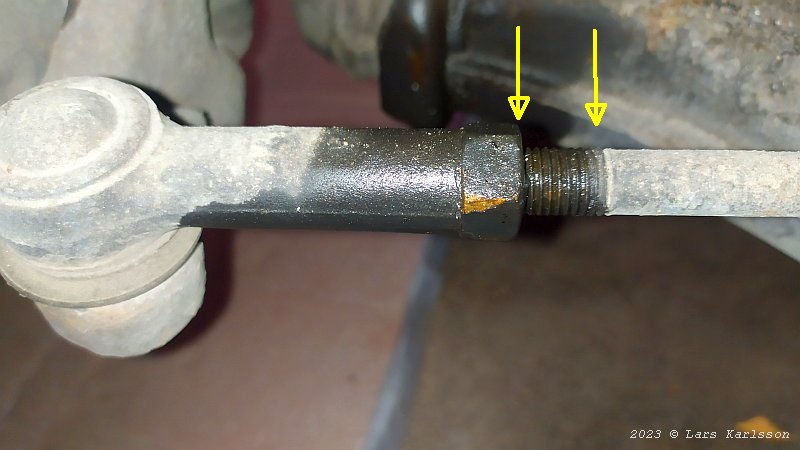
According to the spare part list it's a M12 x 1.5 mm threads, I check that and got 10 threads along 15 mm thread length, correct. I need to know that when calculating how many turns I shall rotate the shaft to the right. 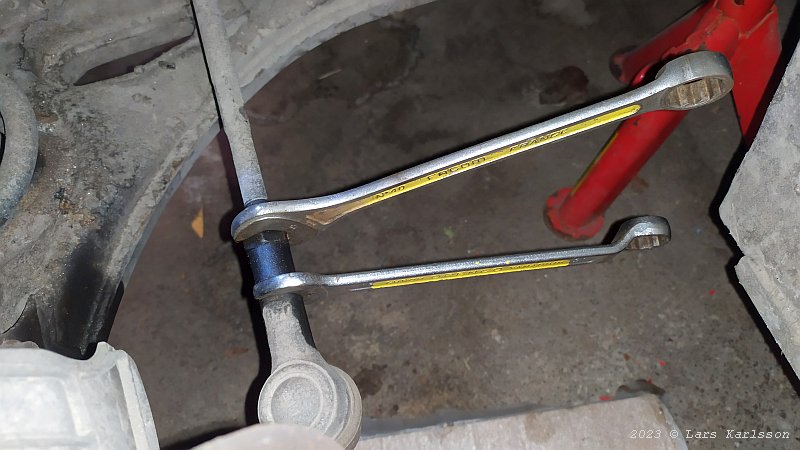
First unlock the nut, hold the tie rod in place with the other wrench. 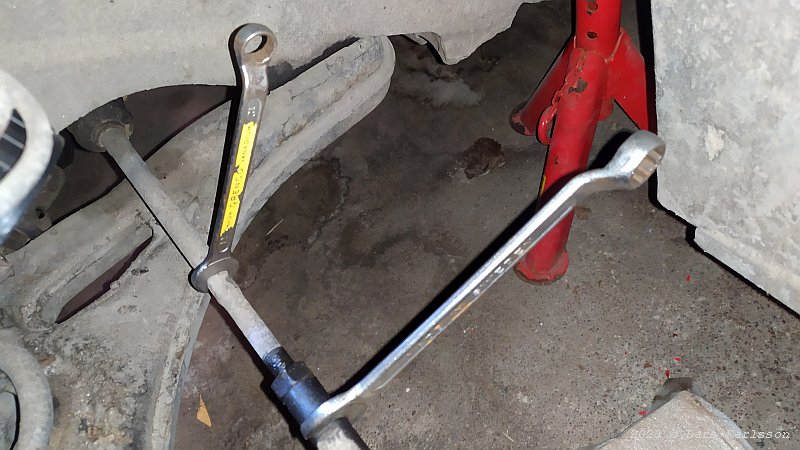
I adjust the Toe-in from a little Toe-out to correct Toe-in angle. After some calculation I got that I shall turn the shaft at left 0.4 turns and at the direction that it extend the arm. If you feel some play in the linkage it should be replaced. 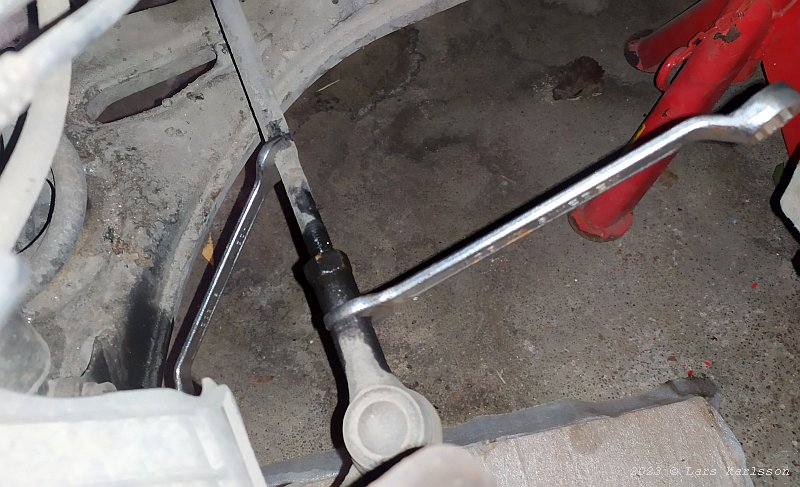
0.4 turns later.
And then lock the nut according to the torque which is recommended in the service manual. Same torque in US and Europe but measured in different units. Repeat this on the right side, passenger side. After this toe-in adjustment the car is alike a dream to drive, the vibration is gone and with some extra pressure air in the tyres it's much more stable on the road too. 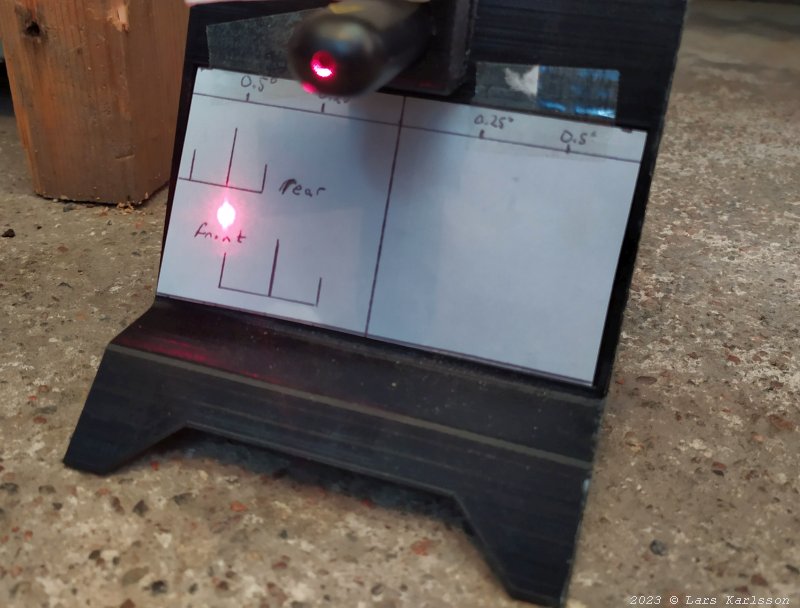
After driving about 200 km it's time to do a check of the Toe-in once again, it was a little bit to much last time. Now when I measure it's still a little bit too much Toe-in. It moved from +0.1 to -0.5 degrees. A difference of 0.6o, not the 0.4o I aimed for. It's within the limits but I will fine adjust it later when i have replaced the front lower bushings.
|
|